Here’s a quick tutorial on how to sew a Flat Felled Seam and a Double Lapped Seam. Both of these seams are commonly used on jeans and other heavy fabrics.
Flat Felled Seams

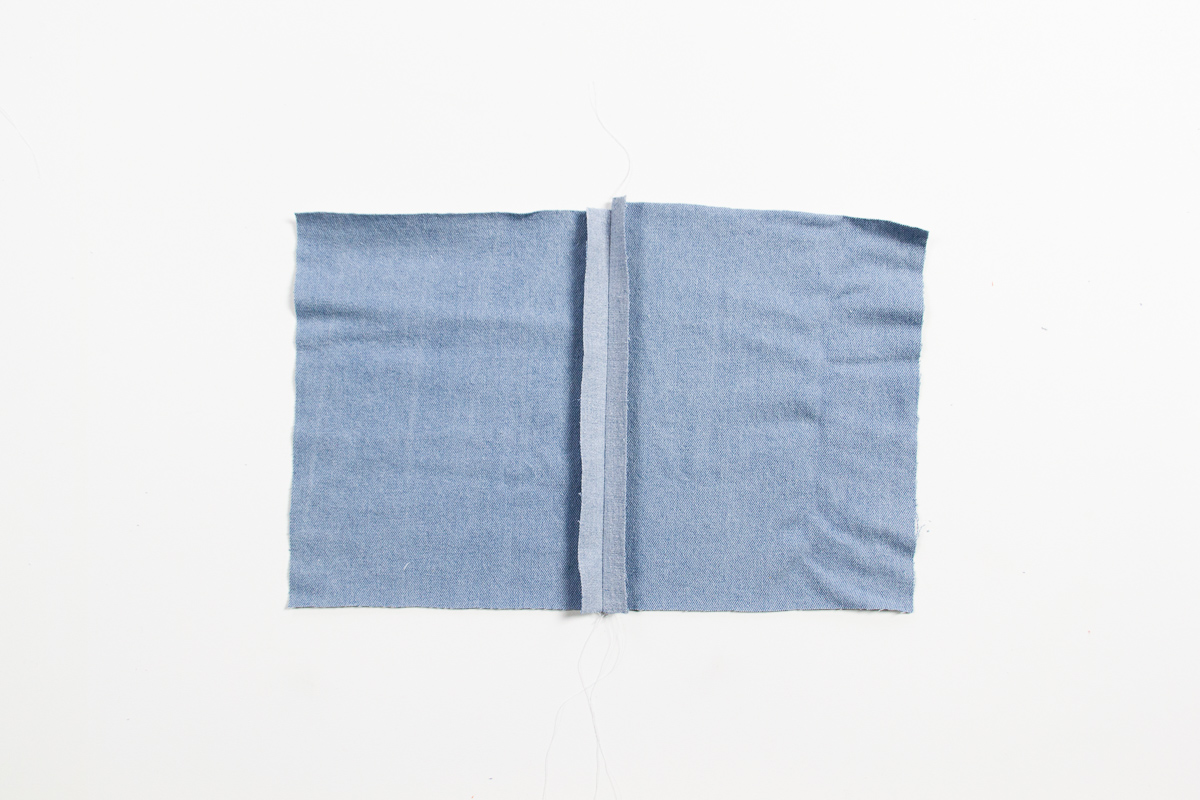
1) Sew fabric with wrong sides together using a 5/8” seam allowance.

2) Press open seam.
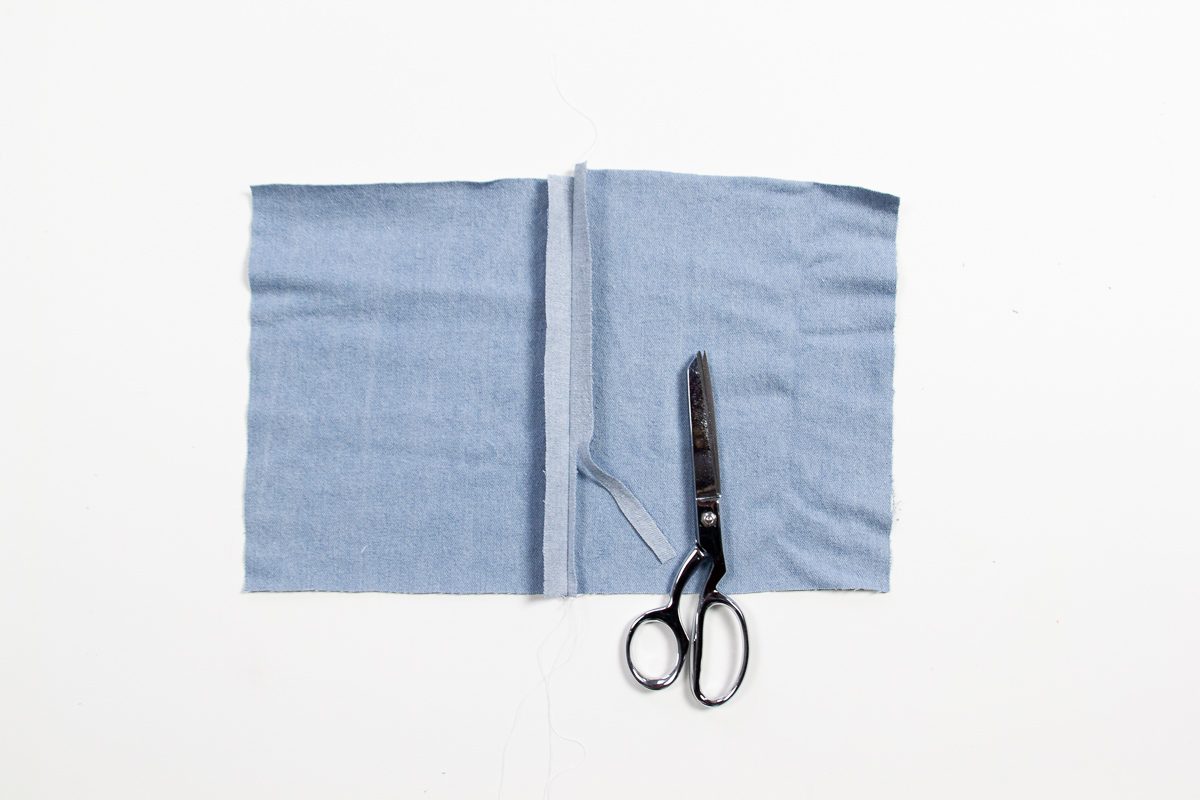
3) Trim one side of the seam allowance to 1/4”.

4) Fold the seam allowance of the longer side in so the two raw edges meet in the middle (or fold the long side over the short side and overlap the raw edges). Press.
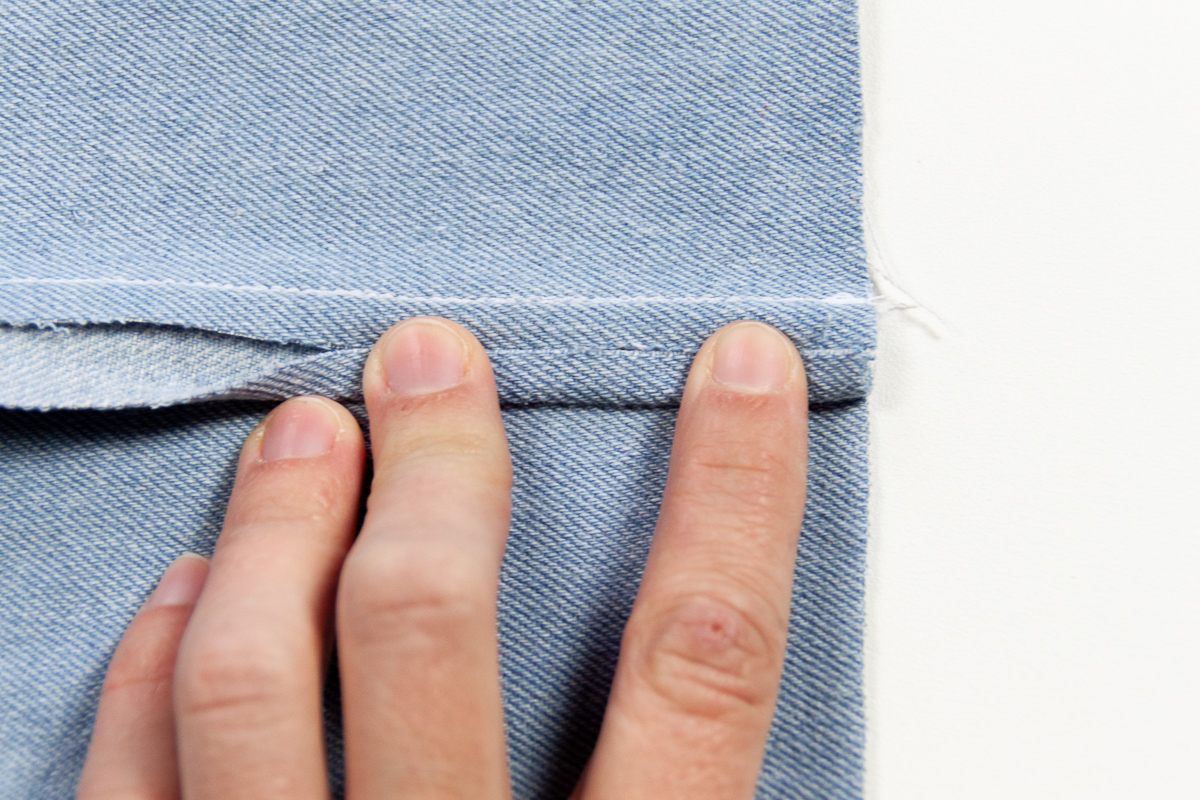
6) With the longer seam allowance folded in, fold the flap over so the raw edges are tucked away. Press.


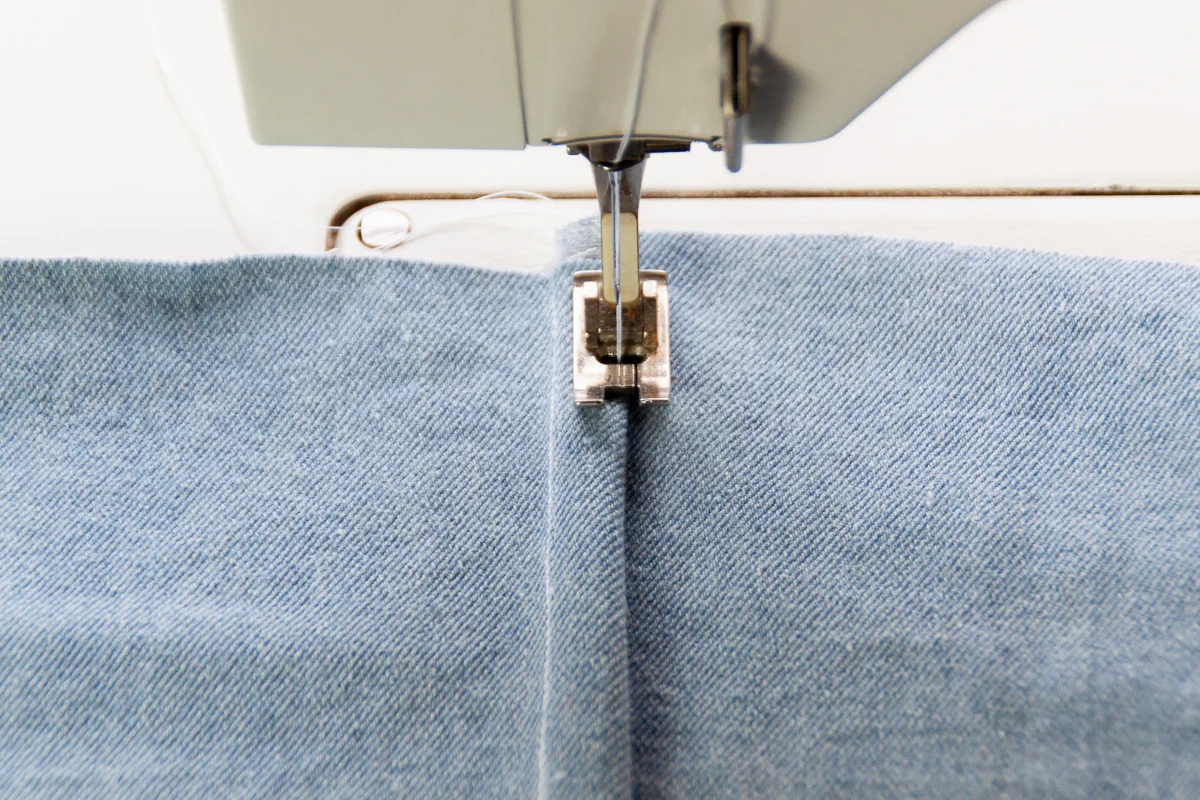
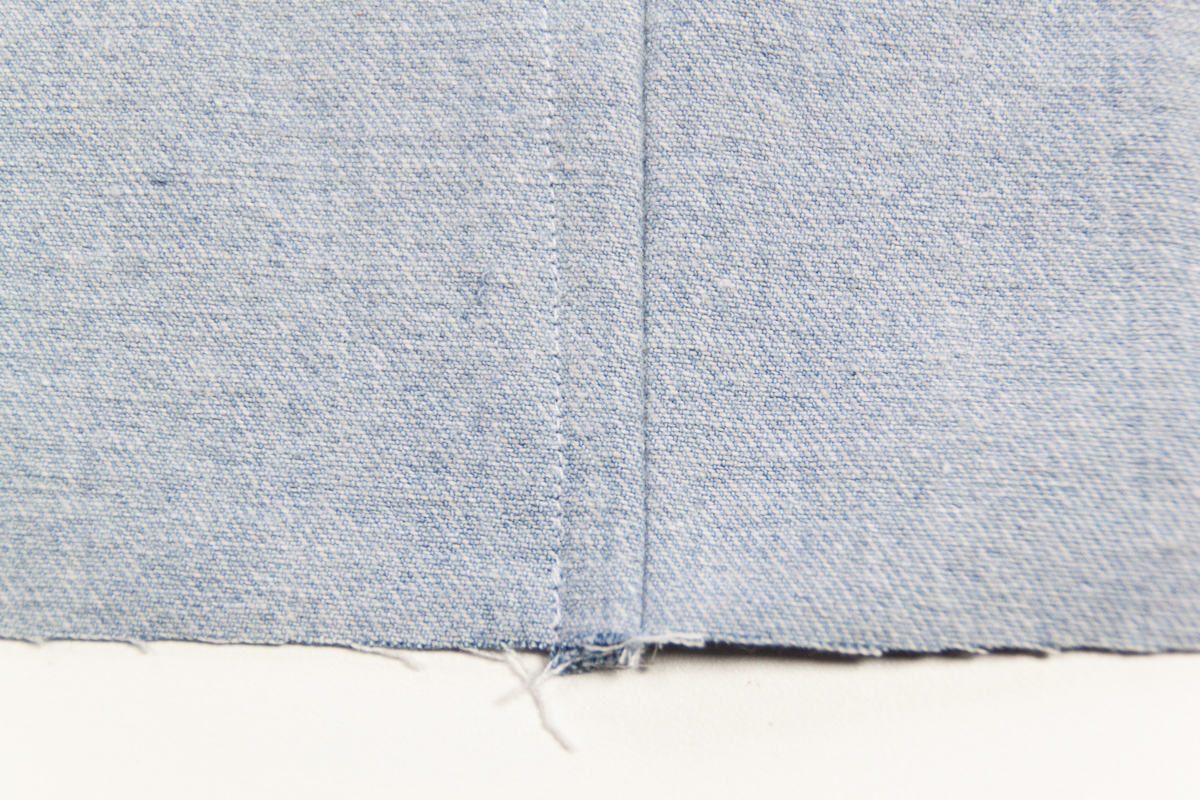
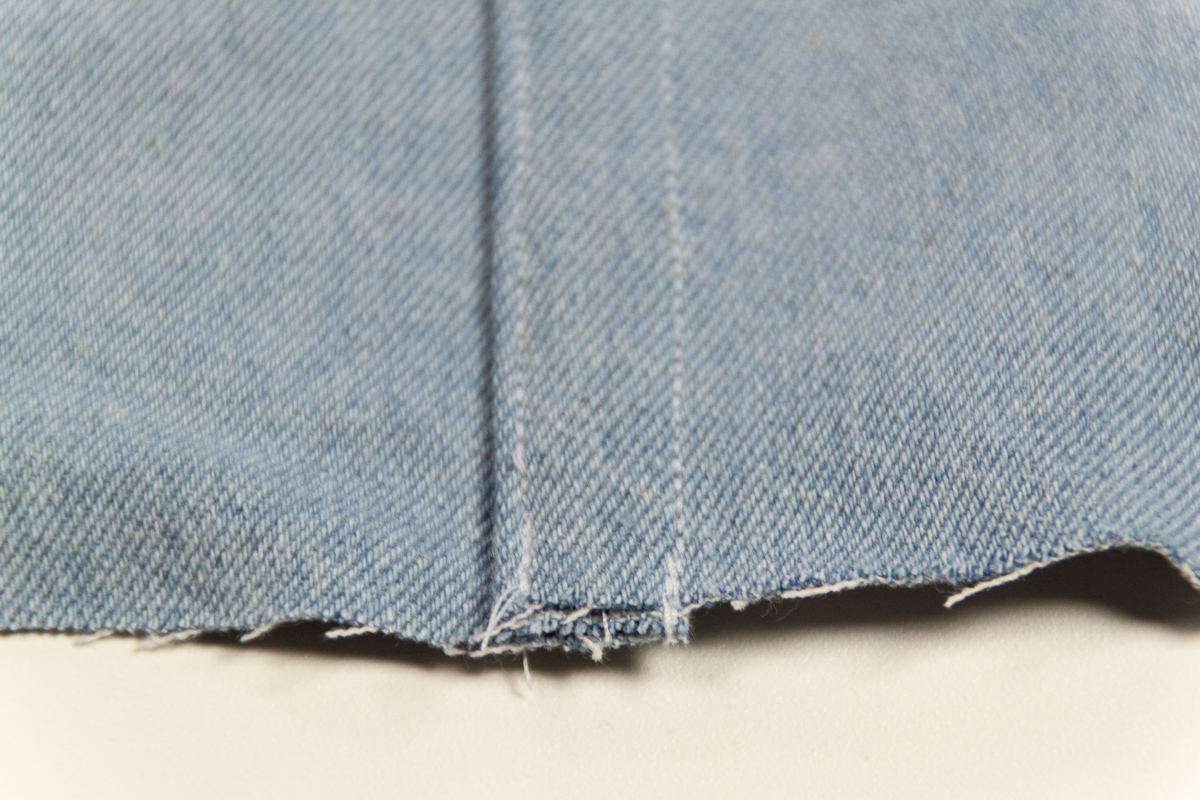
7) Edge stitch 1/8” from the folded edge.
Here’s a view of the right side and wrong side.

Double Lapped Seams

1) With both pieces of fabric right sides up, overlap the edges 1/2”. (Obviously, depending on your preference, you can use a wider or narrower seam allowance than shown here.)


2) Making an ‘S’ shape, fold the seam over so both raw edges are tucked inside. Press.


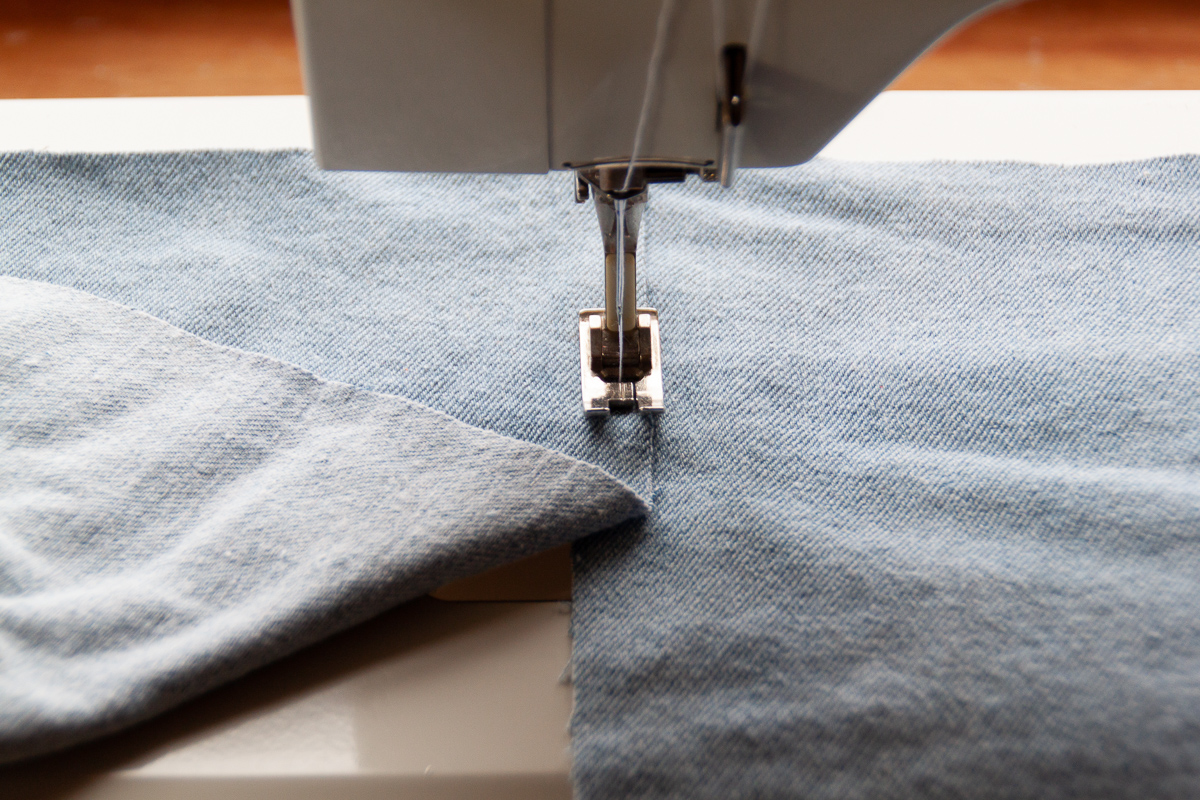
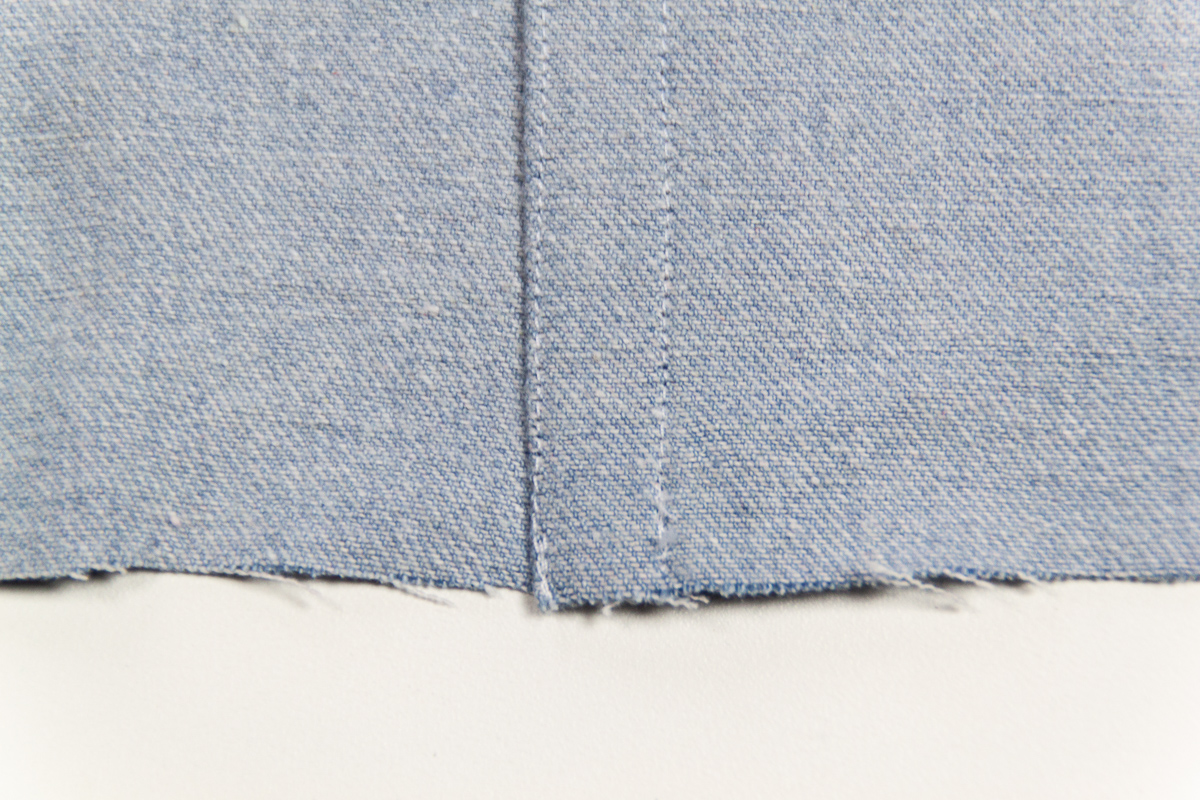
4) From the right side of the fabric, edge stitch 1/8” from the folded edge.

5) From the right side of the fabric, sew a second line of stitching 1/2” away from the first line of stitching (or whatever width you choose to overlap the fabrics in the first step) so it just catches the edge of the fold on the wrong side of the fabric.
Here’s a view of the right side and wrong side.
Pros and Cons
Flat Felled Pros:
Easy to get a consistent seam allowance in the initial step.
Only takes 2 lines of stitching per seam.
Double Lapped Pros:
The seam lays flat because each row of edge stitching is going through the same amount of layers.
Easy to edge stitch and keep the ‘S’ fold managed while sewing for consistent results.
Can use a smaller seam allowance than Flat Felled seams.

Flat Felled Cons:
Somewhat challenging to make sure the raw edge of the longer seam allowance stays tucked in and gets sewn down in the edge stitching.
The seam looks a little bubbled in thicker fabrics because the first line of stitching is only through 2 layers and the second line is through 3 layers.
Requires an extra step of seam allowance trimming.
Requires at least a 5/8” seam allowance.
Double Lapped Cons:
Somewhat challenging to get a really consistent overlapping seam allowance width in the initial step - although marking a line with chalk or a fabric pen greatly helps.
Requires 3 lines of stitching per seam.
