Make a Ruffle Mirror Frame

If you need a few more ruffles in your life, here’s how you can add some to your mirror.

This project was super fun, and I’m delighted with the end results! It adds to a feeling of whimsy and playfulness in my sewing room.

I’ve also been playing around with making sewing videos lately. Let me know what you think!

Here’s how the mirror started. I picked one with rounded corners to make the sewing easier.

After taking the mirror out, measure the dimensions of the frame.

This frame needed 135” x 5” for the frame, and 236” x 5” for the ruffle.

Cut cut cut.

Sew the fabric for the frame into a big loop. Press seams open.

Sew the fabric for the ruffle into another big loop. Fold the fabric wrong sides together and add two lines of loose stitching for gathering.

Gather gather gather.

Gather until its the same dimension as the frame.

Sew the ruffle loop to the right side of the frame fabric loop with 3/8” seam allowance.

So many ruffles!

Wrap the fabric around the frame. Hand stitch all the way around.

Stitch in the ditch to make the stitching invisible from the front.

Reinstall the hardware. Optional: Cover the back of the mirror with fabric for a nice finish.

She’s a beaut!

Let me know how it goes if you try this project. It would be fun to see what you create!

Details

Mirror: Walmart (I love Walmart!)

Fabric: 100% cotton from Joanns (RIP)

If you enjoyed this post, you might also enjoy…

Everything you need to know to get started with ruffles.

Step by step photo tutorial to fill your living room with ruffle pillows.

Step by step photo tutorial to make your own circular ruffle picture frame.

Playful Project: Mini Scrap Quilt

Time for another playful project!

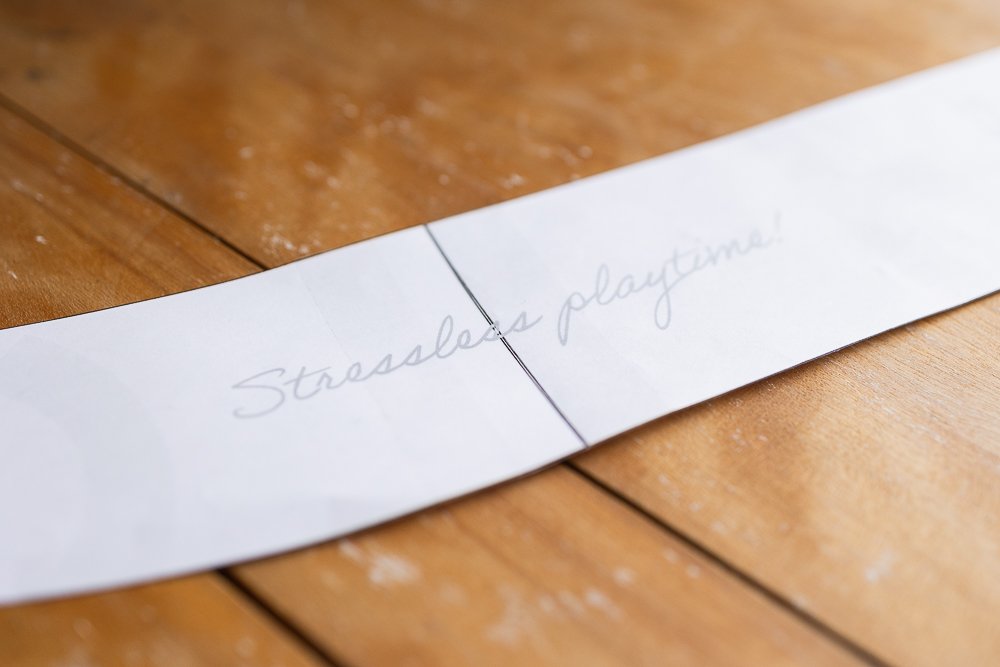
Playful projects are little sewing experiments, stressless playtime to try new things, practice techniques, and nourish your spirit through creating. 

The important thing these projects is the act of creating, not how well the thing turns out. Because once you make something simple, more complex things feel accessible and creative ideas start to flow.

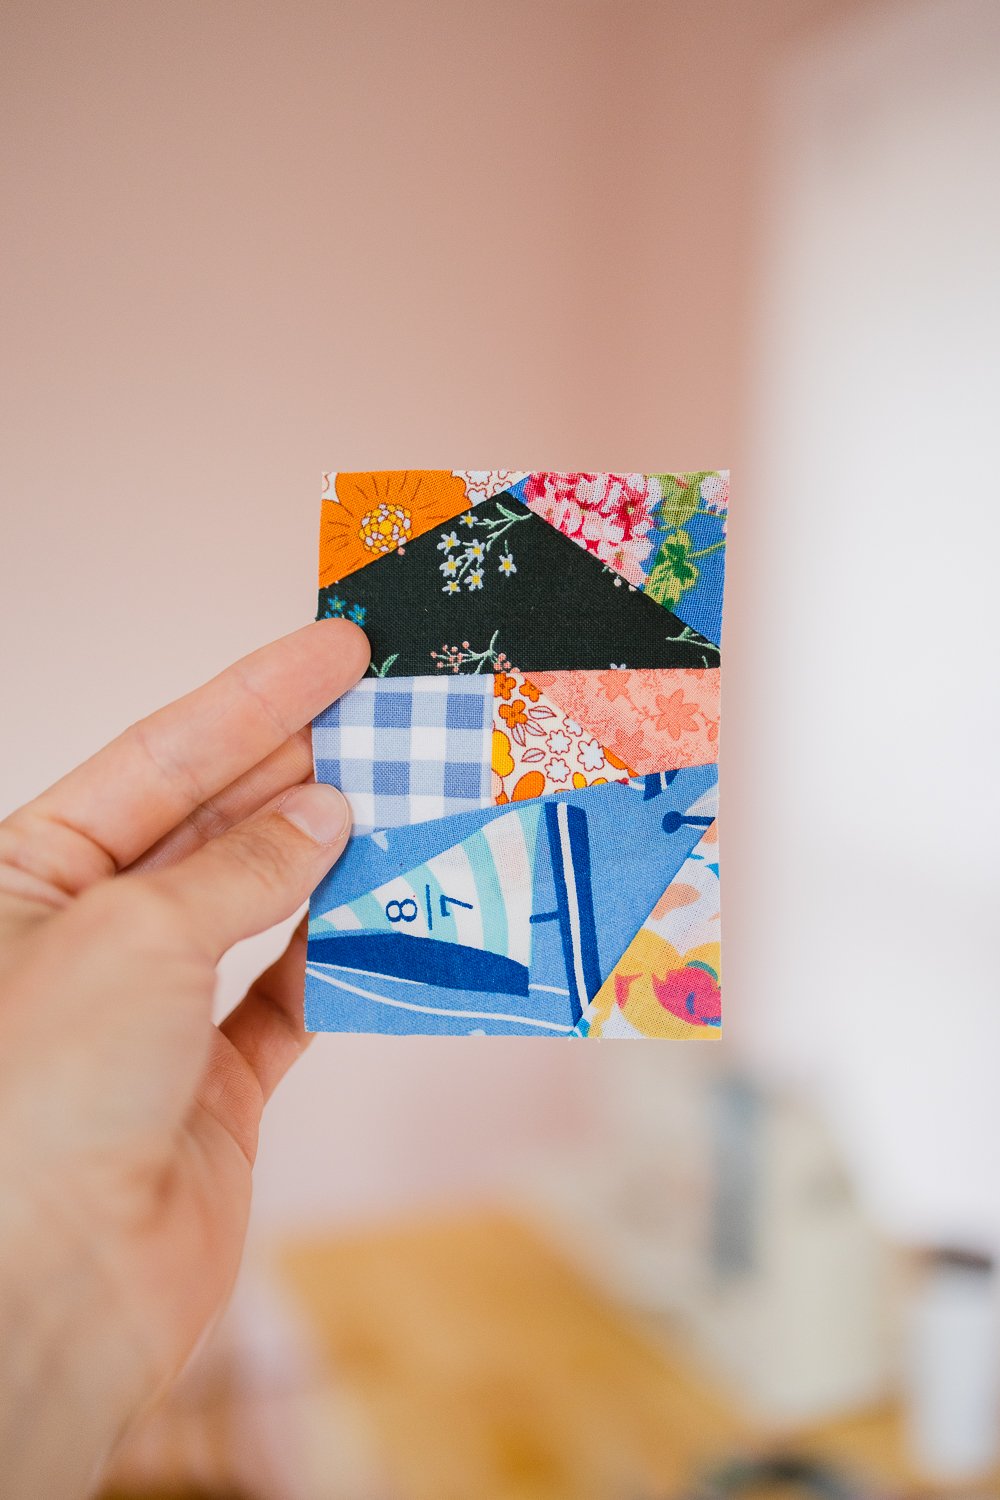
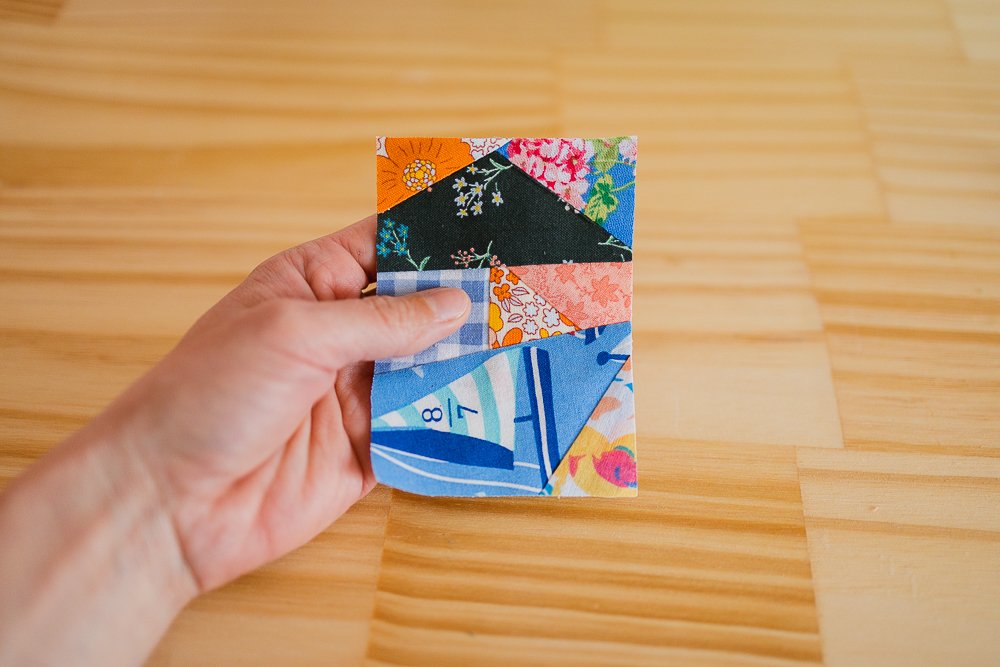
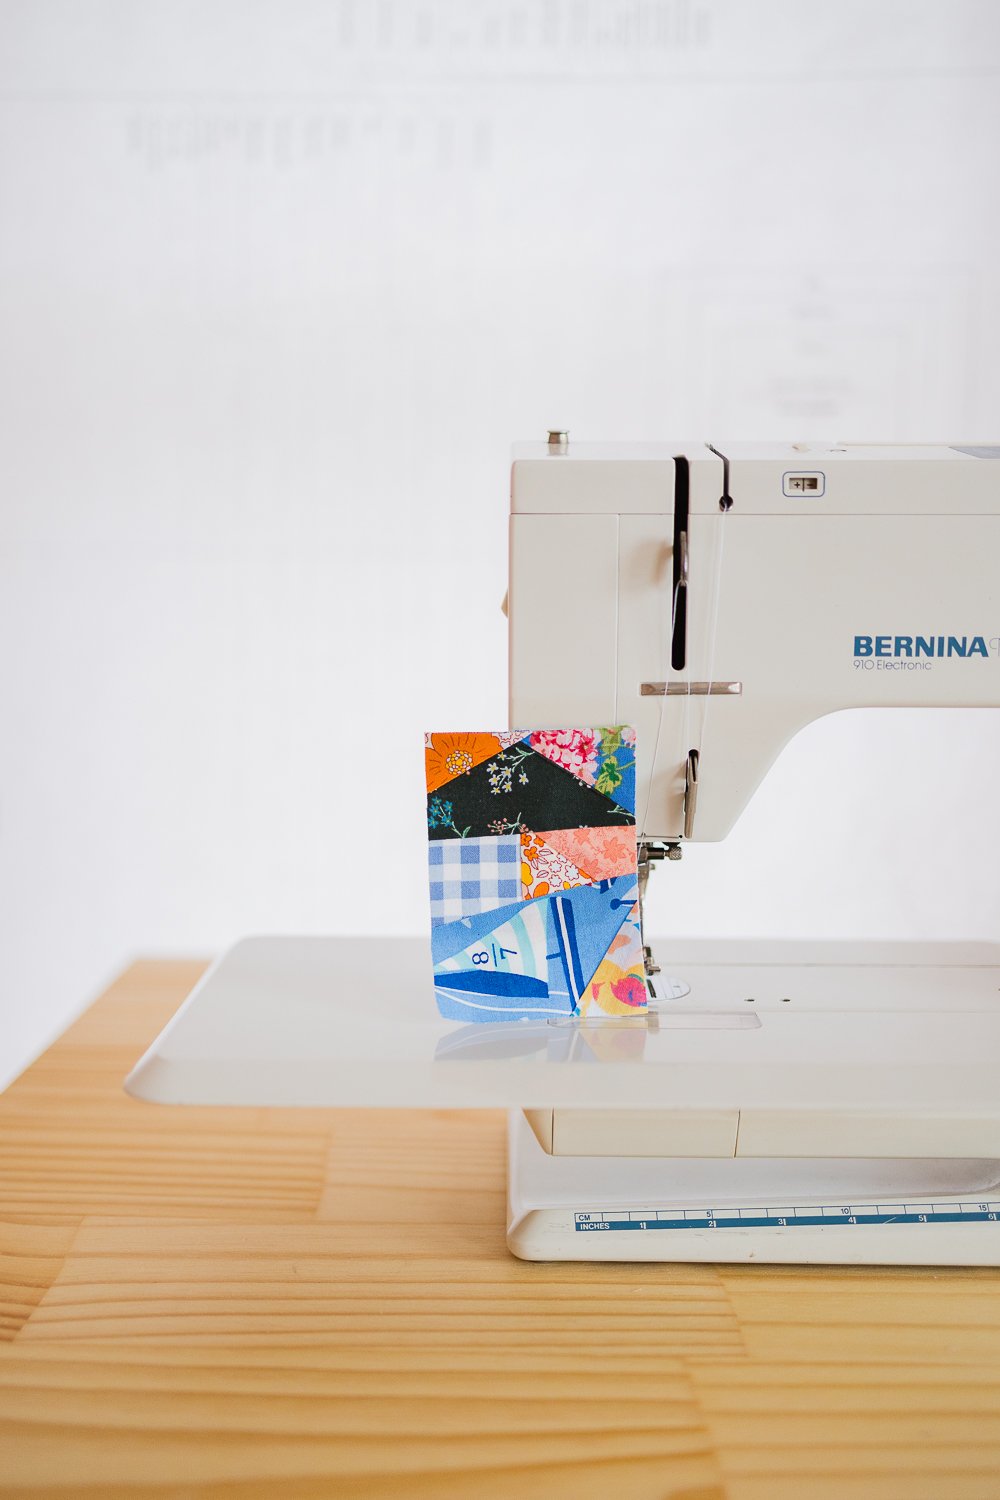
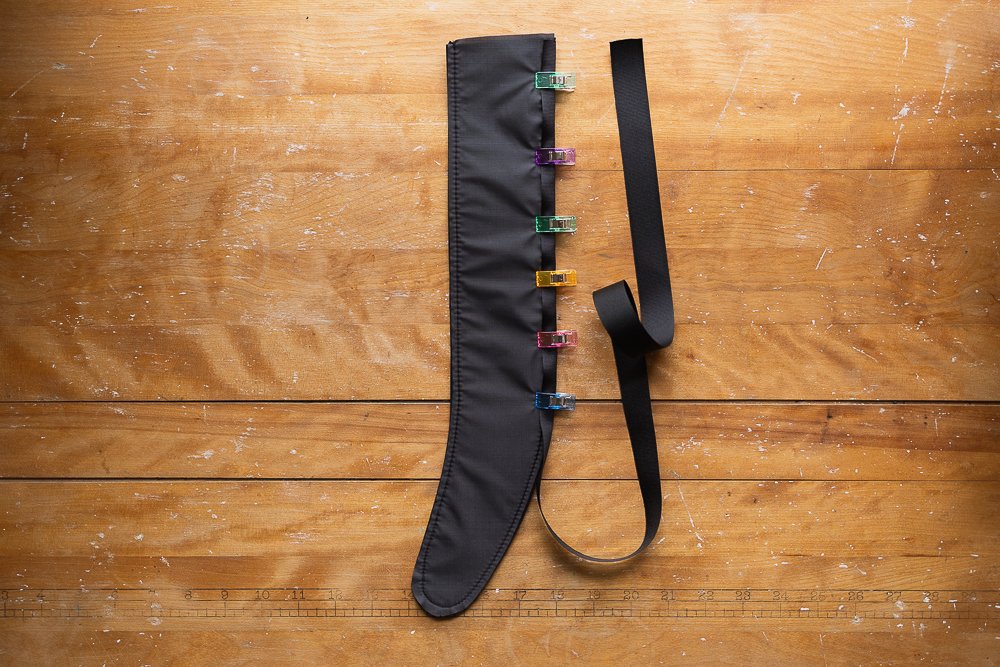
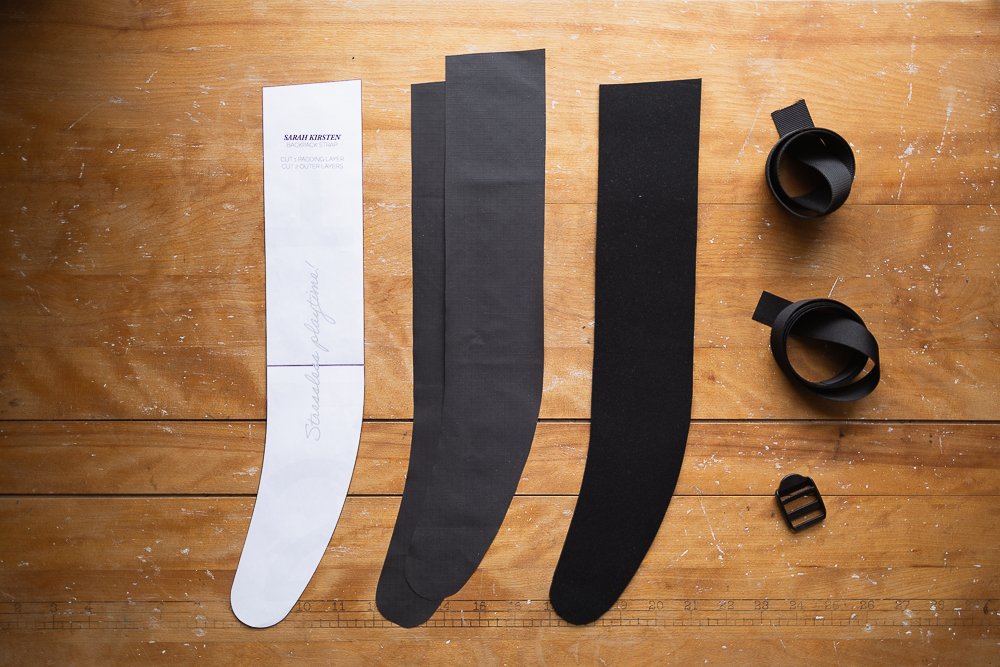
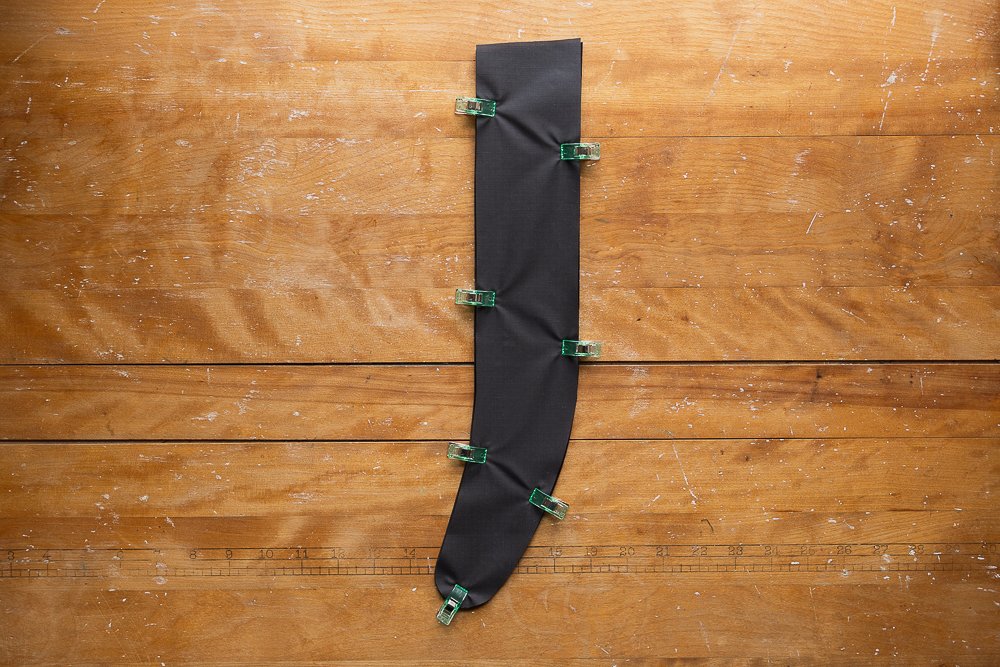
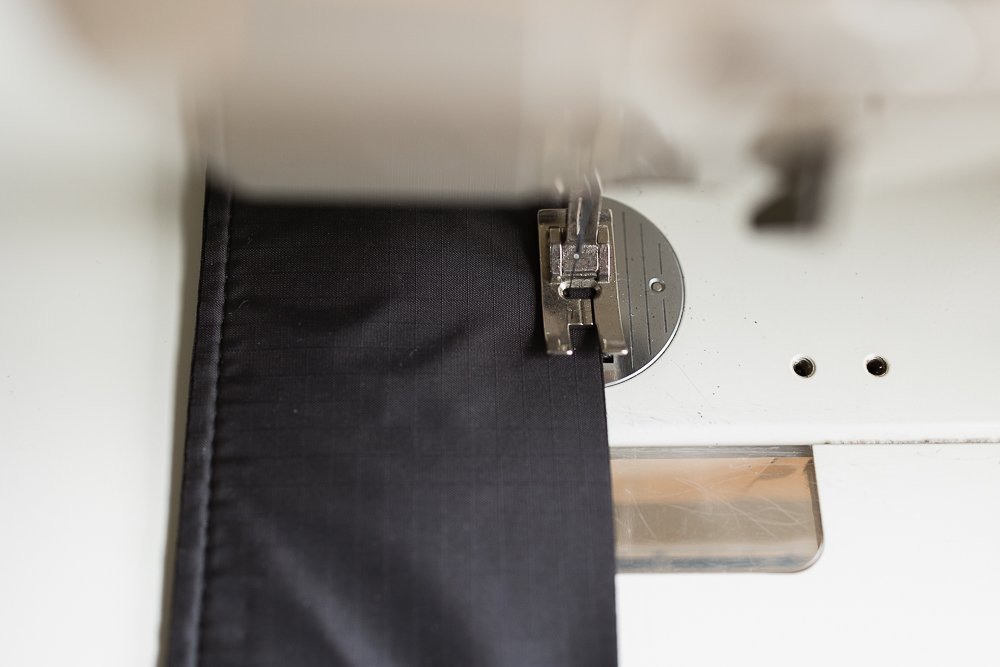
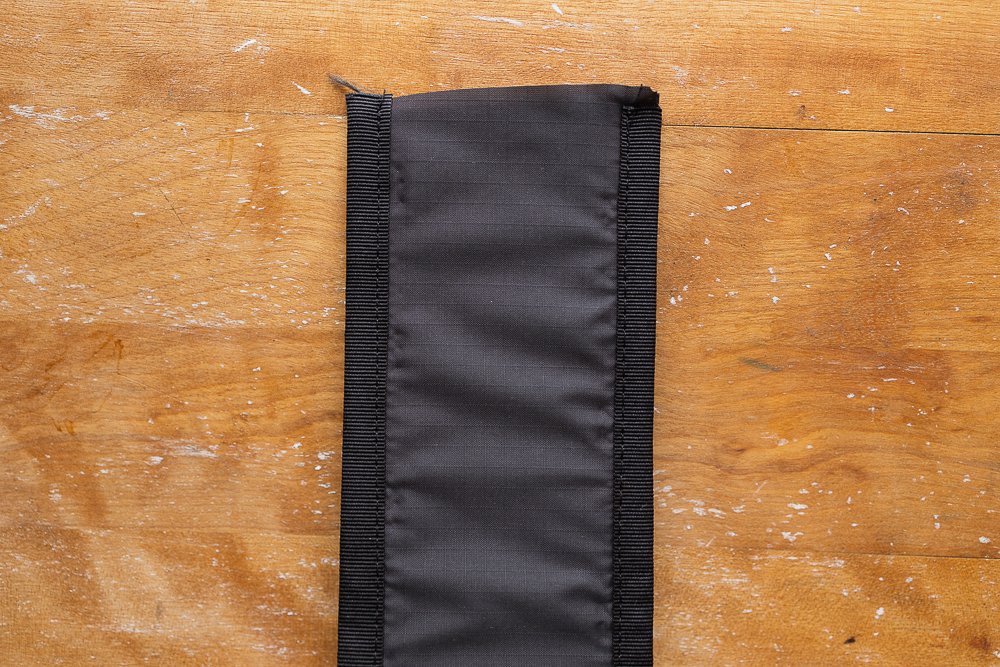
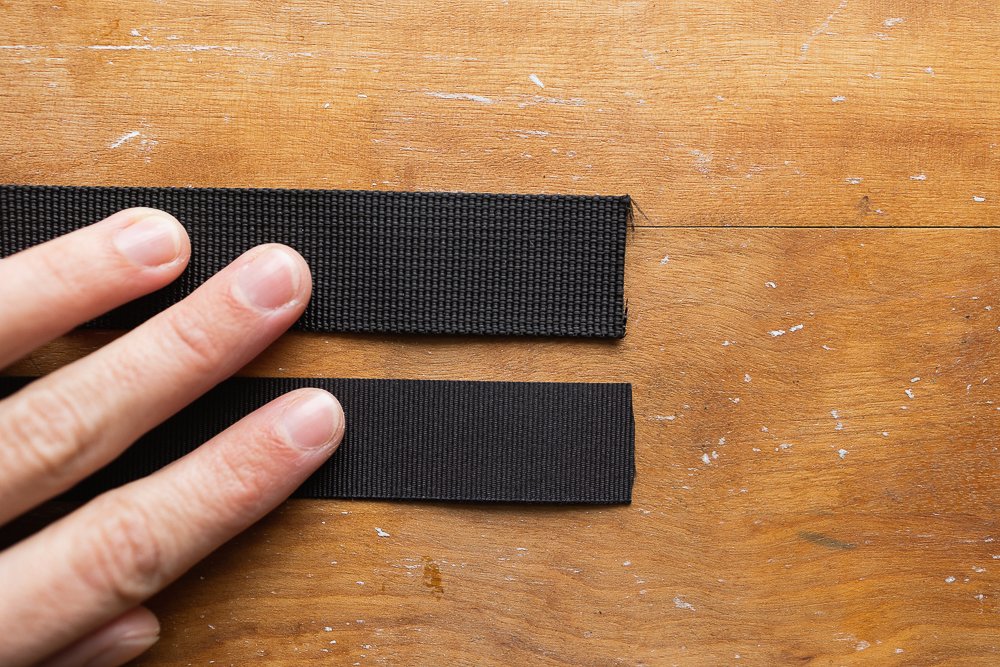
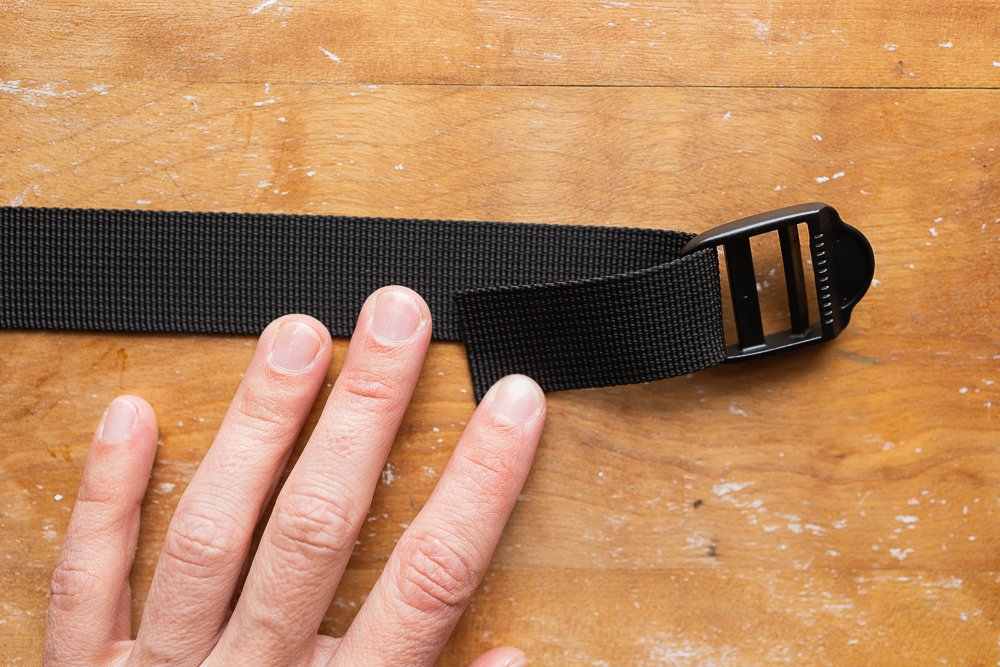
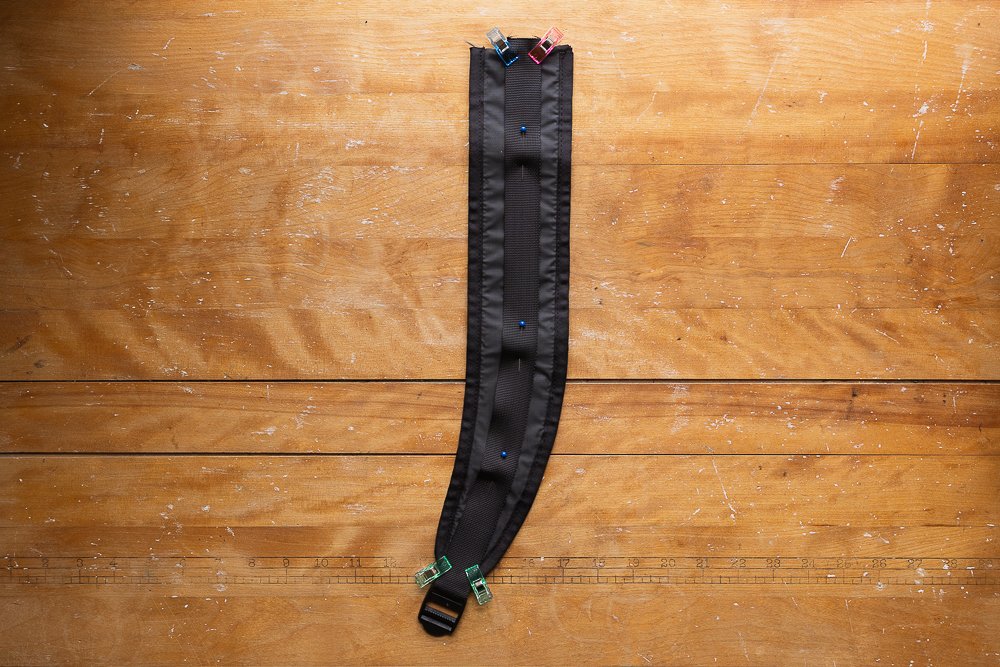
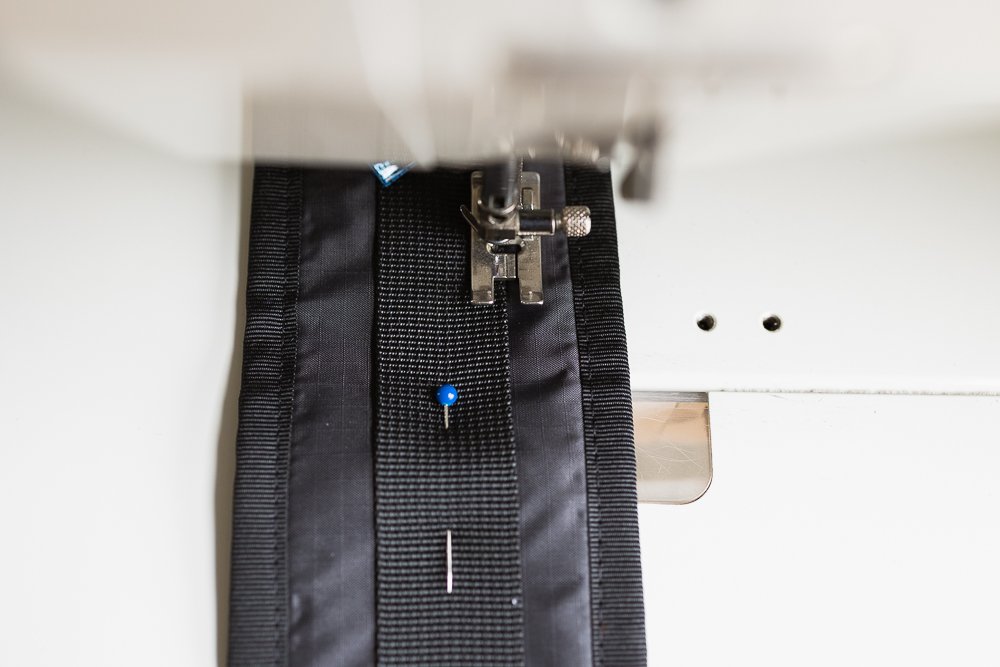
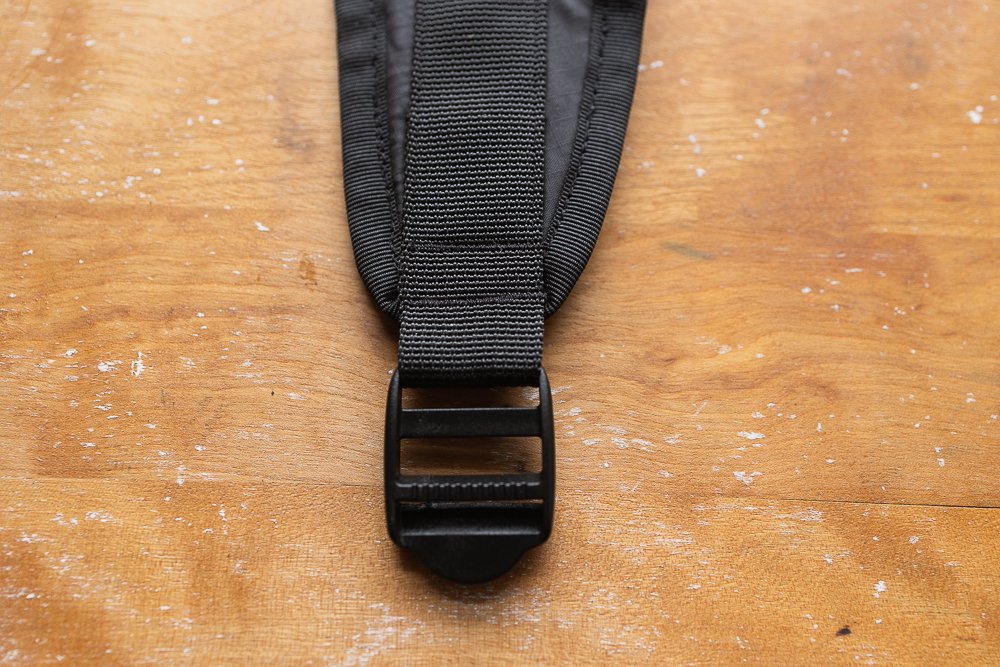
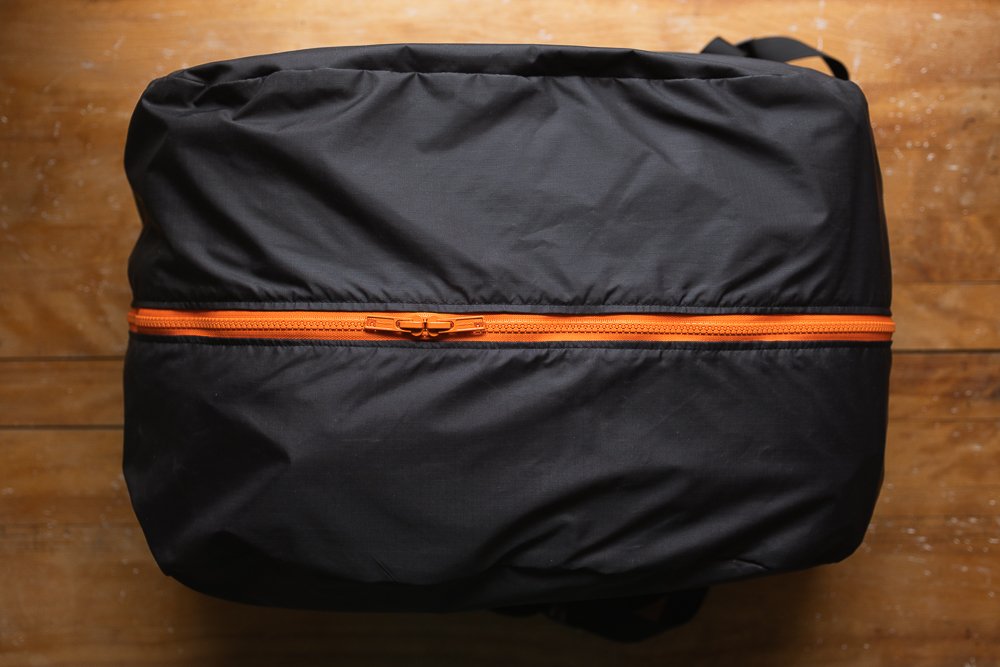
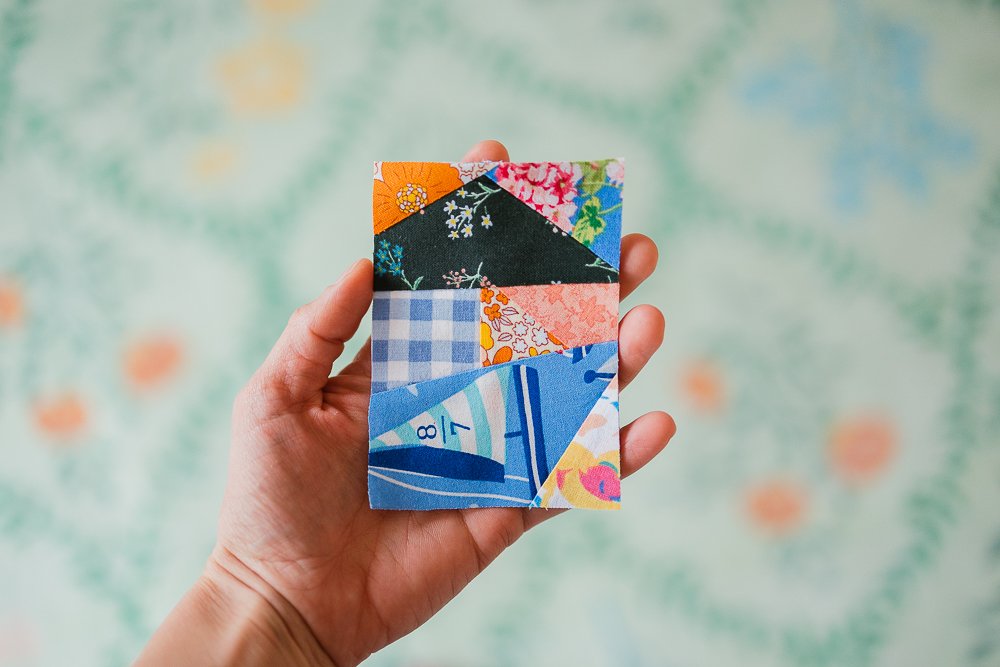
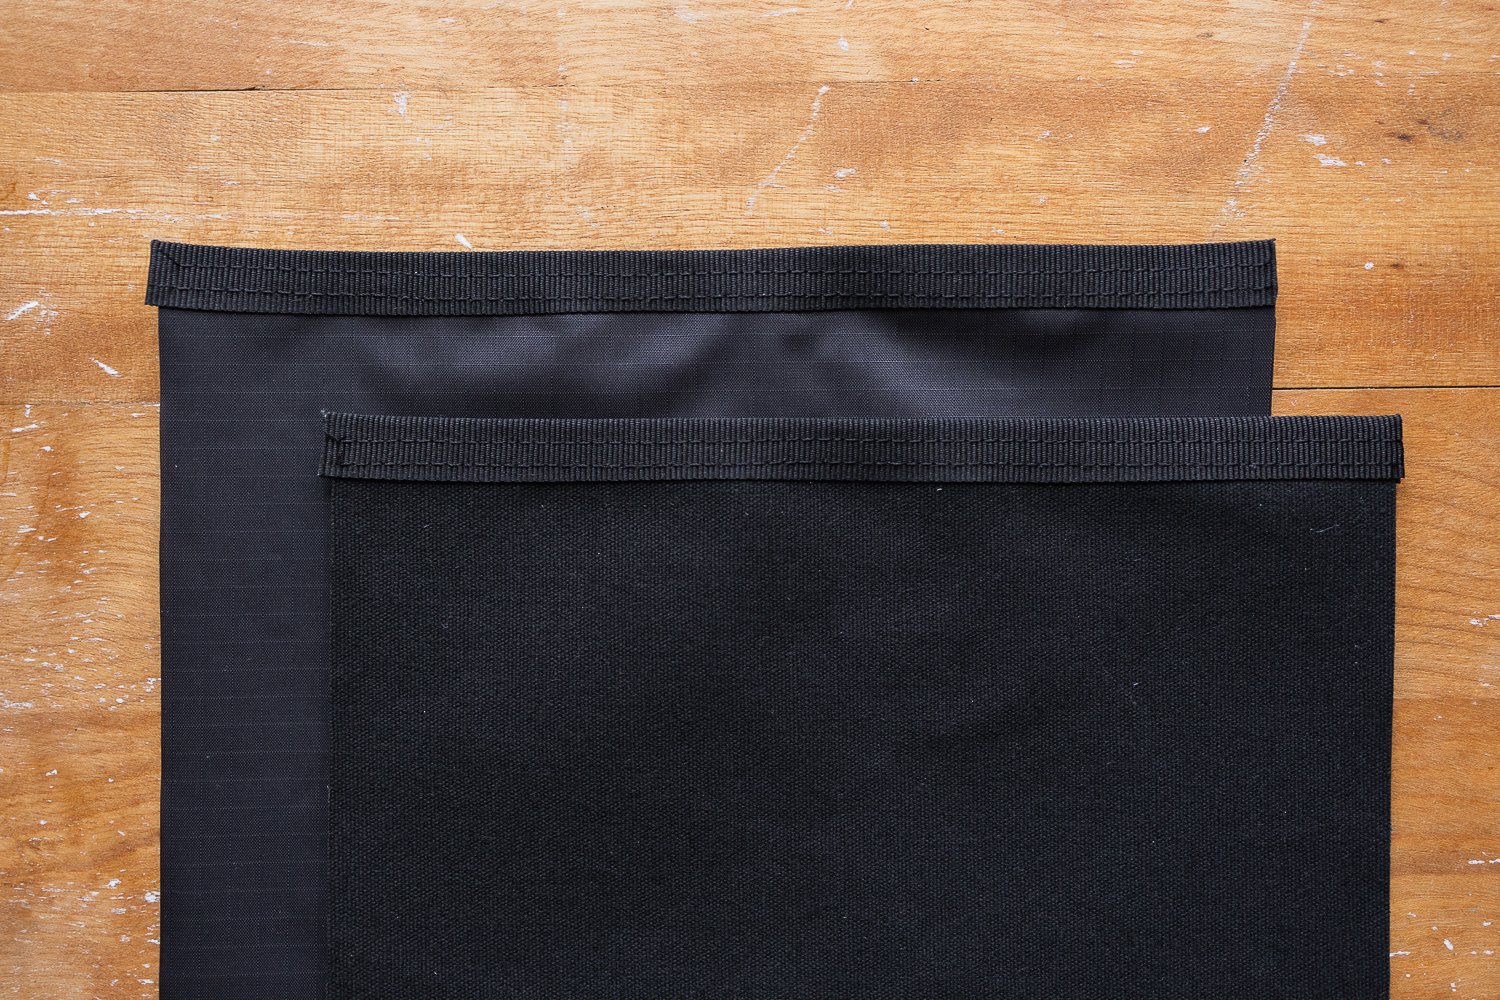
Last month’s playful project was sewing a great looking and functional backpack strap. This month’s project is experimenting with a mini scrap quilt.

Play along with me!

Supplies needed for this adventure:
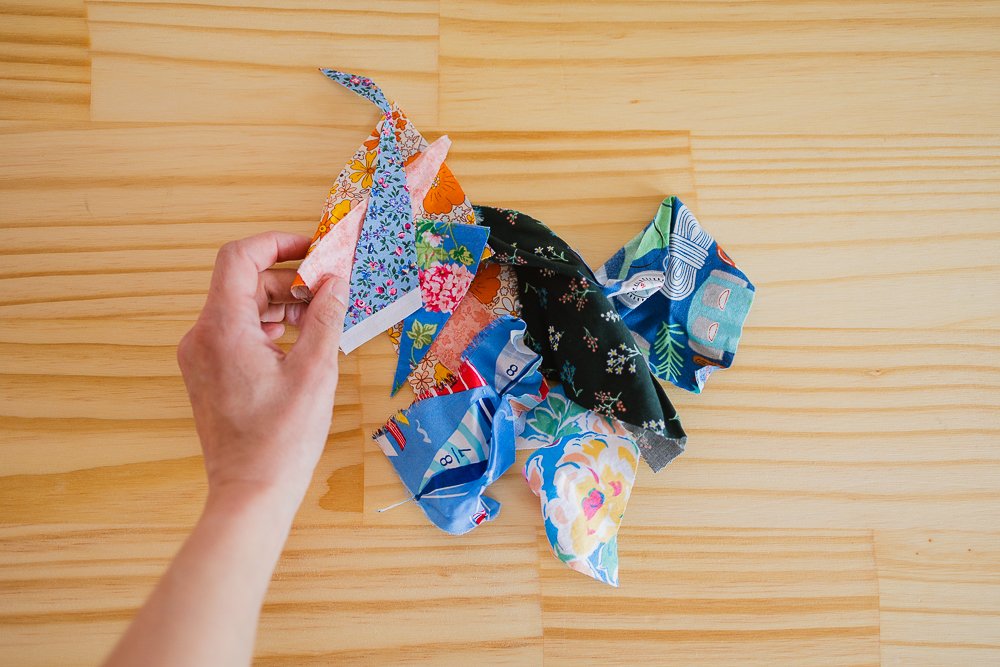
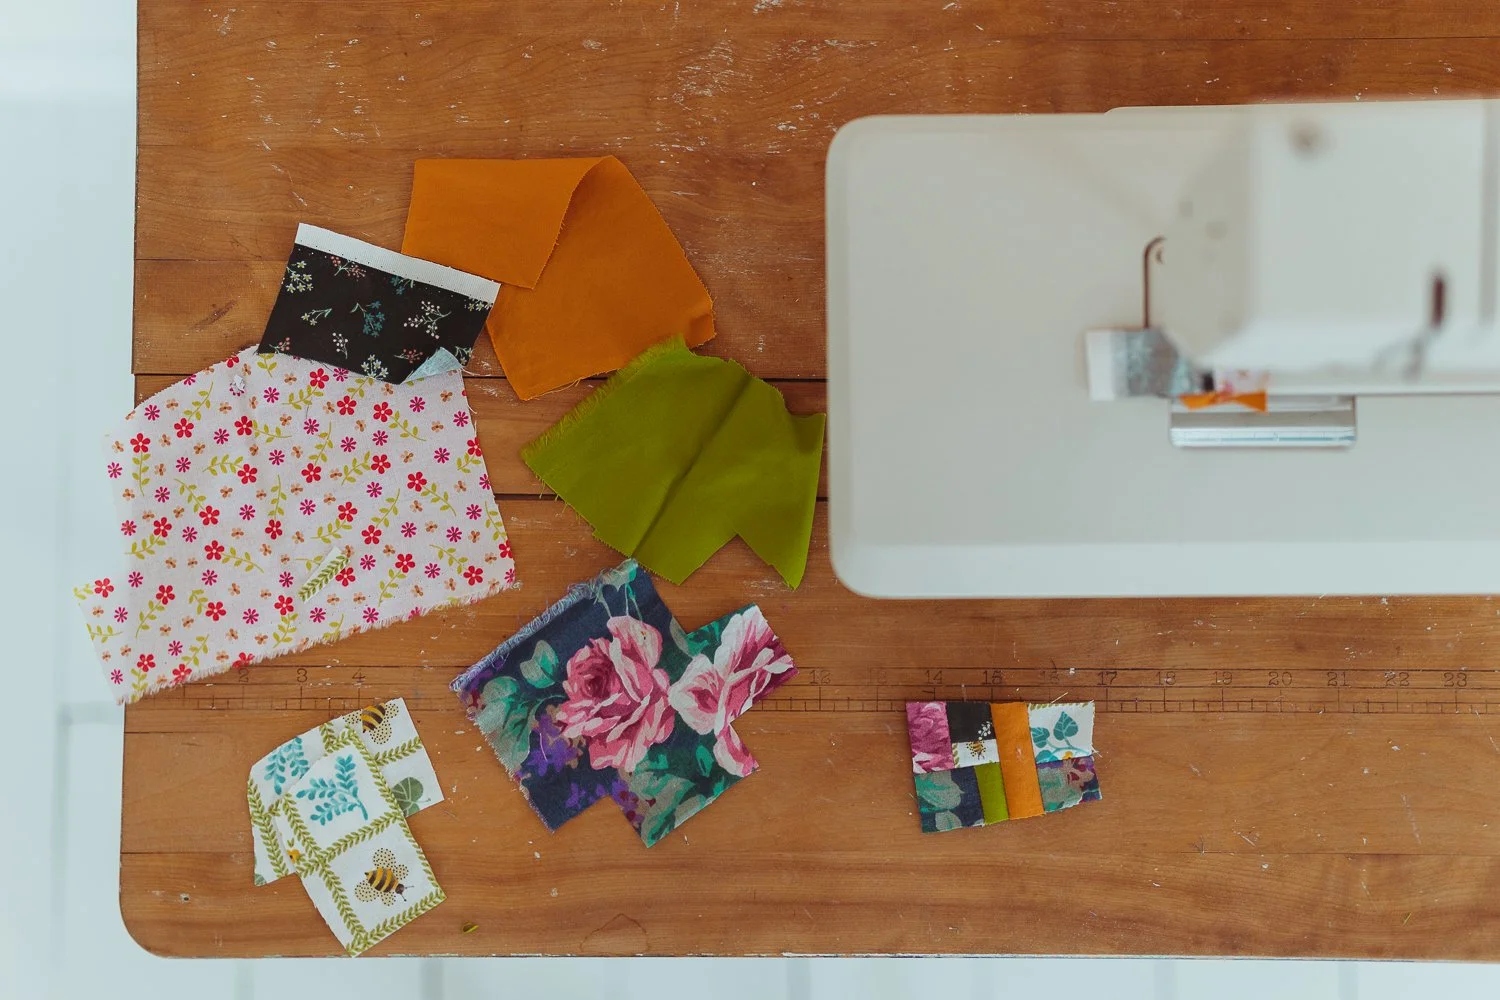
Handful of scraps.

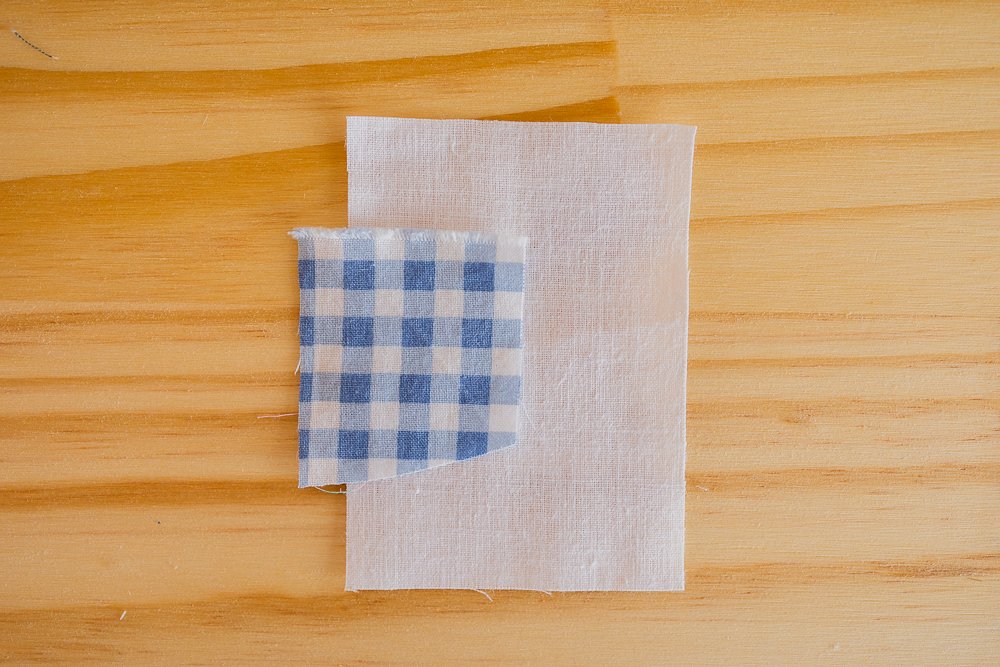
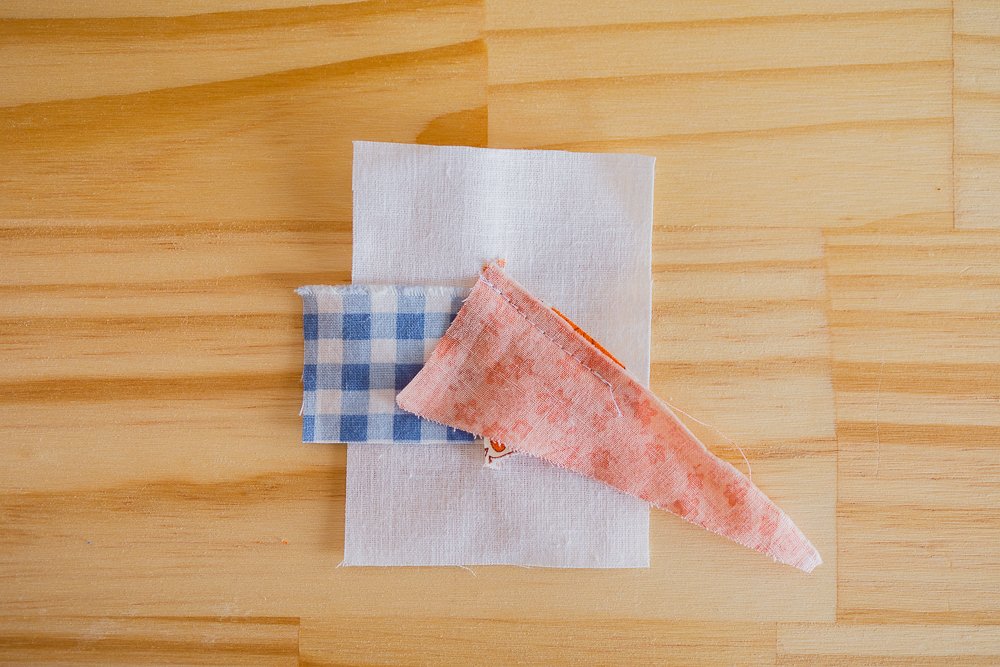
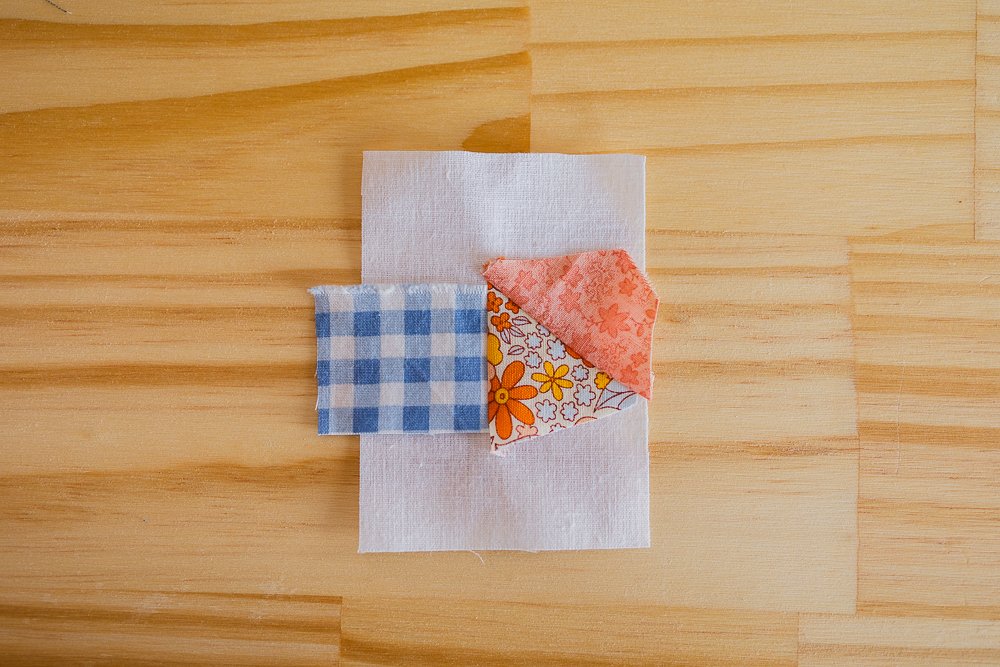
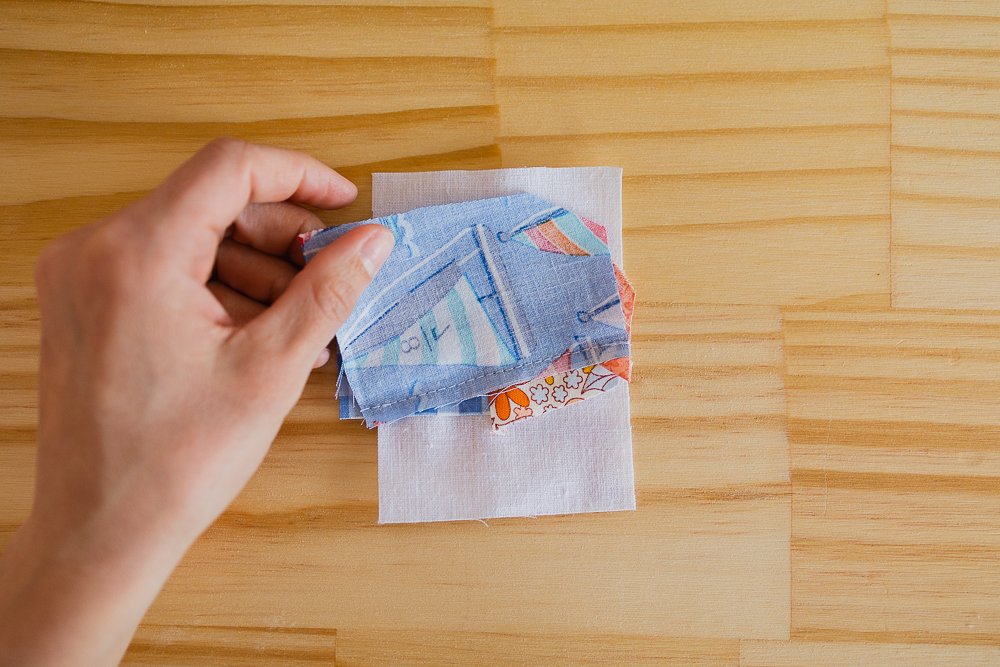
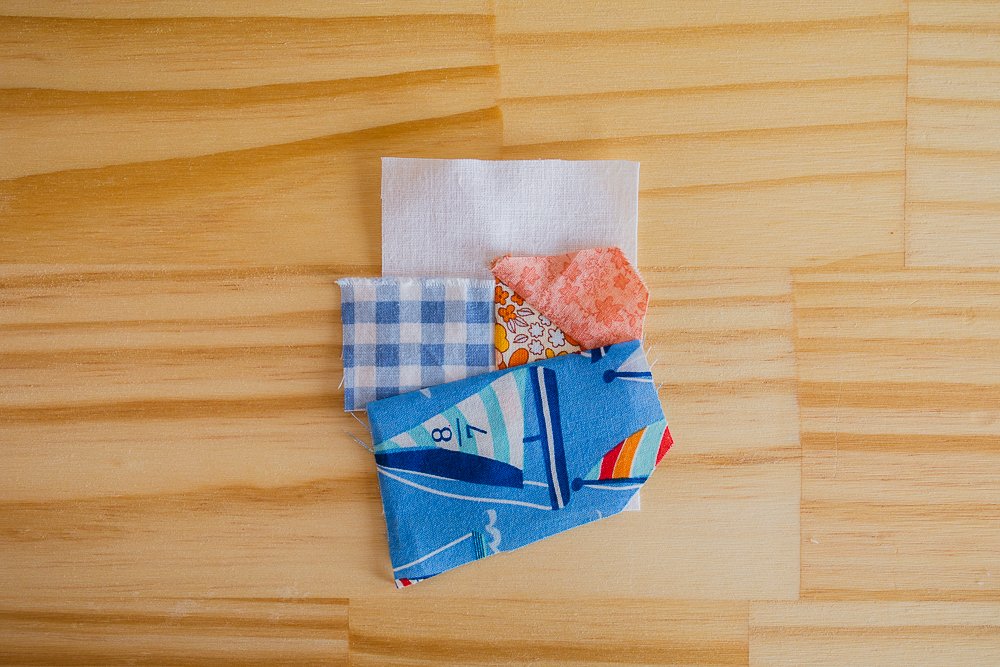
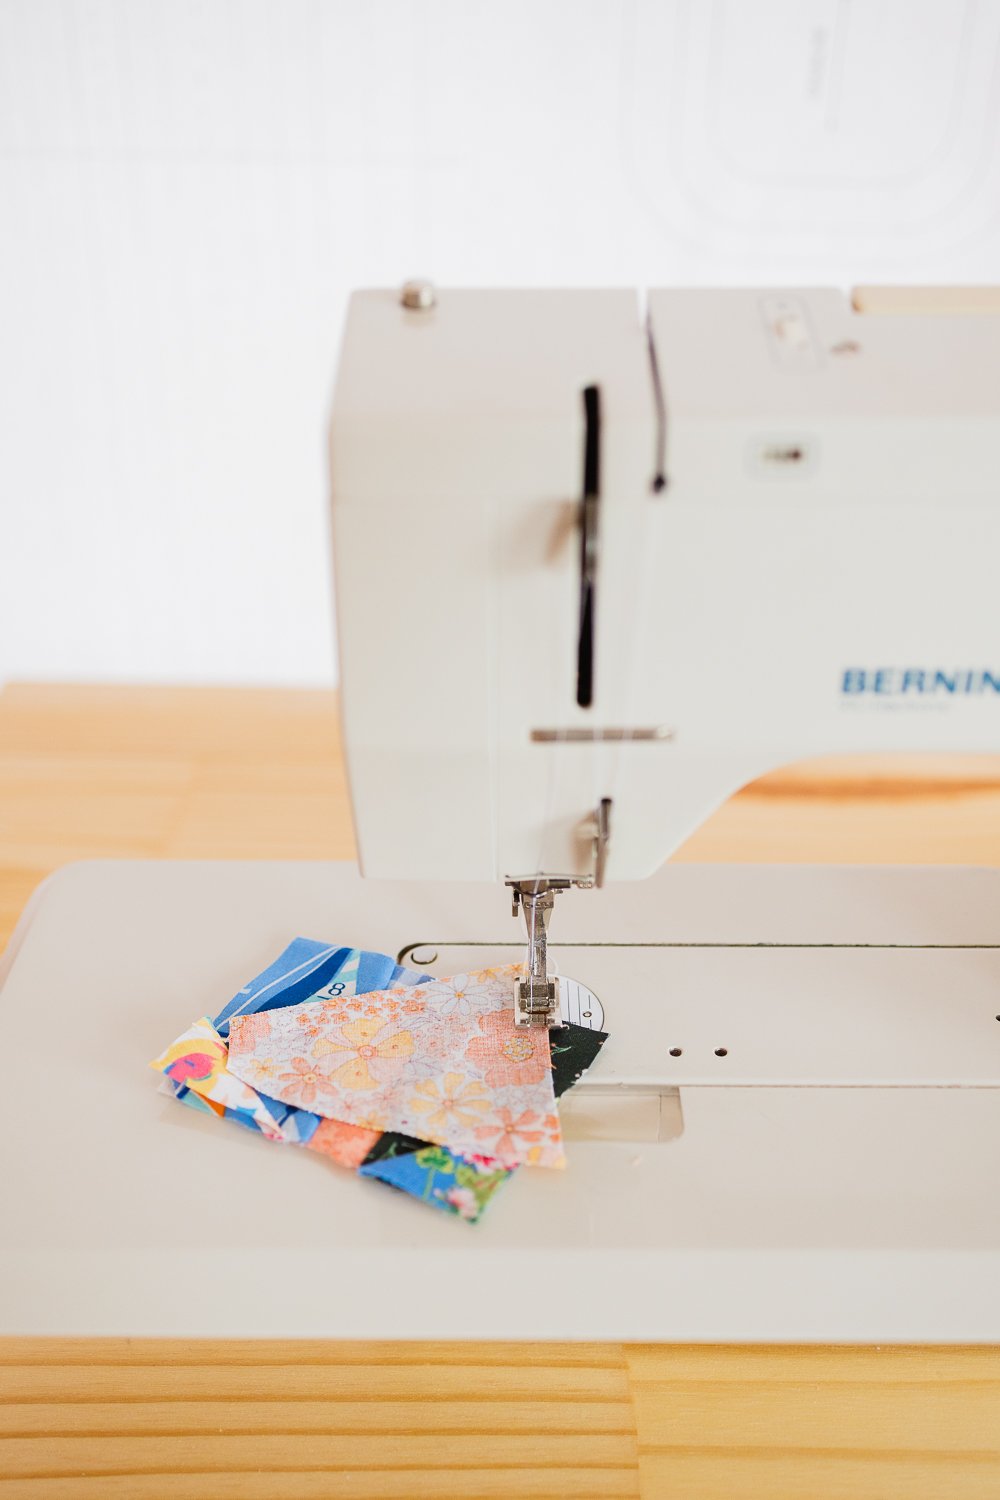
Step 1: Grab a handful of crumpled and colorful scraps.

Step 2: Iron iron iron. (I’m enjoying my new ironing board cover in this floral cotton print.)

Step 3: Cut a small square of fabric, say 4” x 6” to use as the base.

Step 4: Select a small scrap and place it near the center.

Step 5: Select a similarly sized scrap and stitch them right sides together.

Step 6: Play around with another small scrap. Once you decide which scrap and where you want it, sew it in place and trim off the excess.

Step 7: Now break out the slightly larger pieces. In quilting, the seams always get longer and longer as you stitch the puzzle pieces together. So start small and slowly add the larger pieces.

Step 8: But if pieces feel too big, you can stitch over them with another color to break them up. Here I’m adding this floral pattern to the corner.

Step 9: Keep adding scraps until the whole base is filled and you have all the colors you want.

That’s it! You have a mini quilt block.

Here’s what the back looks like.

Tune in for another playful project next month!

If you enjoyed this tutorial, you may also enjoy…

How to make a nice looking and functional backpack strap - with free printable PDF.

Making a dollhouse mini quilt.

Making felt booties for my littlest niece.

Playful Project: Backpack Strap

Do you ever play with little sewing experiments? 

I like them because they come with no pressure to turn out well or to end in a completed, usable piece. They are just practice projects to workshop new techniques, add to your skillset, and exercise creativity.

I’ve come to call these playful projects.

This playful project is experimenting with sewing a nice looking, strong, and functional backpack strap.

Here is a PDF printout of the strap to sew along!

Supplies for this adventure:

2 outer layers (ripstop nylon or other non stretch fabric)

1 padding layer (neoprene, cotton batting, sweatshirt fabric)

1 yard 1" grosgrain ribbon 

½ yard 1" webbing 

1 1" ladder lock buckle

Step 1: Sandwich the padding in the two outer layers and baste stitch around the edge with ¼" seam allowance.

Step 2: Clip the grosgrain ribbon in place around the perimeter.  

Step 3: Carefully stitch the ribbon in place. 

Here’s an up close of the difference between the webbing and grosgrain ribbon.

Step 4: Insert the webbing into the ladder lock. Pin the webbing in place down the center of the strap. 

Step 5: Edgestitch down each side of the webbing. 

Step 6: Sew bar tacks along the bottom to secure the ladder lock. 

That's it! You have a playful backpack strap that you don't have to do anything with! 

But who knows, maybe sometime down the line you'll feel like making a backpack. Here’s a climbing rope bag I recently made using this method for the straps.

Here's the PDF printout again if you'd ever like to use it.

If you enjoyed this playful project, you may also enjoy…

How to play with free quilting and make a cute little mini scrap quilt.

Playing with a twin needle for binding bag seams.

Step by step tutorial to add pockets to all your skirts and dresses.

Quilting Cotton Before and After Washing

Joann’s stores closing has me feeling sad. It is therapeutic to walk through colorful aisles of fabric, isn’t it?

Here are some floral quilting cottons acquired in the closing sale. The texture of washed cotton is so delicious, it was tempting to throw these straight in the wash. But I was curious what it would look like to document the fiber texture changes after washing.

These are before and after photos. I was surprised how much the washed texture increased volume of the folded fabric.

Before.

After.

Before.

After.

Before.

After.

Before.

After.

Before.

After.

I’m definitely getting more fabric before the final locking of the doors. It will be a sad day indeed.

If you enjoyed this post, you may also enjoy…

Making a new cover for my antique ironing board.

Comparing the single and twin needle for seam binding.

Step by step tutorial to fill your living room with ruffle pillows!