
Time for another playful project!
Playful projects are little sewing experiments, stressless playtime to try new things, practice techniques, and nourish your spirit through creating.
The important thing these projects is the act of creating, not how well the thing turns out. Because once you make something simple, more complex things feel accessible and creative ideas start to flow.
Last month’s playful project was sewing a great looking and functional backpack strap. This month’s project is experimenting with a mini scrap quilt.
Play along with me!
Supplies needed for this adventure:
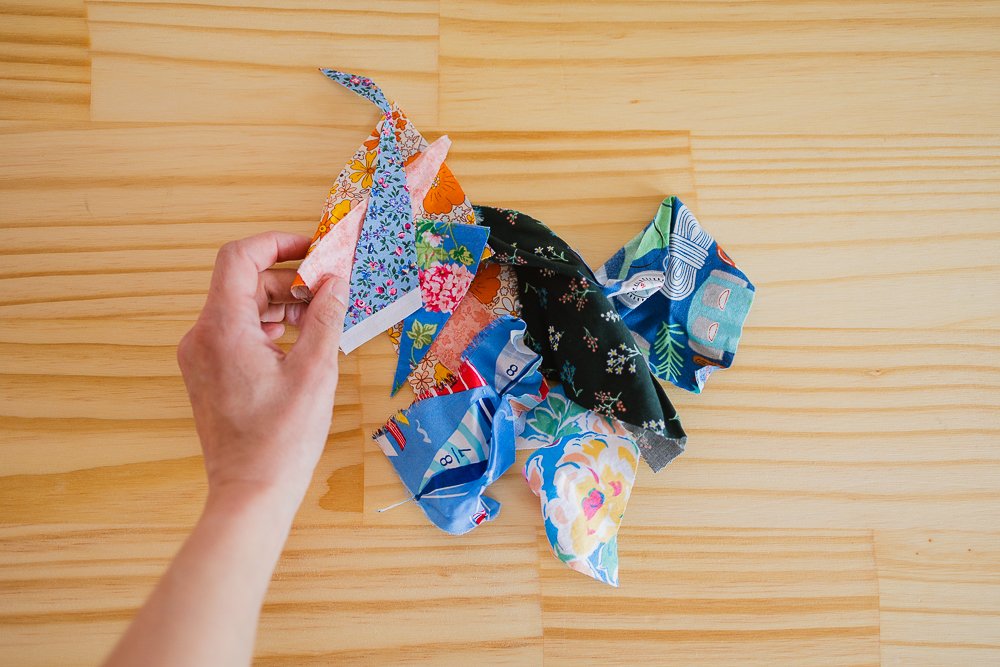
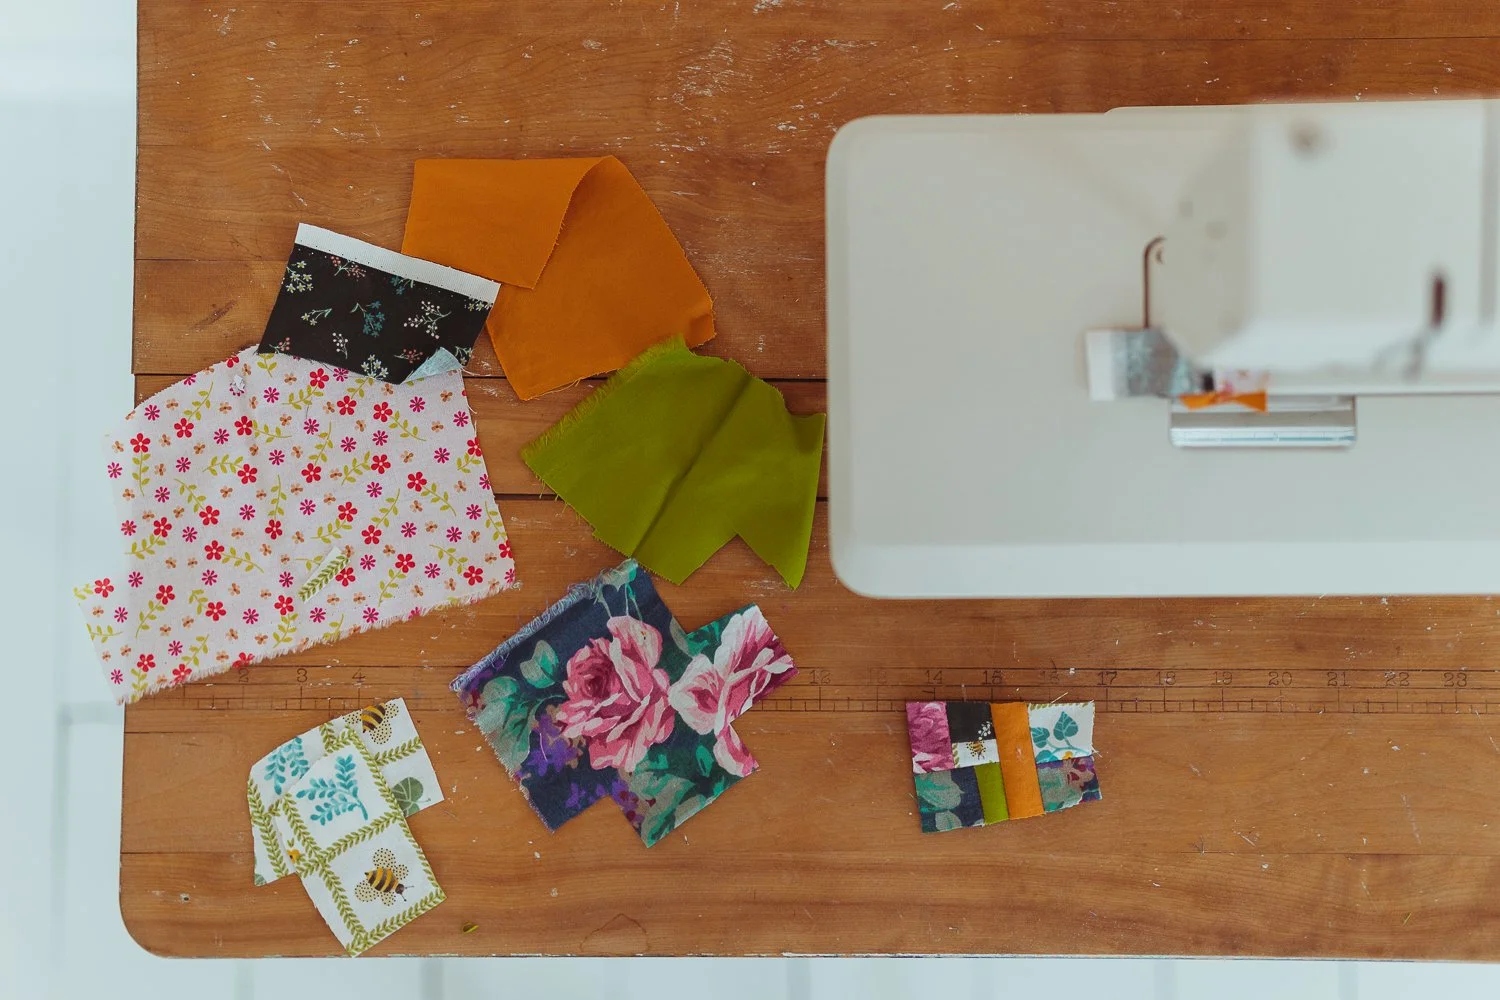
Handful of scraps.
Step 1: Grab a handful of crumpled and colorful scraps.
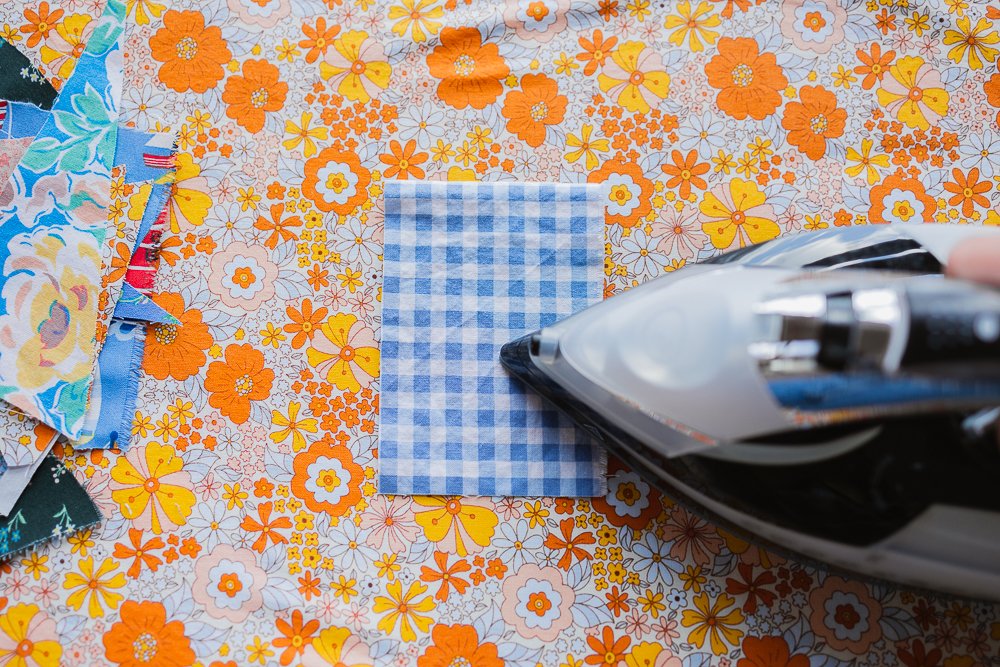
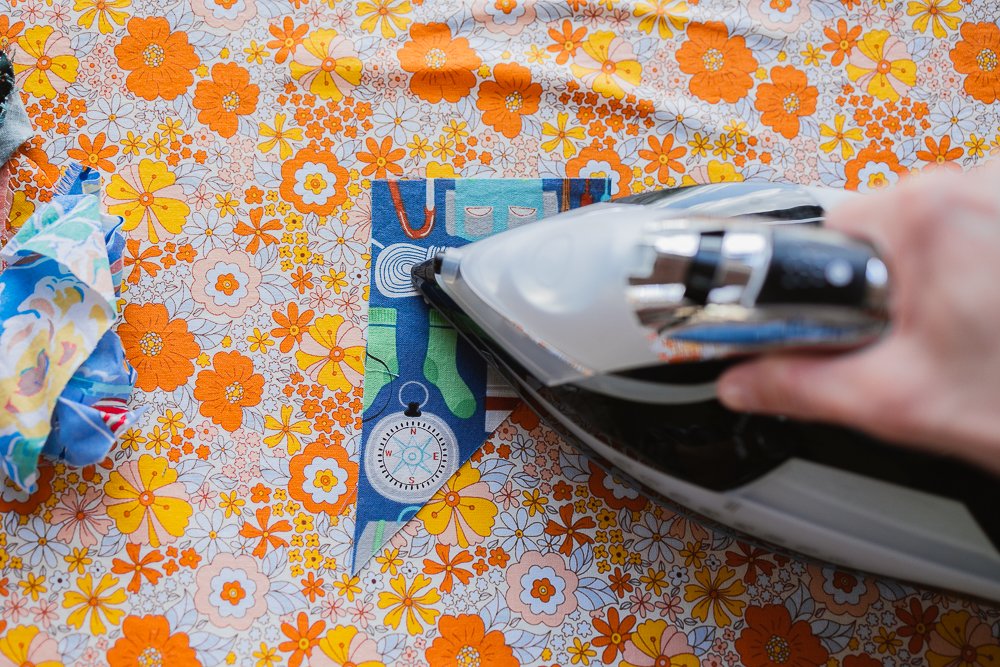
Step 2: Iron iron iron. (I’m enjoying my new ironing board cover in this floral cotton print.)
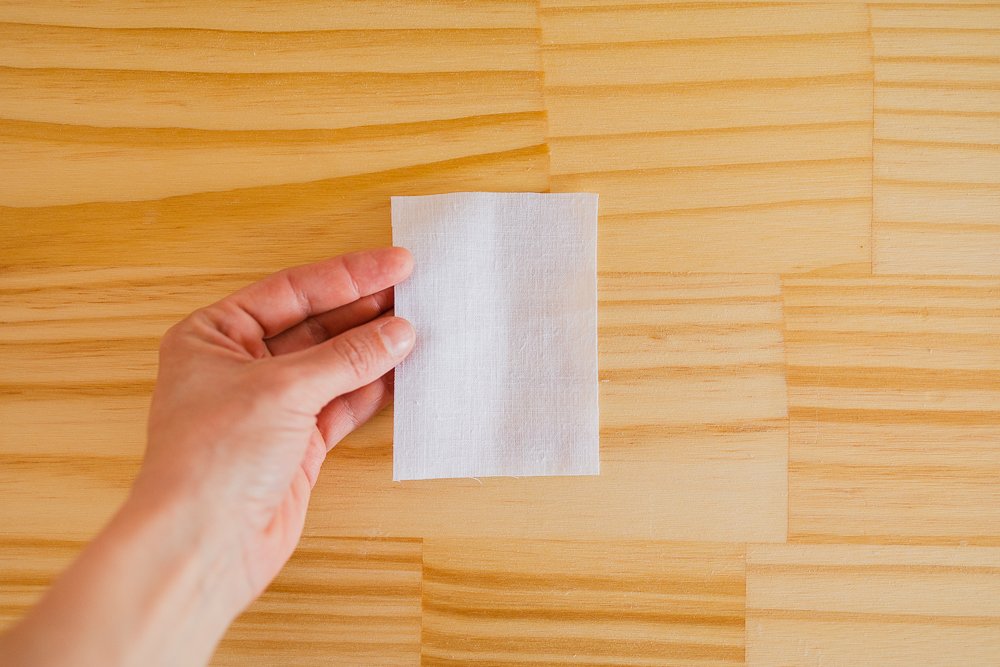
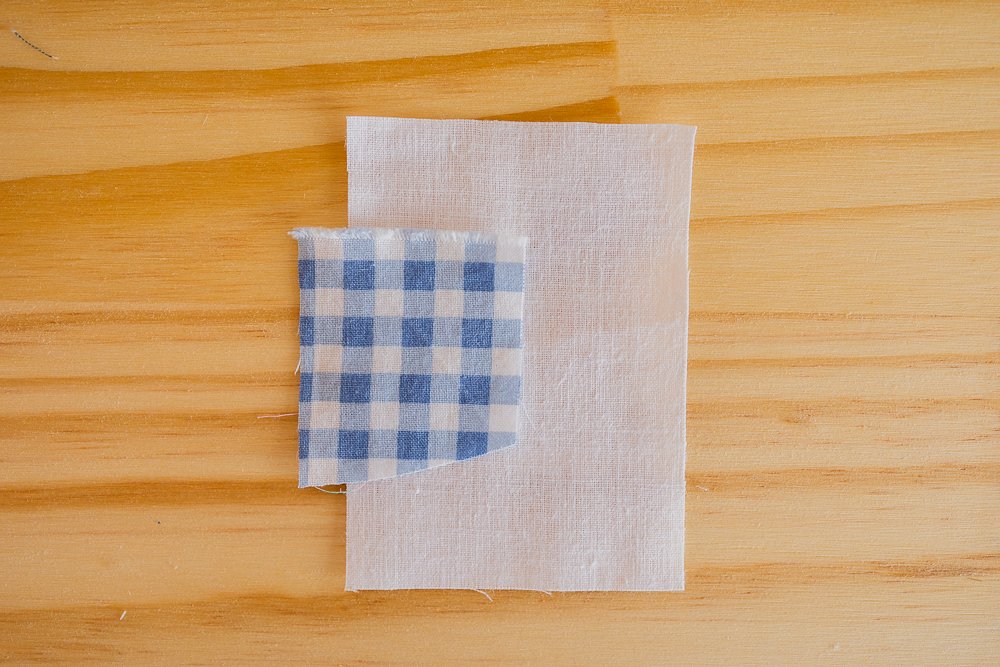
Step 3: Cut a small square of fabric, say 4” x 6” to use as the base.
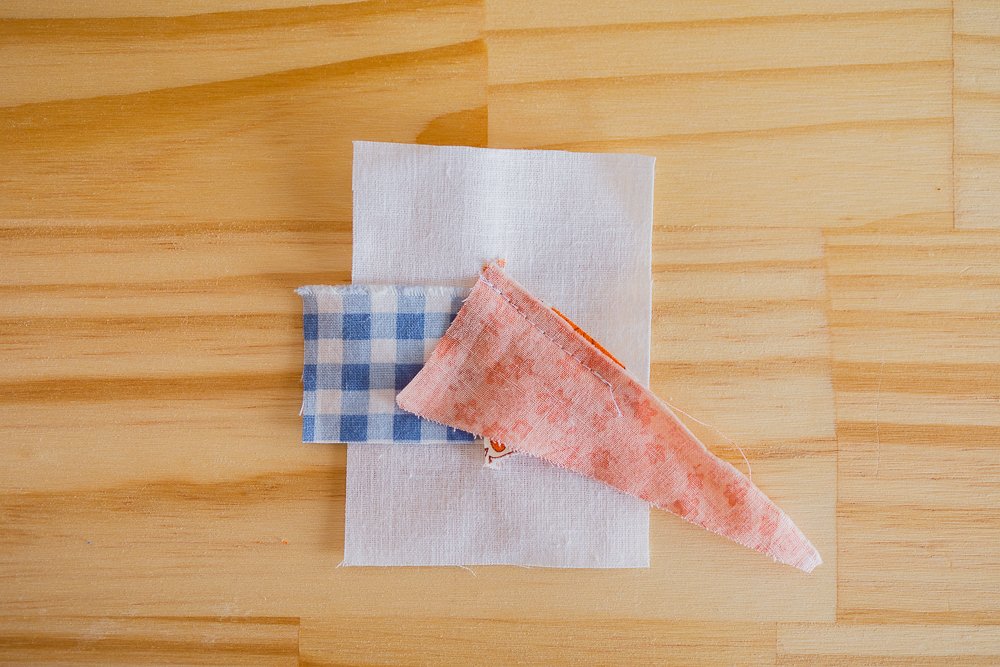
Step 4: Select a small scrap and place it near the center.
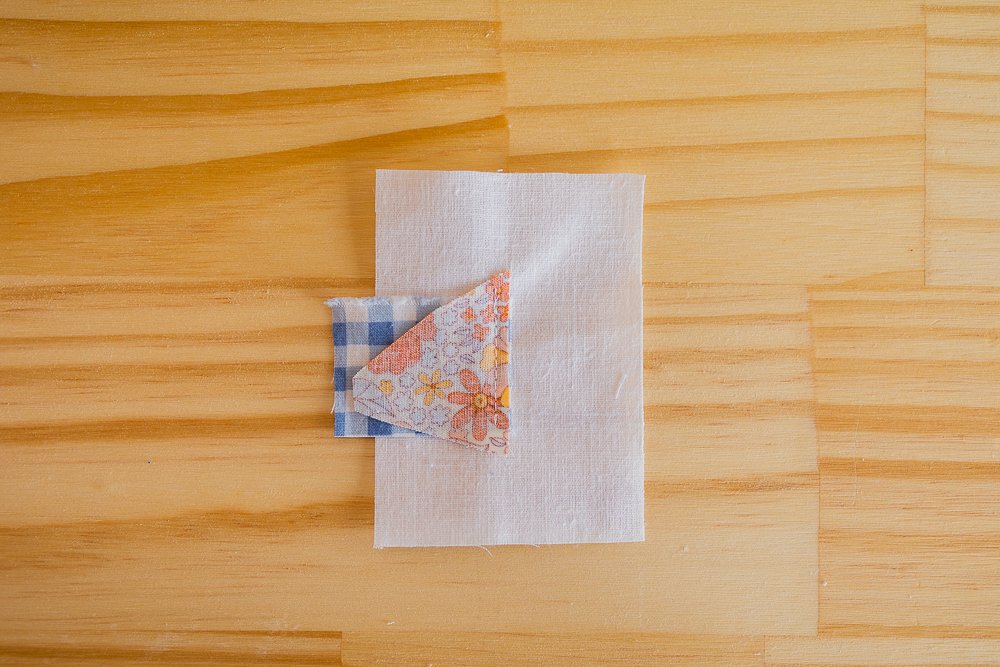
Step 5: Select a similarly sized scrap and stitch them right sides together.
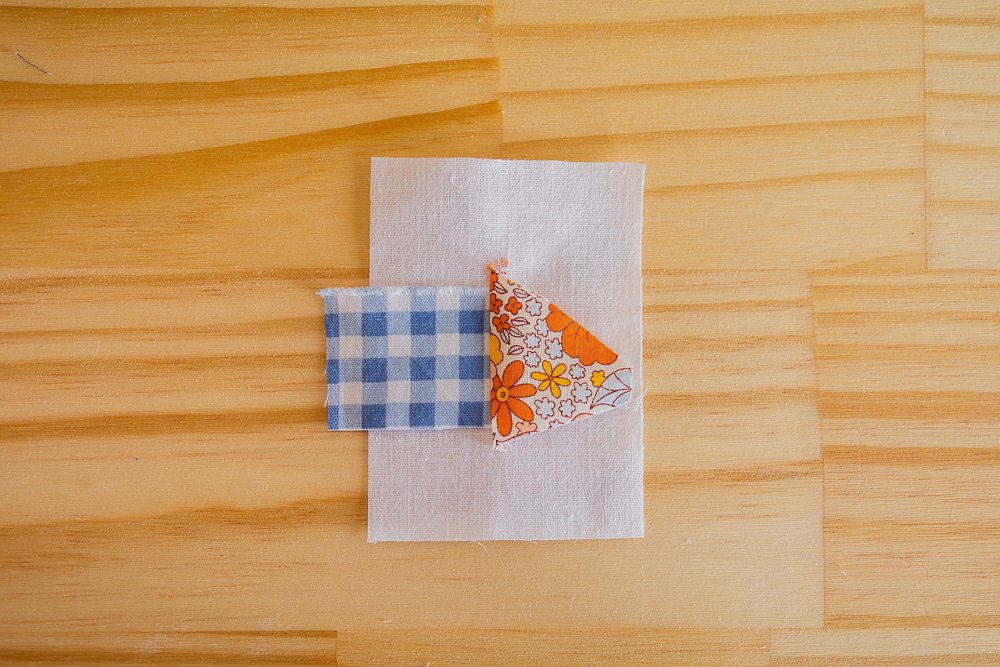
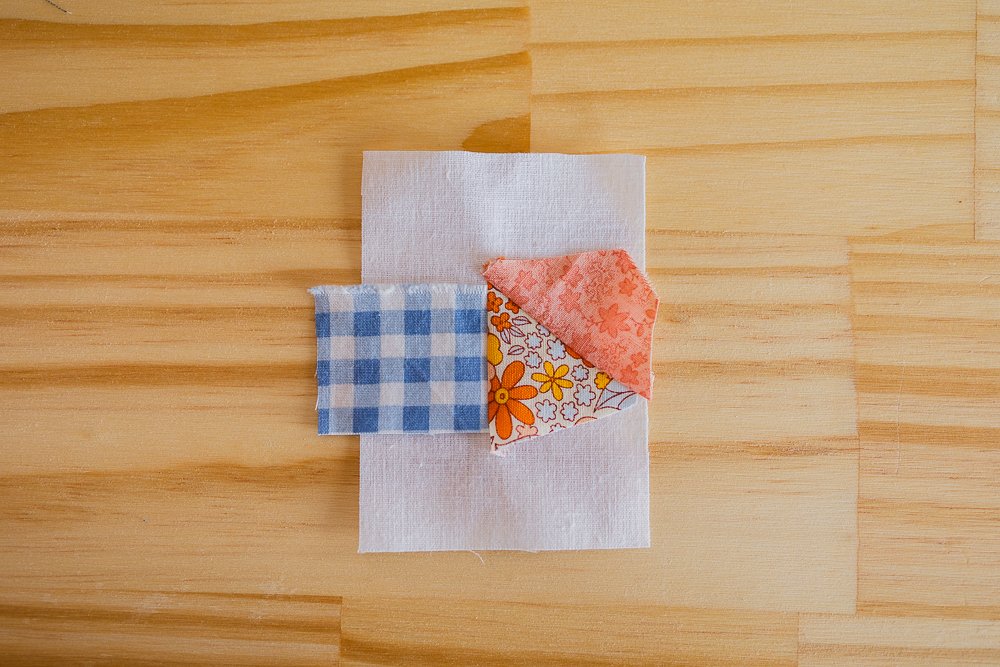
Step 6: Play around with another small scrap. Once you decide which scrap and where you want it, sew it in place and trim off the excess.
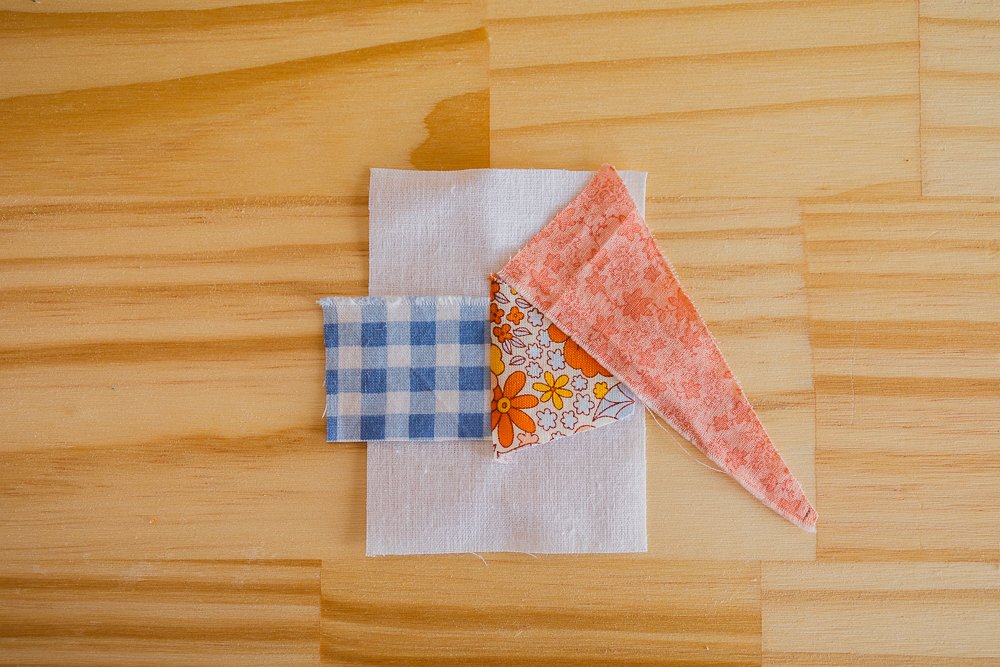
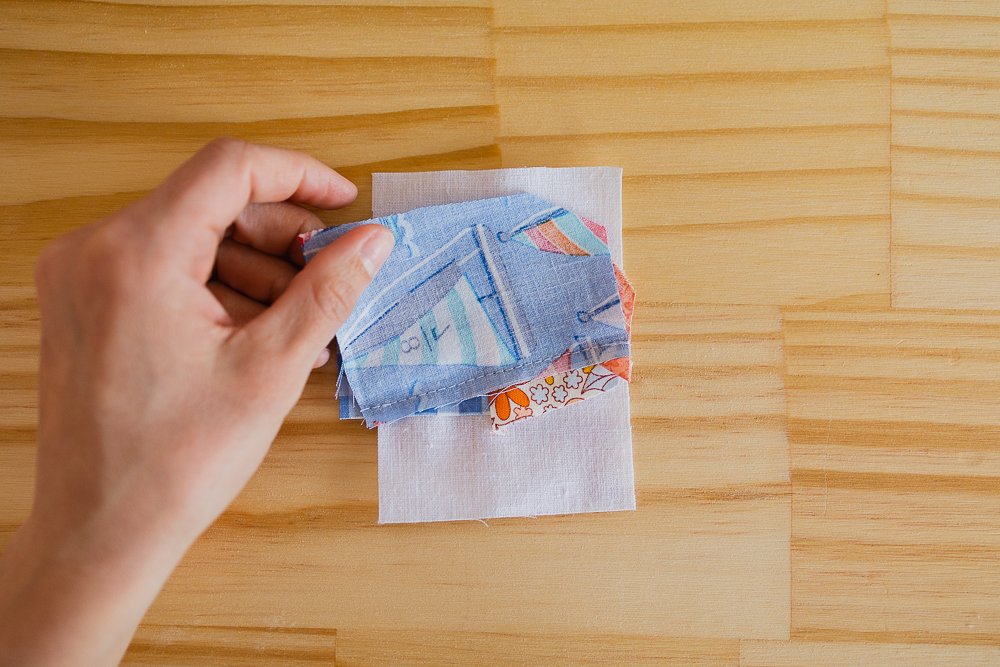
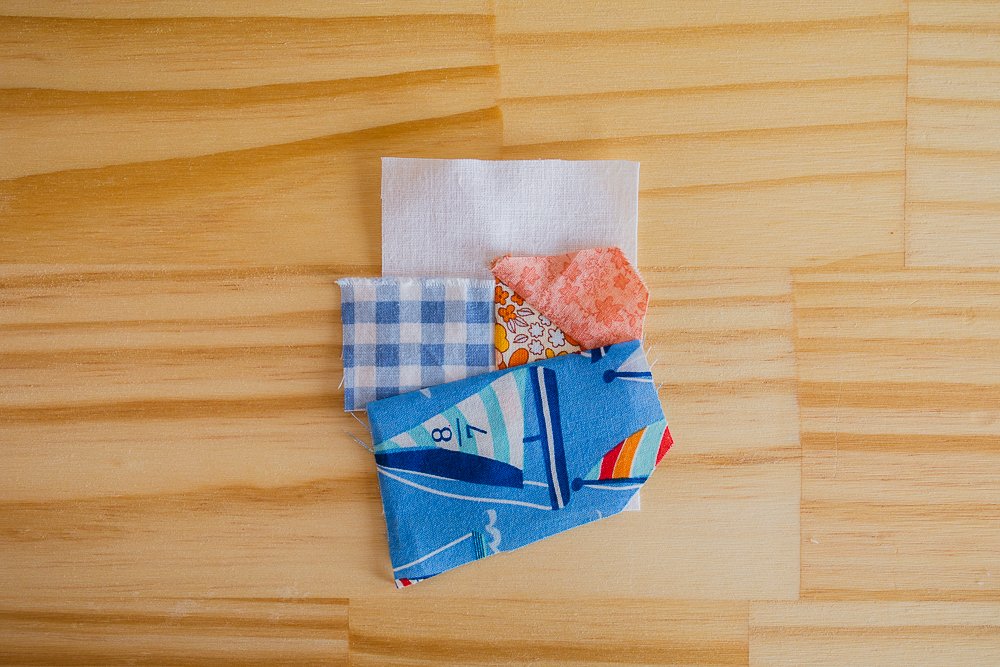
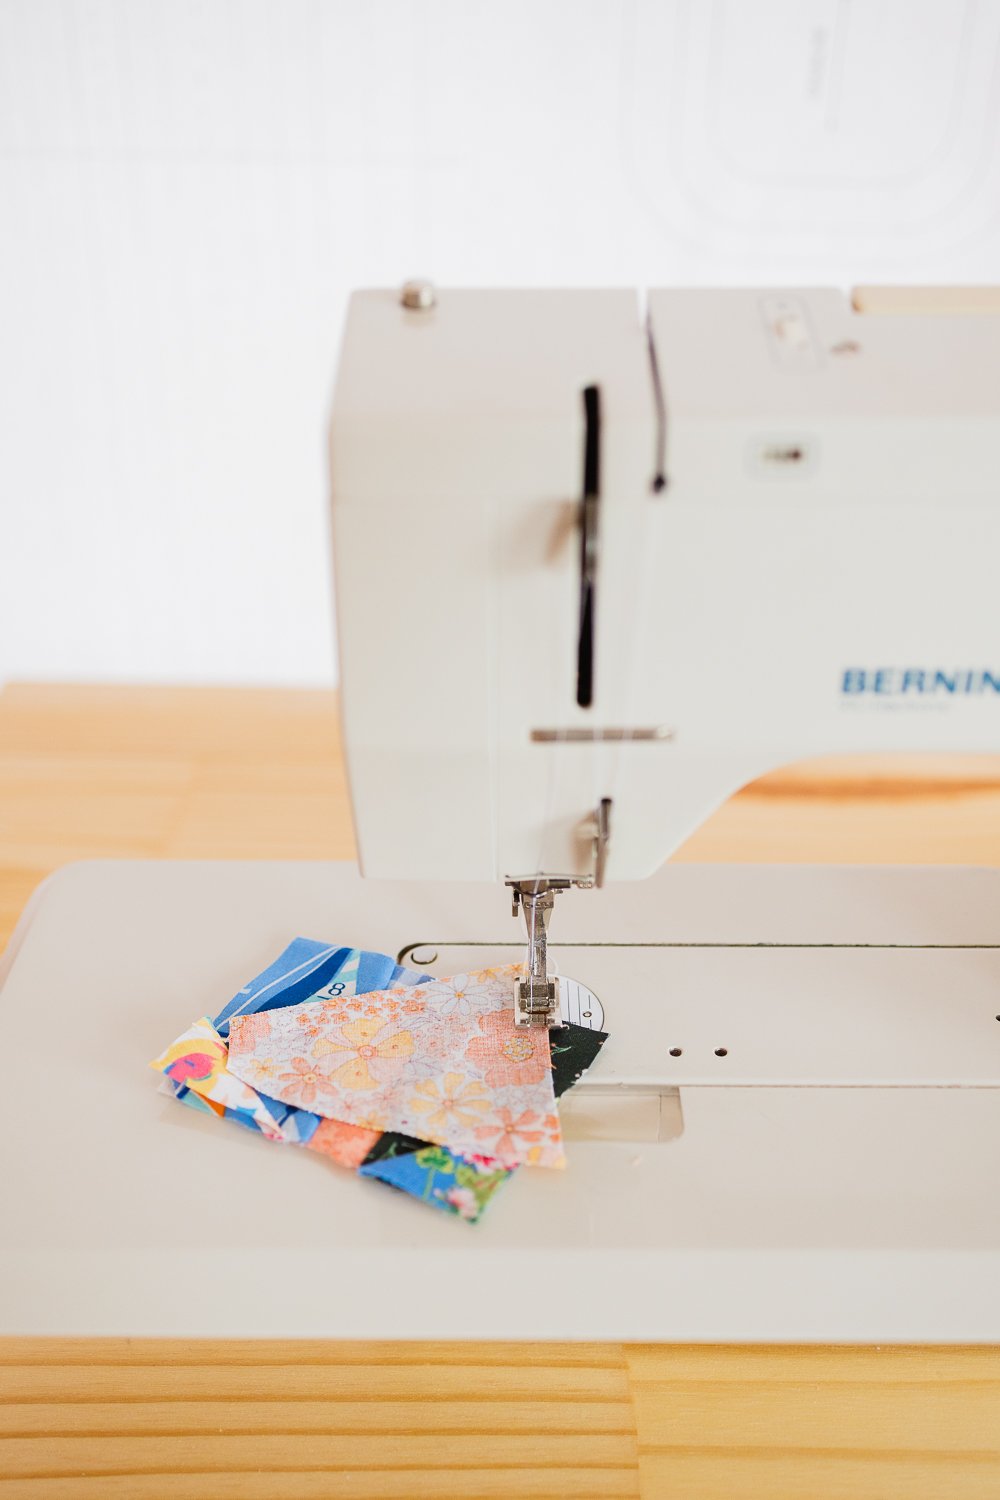
Step 7: Now break out the slightly larger pieces. In quilting, the seams always get longer and longer as you stitch the puzzle pieces together. So start small and slowly add the larger pieces.

Step 8: But if pieces feel too big, you can stitch over them with another color to break them up. Here I’m adding this floral pattern to the corner.

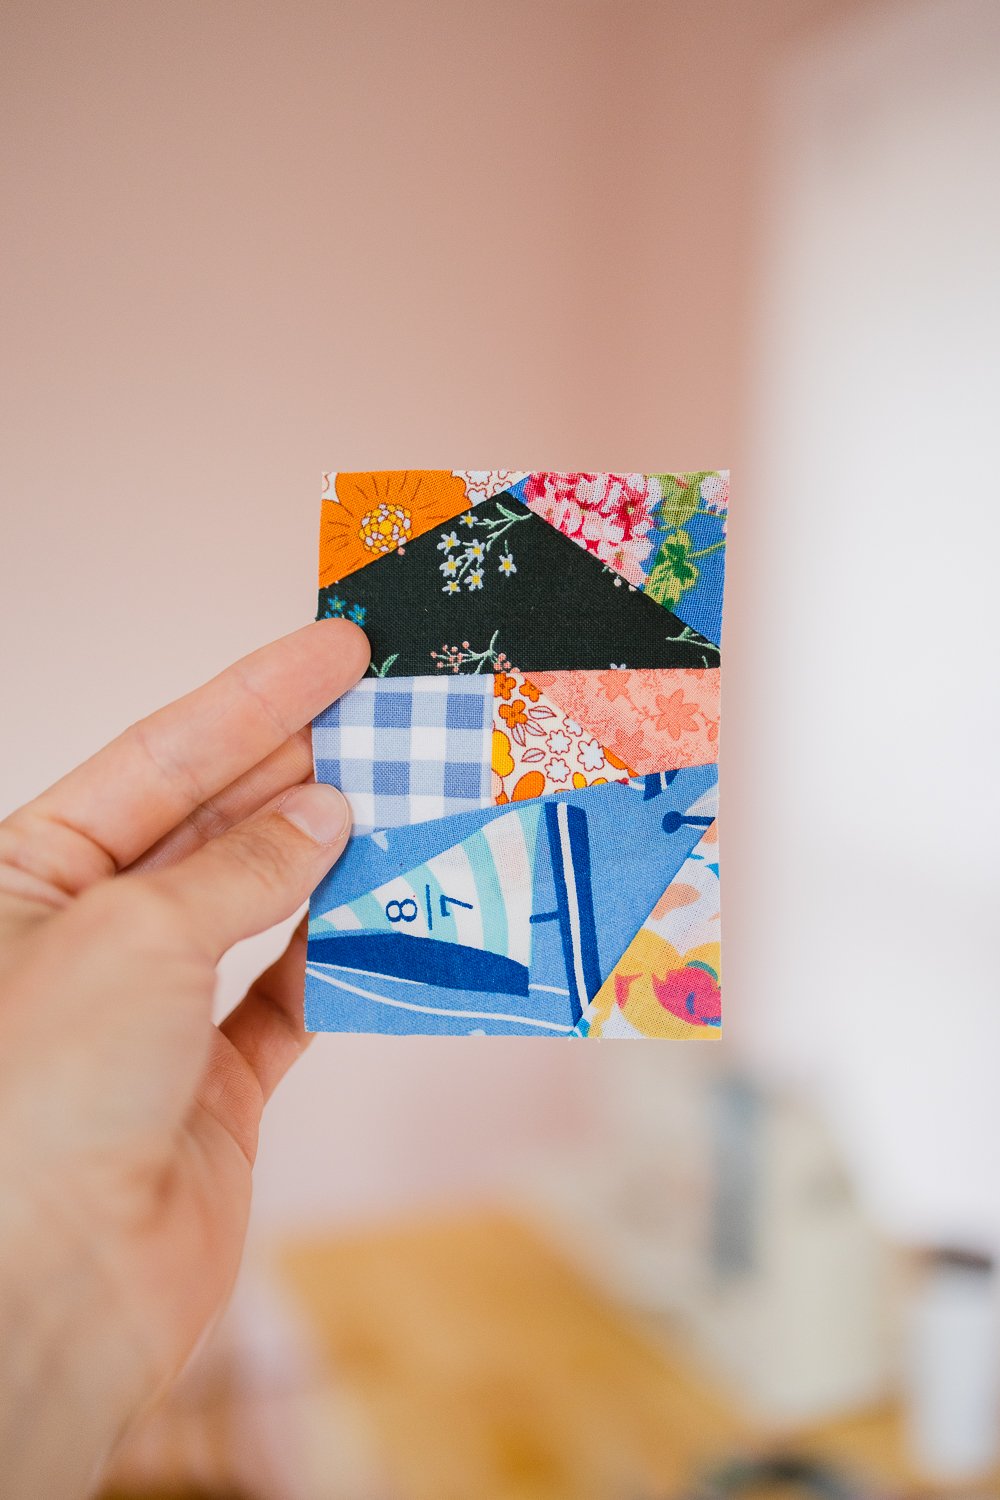
Step 9: Keep adding scraps until the whole base is filled and you have all the colors you want.
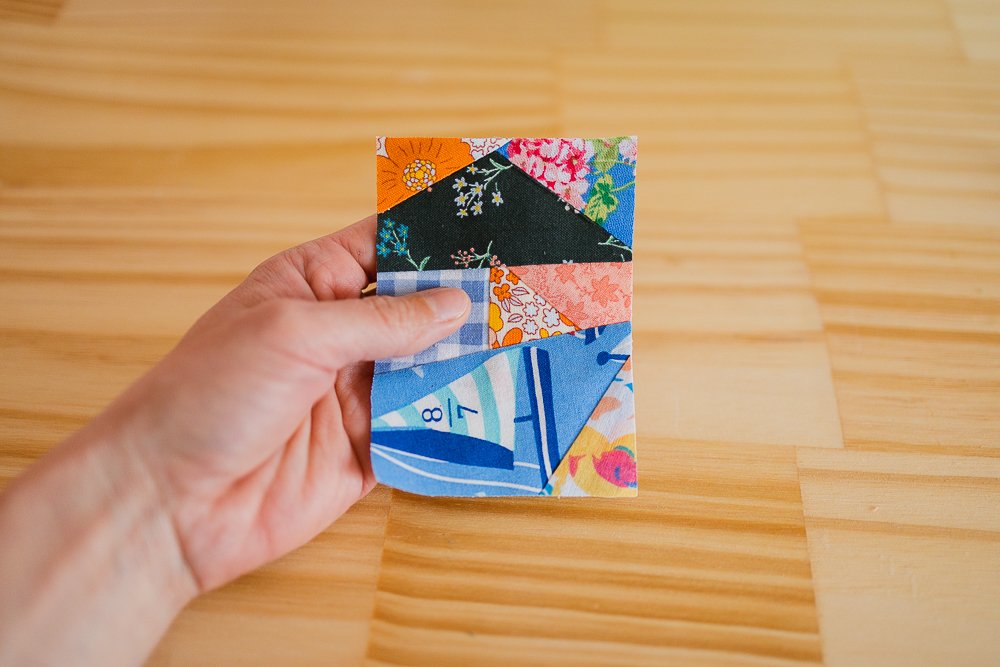
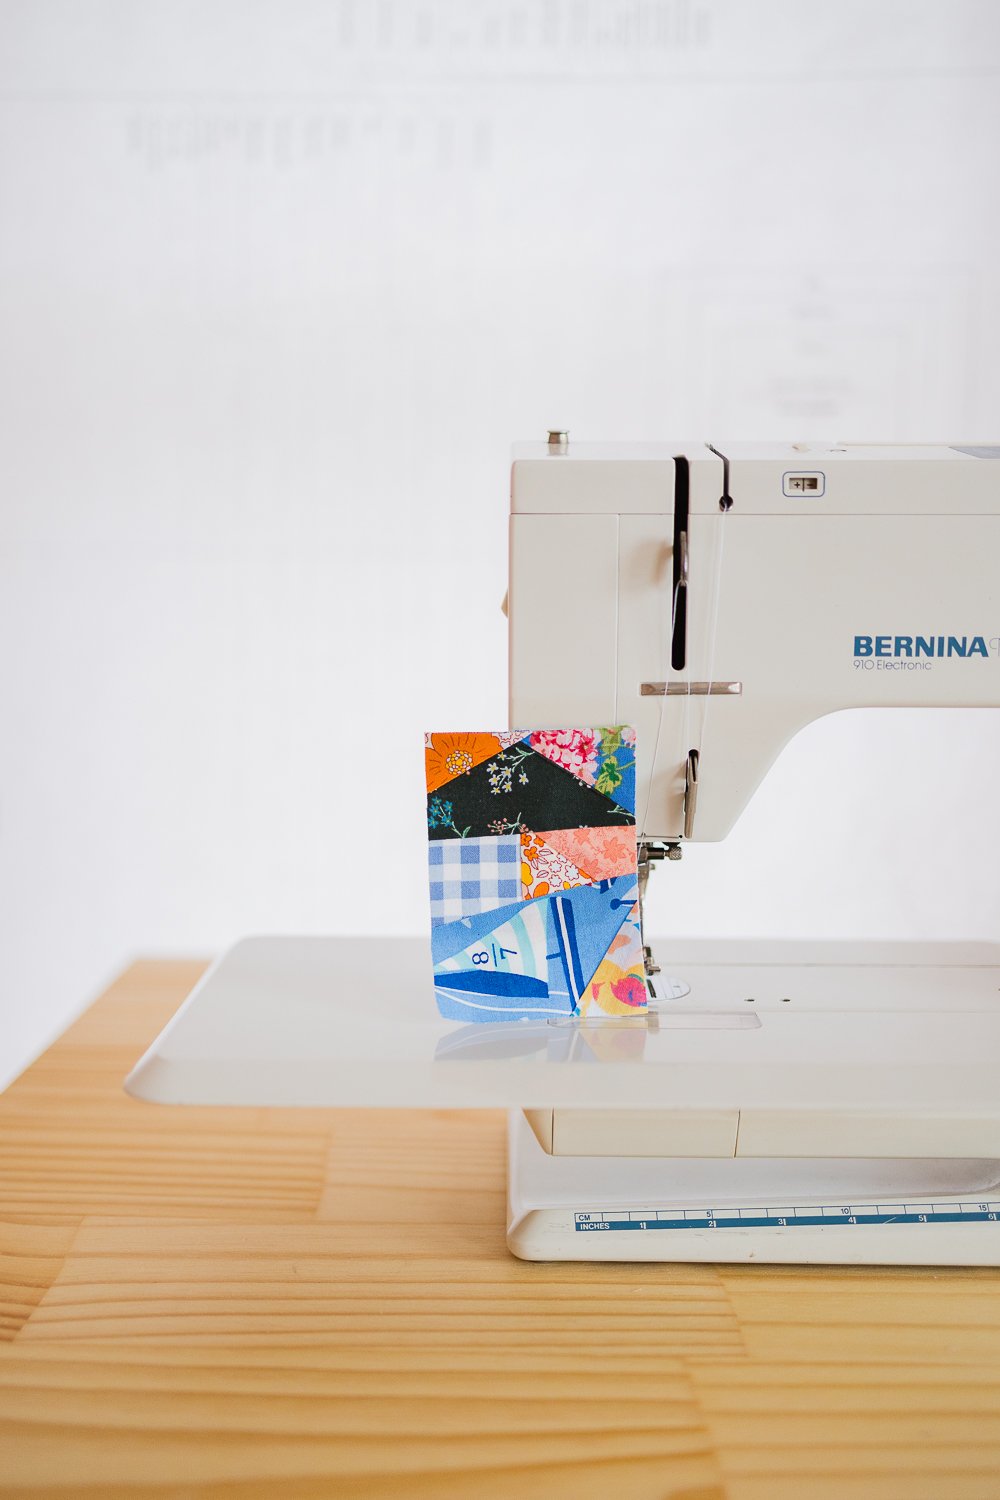
That’s it! You have a mini quilt block.
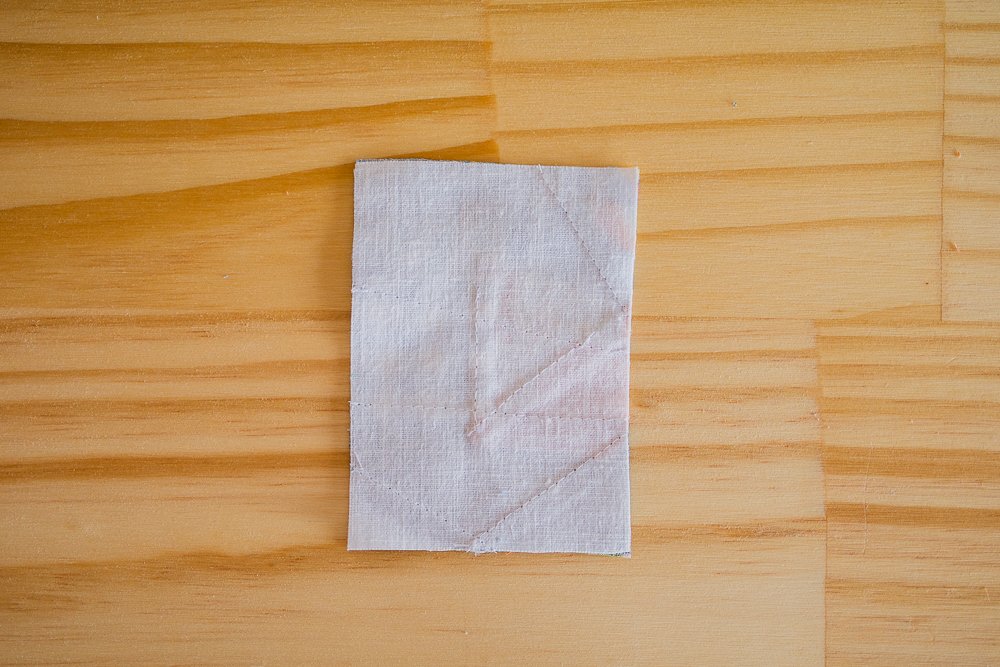
Here’s what the back looks like.
Tune in for another playful project next month!
If you enjoyed this tutorial, you may also enjoy…
How to make a nice looking and functional backpack strap - with free printable PDF.
Making a dollhouse mini quilt.
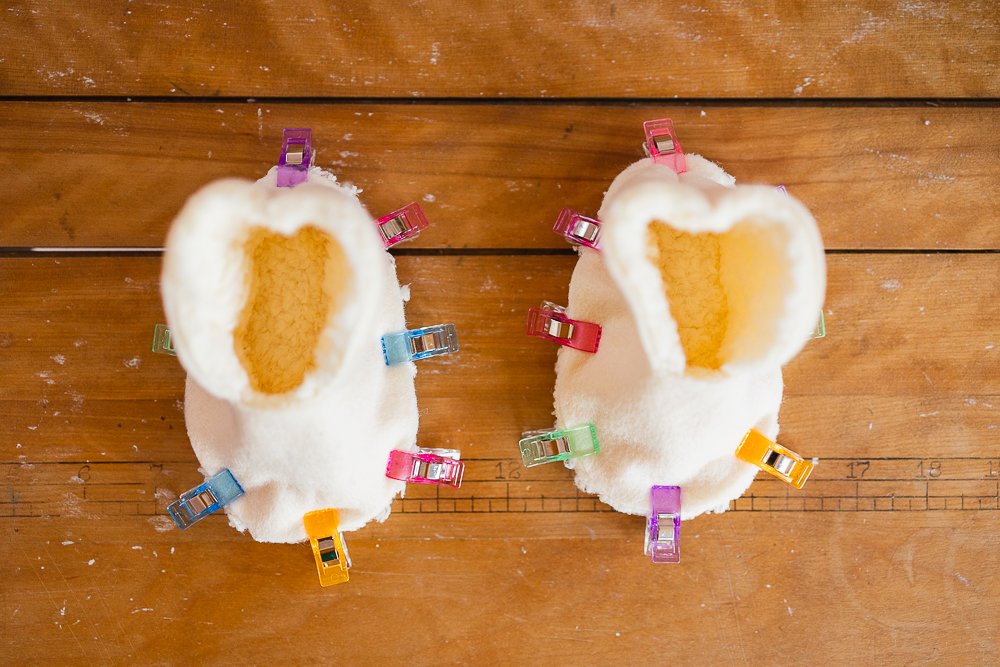
Making felt booties for my littlest niece.


