
Here is how to sew an elastic waistband. Five ways! Most of these methods start with the elastic already sewn into a loop.
Let’s jump in!
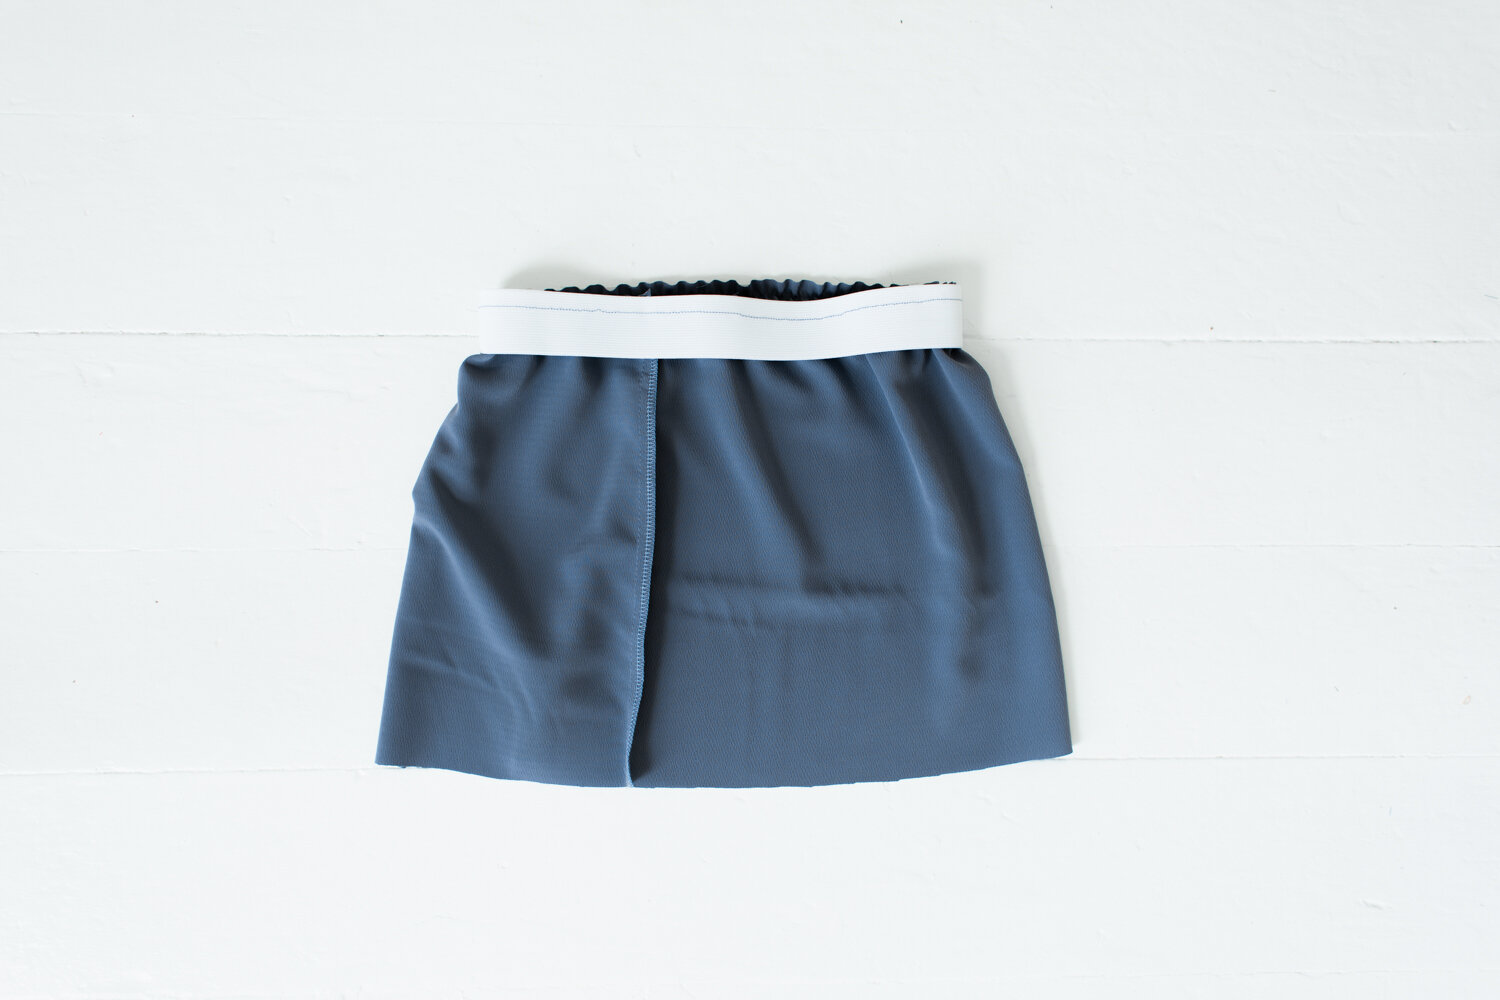
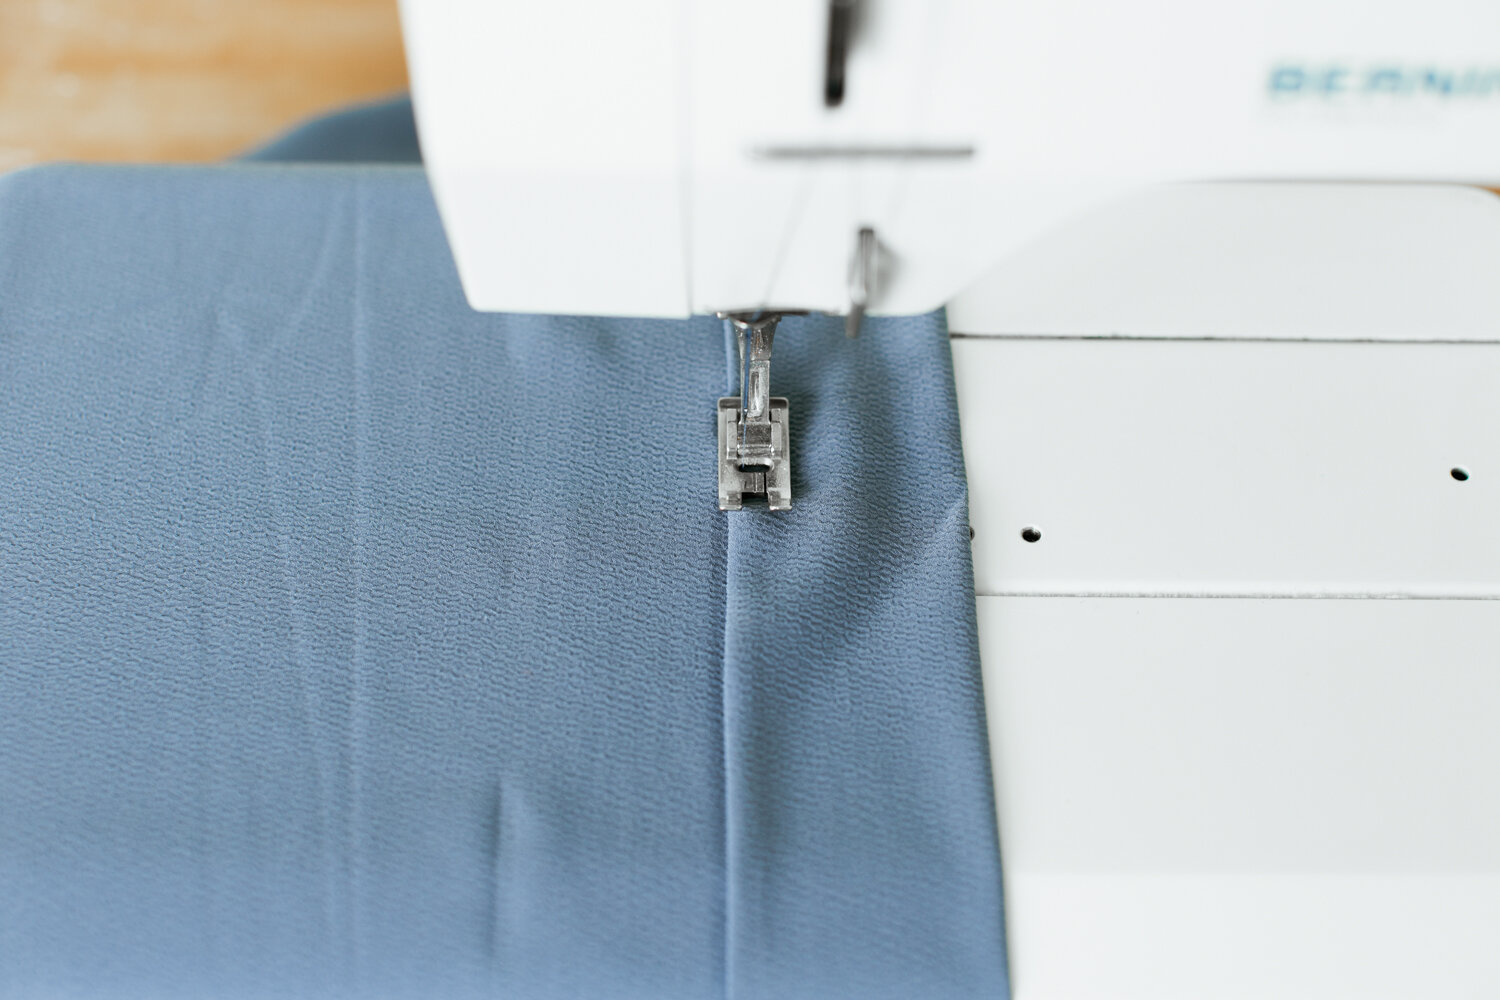
Method One
This method leaves the waistband exposed and will touch your skin, so be sure to use a soft waistband elastic.
Step 1: On the right side of the fabric, align the top edge of the elastic and the top edge of the fabric. Sew the elastic all the way around with 3/8” (1 cm) seam allowance. Stretch the elastic so it is evenly distributed all the way around.
Step 2: Trim the seam allowance of the fabric to 1/4” (0.5 cm).
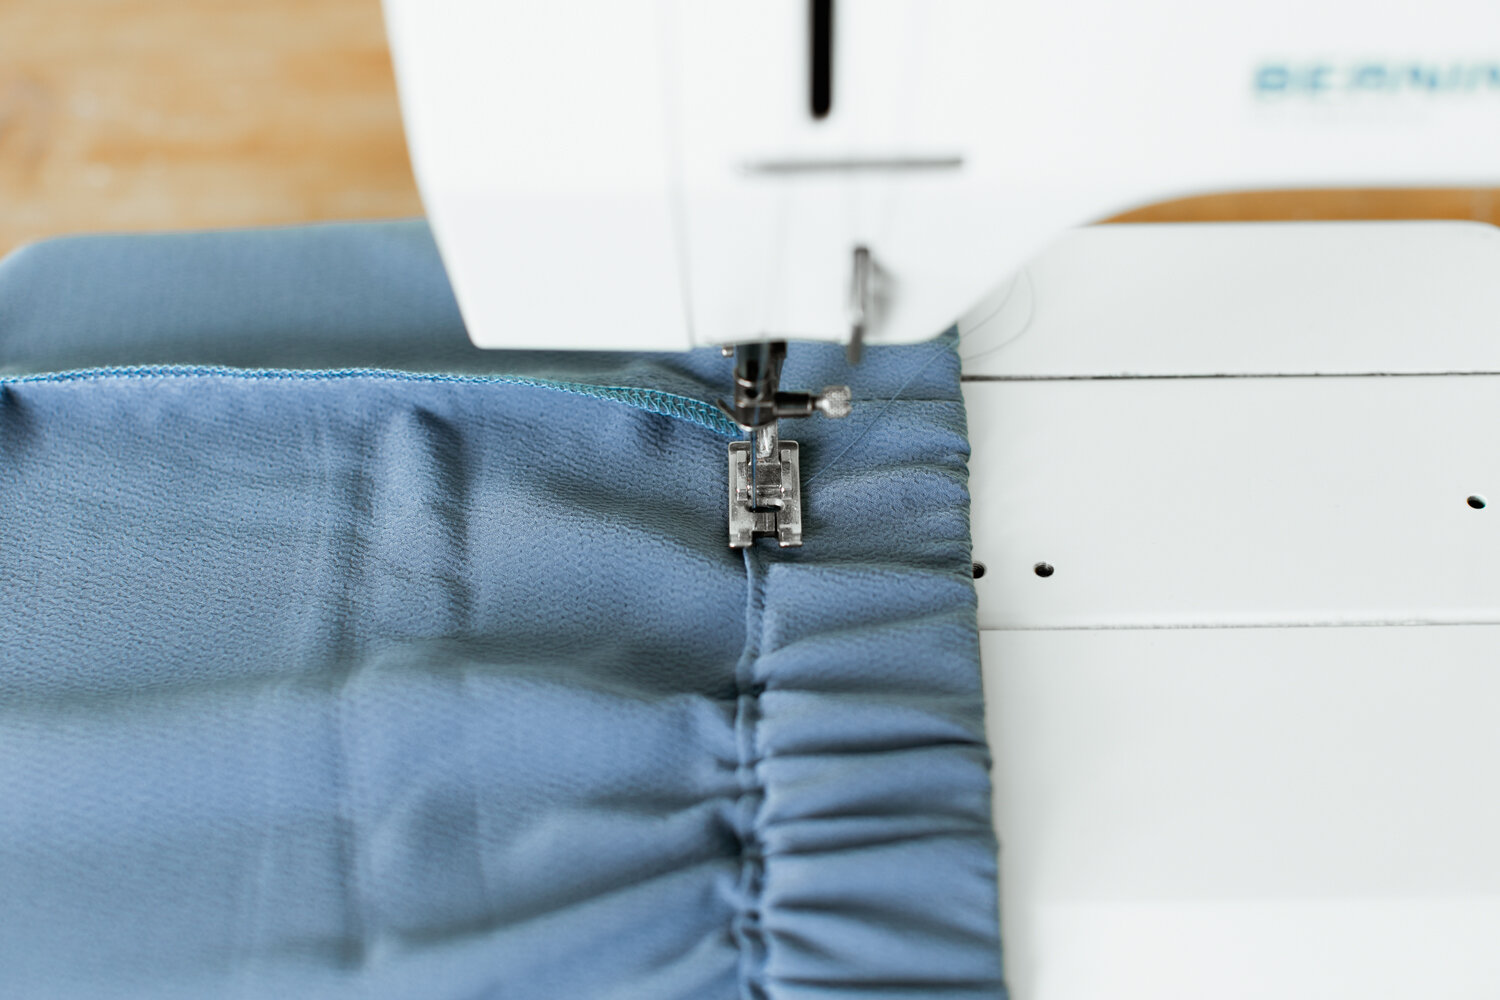
Step 3: Fold the elastic to the wrong side of the fabric.
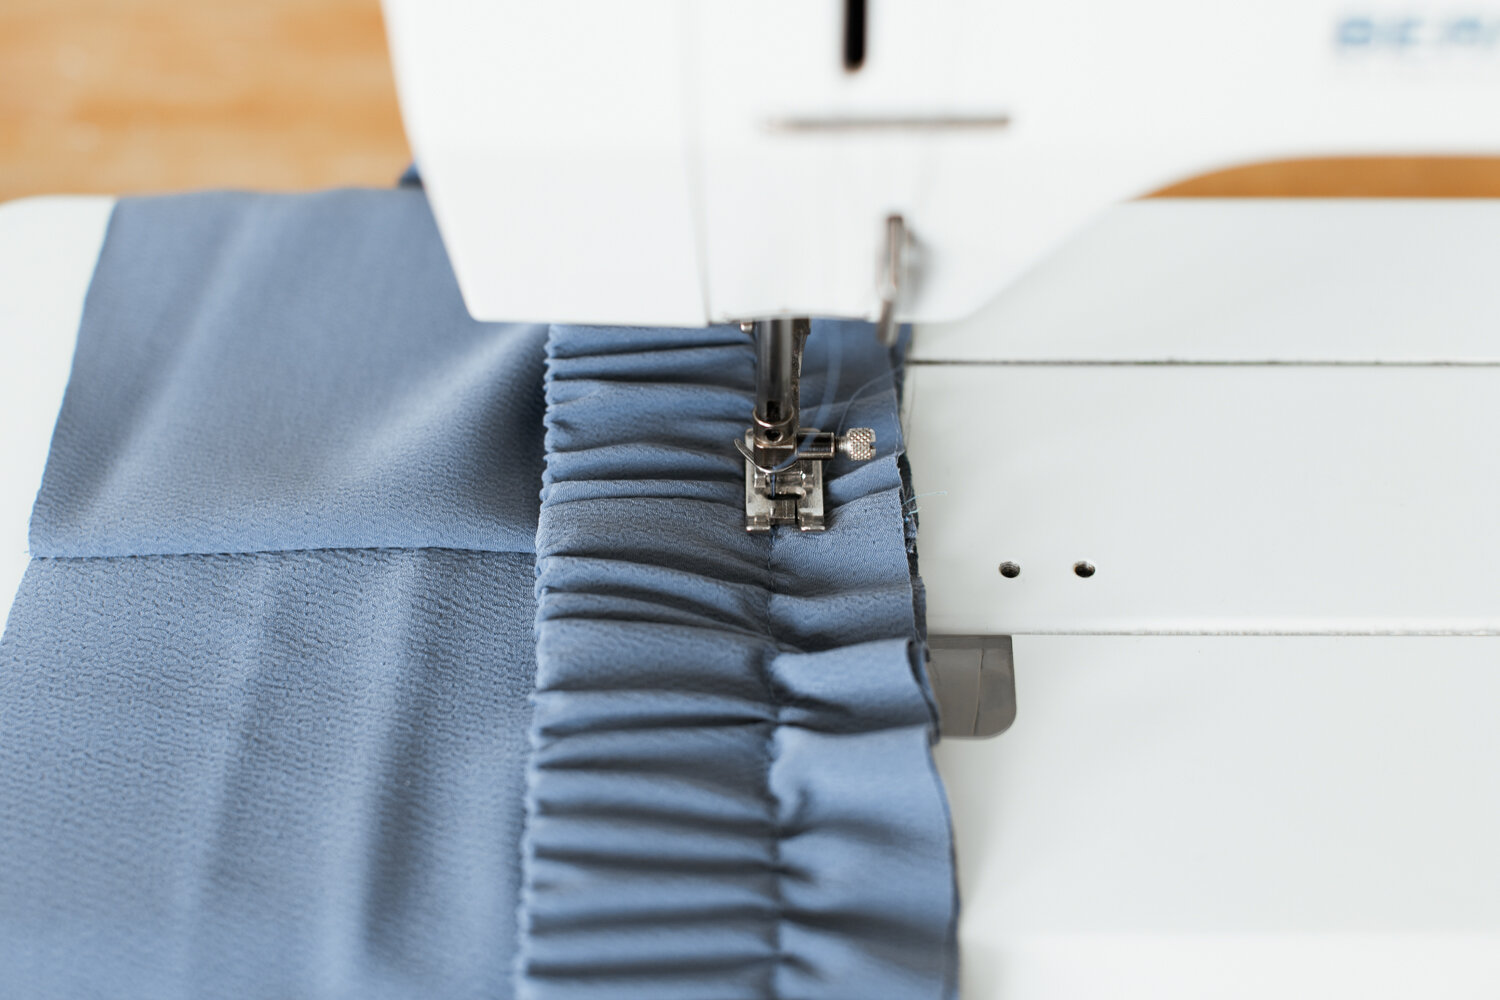
Step 4: Sew 1/8” (0.3 cm) from the top edge all the way around. Pull elastic tight while sewing.
Step 5: Sew 1/4” (0.6 cm) from the bottom edge of the elastic all the way around. Pull elastic tight while sewing.
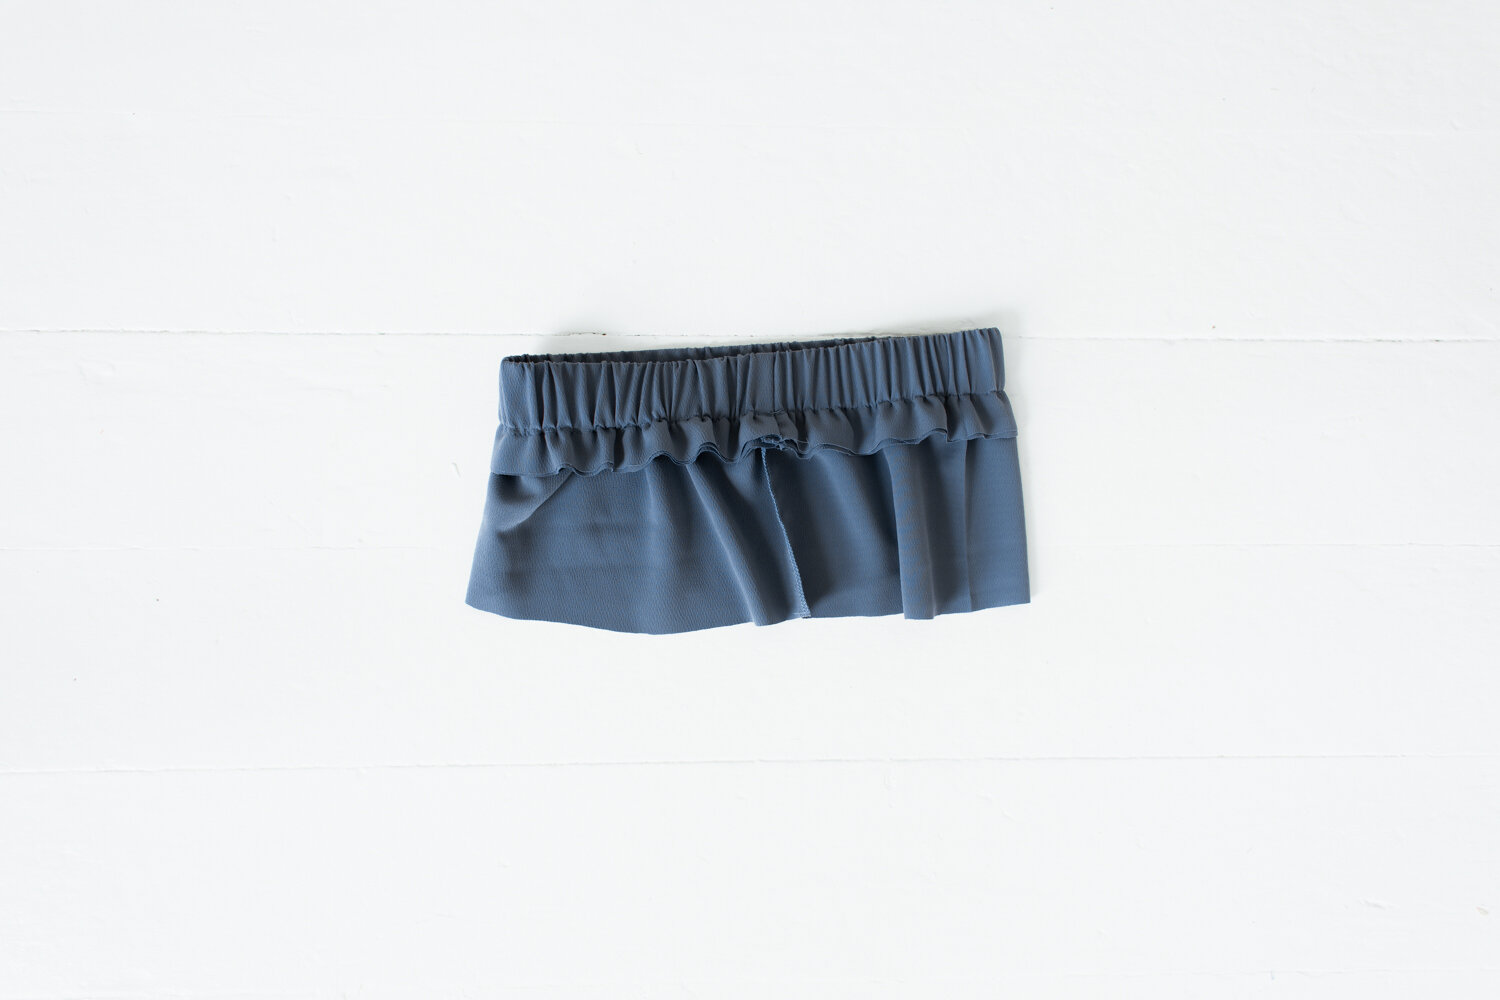
This method is commonly used in sports clothing and has a sporty look. It’s fun to sew! Works best with lightweight fabrics. The top of the elastic is sewn to two more layers of fabric than the bottom which can cause the top to be more stretched out than the bottom.
Method Two
Step 1: On the wrong side of the fabric, align the top edge of the elastic and the top edge of the fabric. Sew the elastic all the way around with 3/8” (1 cm) seam allowance. Stretch the elastic so it is evenly distributed all the way around.

Step 2: Fold the elastic two times toward the wrong side of the fabric.
Step 3: Sew 1/4” (0.6 cm) from the bottom edge of the elastic all the way around. Stretch the elastic so it is evenly distributed as you sew.

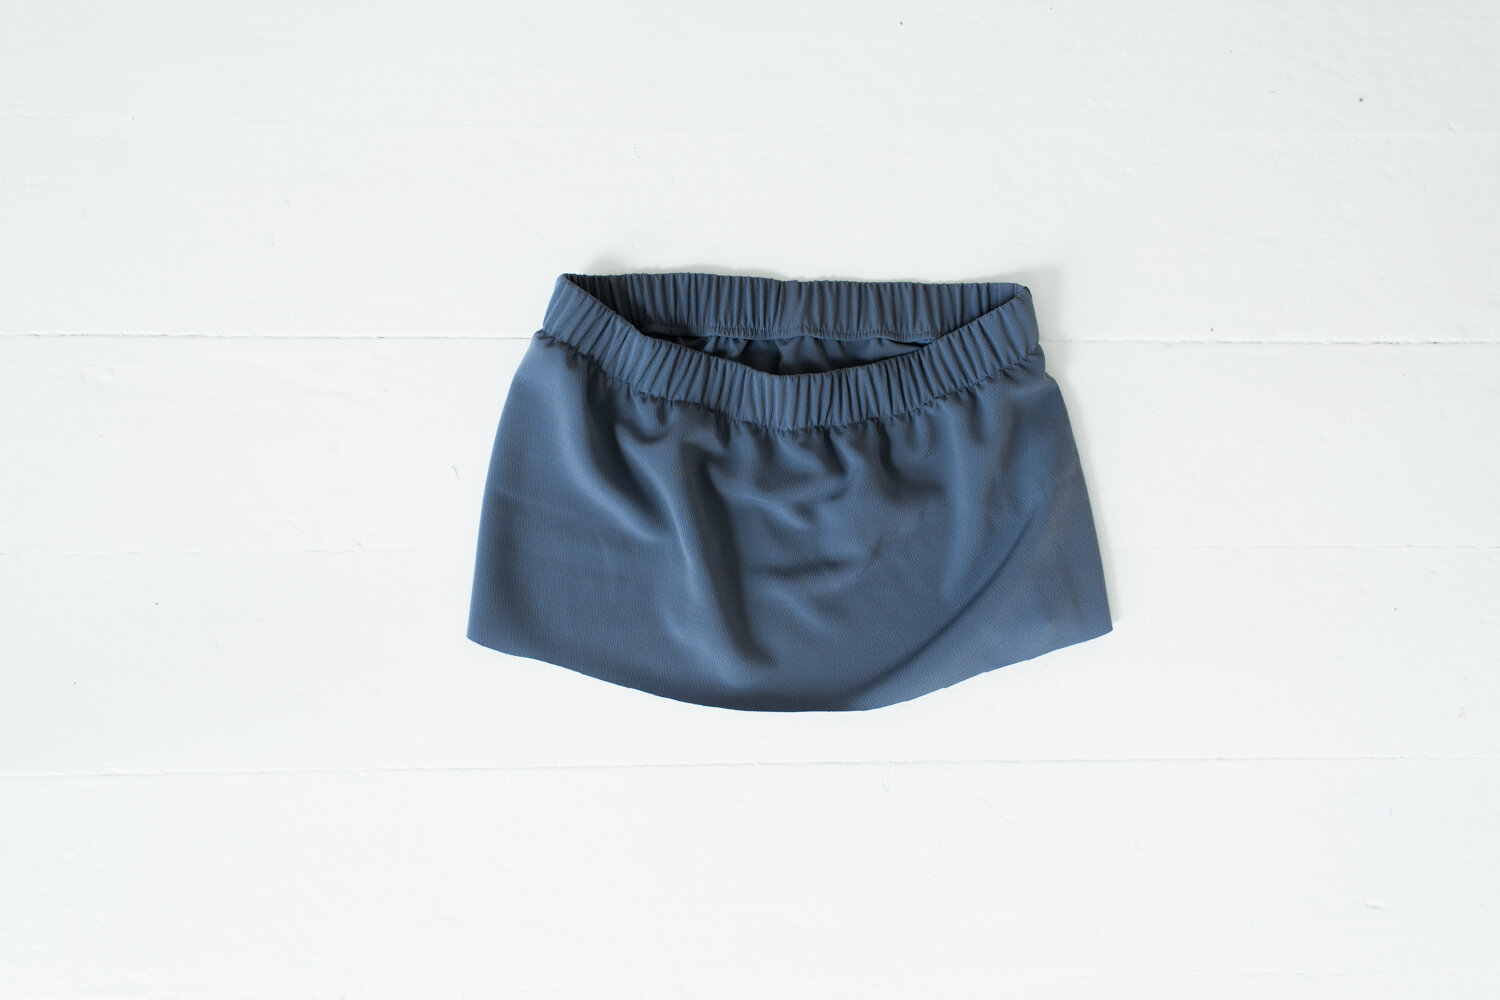
This method works best with medium to lightweight fabrics. The equal amount of fabric at the top and the bottom of the elastic reduces elastic distortion. The elastic is sewn through, so it doesn’t twist while wearing. The elastic is fully encased, which feels extra luxurious.
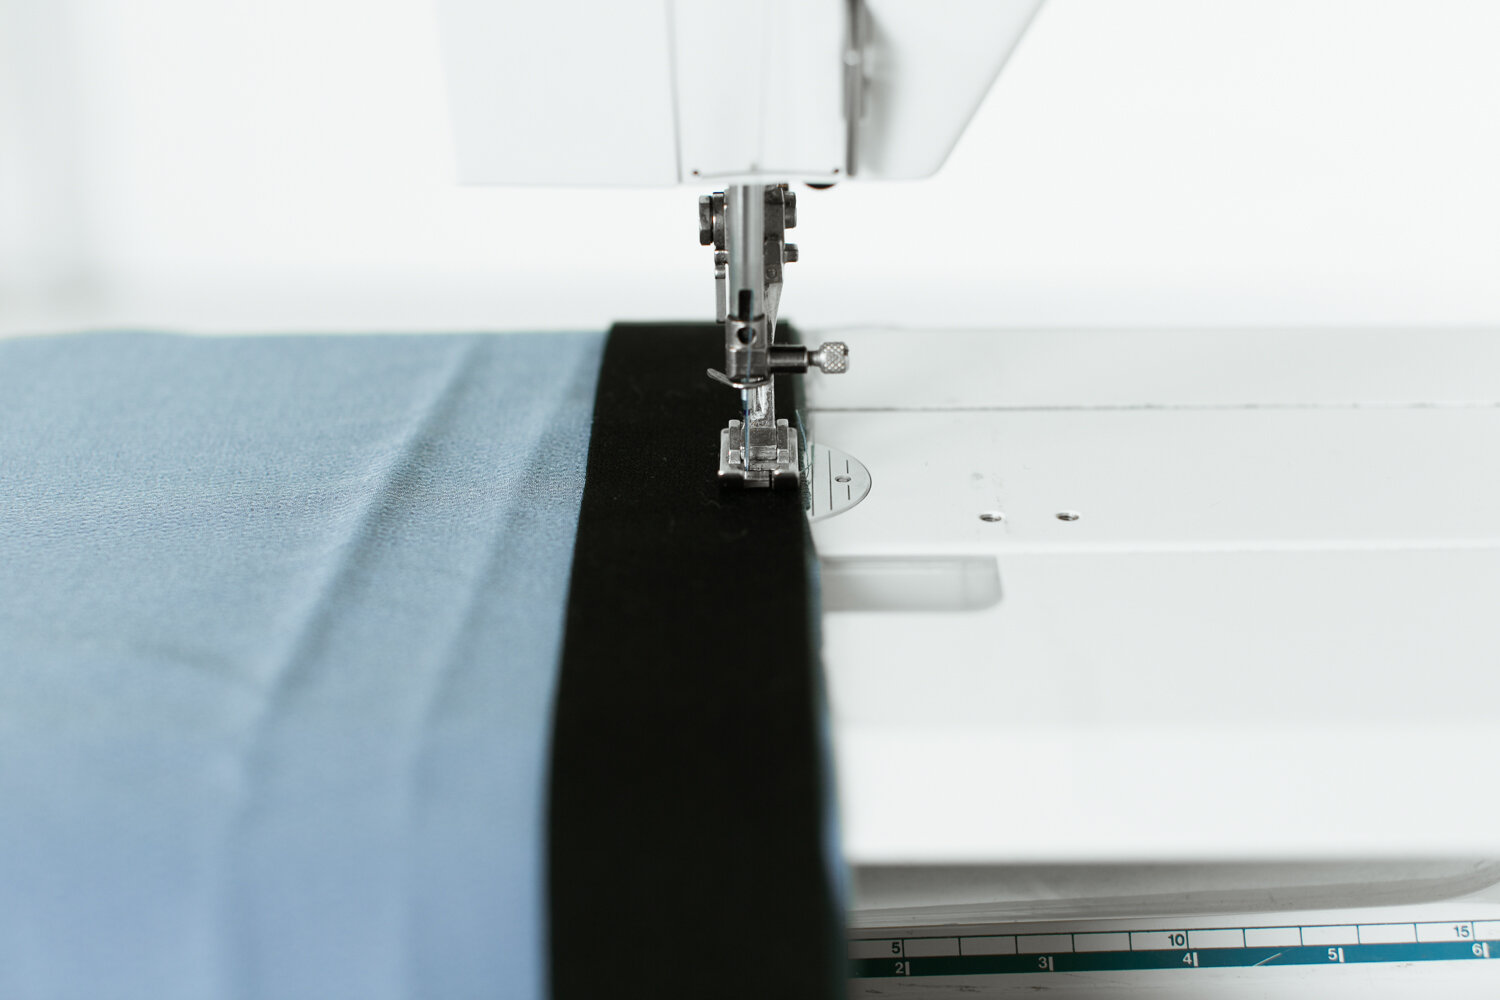
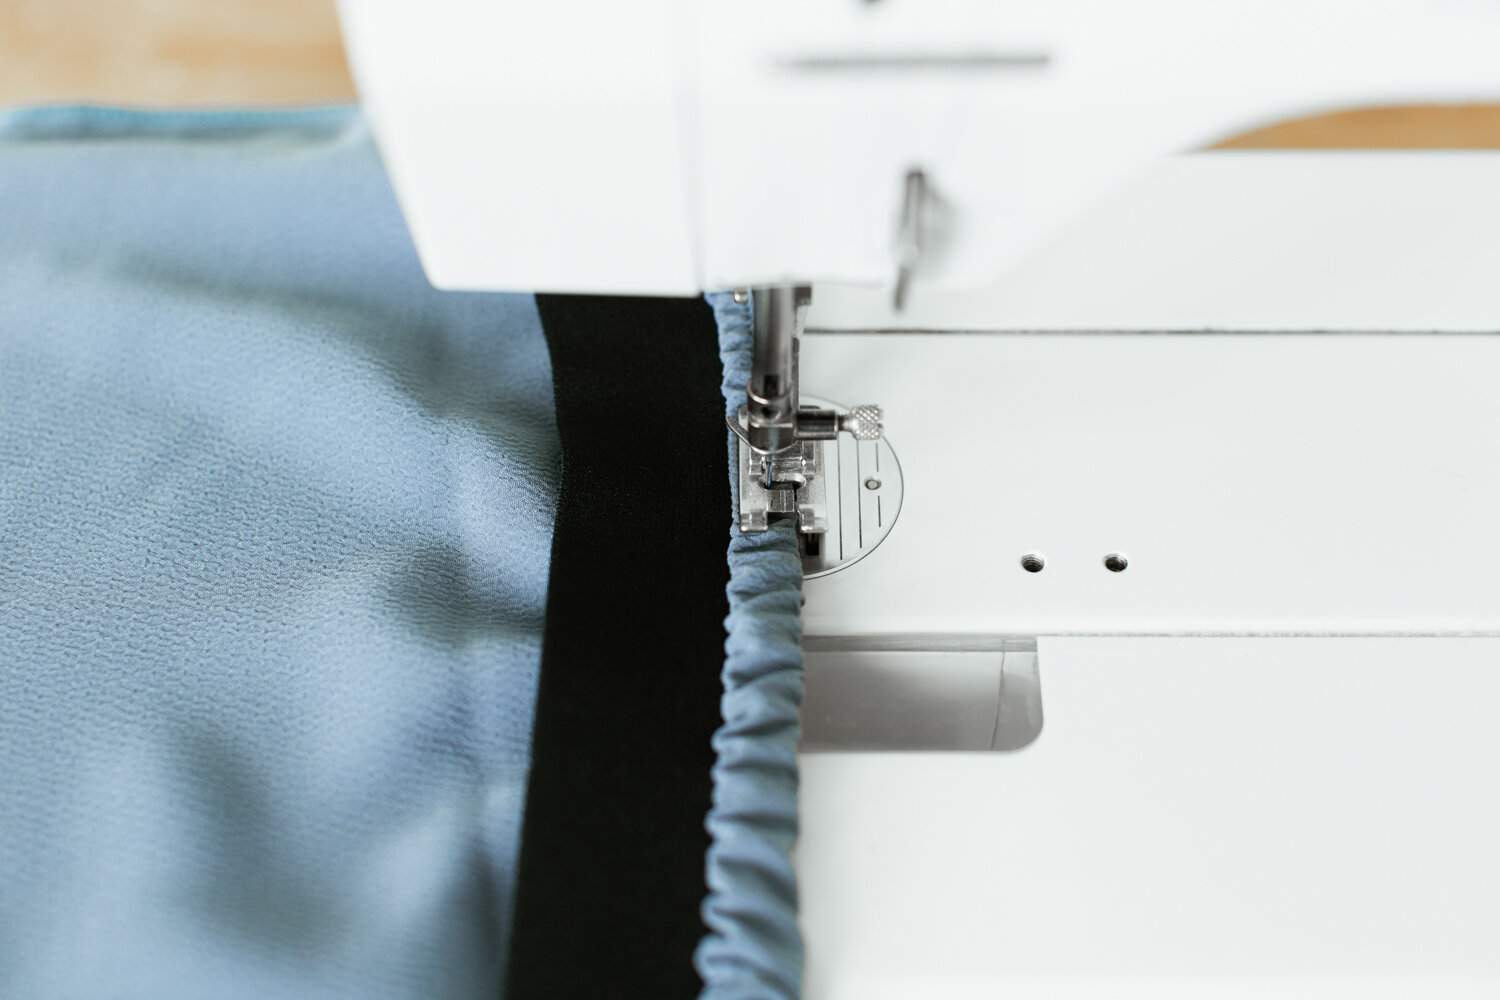
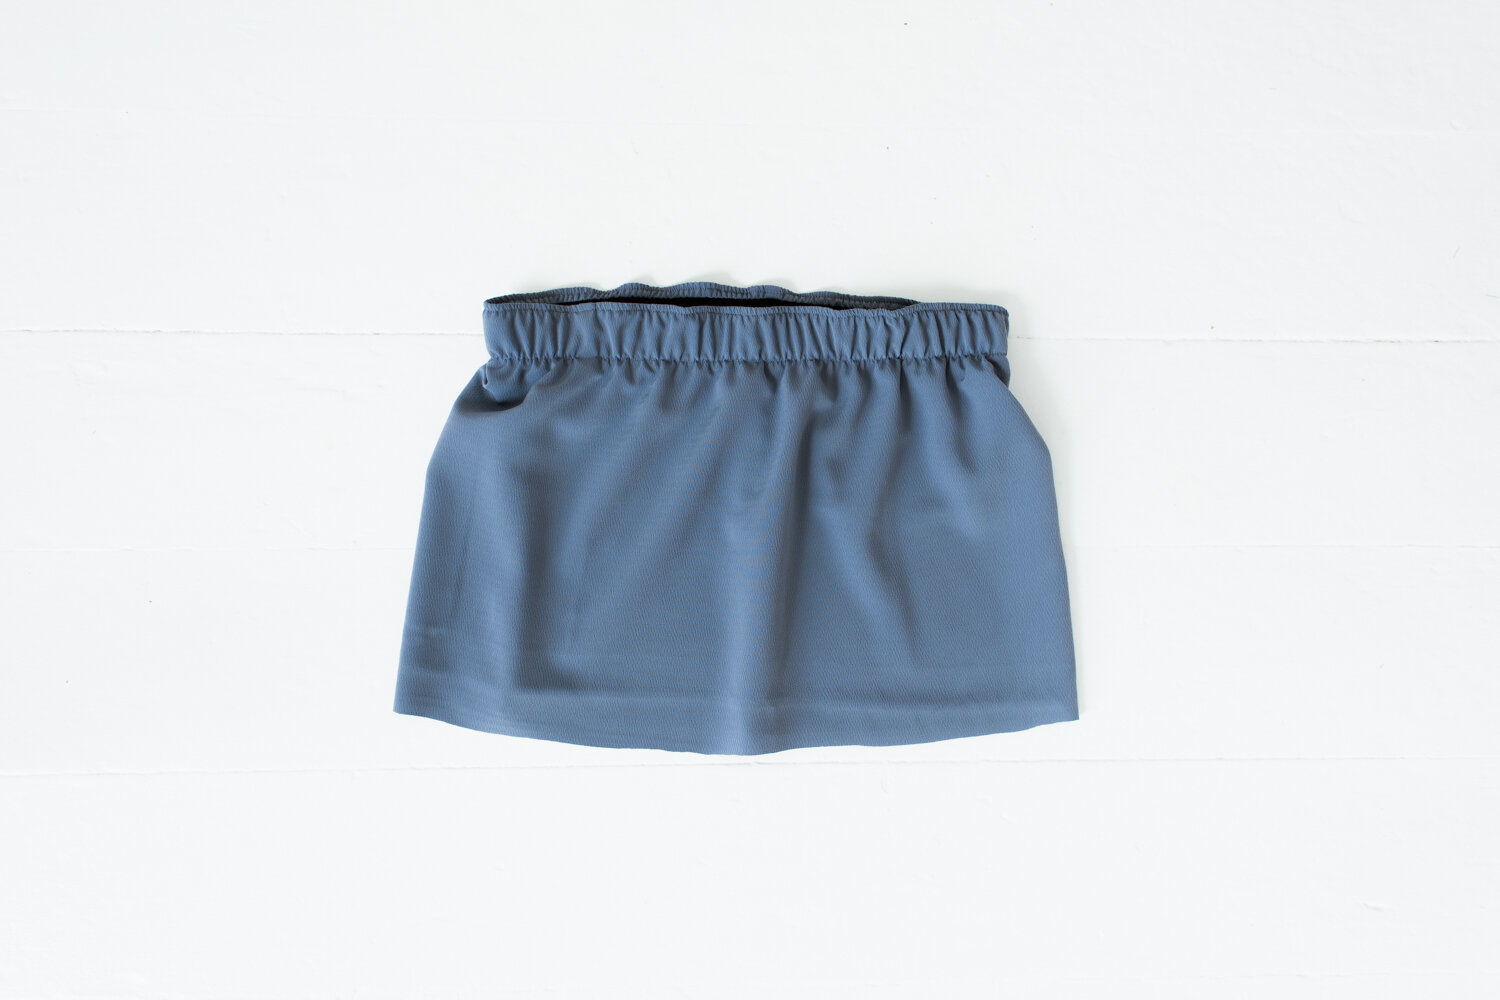
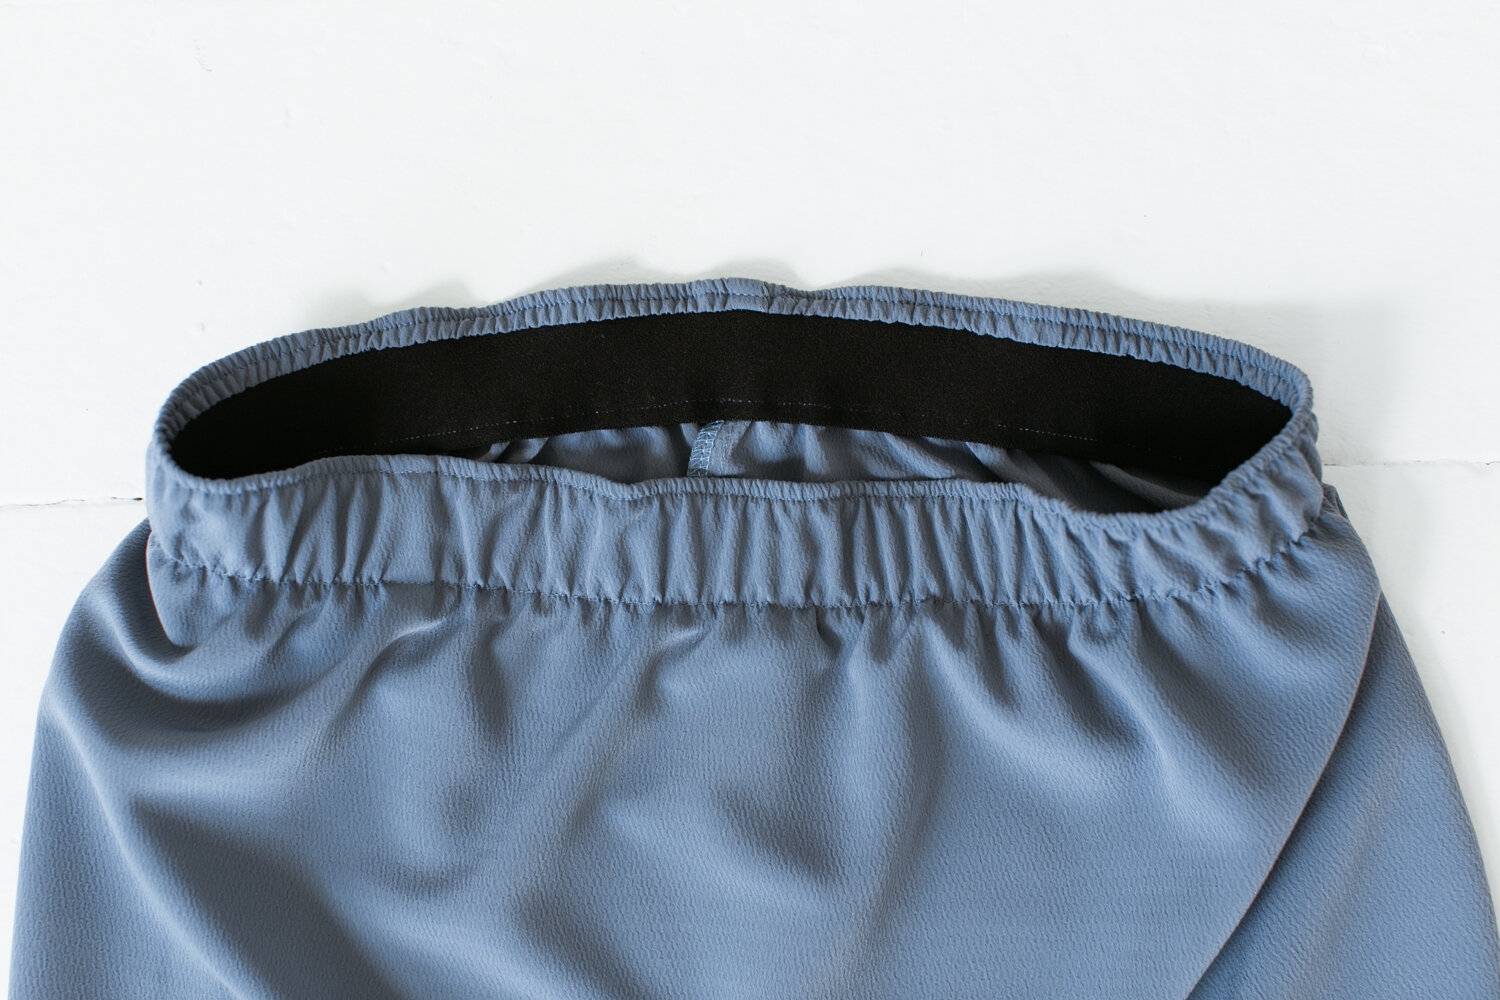
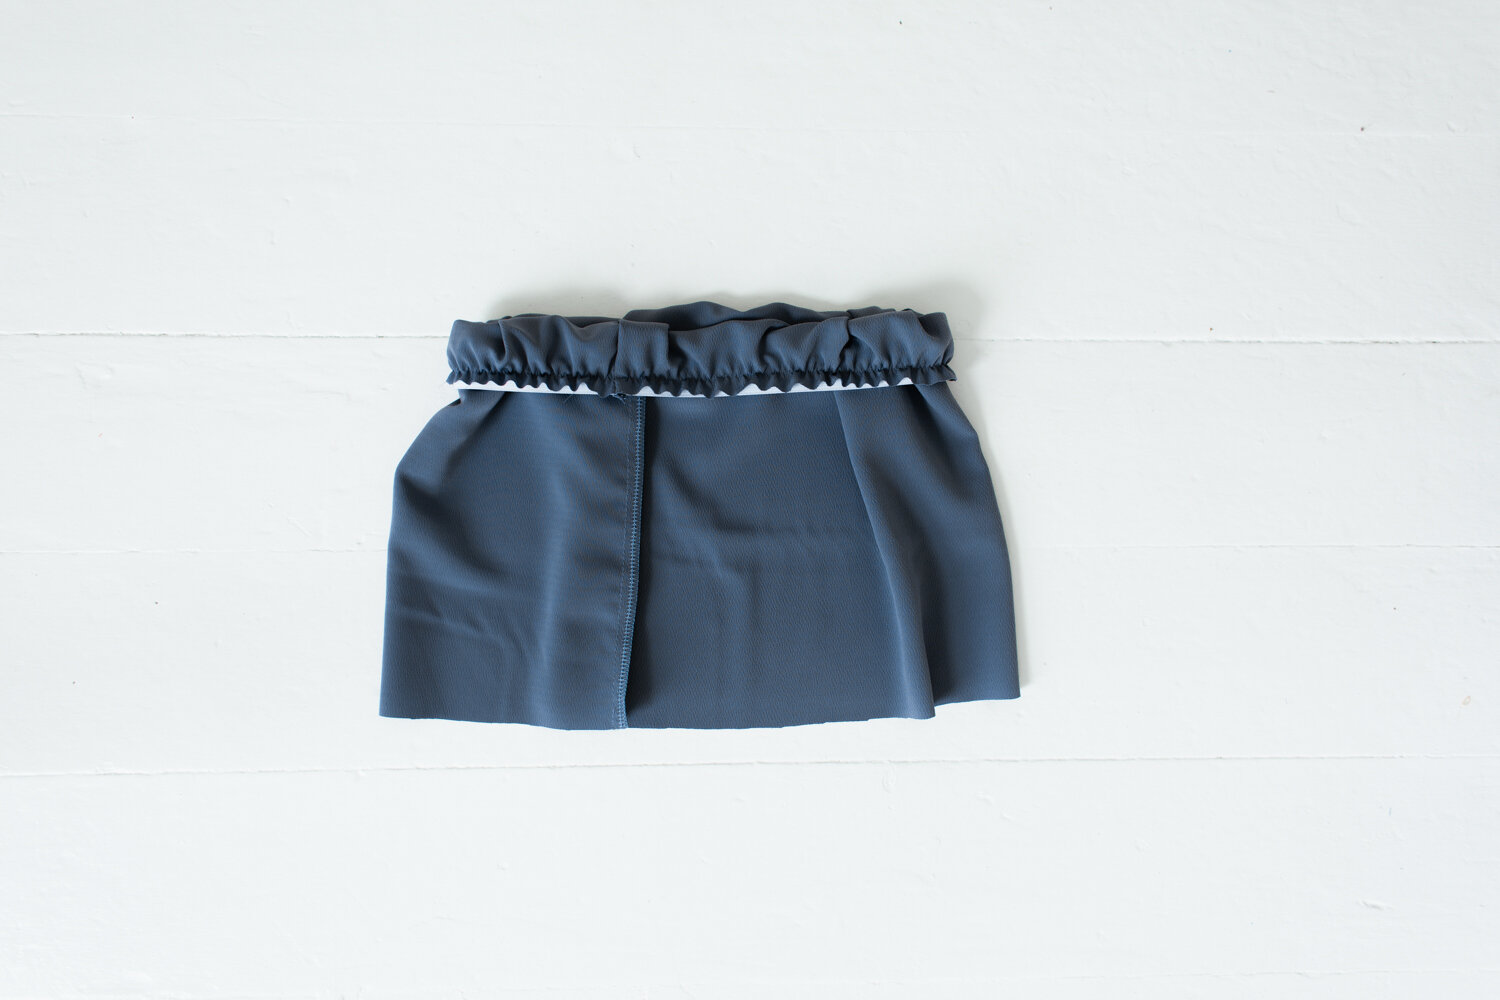
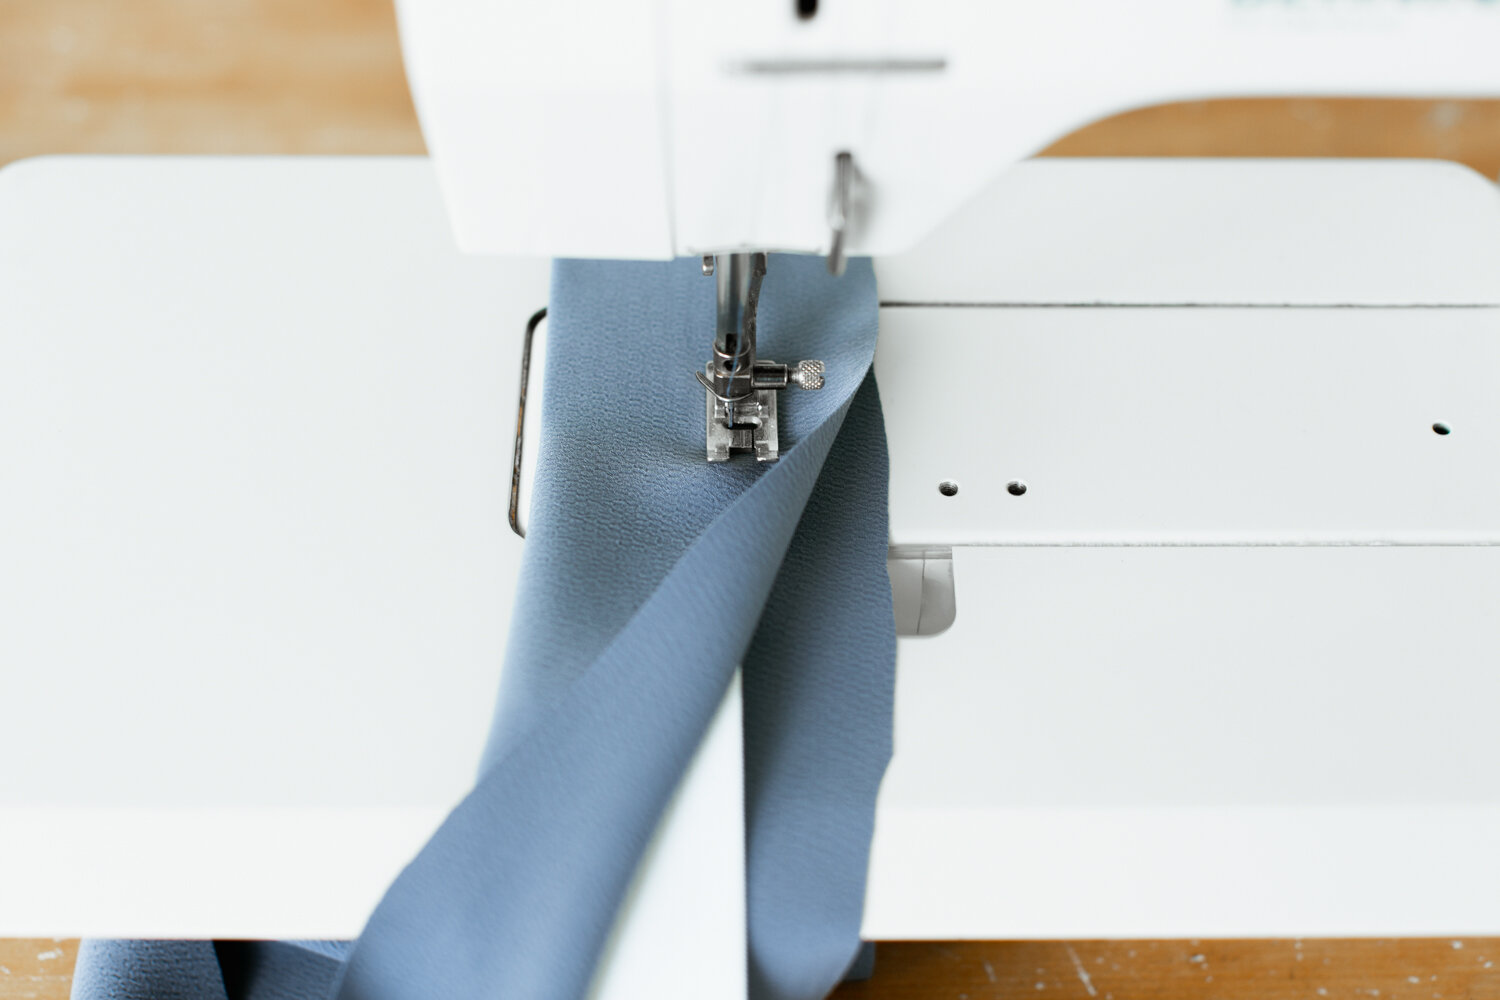
Method Three
Step 1: On the wrong side of the fabric, align the top edge of the elastic and the top edge of the fabric. Serge (or zig zag stitch) all the way around. Stretch the elastic so it is evenly distributed as you sew.
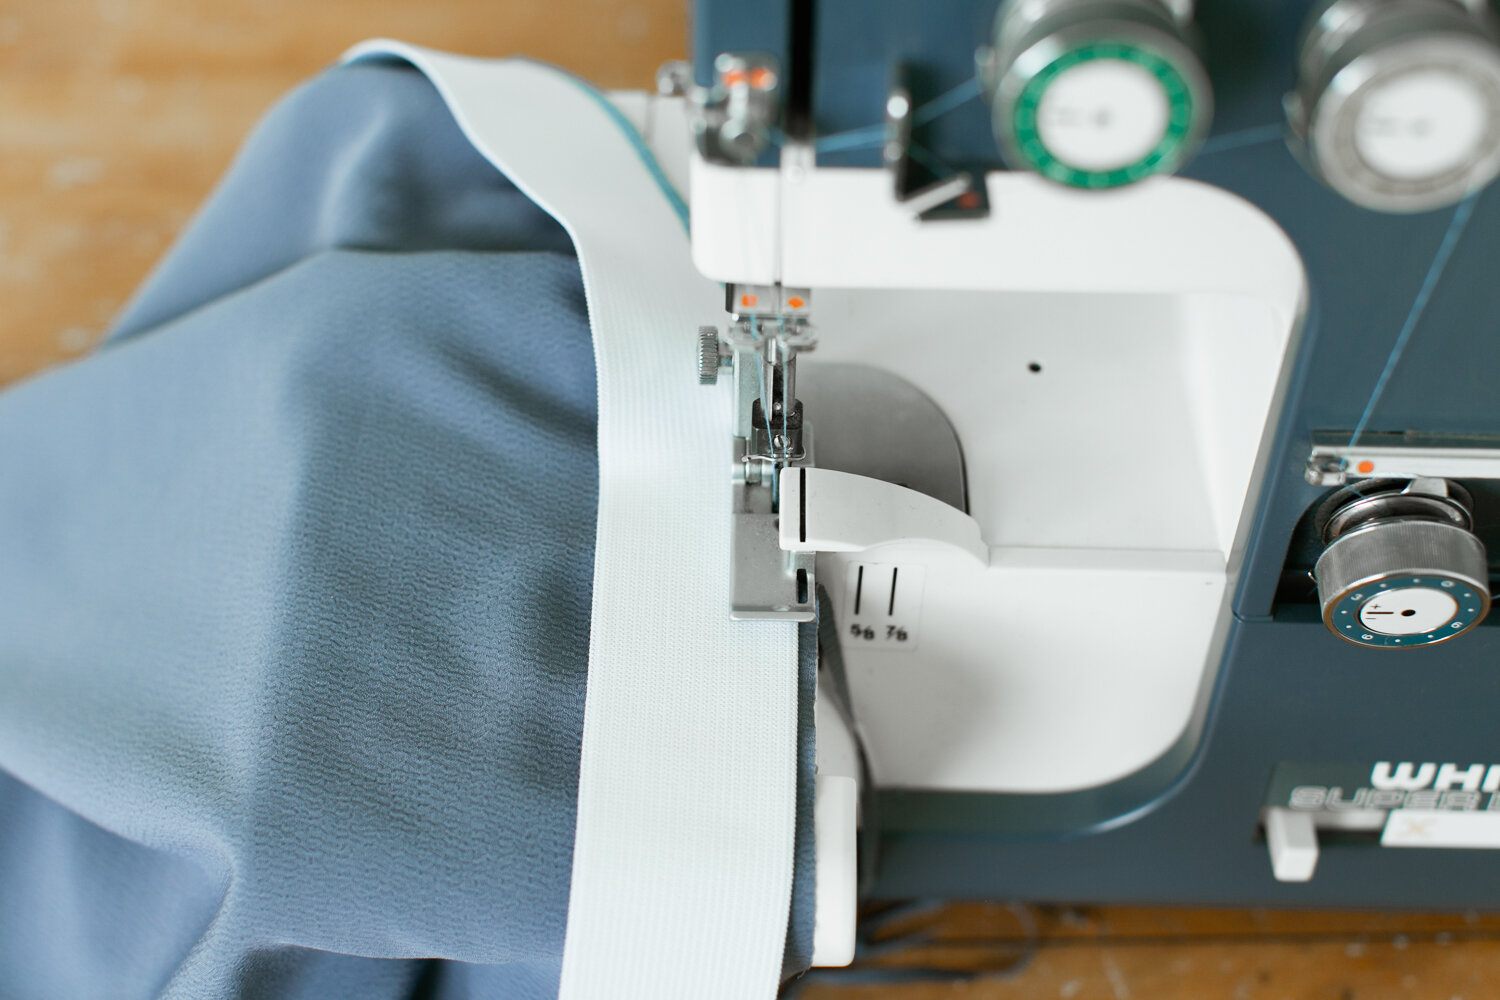
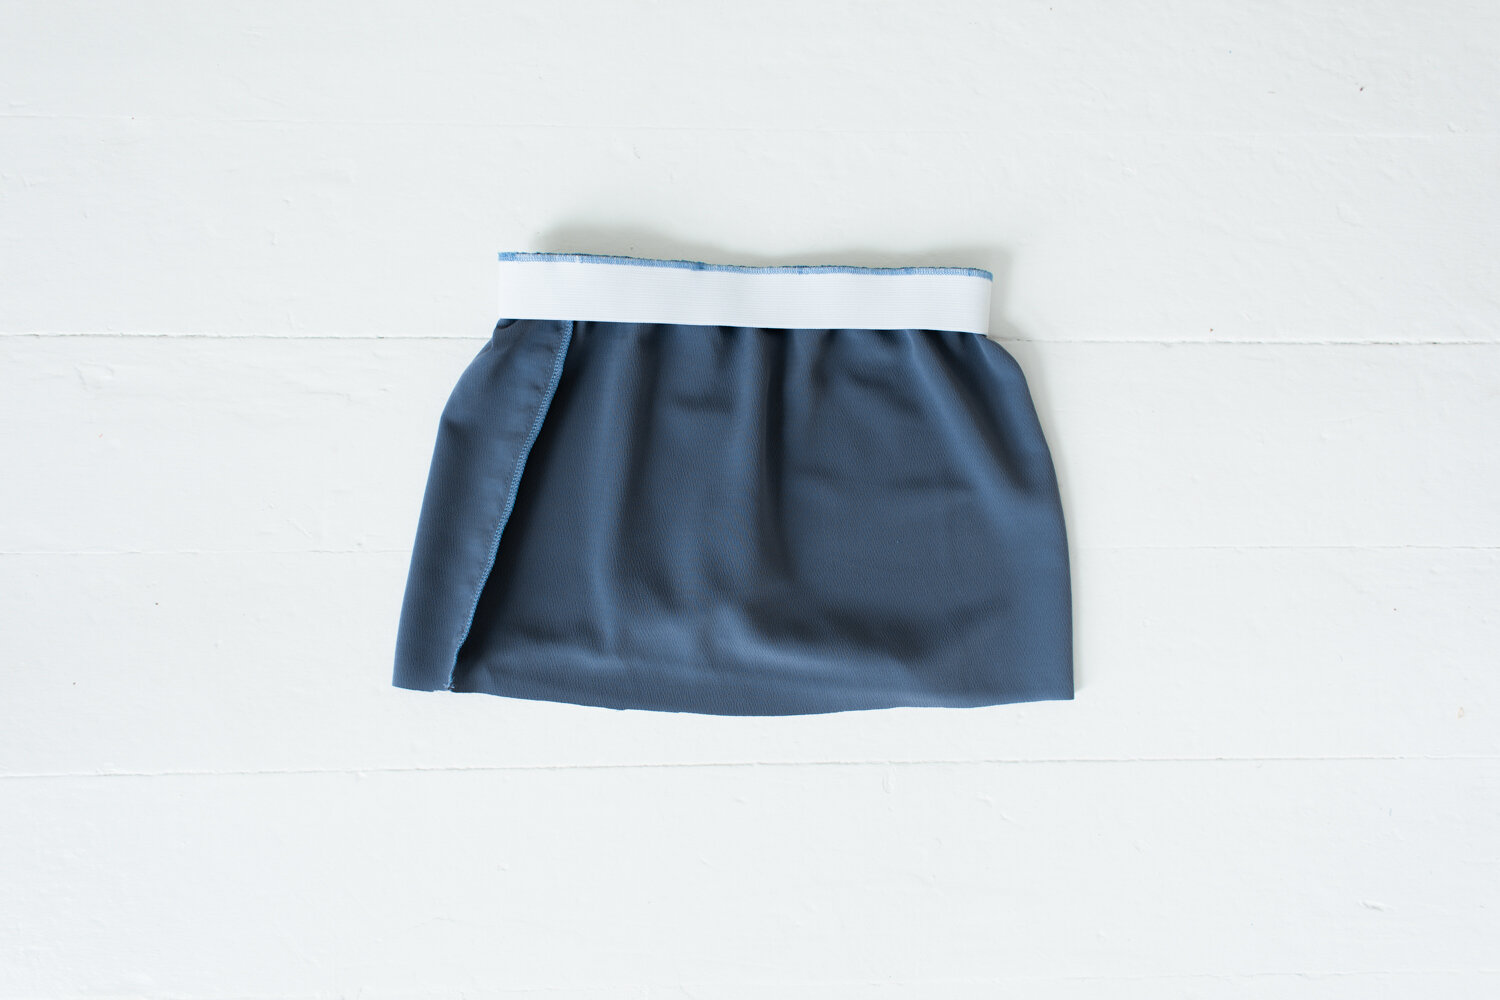
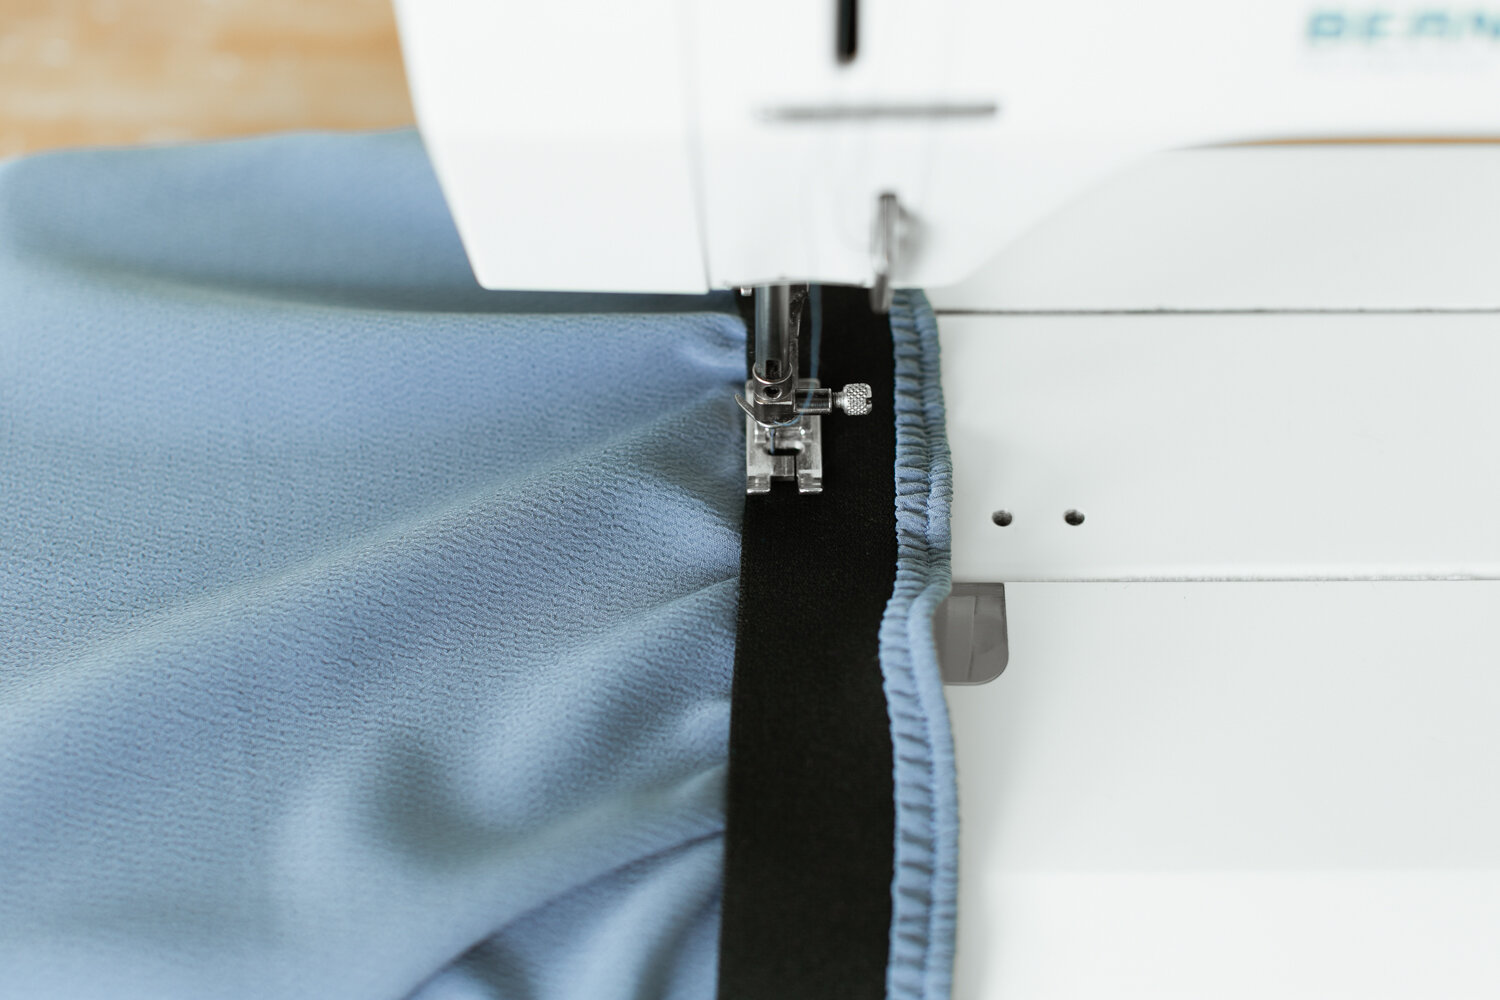
Step 2: Fold the elastic once toward the wrong side. Sew 1/4” (0.6 cm) from the bottom edge of the elastic. Pull the elastic tight while sewing.


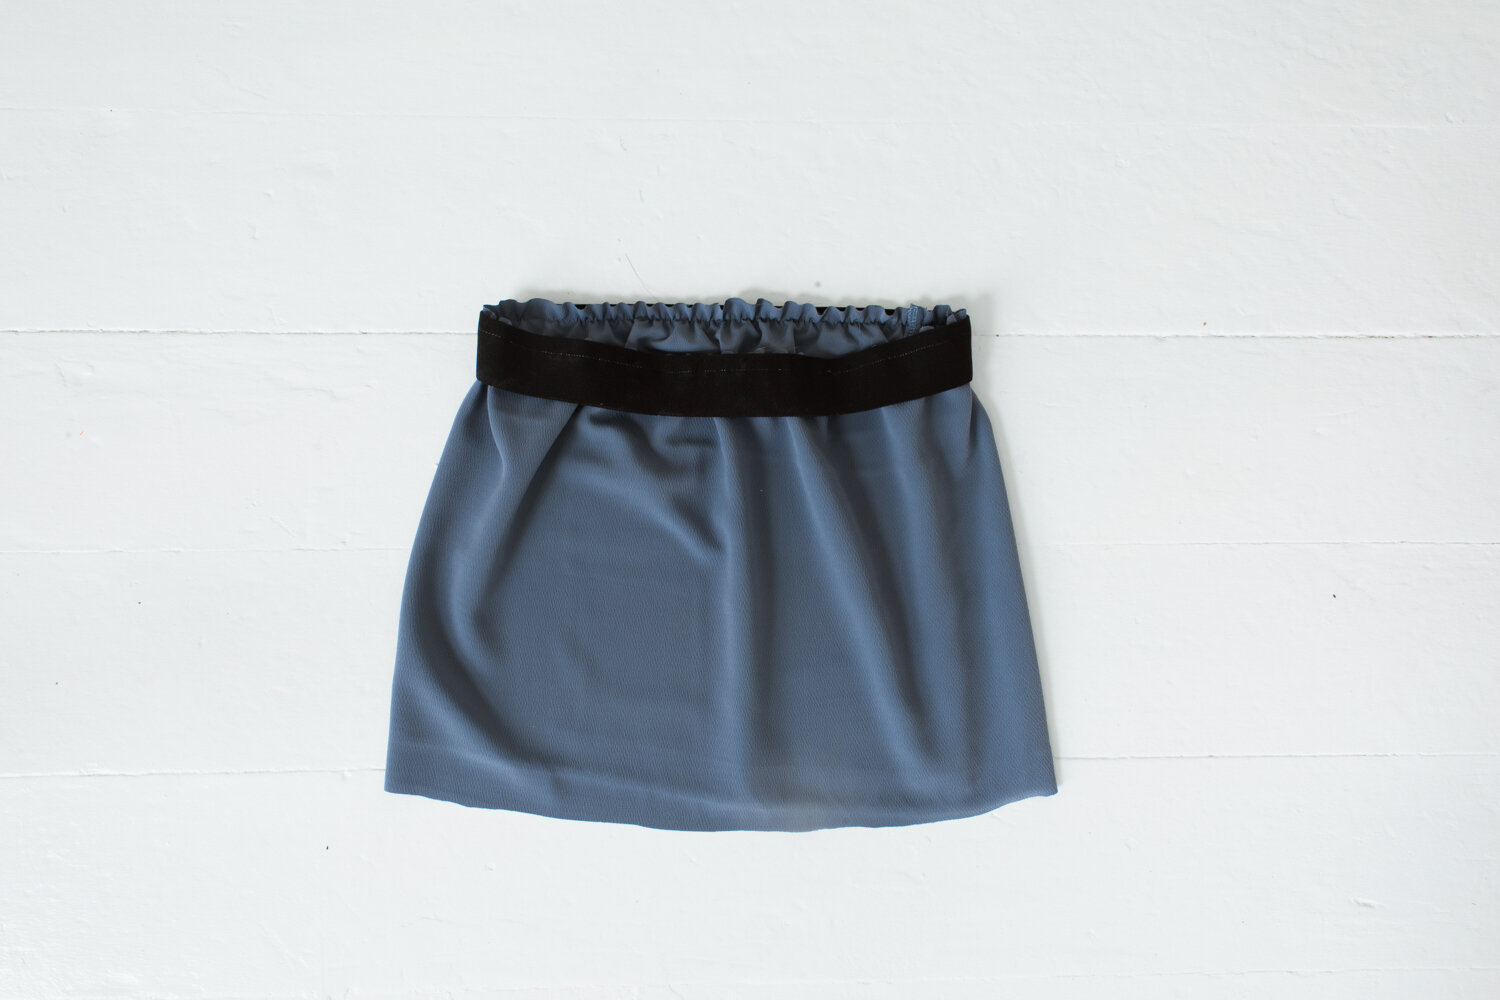
This method is among the easiest methods with the fewest steps. Quick and easy to sew with consistently good results. It does leave the serged edge with the bottom of the elastic exposed, so a little less luxurious. Good method to use with heavyweight fabrics like sweatshirt fabric. Also commonly used in sports clothing.
Method Four
Step 1: Serge the top edge of the fabric.
Step 2: Fold the fabric toward the wrong side 1/4” (0.6 cm) and press. Fold the fabric again 1/4” (0.6 cm) longer than the width of the elastic and press.
In this example, the elastic is 1 1/2” wide. So the fabric is folded over the second time 1 3/4” and pressed.
Step 3: Sew 1/8” (0.3 cm) from the bottom edge. Instead of sewing all the way around, leave a 4” (10 cm) opening to insert the elastic.

Step 4: Attach two safety pins to the elastic and push it through.

Step 5: Overlap the two ends of elastic and sew them together.

Step 6: With the elastic in place, sew the 4” (10 cm) opening shut. Be sure to not catch the elastic in the stitching!

This method is a common favorite among sewists. Easy to sew because it doesn’t require sewing through the elastic. But that means the fabric can twist if additional lines of stitching aren’t added. Can also be tricky to press the fabric really evenly all the way around. The line of stitching is below the elastic, which causes the gathers to lay differently than when the elastic is sewn through.
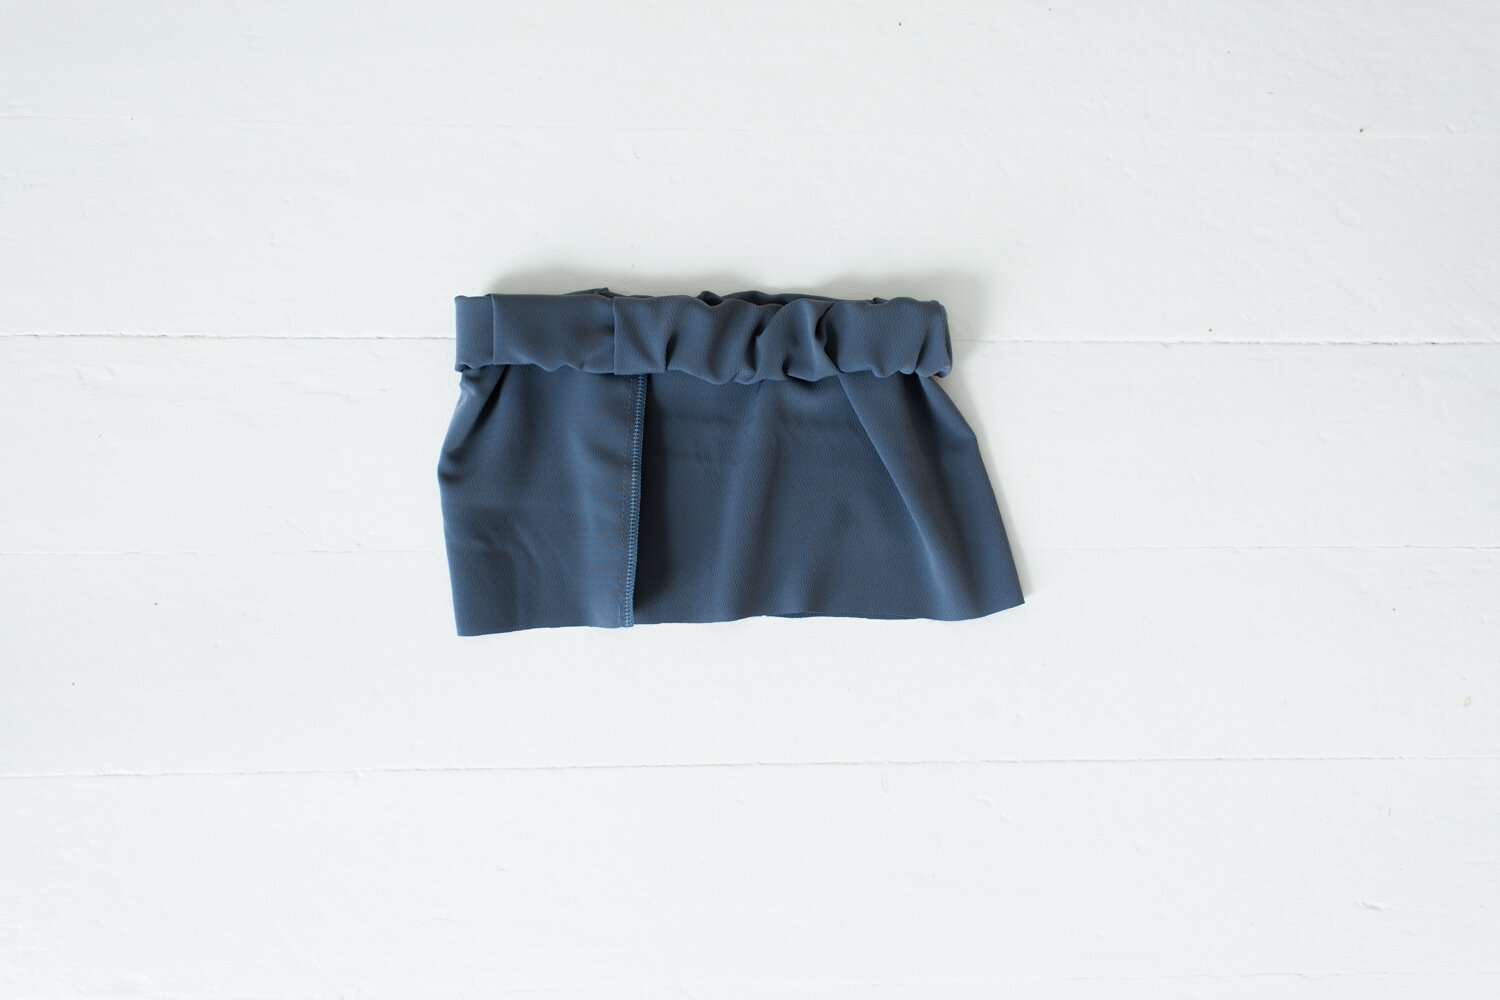
Method Five
Step 1: Fold the fabric in half around the elastic and sew right along the elastic edge. Be sure to not catch the elastic in the stitching!
Tip: Extra long seam allowances are helpful with this method. In this example, the elastic is 1 1/2” wide. The strip of fabric is 5” wide to allow 1” of extra fabric on each side of the elastic.
Step 2: Match up the edges and sew the elastic to the right side of the waistline. Again sew right along the bottom edge of the elastic, but be sure to not catch the elastic in the stitching. Pull elastic tight as you sew.
Step 3: Trim seam allowance and serge edges together.


This method gives a clean looking definition between the waistband and the rest of the skirt/pants. It can be tricky to sew closely to the elastic without catching it in the stitching. It leaves the elastic unattached and free within the tunnel of fabric and can twist unless it is sewn down with more lines of stitching.
Variation to Method Five:
Sew the two pieces of fabric together without the elastic. Leave a 4” (1 cm) opening. Insert the elastic using safety pins and then sew the elastic together into a loop. Sew the 4” (10 cm) opening shut. Trim and serge seam allowance.
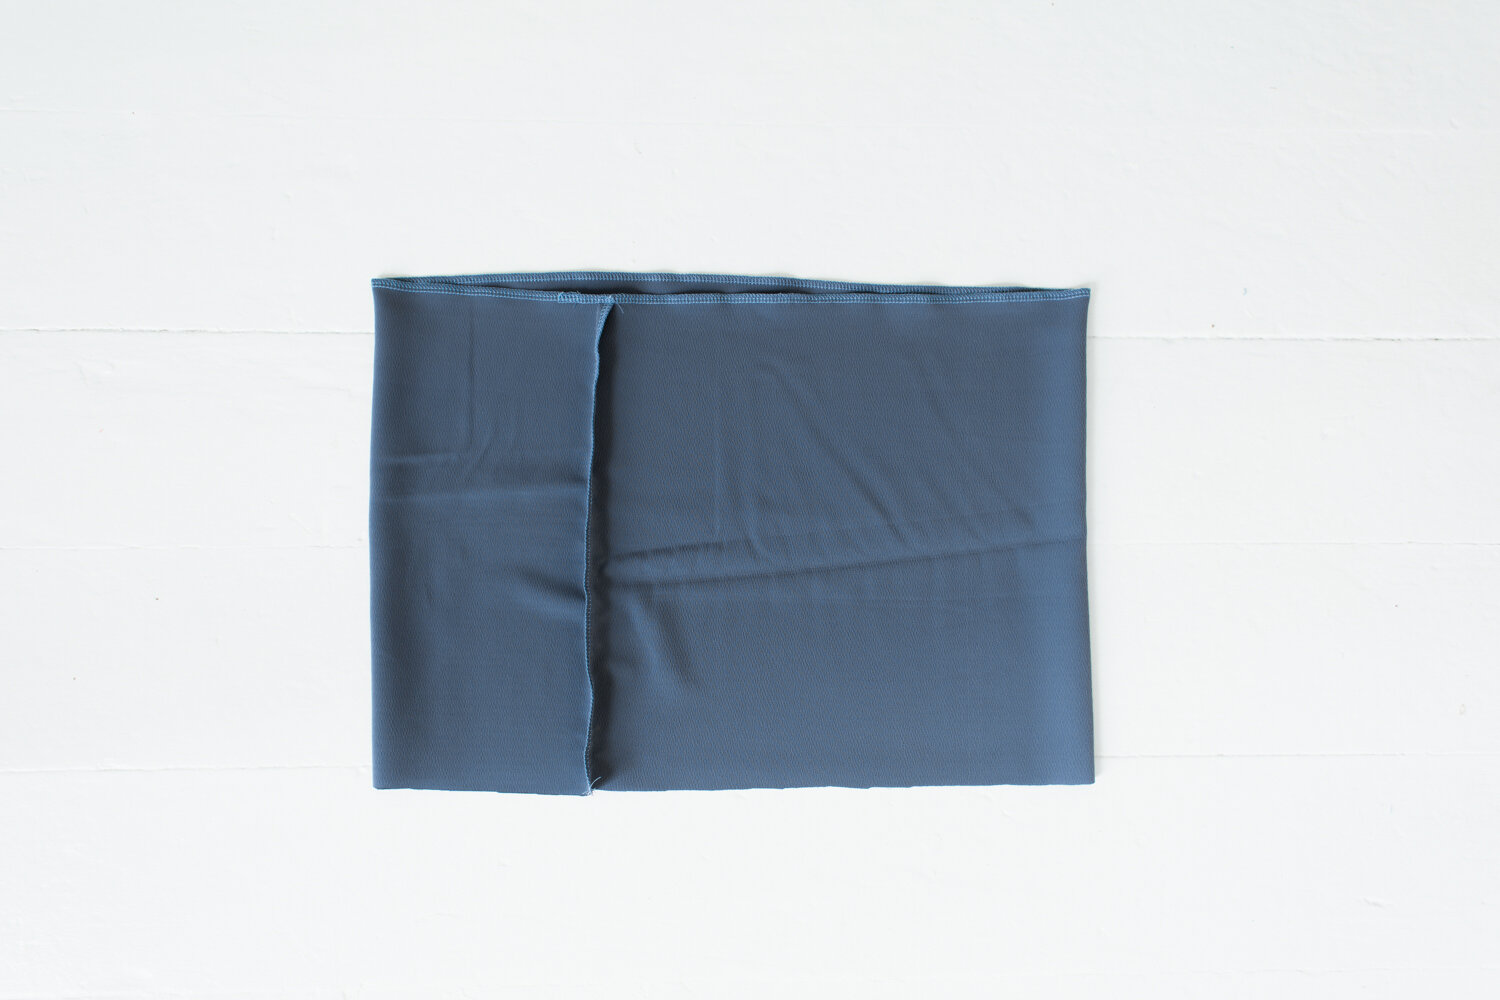
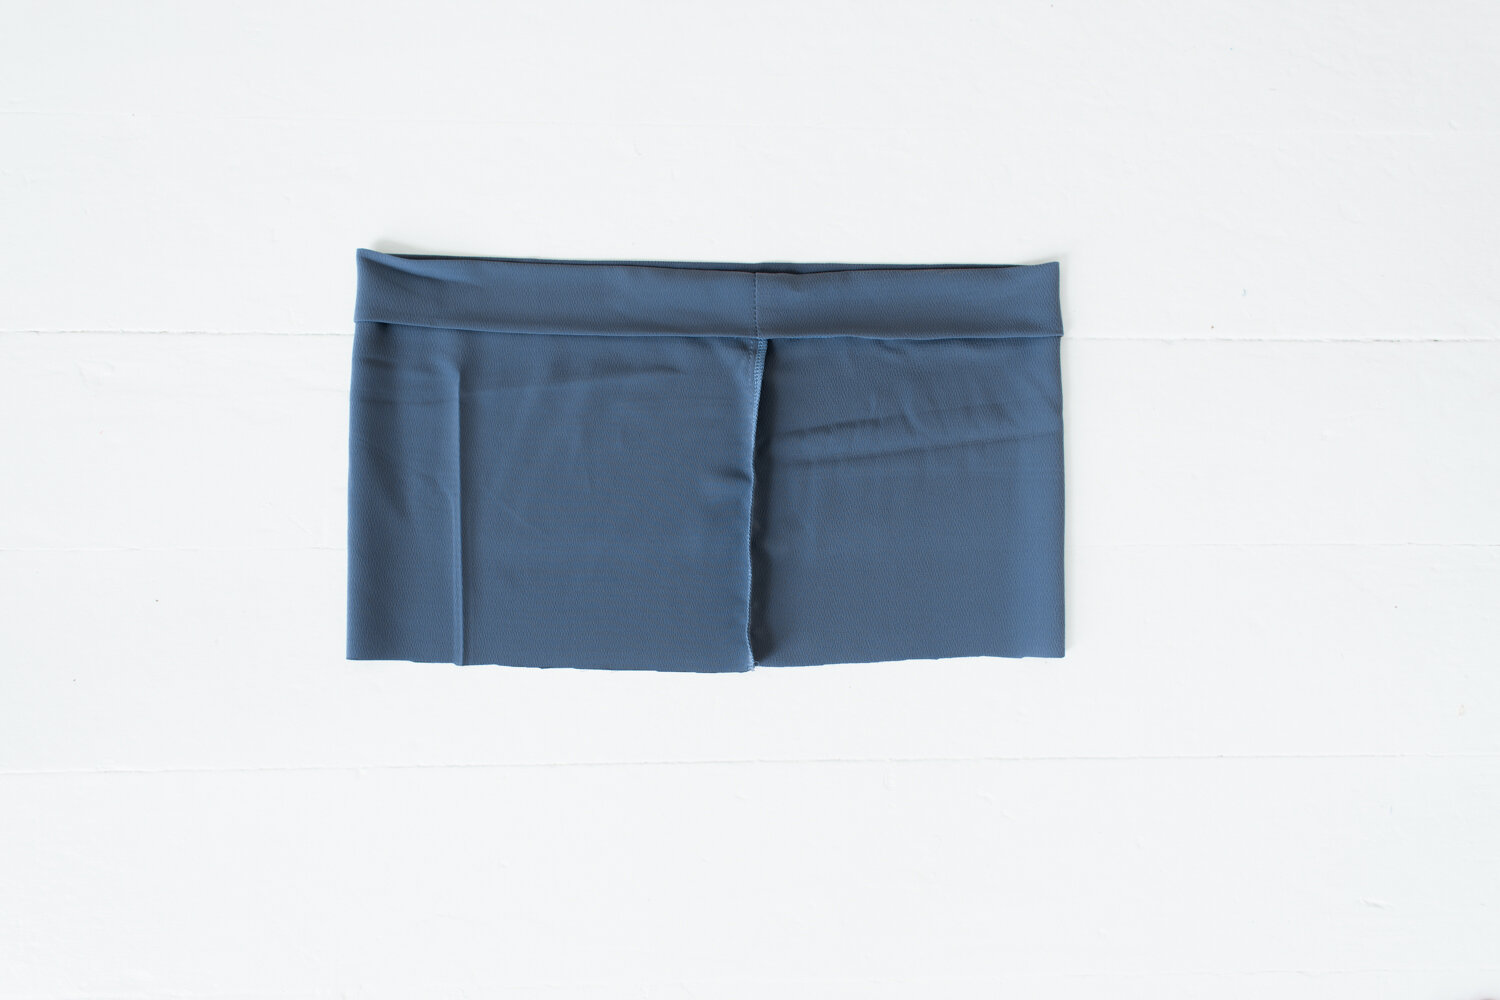
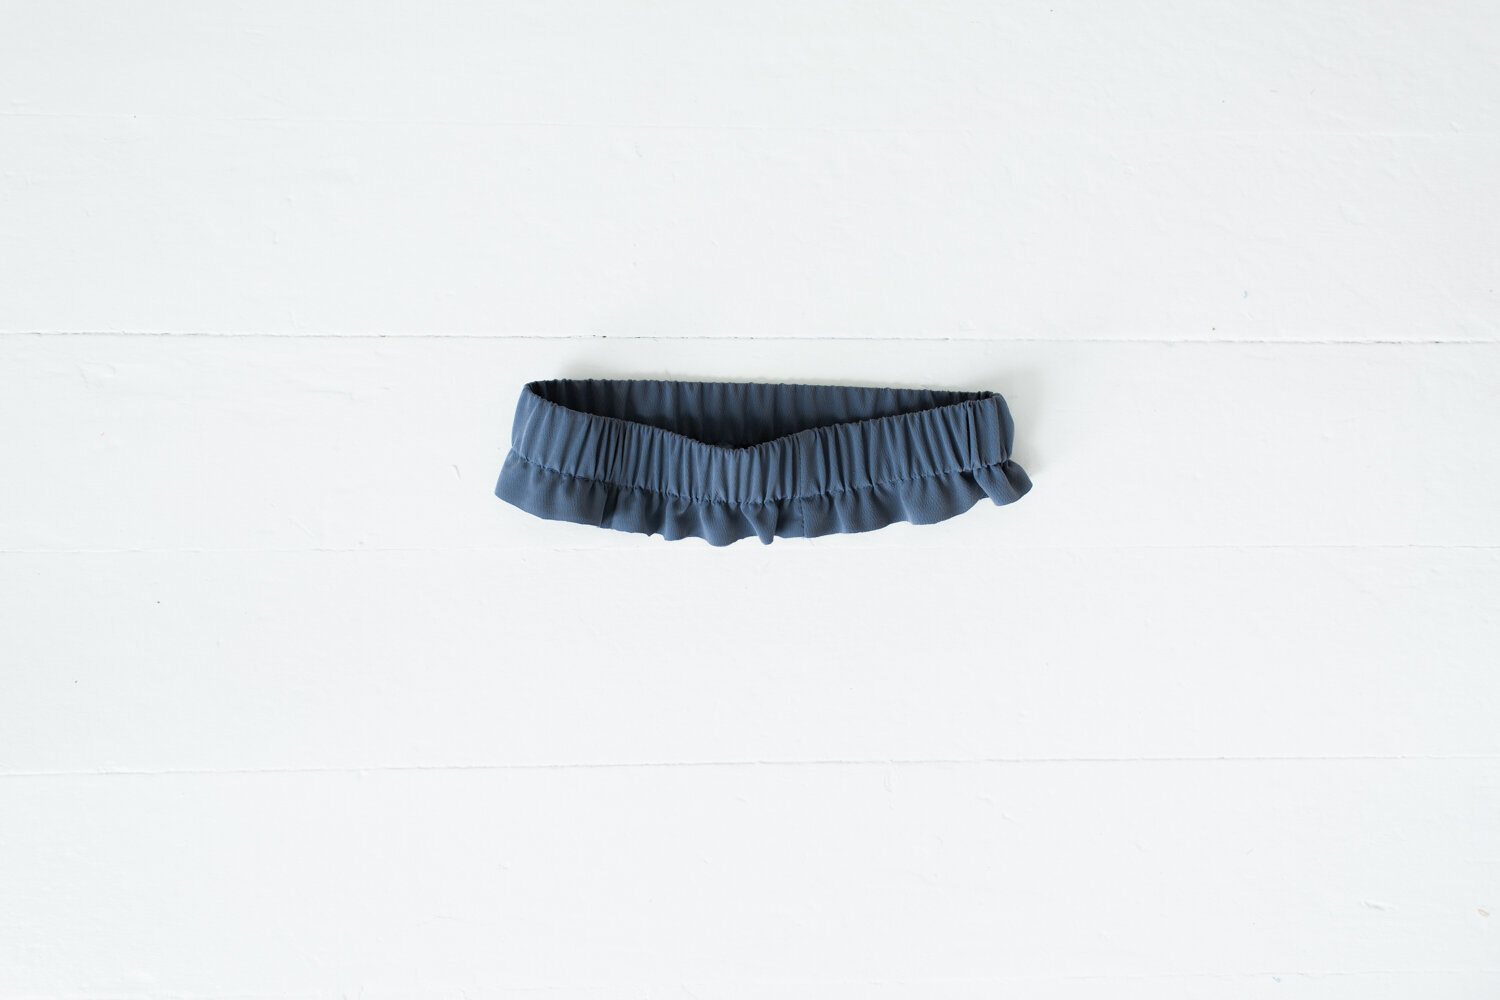
Additional lines of stitching can be added to each of these methods. Each method is fun to sew in its own way! Which is your favorite?

If you’d like to try one of these methods in action, you can make the Sweet Pea Sweat Set!
This pattern uses easy method three to sew the waistband on the sweatpants with great results.
If you enjoyed this tutorial, you may enjoy this exploration of gathering fabric and making ruffles.
You may also enjoy using the Tote Bag Calculator and using the step by step illustrated instructions.


