
To continue the tutorial series on ruffles, here is a step by step guide to sew ruffle picture frames. This idea emerged while daydreaming about how to redecorate my sewing room, which is now a delightful dusty pink (see photos below).
If you’d like to see my other fun ruffle tutorials…
Let’s jump in!
Step 1: Grab a bamboo embroidery hoop. (This is a 10” hoop from Walmart for $2.97.)

Step 2: Use a pliers to pull off one side of the closure and flatten the other side.


Step 3: Measure the outside circumference of the hoop. This one is 33 1/2”.

Step 4: Cut three strips.
Width: 3” (7.6 cm)
Length: The length of the circumference, plus 1 1/2” (2 cm) for seam allowance.
In this tutorial the hoop circumference is 33 1/2”, so these strips are 3” x 35”.

Step 5: Sew two strips together into one big loop. Sew the ends of the remaining strip together into a smaller loop. 3/8” (1 cm) seam allowance. Right sides together. Press seams open.

Step 6: Fold the big loop wrong side together. Sew a loose line of stitching 3/8” (1 cm) from the raw edges. Sew a second line of loose stitching halfway between the first line and the raw edges.

Step 7: Gather gather gather. Pull the bobbin threads to gather the fabric until it is the same circumference as the smaller loop you sewed.
Check out my post Ruffles 101 - How to Gather Fabric for some tips and tricks if you’re new to gathering!


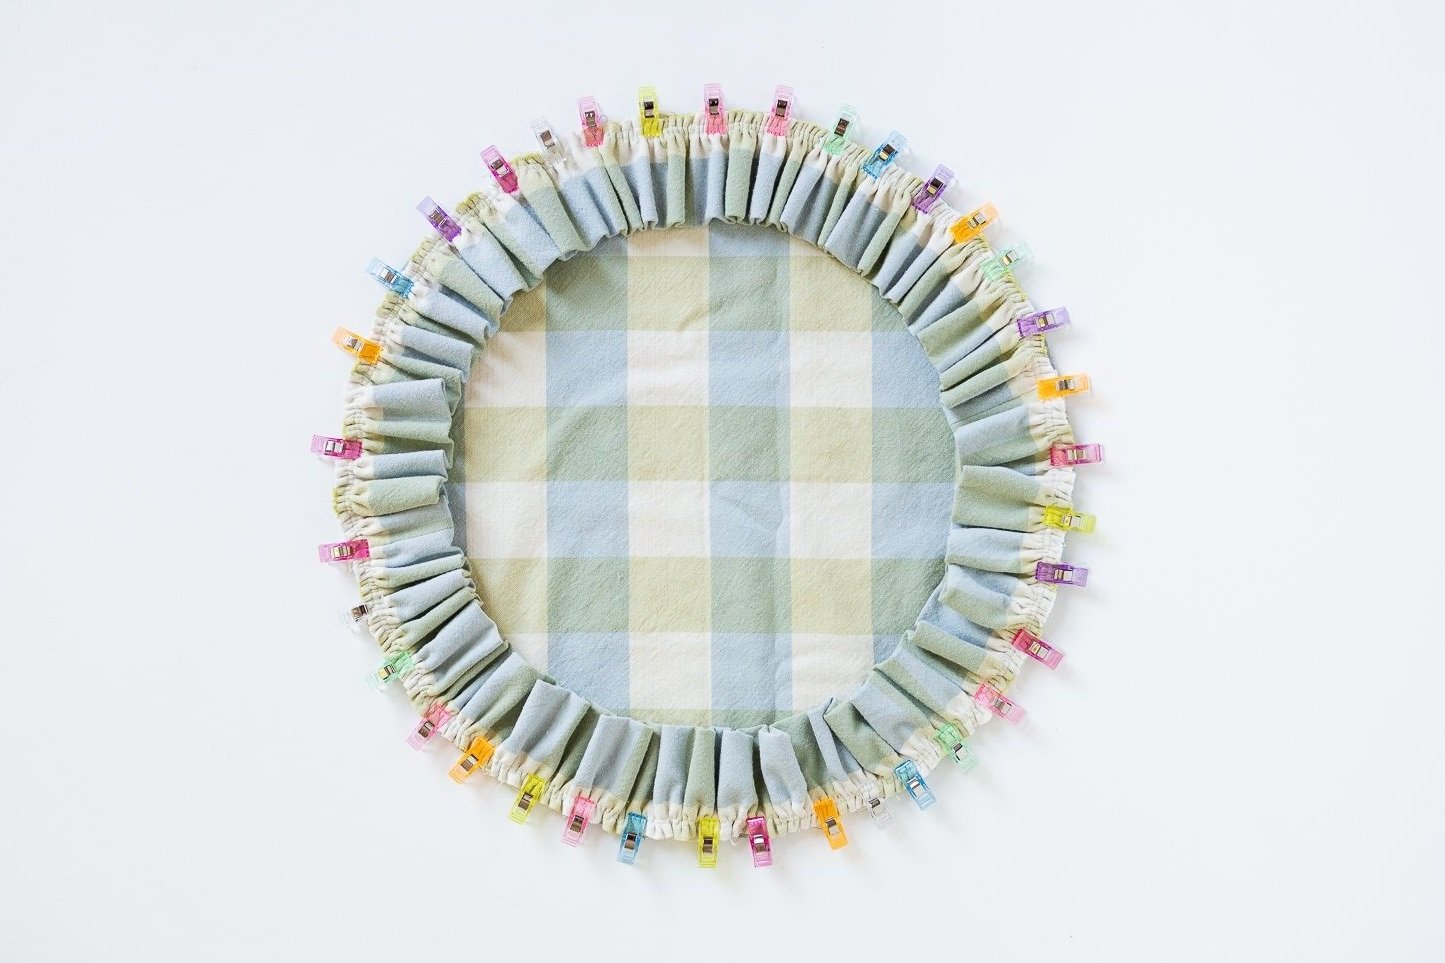
Step 8: Evenly distribute the ruffles and clip to the right side of the smaller loop. Lots of clips are always helpful when sewing ruffles.


Step 9: Sew the ruffle with 3/8” seam allowance.


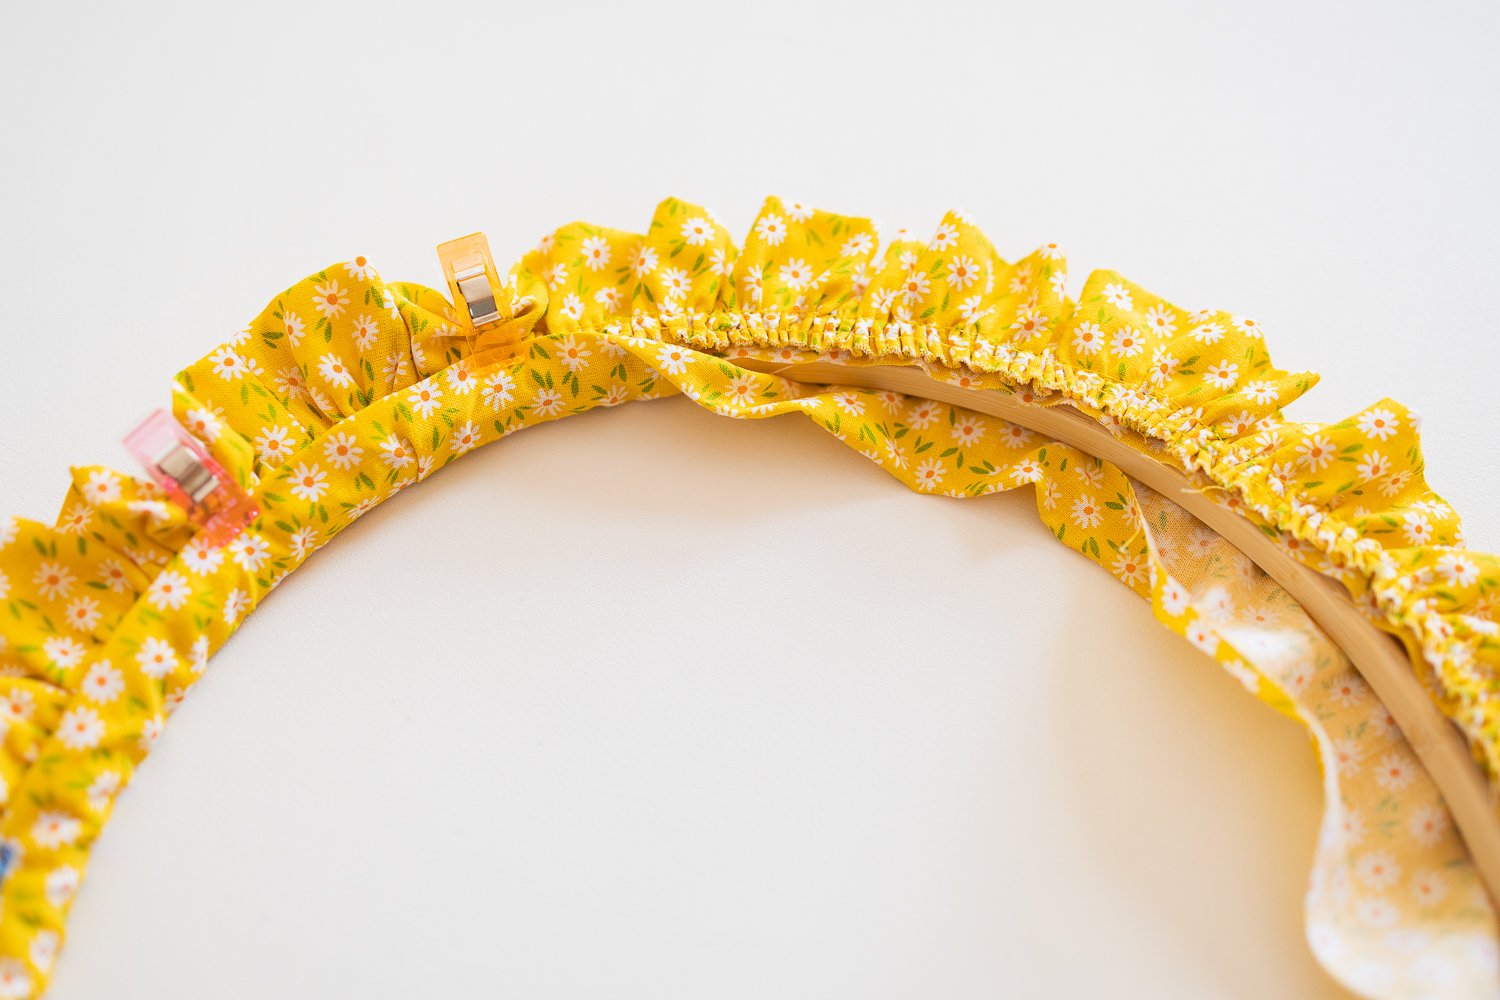
Step 10: Time to bring in the hoop. This is kind of a tricky part. Just go slowly and again use lots of clips. Place the seam allowance of the ruffle on the side of the hoop. Wrap the fabric around the hoop, tuck the raw edge under, and fold up over the ruffle seam allowance. Clip clip clip.
By the way, it’s hard to see in these photos, but keep both hoops together to make the frame wider. You could separate them and make two frames, but I like the look of the slightly wider frame. It also serves as a handy nifty mechanism for pinning a picture in place.


Step 11: Hand stitch the fabric in place all the way around the hoop. Stitch right in the seam of the ruffle to hide the stitching as much as possible.


Baby stitches.

Back view.

Front view.

Step 12: Trim a painting to size. Push thumb tacks in between the two hoops to keep the painting in place.

Step 13: Tie a short length of thread into a loop. Sling it onto a thumb tack to hang on a wall nail.


That’s it! Well done.


Details
Fabric: Quilting cotton found on sale at Joann.
Embroidery hoop: Walmart craft section.
Painting: A group of friends and I got together this spring and painted pictures of flowers by candlelight while listening to an audiobook outside. I had to chop off part of the painting to make it fit the frame, but I’m happy I hung onto the painting because I really like how the colors coordinate with this yellow fabric.
If you enjoyed this tutorial, you may also enjoy…

Everything you need to know to get started with ruffles.

Step by step photo tutorial.
Step by step photo tutorial to fill your living room with ruffled pillows.


