Oh the joy of undies!
The Olive Undies sewing pattern comes with a Thong version and a Full Bum version.
These Full Bum undies are designed to be one of the most well covering and most comfortable pairs of underwear you own.
Although this tutorial is for the Olive Undies specifically, the techniques can be applied to all your underwear and swimwear sewing adventures. Sew yeah!
This tutorial uses a serger, but fear not! A zigzag stitch substitutes seamlessly (haha punny).
Let’s jump in
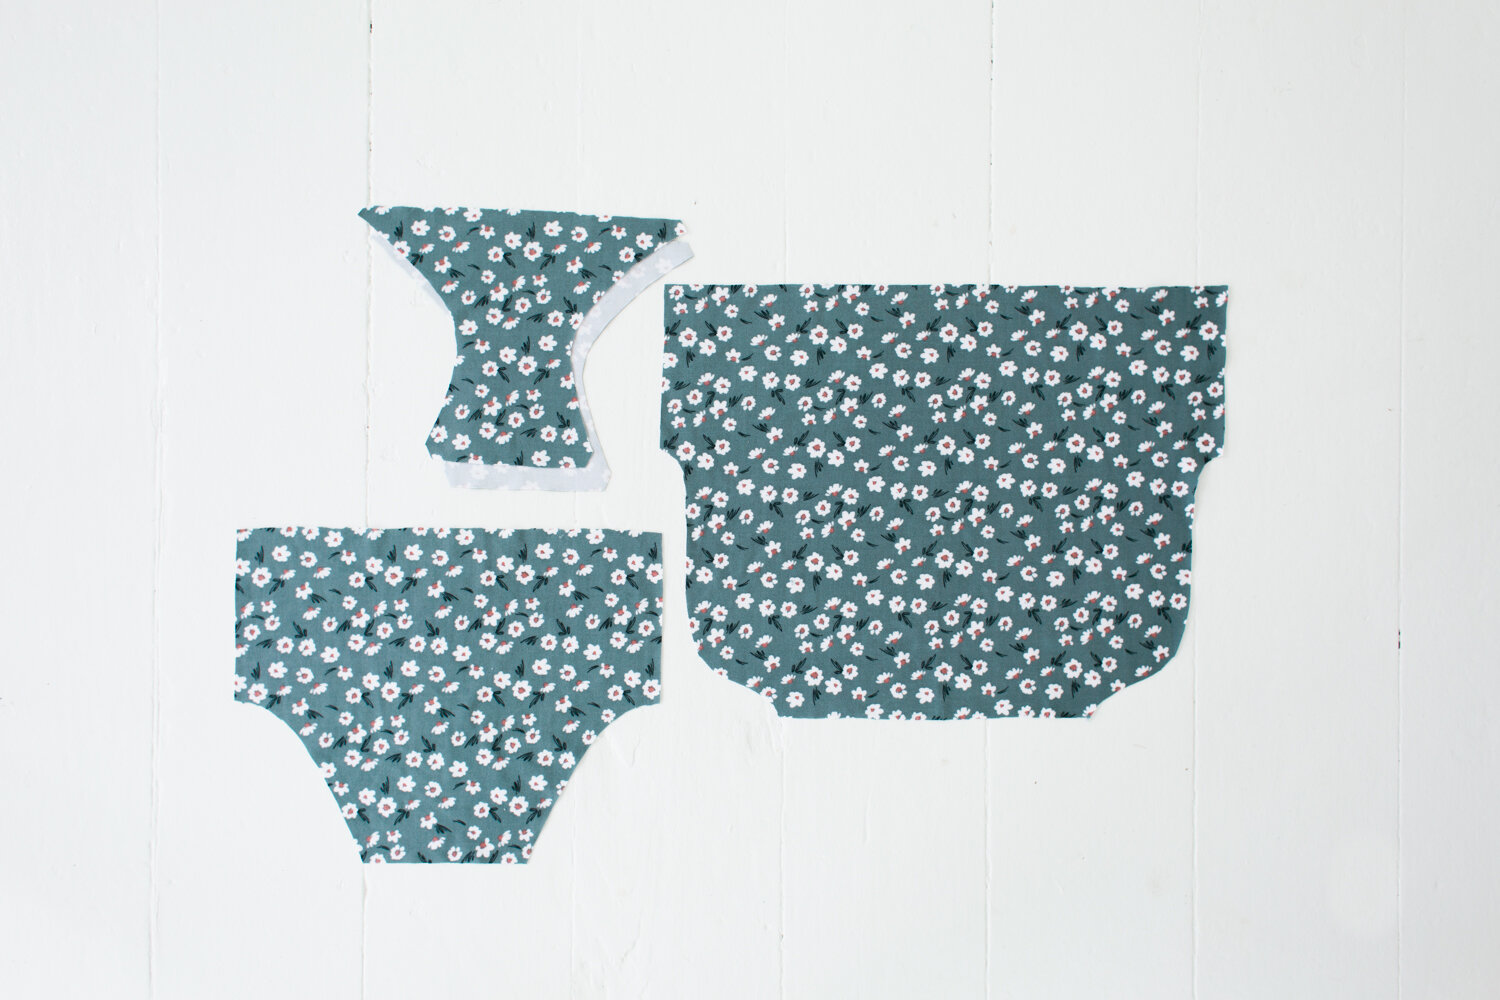
Step 1: Cut out all the pieces with stretchy fabric that makes you smile.
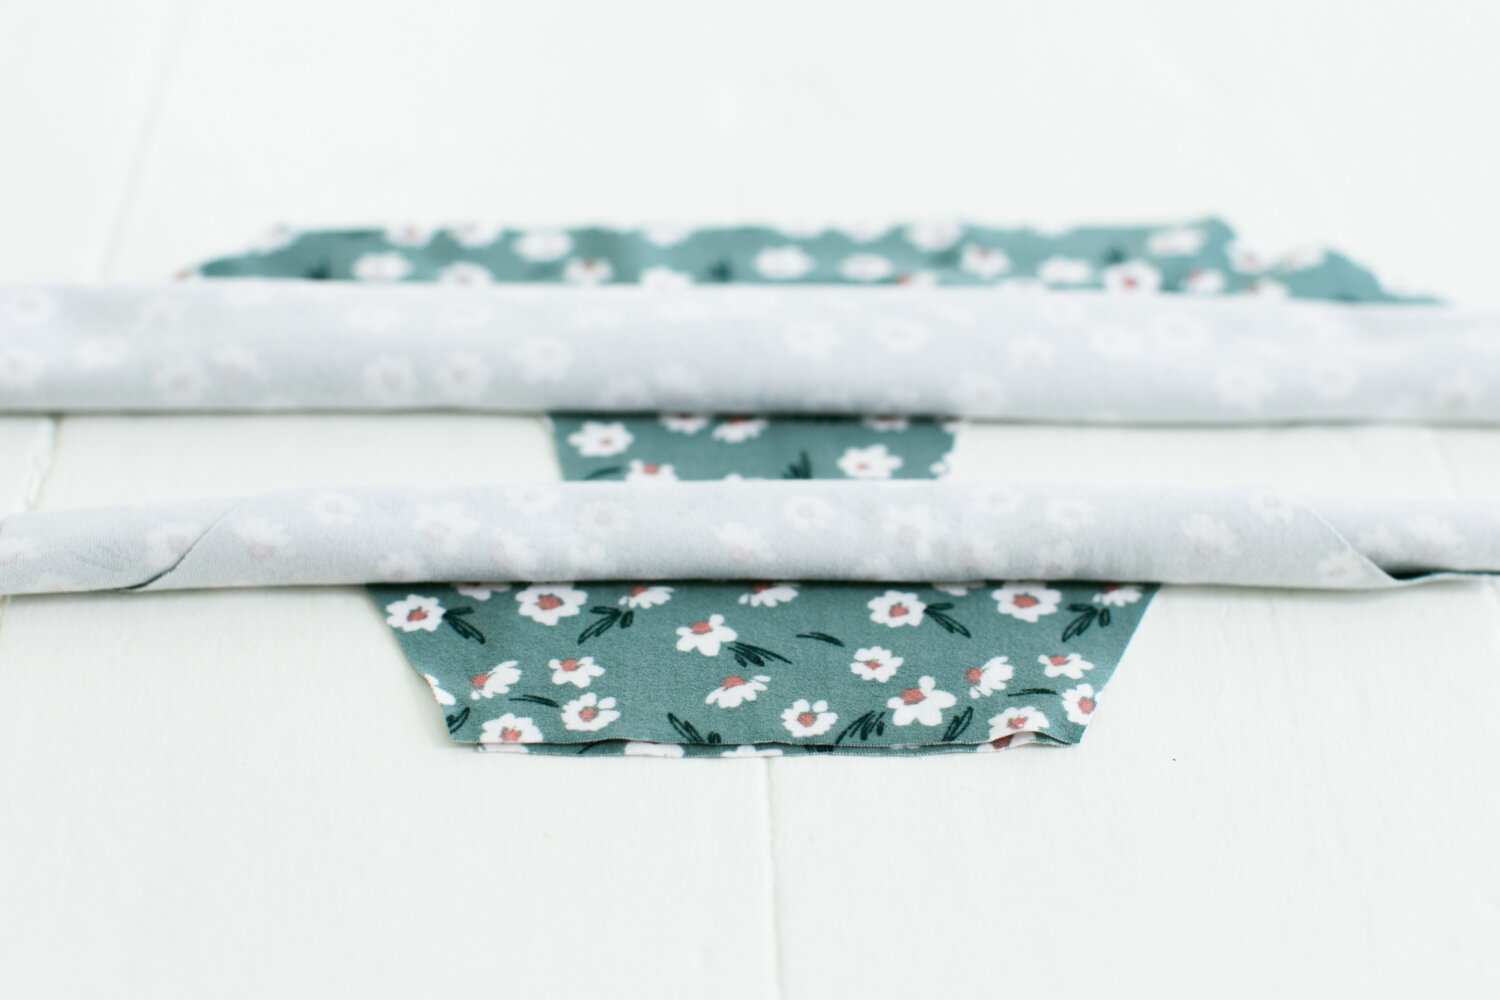
Step 2: Place the Front and Back pieces right side up. Place them so their tops are facing each other.
Step 3: Roll the tops of both pieces down toward the crotch.
Step 4: Place one of the Crotch pieces right side up underneath. Match up the edges.
Step 5: Place the other Crotch piece right side down on top. Clip or pin in place.
At this point the Front and Back pieces are sandwiched in between the two Crotch pieces.
Step 6: Sew with 3/8” (1 cm) seam allowance using your stretch stitch of preference.
Step 7: Trim seam allowance.
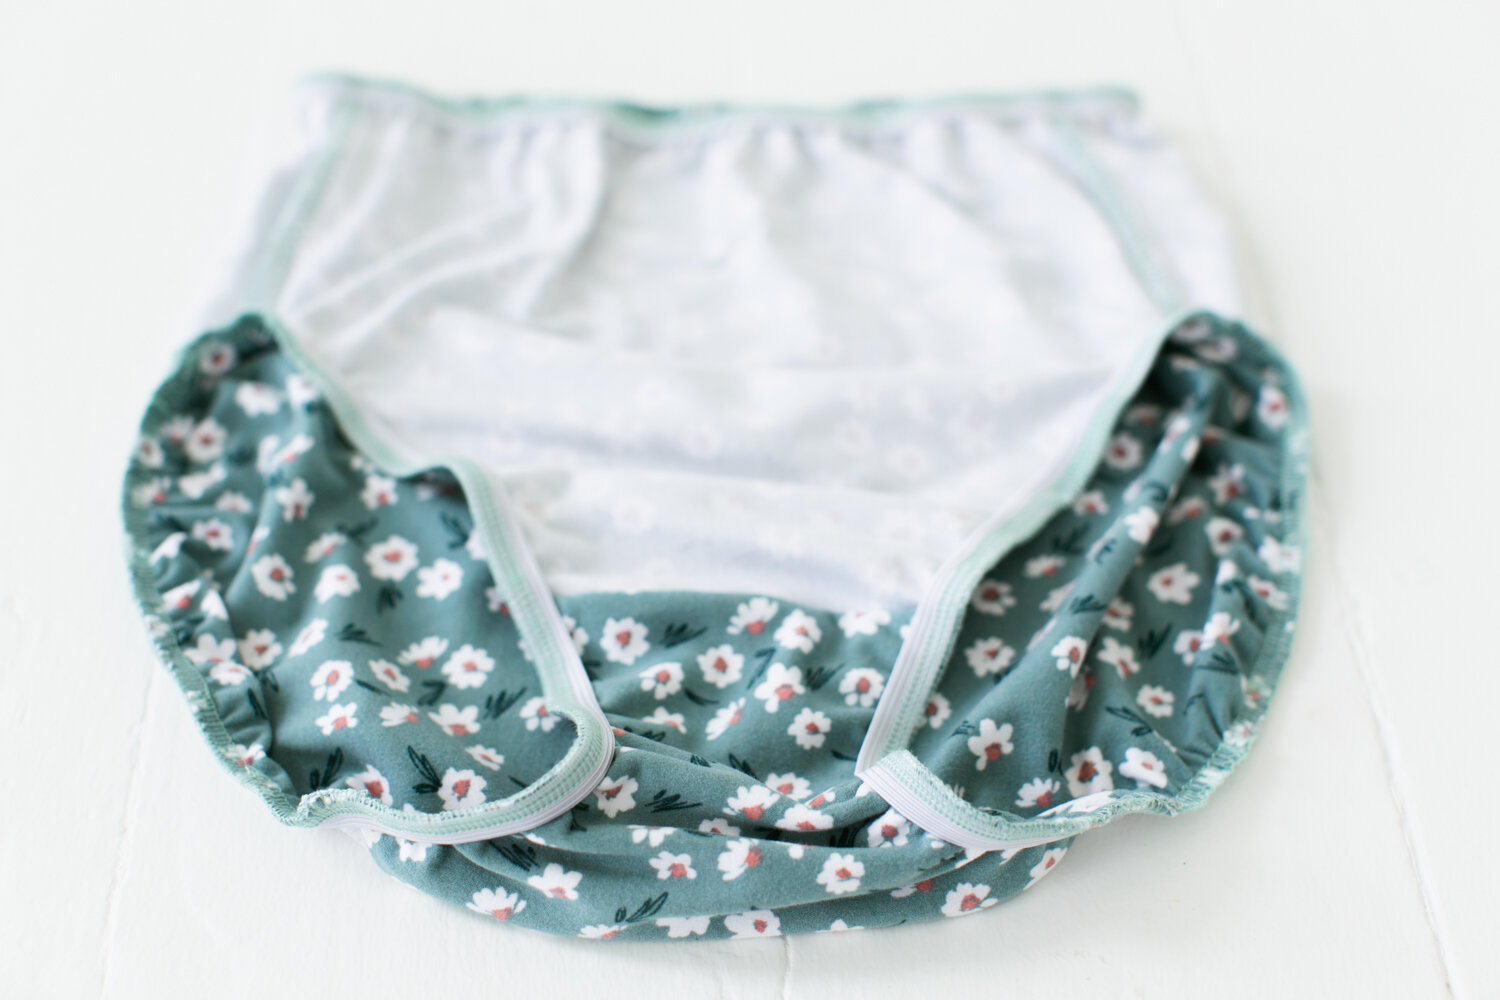
Step 8: Turn the underwear right side out through the crotch.
Step 9: Trim off any corners sticking out from the seams.
Step 10: Line up the side seams. Clip or pin in place.
Step 11: Sew side seams with 3/8” (1 cm) seam allowance using your preferred stitch.
If you have a serger, serge edges for a nice finish.
Step 12: Cut the leg and waistband elastic. Refer to the chart in the pattern to see what lengths to cut for your size.
Step 13: Overlap the ends 1/2” (1.3 cm) and zig zag stitch.
Step 14: Clip or pin the elastic in four even sections around the waistband. Fold the undies in half to find the halfway points.
Step 15: Line up the edge of the elastic with the edge of the fabric. Serge or zig zag stitch all the way around.
Tips for getting started with elastic
a) Make sure the foot and needle of your machine are up.
b) Spread the elastic tight between two fingers. Slide it under the foot. Put the foot and needle down to hold it in place.
c) Grab the elastic with one hand in front of the machine and the other hand in back. Stretch out the elastic to the next place it’s clipped or pinned to see how tight it is supposed to be.
d) Stretch out the elastic with your hands. Let the machine pull it through at its own speed. Don’t push or pull with your hands, just let the machine do the work while your hands keep the elastic tight for it to sew easily.
e) Sew one small section at a time. Sew. Tighten a section. Sew. Tighten a section.
Step : Repeat the steps to sew on the elastic evenly around the legs.
Step 16: Fold over the elastic once toward the wrong side. Stitch all the way around with zig zag stitch. Overlap the beginning and end of the stitching 1” (2.5 cm). No back stitching.
For the waistband, start stitching in the back or on one of the sides.
For the legs, start stitching on the crotch.
That’s it! Well done!
If you’d like to grab the Olive Undies sewing pattern, you can get it here!


