For the Love of Simple Sewing - French Seams without Ironing or Trimming or Pinning

French seams are such a pleasant way to finish the insides of a bag or garment. And the truth is, they don't have to take that much time. 

Here is a quick photo guide on how to sew French seams without any trimming or ironing or pining. 

Step 1: Place wrong sides together and line up the edges of the seam you want to sew. 

sarah-kirsten-simple-sewing-french-seams

Step 2: Sew the pieces together with a 1/4" seam allowance. Depending on the thickness of the fabric you are using and its propensity to fray, you may want to increase the allowance of the seam a little bit. 

sarah-kirsten-simple-sewing-french-seams02

Step 3: Turn inside out so the right sides are together. 

sarah-kirsten-simple-sewing-french-seams03
sarah-kirsten-simple-sewing-french-seams04
sarah-kirsten-simple-sewing-french-seams05

Step 4: Press the seam flat with your fingers up and down the whole length of the seam.

sarah-kirsten-simple-sewing-french-seams06
sarah-kirsten-simple-sewing-french-seams07

Step 5: Sew over the same seam with a 3/8" seam allowance. Again, depending on the thickness of the fabric you may want to increase the seam allowance slightly. Just be sure that whatever allowance you used on the first seam, you use a slightly larger allowance on this second seam. 

sarah-kirsten-simple-sewing-french-seams08

Step 6: Admire your beautifully finished seam!

sarah-kirsten-simple-sewing-french-seams09

101 Sewing Hashtags to Grow Your Instagram Community.

simple sewing patterns sarah kirsten

It was shocking, really, to discover how quickly my Instagram community could grow with the help of a few hashtags. If you're like me, you probably know you ought to be using more hashtags, but they are such a pain to find and save!

Well... good news! I put together a list of 101 sewing related hashtags that you can use on any post relating to sewing!

Instagram allows you to use 30 hashtags per post, and it's a good idea to mix up the hashtags so you don't use the exact same ones each time. 

What I like to do is make a few batches of hashtags and put them in the notes on my phone. Then every time I post I copy one of the batches and paste it into the comments right after I post. 

Most of these are general and applicable to all sewing related topics, though some of these are for specific things (such as #selfdrafted or #indiepatterns). I would also like to note that I did my best to research each of these to make sure they are not connected to a specific company or account, And I would like to mention two specifically. #millennialsewing is a delightful hashtag started by @maddiemadethis. And #sewingisselfcare is another delightful hashtag started by @sewliberated

Without further ado, here are 101 Sewing Hashtags (actually there are 102...) in alphabetical order. 

Get them now

An email with a PDF download will be sent right to your inbox!

    HASHTAGs: 

    #collectivelycreate

    #createeveryday

    #diyfashion

    #fabric

    #fabricheaven

    #fabrics

    #fortheloveofsewing

    #handmadecloset

    #handmadeclothes

    #handmadeclothing

    #handmadeisbetter

    #handmadestyle

    #handmadewardrobe

    #homemadewardrobe

    #homesewing

    #homesewn

    #ilovesewing

    #ilovetosew

    #imadethis

    #imakefashion

    #imakemyclothes

    #imakemyownclothes

    #indiepatterns

    #indiesewfabric

    #indiesewing

    #instasew

    #isew

    #isewmyclothes

    #isewmyownclothes

    #lovetosew

    #makedoandmend

    #makeitsewcial

    #makersgonnamake 

    #makersgonnashare

    #makesmthng

    #memadeeveryday

    #memadewardrobe 

    #millennialsewing 

    #modernsewist

    #patternfreesewing

    #pdfpattern

    #refashion

    #seamstress

    #selfdrafted

    #selfdraftedpattern

    #selfdraftedpatterns

    #selfishsewing

    #selfsewn

    #sew

    #sewallthethings

    #sewcialist

    #sewcialists

    #sewclothes

    #sewcute

    #sewdelightful

    #sewersgonnasew

    #sewersofinstagram

    #sewhappy

    #sewing

    #sewingaddict

    #sewingdresses

    #sewingforboys

    #sewingfriendsarethebest

    #sewingfun

    #sewingisfun

    #sewingismypassion

    #sewingismysuperpower

    #sewingisselfcare 

    #sewingissexy

    #sewingleftovers

    #sewinglife

    #sewinglove

    #sewinglovers

    #sewingmama

    #sewingpatterns

    #sewingproject

    #sewingskills

    #sewingtime

    #sewist

    #sewistsofinstagram

    #sewlittletime

    #sewmyheartout

    #sewn

    #sewsewsew

    #sewtimeless

    #sewunique

    #sewyourheartout

    #sewyourown

    #sewyourownclothes

    #sewyourstash

    #slowfashion

    #slowfashionmovement

    #slowliving

    #slowlivingforlife

    #slowsewing

    #stashbusting

    #summersew

    #summersewing

    #thriftedfabric

    #wearethemakers

    #wearhandmade

    #wintersewing
     

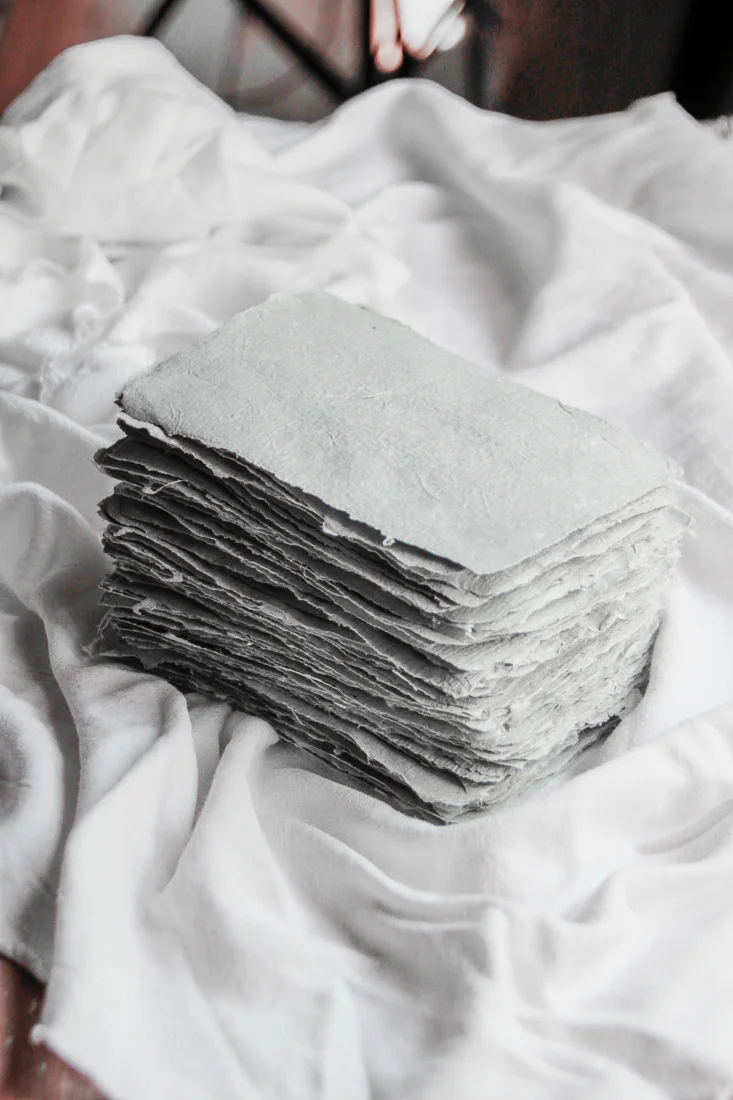
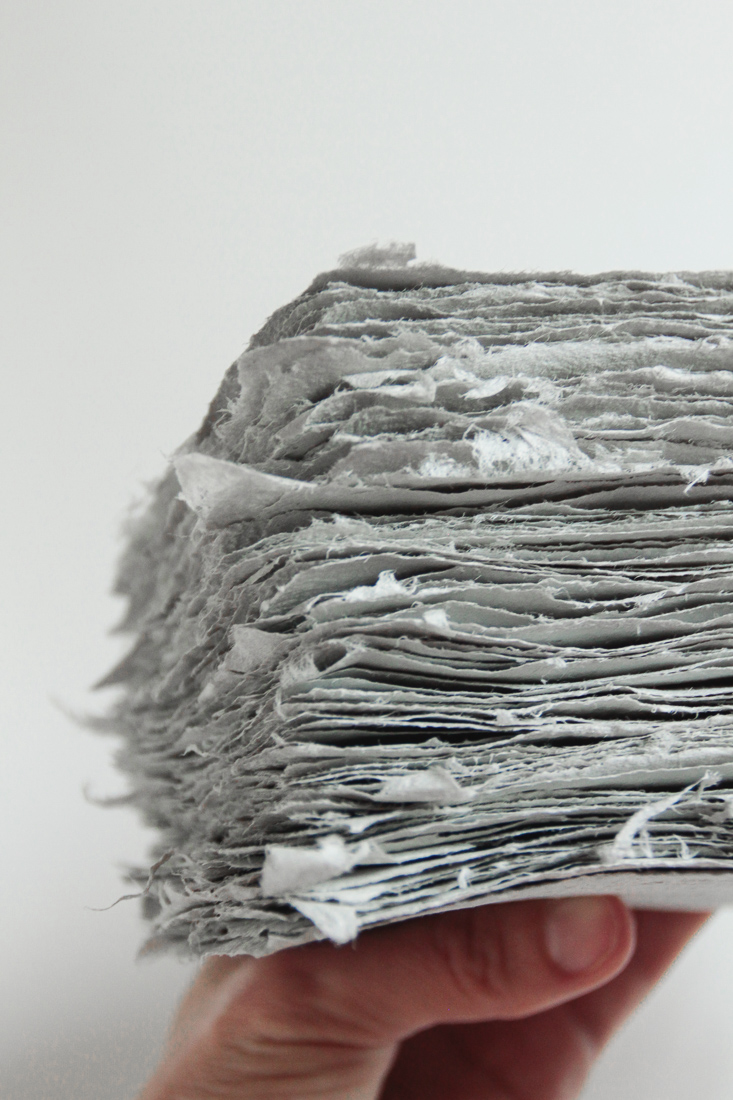
    Making Paper with Newspaper and Fabric Scraps

    paper-making-with-fabric-scraps-and-newspaper-14

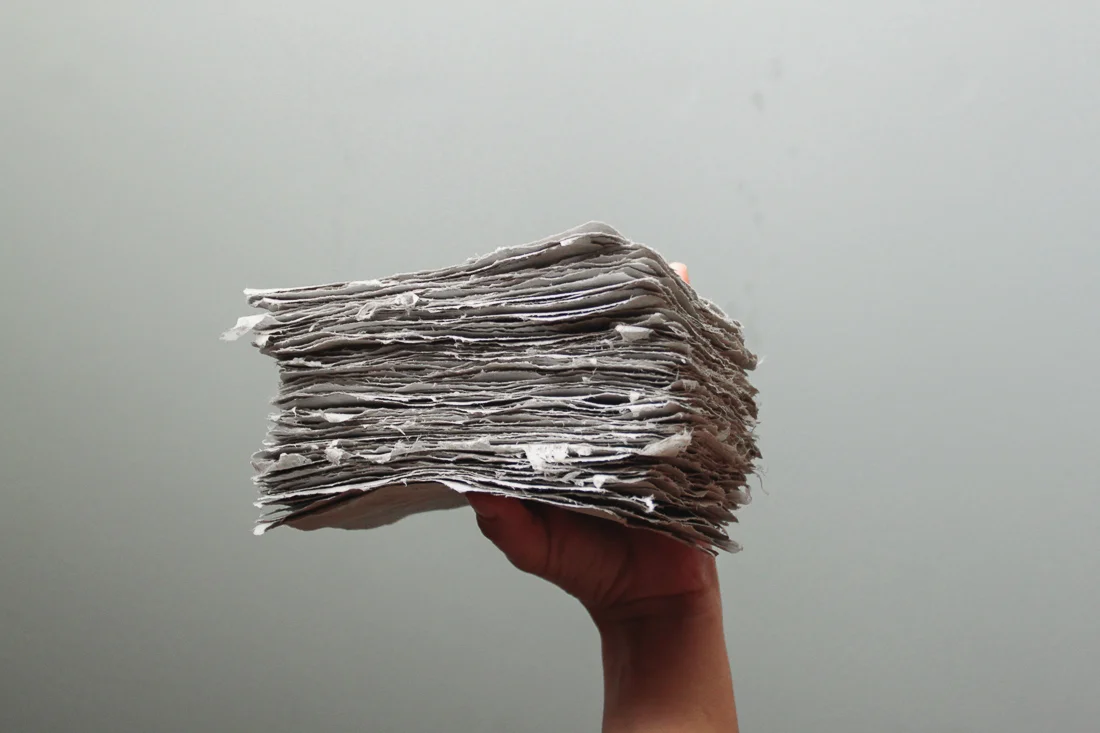
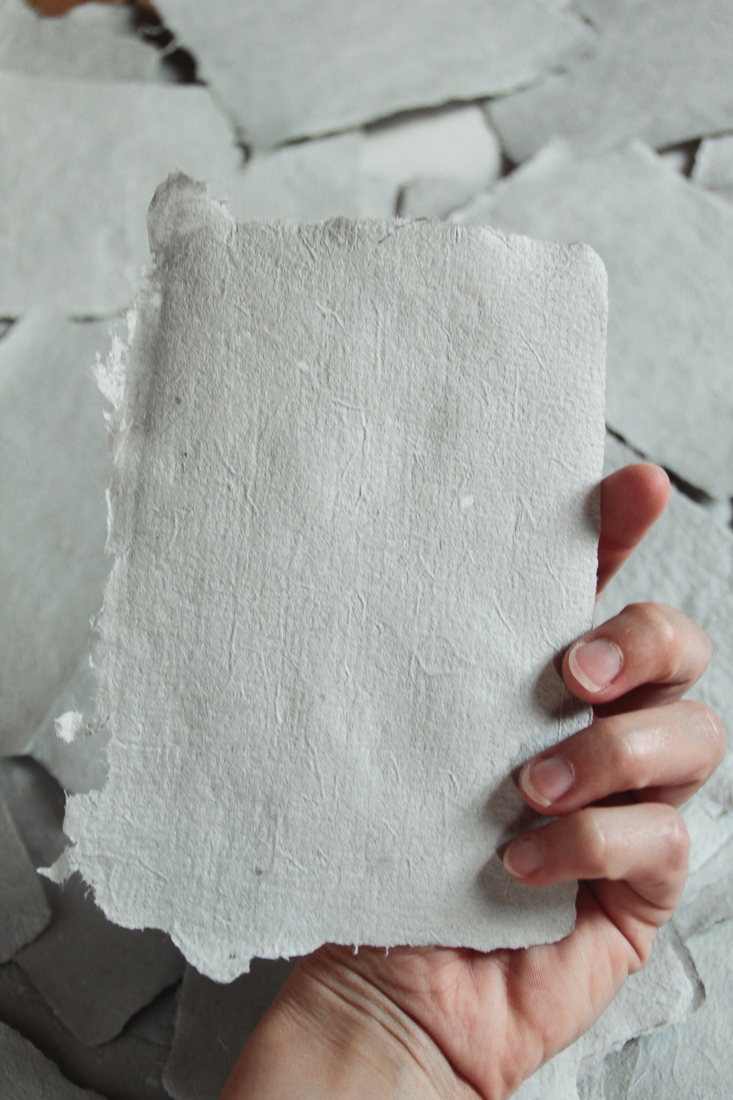
    Truth be told, I was hoping this would be a good way of using my fabric scraps... if I was making hundreds of sheets of paper every week it undoubtedly would be. Since I'm not, it isn't exactly the most effective way to use scraps. But that said, it's still a really neat process and the texture and color of the paper when mixed with newspaper is really beautiful. 

    If you'd like to make your own, here is a rough guide: 

    Supplies:

    • Fabric scraps

    • Newspaper

    • Blender

    • Two picture frames with a flat side

    • Screen

    • Lots of towels

    • Iron

    Directions: 

    1. Trim fabric scraps very, very small. I used linen/rayon and cotton scraps.

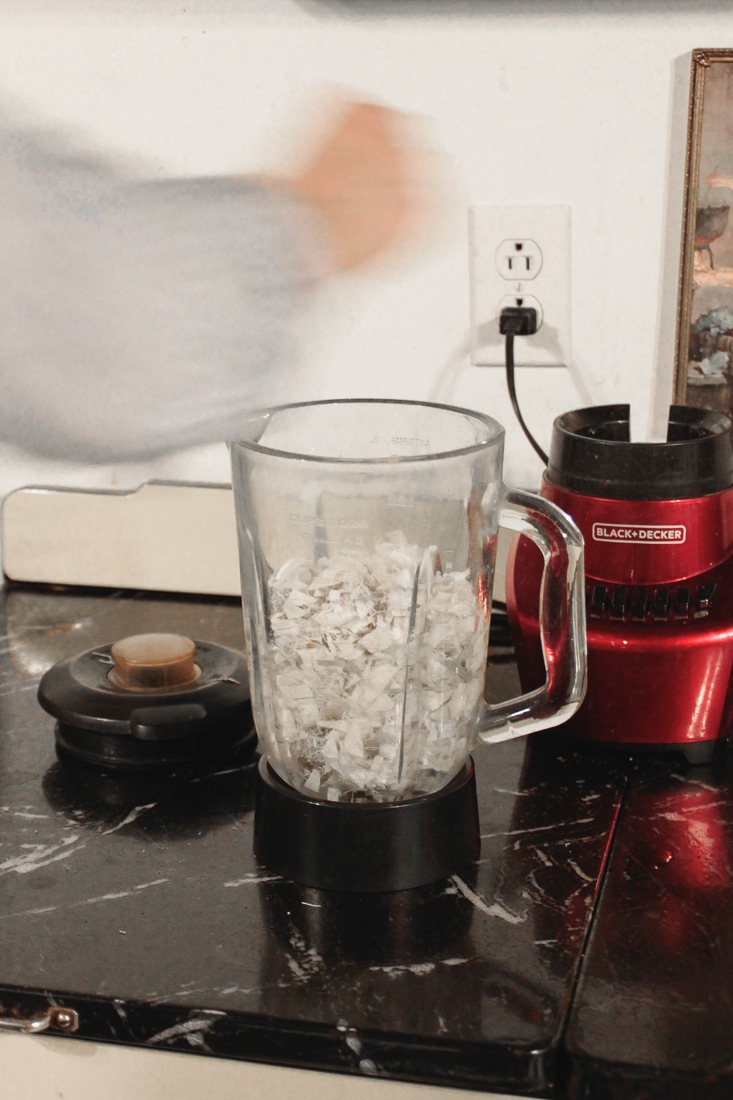
    2. Add a few scraps and water to the blender and blend them up until the scraps turn into a pulp consistency.

    3. Tear up some newspapers, add them to the blender with more water and blend them together. (Note: I actually broke my parents' blender doing this because I had too much in there at one time. Do small batches!)

    4. Pour the mixture into a large basin with lots of water.

    5. Place a screen in between two picture frames and scoop out the pulp.

    6. Place the paper face down on a towel and press out the excess water.

    7. Iron dry and set under something large and heavy so the paper flattens.

    8. Enjoy your new paper and try very hard to not be so attached to it that you never actually use it for anything.

    paper-making-with-fabric-scraps-and-newspaper-01
    paper-making-with-fabric-scraps-and-newspaper-02
    paper-making-with-fabric-scraps-and-newspaper-15
    paper-making-with-fabric-scraps-and-newspaper-04
    paper-making-with-fabric-scraps-and-newspaper-05
    paper-making-with-fabric-scraps-and-newspaper-06
    paper-making-with-fabric-scraps-and-newspaper-07
    paper-making-with-fabric-scraps-and-newspaper-08
    paper-making-with-fabric-scraps-and-newspaper-10

    At this point, you can either let the paper dry on the towel, or you can iron them dry. I prefer to iron them so they dry flatter and the imprint from the screen is smoothed out. 

    paper-making-with-fabric-scraps-and-newspaper-13
    paper-making-with-fabric-scraps-and-newspaper-11
    paper-making-with-fabric-scraps-and-newspaper-12
    paper-making-with-fabric-scraps-and-newspaper-15