Designing your own boxy pouch with the exact dimensions you want has never been easier. Enter your desired length, width, and height of the finished pouch, and the calculator will tell you what dimensions to cut the fabric!

This calculator works for inches and centimeters. If using inches, the seam allowance you plan to use must be in decimal form. Common seam allowances in decimal form: 3/8 = 0.375 1/2 = 0.5 5/8 = 0.625 3/4 = 0.75
You can either design the pouch to use a zipper length commonly available, or you can trim any zipper that is longer than the needed length down to the pouch size.
If you’re curious about the math formula the calculator is using, check out this blog post. I explain the math and how you can do the formula yourself if you’re interested.
Pouch Instructions
There are are few different methods to sew these little pouches with lining. Using the French seam method is nice because it’s fast and gives the bag more structure. Here’s how to do it.
(Note: The dimensions used in these instructions may not reflect what your pattern pieces look like. Depending on the dimensions of your pouch, your “Length” may be longer than the“Width” — unlike these illustrations. Just remember the zipper always goes on the “Length” side!)


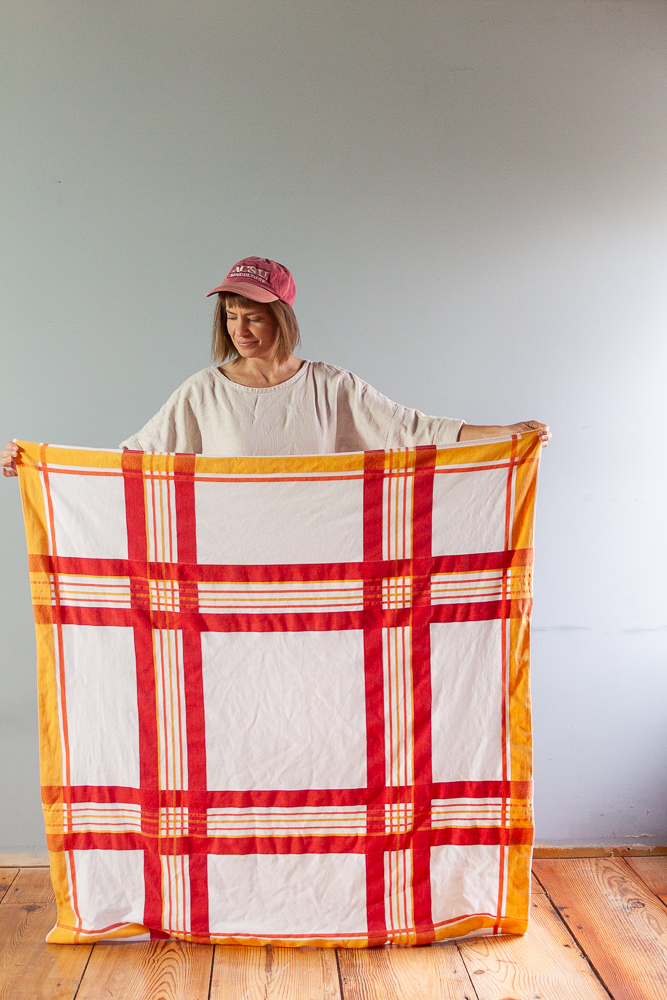
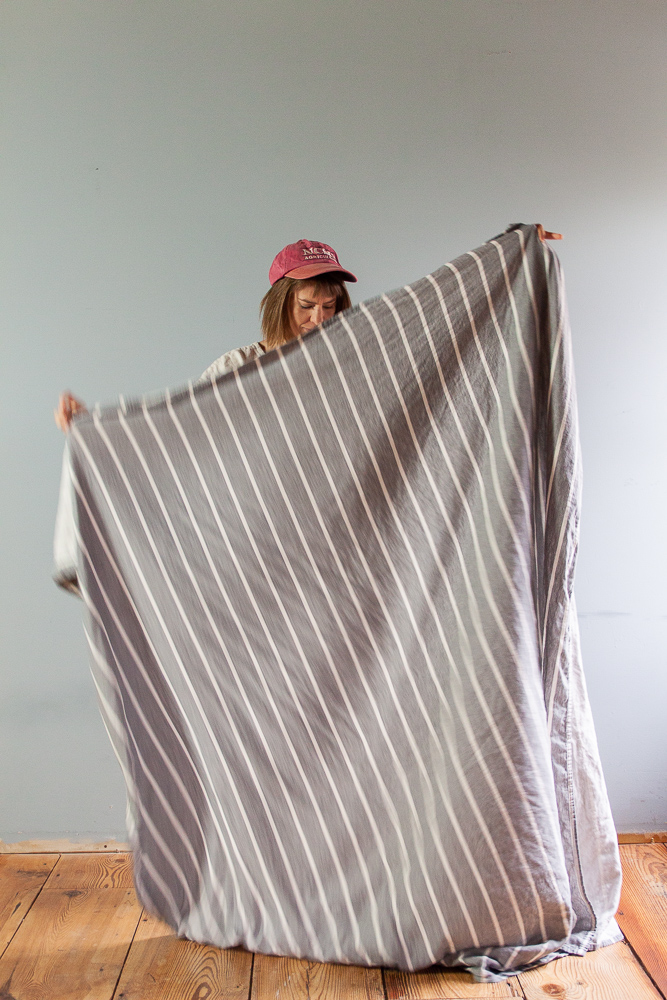
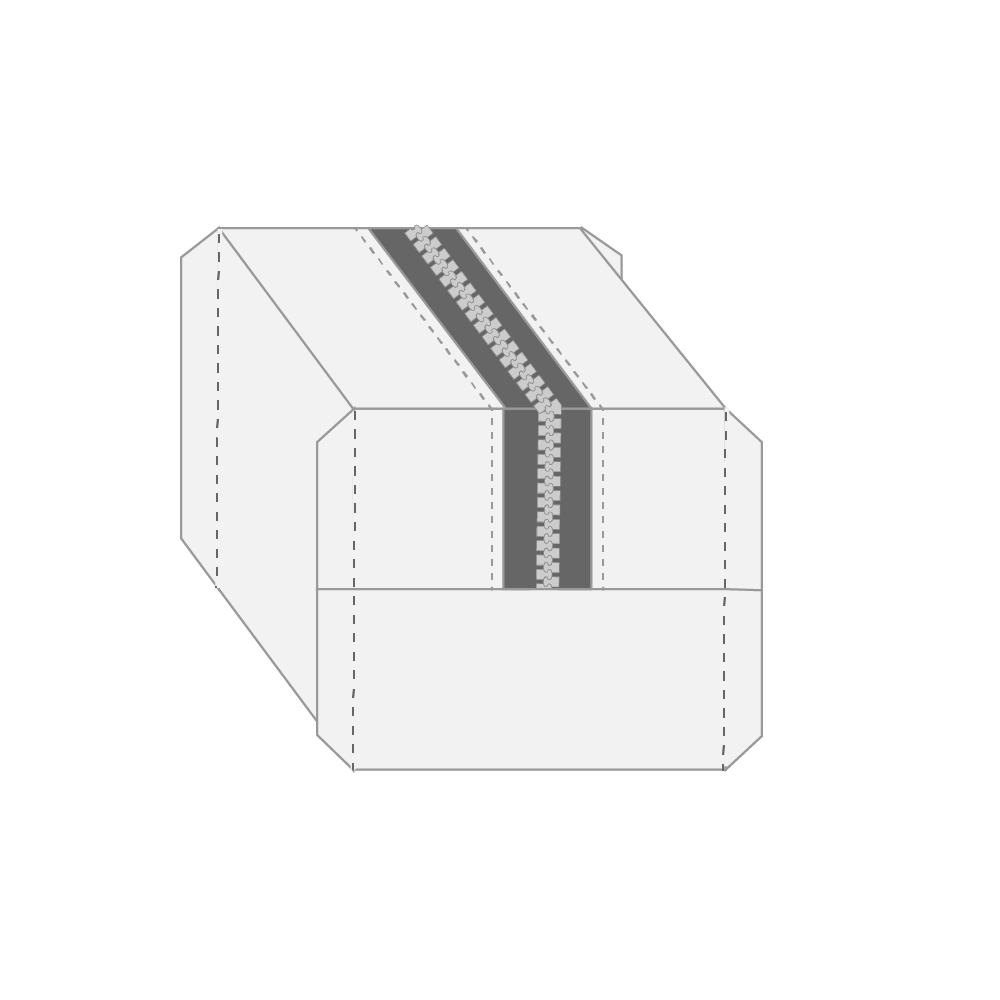
1) With the dimensions provided by the Pouch Pattern Calculator, cut 1 outer layer and 1 lining. Interfacing too, if you want the pouch to have more structure.

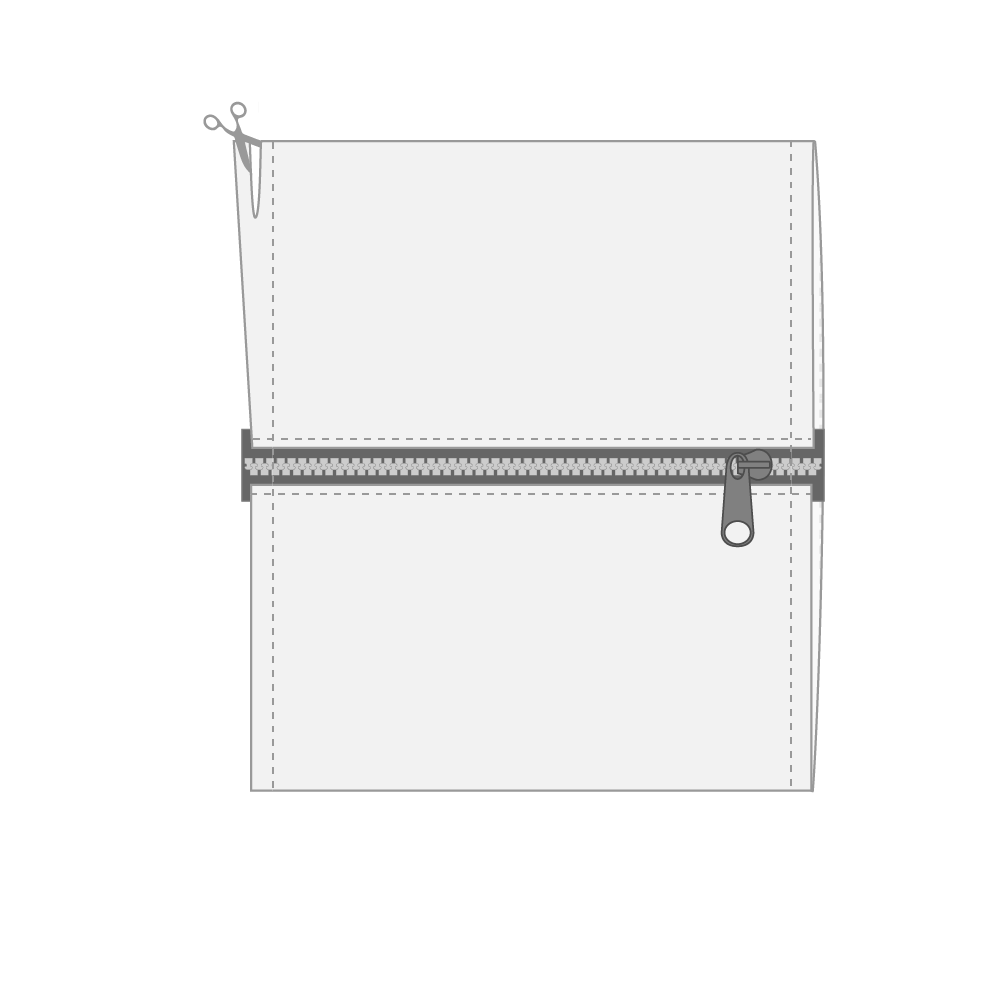
2) Place the lining and outer layer with right sides together and sandwich the zipper inbetween. The right side of the zipper should be facing the outer layer. Line up the edges and sew the whole length of the seam through all layers with the seam allowance you entered in the calculator.
If you are using interfacing, place the interfacing on the wrong side of the outer layer. (Interfacing not shown in illustrations.)

3) Flip the other edges of the fabric up and sew the ends to the other edge of the zipper using the same seam allowance.

4) Roll and tuck the outer layer over the lining so the pouch is right side out.
5) Press the fabric away from the zipper and edge stitch down each side of the zipper 1/8” | 0.32 cm from the edge of the seam.

6) With the zipper exactly in the middle of the pouch, line up the edges and sew both sides through all layers using the seam allowance you entered into the calculator.
7) Trim seam allowance to 1/4” | 0.64 cm prepare the edge for French seams.

8) Turn the pouch inside out. Press the seams flat. Sew French seams by sewing along the same seams with the seam allowance you entered in the calculator so the raw edges are totally encased by the new seams.
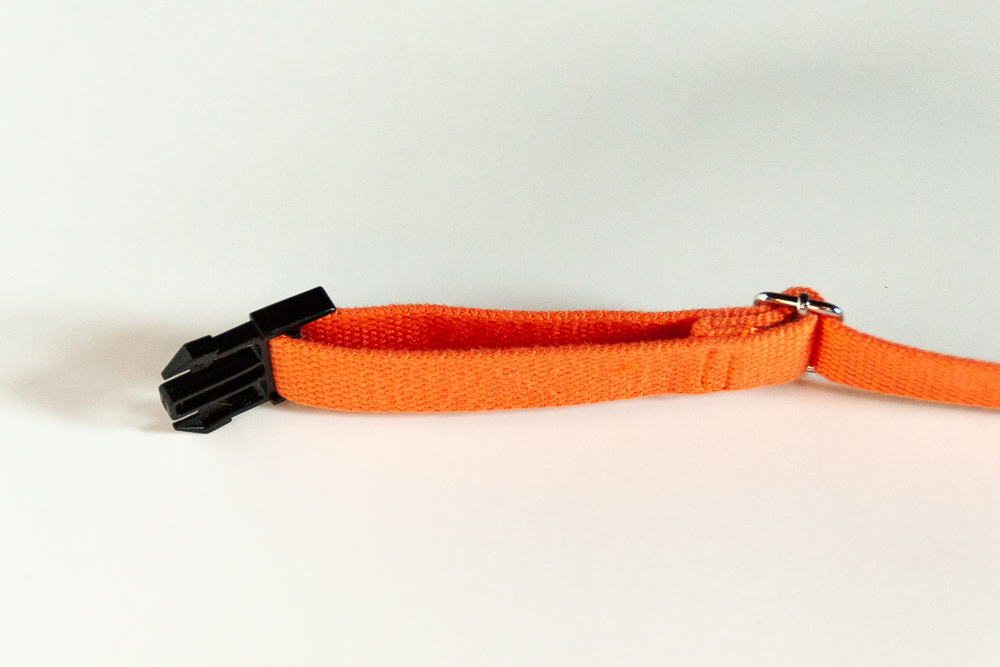
Tip - Depending on the length of zipper you are using, it may be helpful to cut off some of the teeth on the end so it can bend into the French Seam more easily.
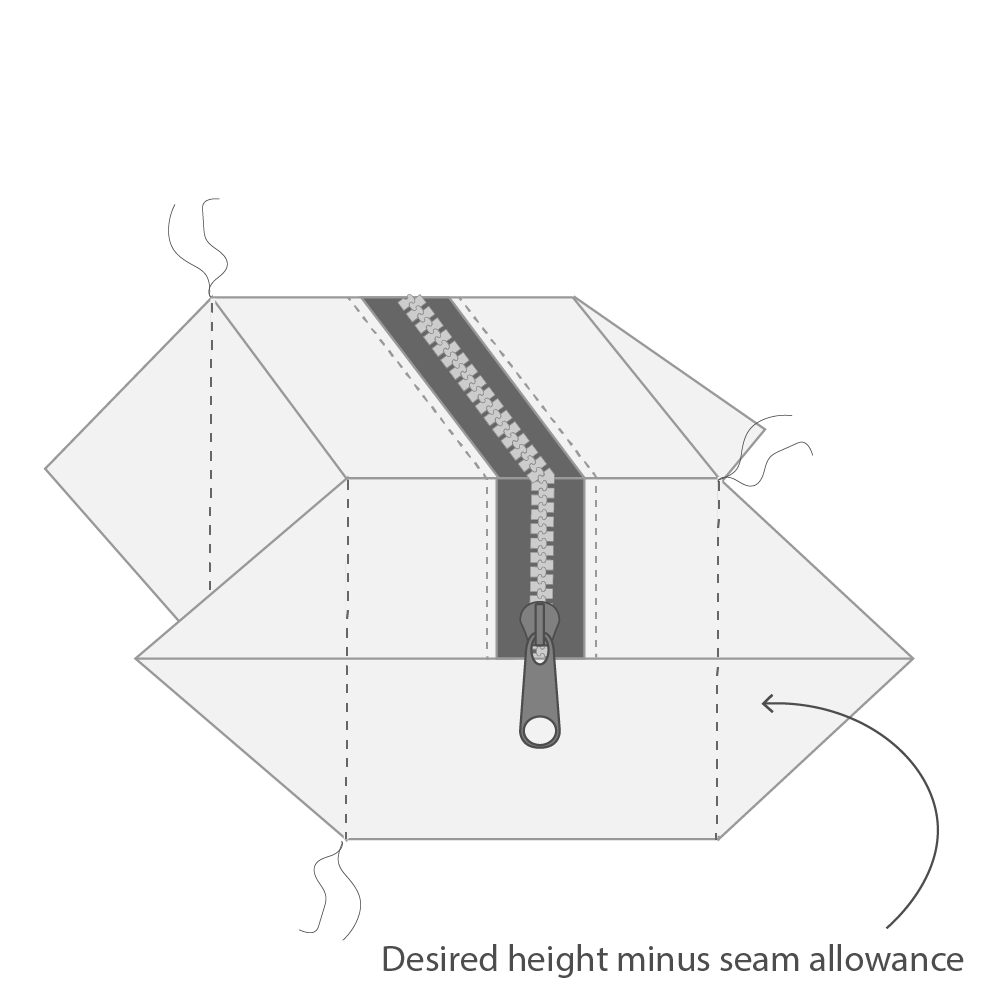
9) Turn the pouch right side out. Push out the corners of the pouch and stitch where the length across the triangles is your desired height (the height you entered in the calculator) minus your seam allowance.
For example, if you want the pouch 4” high and are using a 1/2” seam allowance, you want to stitch where the triangles are 3 1/2” across.
10) Trim the triangles to a 1/4” | 0.64 cm seam allowance.

11) Turn the pouch inside out. Press out seams you just sewed. Resew them with the seam allowance you entered into the calculator so the raw edges are completely encased by the new seam (French seams).
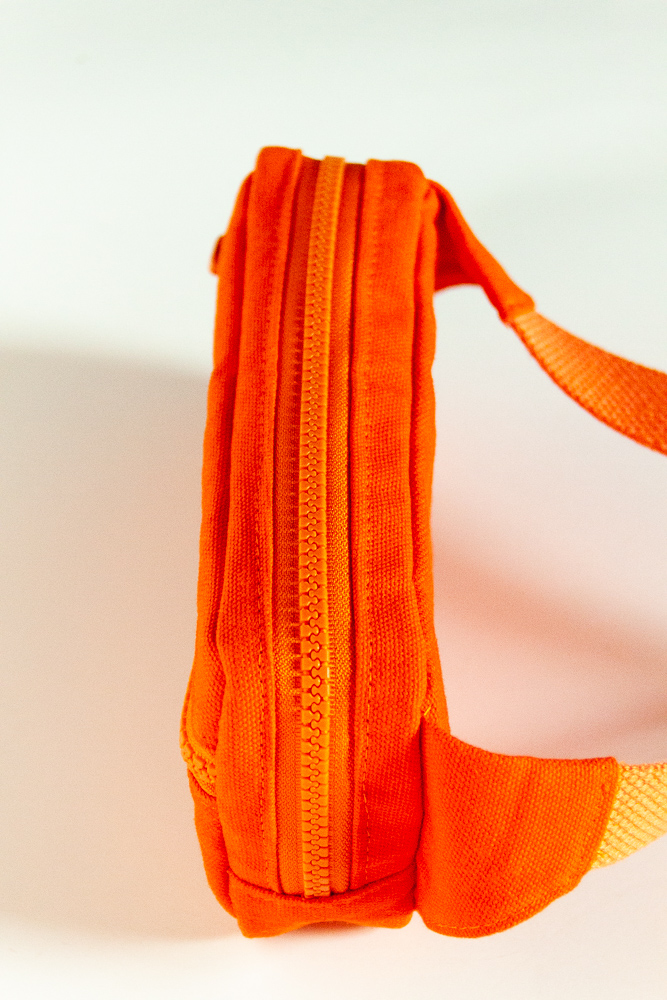
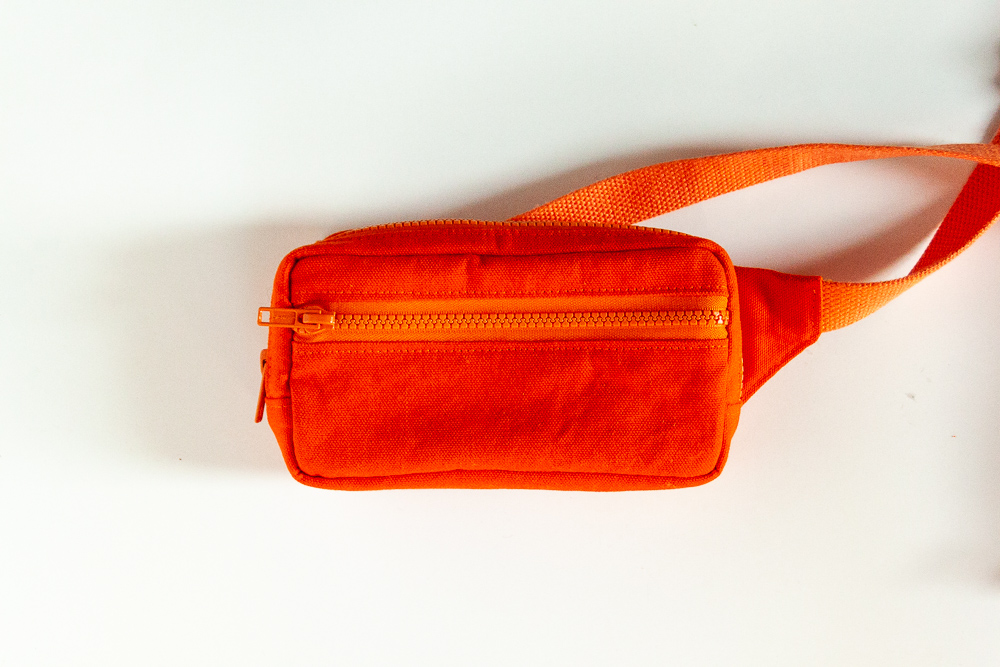
12) Turn the pouch inside out. It’s finished! Ready to be filled with all sorts of lovely things.

If you enjoyed this, you may also enjoy the Tote Bag Calculator. It works the same way as the Pouch Pattern Calculator. Enter the length, width, and height of your desired tote and it will calculate what dimensions to cut the fabric.