Behind the Scenes - How I Made My Parents House Video

I recently posted this video, and I wanted to show you the more messy parts of how I made it.

One principle I see over and over again is that anytime something is birthed, it’s messy. I grew up on a farm and have seen many, many, many births. It’s always messy and painful. But the result is beautiful.

The same goes for creation of our projects.

Here’s my messy creation process

1) The best thinking happens while driving for me. I go on long drives just to come up with ideas. The idea for this video came on a drive, so I recorded the basic structure of how I wanted the story to go into my phone while rolling along the river.

2) Sitting on my bed a few days later, I re-recorded the story into my phone (much quieter in my house than in my car) in sections. At first I tried to record the whole thing straight through, but that was hard to not mess up, so I recorded it in 14 parts.

 
How to birth a creative project - Sarah Kirsten
 

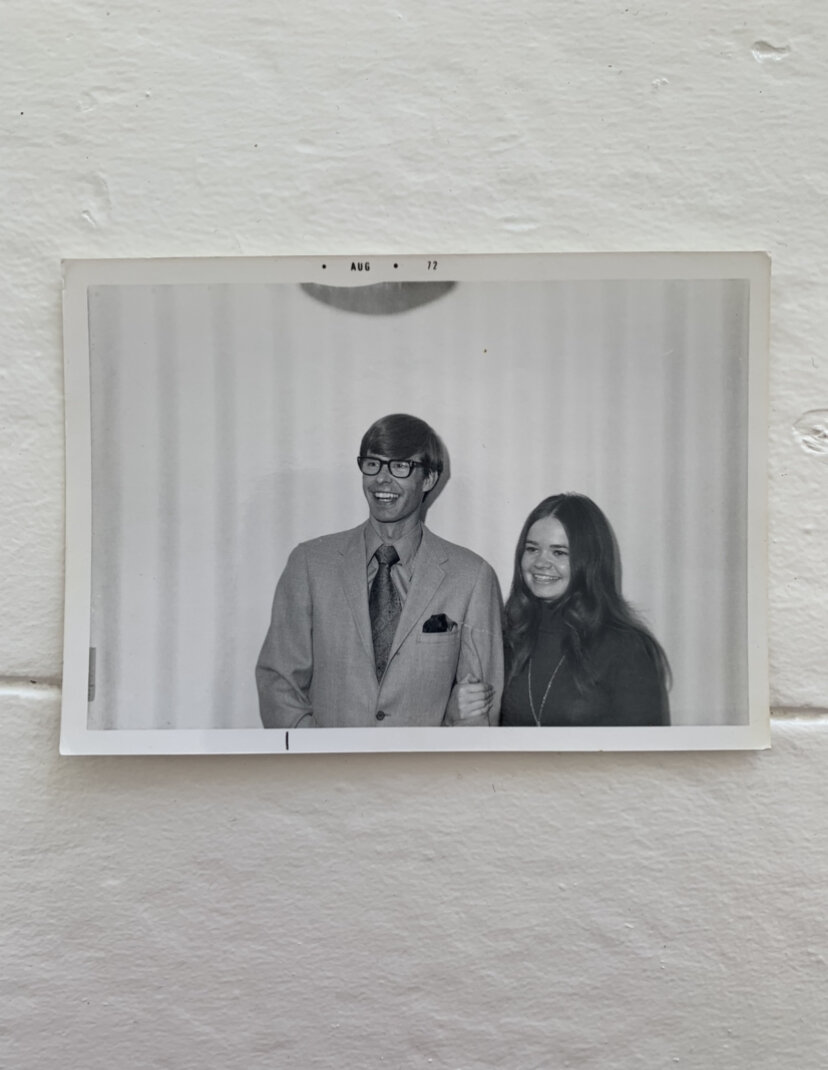
3) I went through hundreds of photos at my parents house (on multiple occasions). I was looking for:

  • Photos of construction work on the house

  • Photos of the family

  • Photos of the new farm location

  • Photos of Grammie and Papa

  • Photos of my parents

My original idea was to tell the story through props. I was going to use popsicle sticks to build the house and a little toy truck to haul the house down the road. I went to the store and bought supples, and then went back to get even more supplies. But I couldn’t quite get it the way I wanted. So I scraped that idea and realized photos were a good option.

Birthing a creative project - Sarah Kirsten

4) It was a task to sort them out and decide which photos were best to use, and to decide the order. This took a long time.

Birthing a creative project - Sarah Kirsten

5) There were lots of gaps in the story that couldn’t be told through photographs, so I had to come up with ideas of other things to illustrate the story. This part was hard because I also had to figure out how to make the props visually engaging for the duration of time they were being talked about. That’s how I came up with the idea of writing, so there would be movement on the screen for a longer period of time to keep interest.

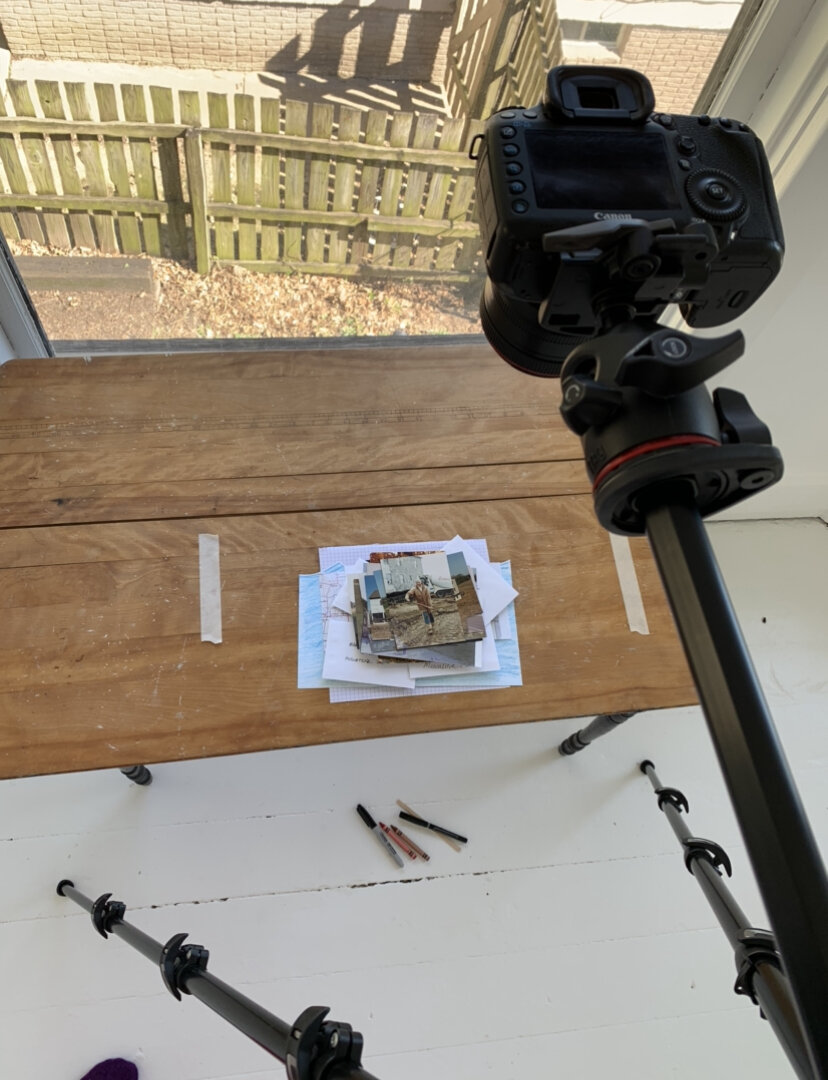
6) After putting photos and props in the chosen order and running through several practices, I set up the camera and recorded it. I hit record, then sat under the tripod and slowly piled on the story pieces.

Birthing a creative project - Sarah Kirsten

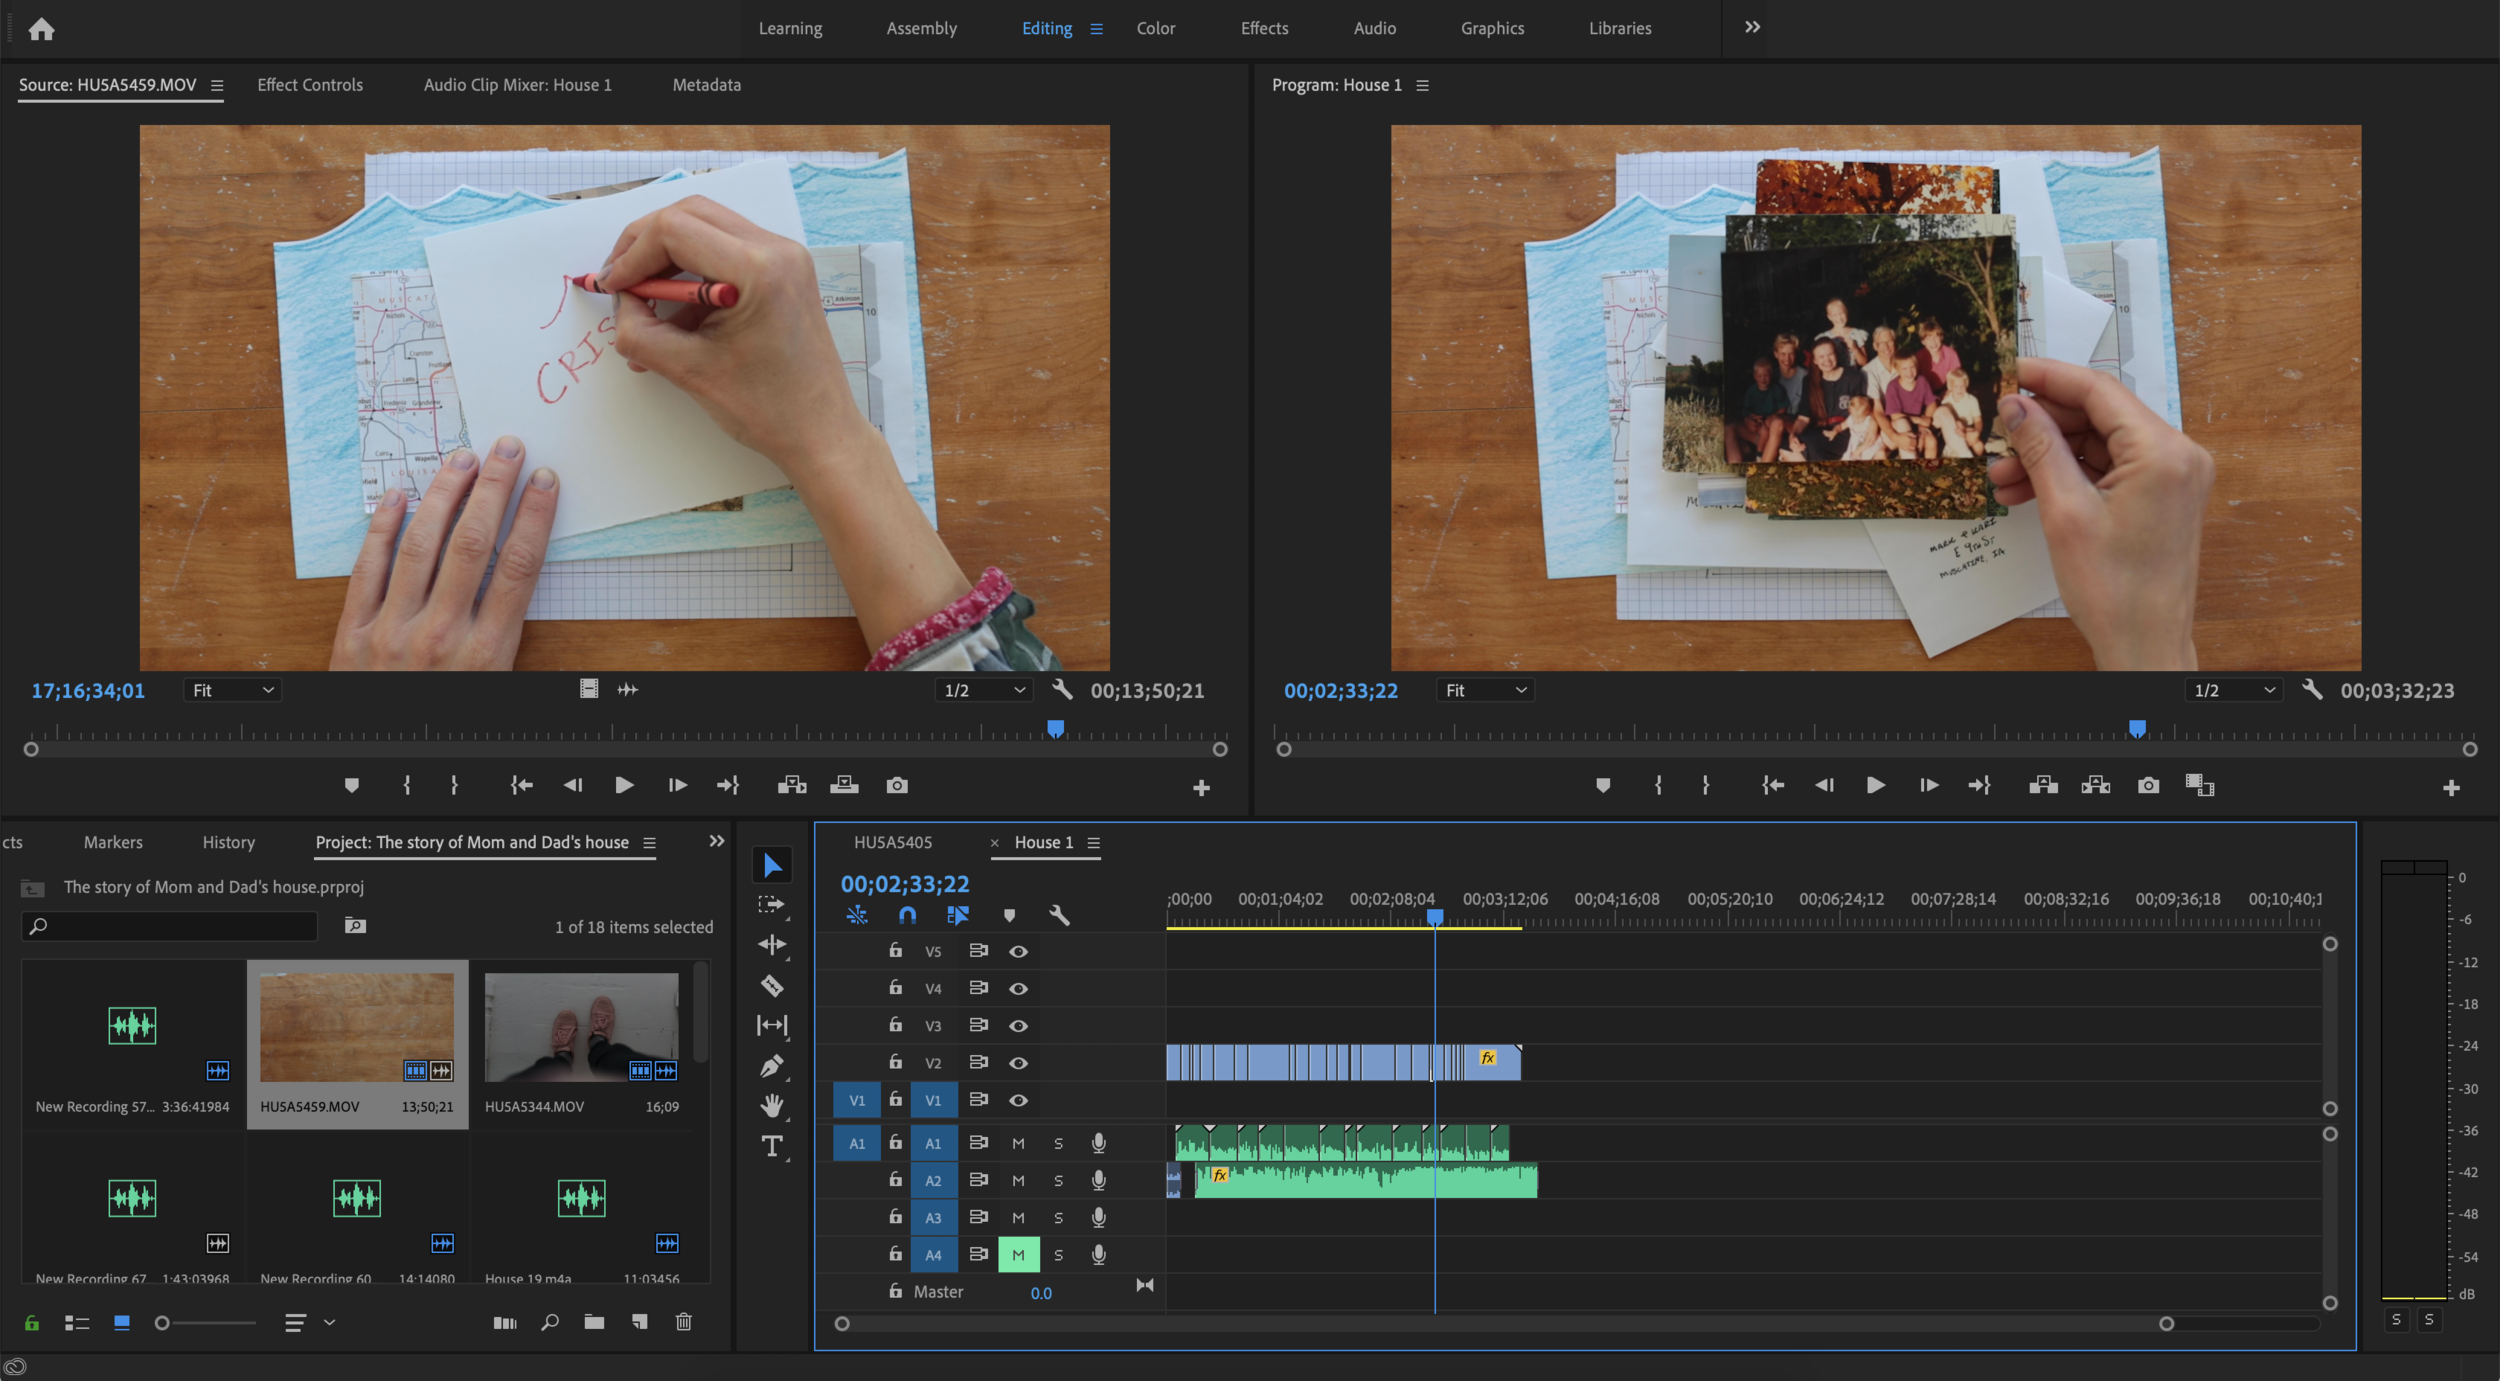
7) I imported the audio files and video file into Adobe Premier Pro and edited them together. It took some time to get each part to line up. Lots of the video parts are sped up or slowed down dramatically from their original state.

Birthing a creative project - Sarah Kirsten

8) After seeing about how long the video was, I knew how long the piano part had to be. I recorded the piano and made the song roughly as long as the video.

 
Birthing a creative project - Sarah Kirsten
 

9) After final edits, I hit publish. This step is simple but isn’t to be overlooked in any birth process. Without hitting send, your creations are not birthed into the world. It’s the scariest part, but one of the most important steps.

Birthing a creative project - Sarah Kirsten

All in all, it took me several weeks of thinking, rethinking, collecting more photos, re-working ideas. The final product is very different than my original imaginings. Very different but better. It’s finally done, birthed into the world. The mess is cleaned up, the photos are back at my parents’ house where they belong, and my camera is waiting for its next story.

Good Things Come From Bad Things - My Parents House

When things get rough, or when you are exercising faith for a breakthrough, it’s important to remind yourself of past situations where bad things worked out for a much better situation.

I’d like to share the story of my parents’ house with you. After almost a decade of saving, planning, building, they were just about to move in. But then a devastating disaster hit.

I put together this video to tell you the story.

I encourage you to make mementos of times things have worked out for your good in your life. Reminded yourself of them when you need a jolt of faith.

The Easiest Way to Sew In-Seam Pockets

Did you know it’s super easy to add in-seam pockets to almost any skirt or dress sewing pattern? It’s just takes a few extra steps.

Here is a simple step-by-step tutorial of how to do it!

1) Cut 4 pocket pieces. Serge all the way around each piece.

1) Cut 4 pocket pieces. Serge all the way around each piece.

2) Serge the sides and bottom of the front and back skirt pieces.*Serging not shown in following illustrations.

2) Serge the sides and bottom of the front and back skirt pieces.

*Serging not shown in following illustrations.

3) Mark 5” (13 cm) down from the top of the skirt pieces. Depending on what you are making, you may want to move the pockets up or down. 5” is a suggestion if the skirt is going to sit on or near your waistline.

3) Mark 5” (13 cm) down from the top of the skirt pieces. Depending on what you are making, you may want to move the pockets up or down. 5” is a suggestion if the skirt is going to sit on or near your waistline.

4) With right sides together, line up the top of the pockets with the the mark made in step 3.Sew the pockets with 1/2” (1.3 cm) seam allowance.With a steamy iron, press the seam allowance toward the pocket.

4) With right sides together, line up the top of the pockets with the the mark made in step 3.

Sew the pockets with 1/2” (1.3 cm) seam allowance.

With a steamy iron, press the seam allowance toward the pocket.

5) Place the skirt pieces with right sides together. Pin or clip in place.

5) Place the skirt pieces with right sides together. Pin or clip in place.

6) Sew along the entire length of both seams and around the pockets. When you come to the top and bottom of the pockets, make a sharp pivot into and out of the pocket. Be sure not to sew straight down and sew the pockets shut!Sew with a 5/8” (1.6 cm…

6) Sew along the entire length of both seams and around the pockets. When you come to the top and bottom of the pockets, make a sharp pivot into and out of the pocket. Be sure not to sew straight down and sew the pockets shut!

Sew with a 5/8” (1.6 cm) seam allowance.

That’s it! Turn the skirt inside out and it’s fully pocketed.

Proceed with the rest of the sewing instructions for whatever pattern you are making.

The easiest way to sew in seam pockets - tutorial with step by step illustrations by Sarah Kirsten

Chamomile Crop Dress

Introducing the Chamomile Dress — a flowy pattern addition to the Chamomile Crop.

It is flowy like a wildflower in the field and it has pockets to hold all the essentials of life — lip balm, keys, little rocks you fall in love with on walks along streams, money for buying little chocolates and paying parking meters, tampons, and other necessities. They are big pockets.

The skirt can be made long or short — you should probably make at least one in each length to cover all the options :)

Billowing gathers, confident lines. It’s a perfect summer dress.

Chamomile Dress Sewing Pattern - Sarah Kirsten

Interviewed by Fabrics-Store.com

I had the big honor of being interviewed by Fabrics-Store.com to start of 2020 with a bang! They sent me a few yards of this beautiful, bright, heavyweight softened linen Marigold fabric along with some brilliant interview questions.

I tell the story about my unconventional upbringing, why not living around a lot of people is good for me, and why I’m so passionate about sewing.

Here’s an excerpt:

Somehow when we are disconnected from the process of creating clothes, we receive the message that the clothes we buy are the “right” version of how a body should be, and our bodies are the “wrong” version. It feels like it’s something we need to fix in order to be beautiful, to have worth even. When you start sewing, you recognize that clothes are mere shapes of fabric cut and sewn together. There is no “right” and “wrong” shape. It starts to dawn on you deep within. It wells up in an indomitable force of confidence, the realization that your body is perfect. Right and wrong simply doesn’t exist.