How to Sew a Ruffle Tote Bag — Video Tutorial

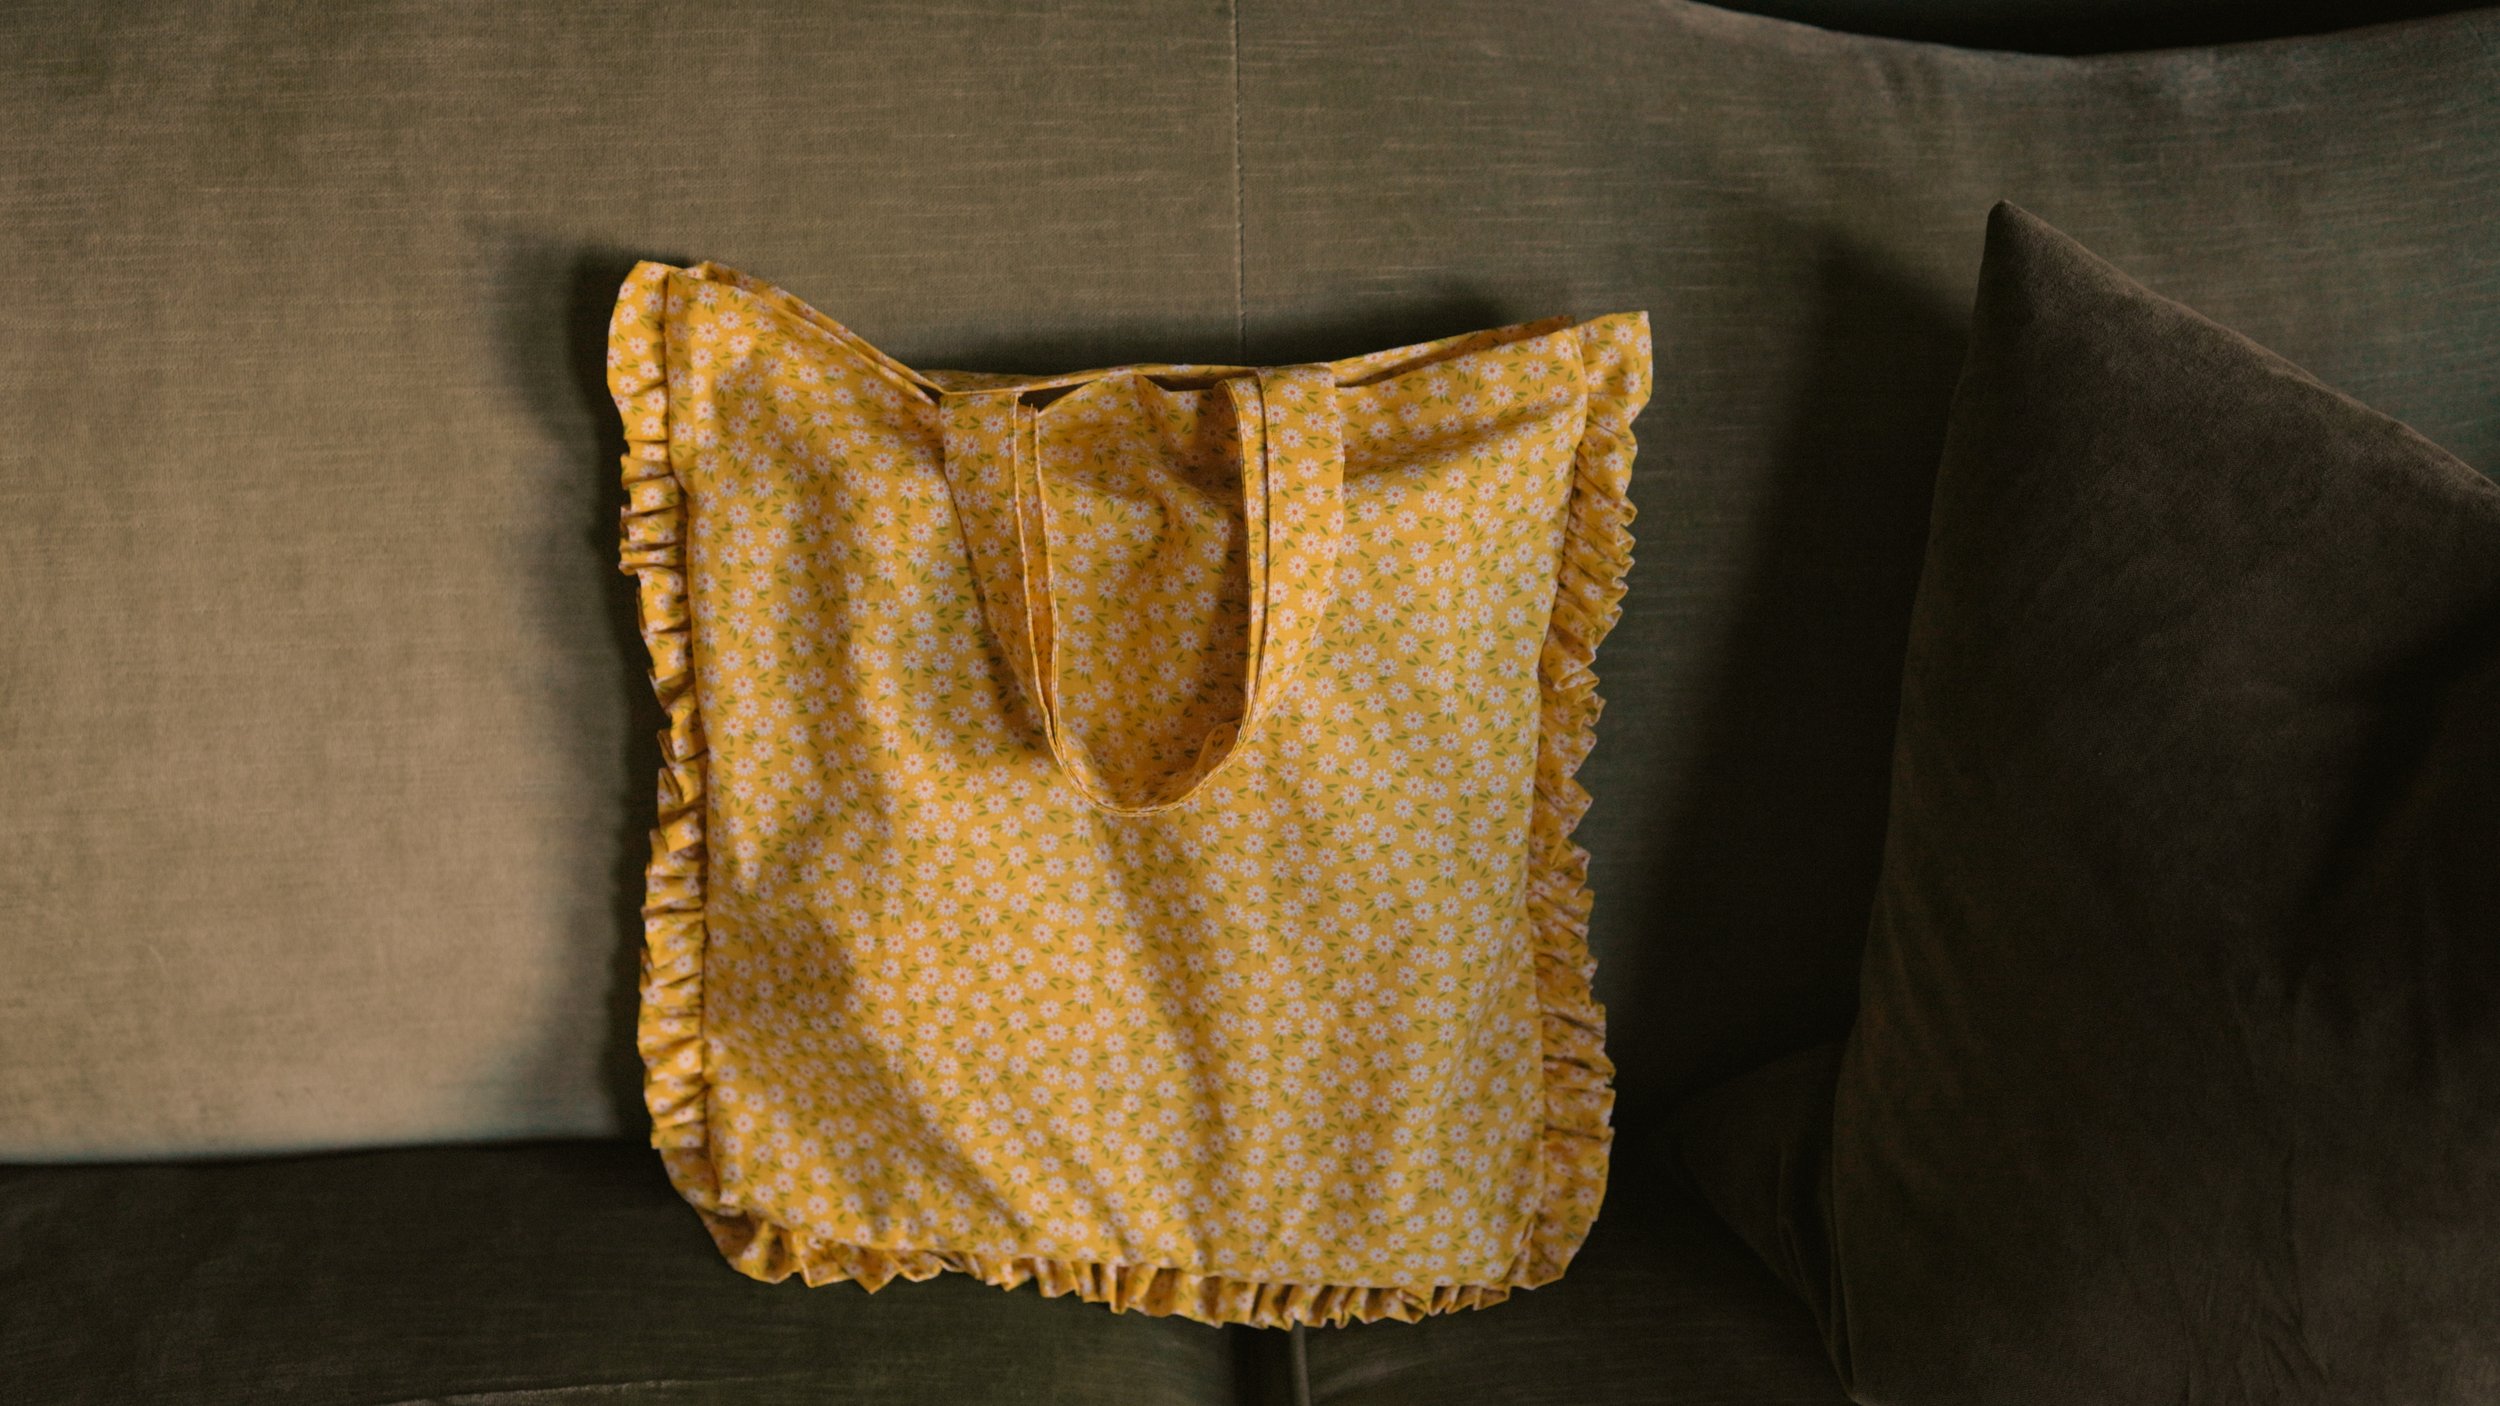
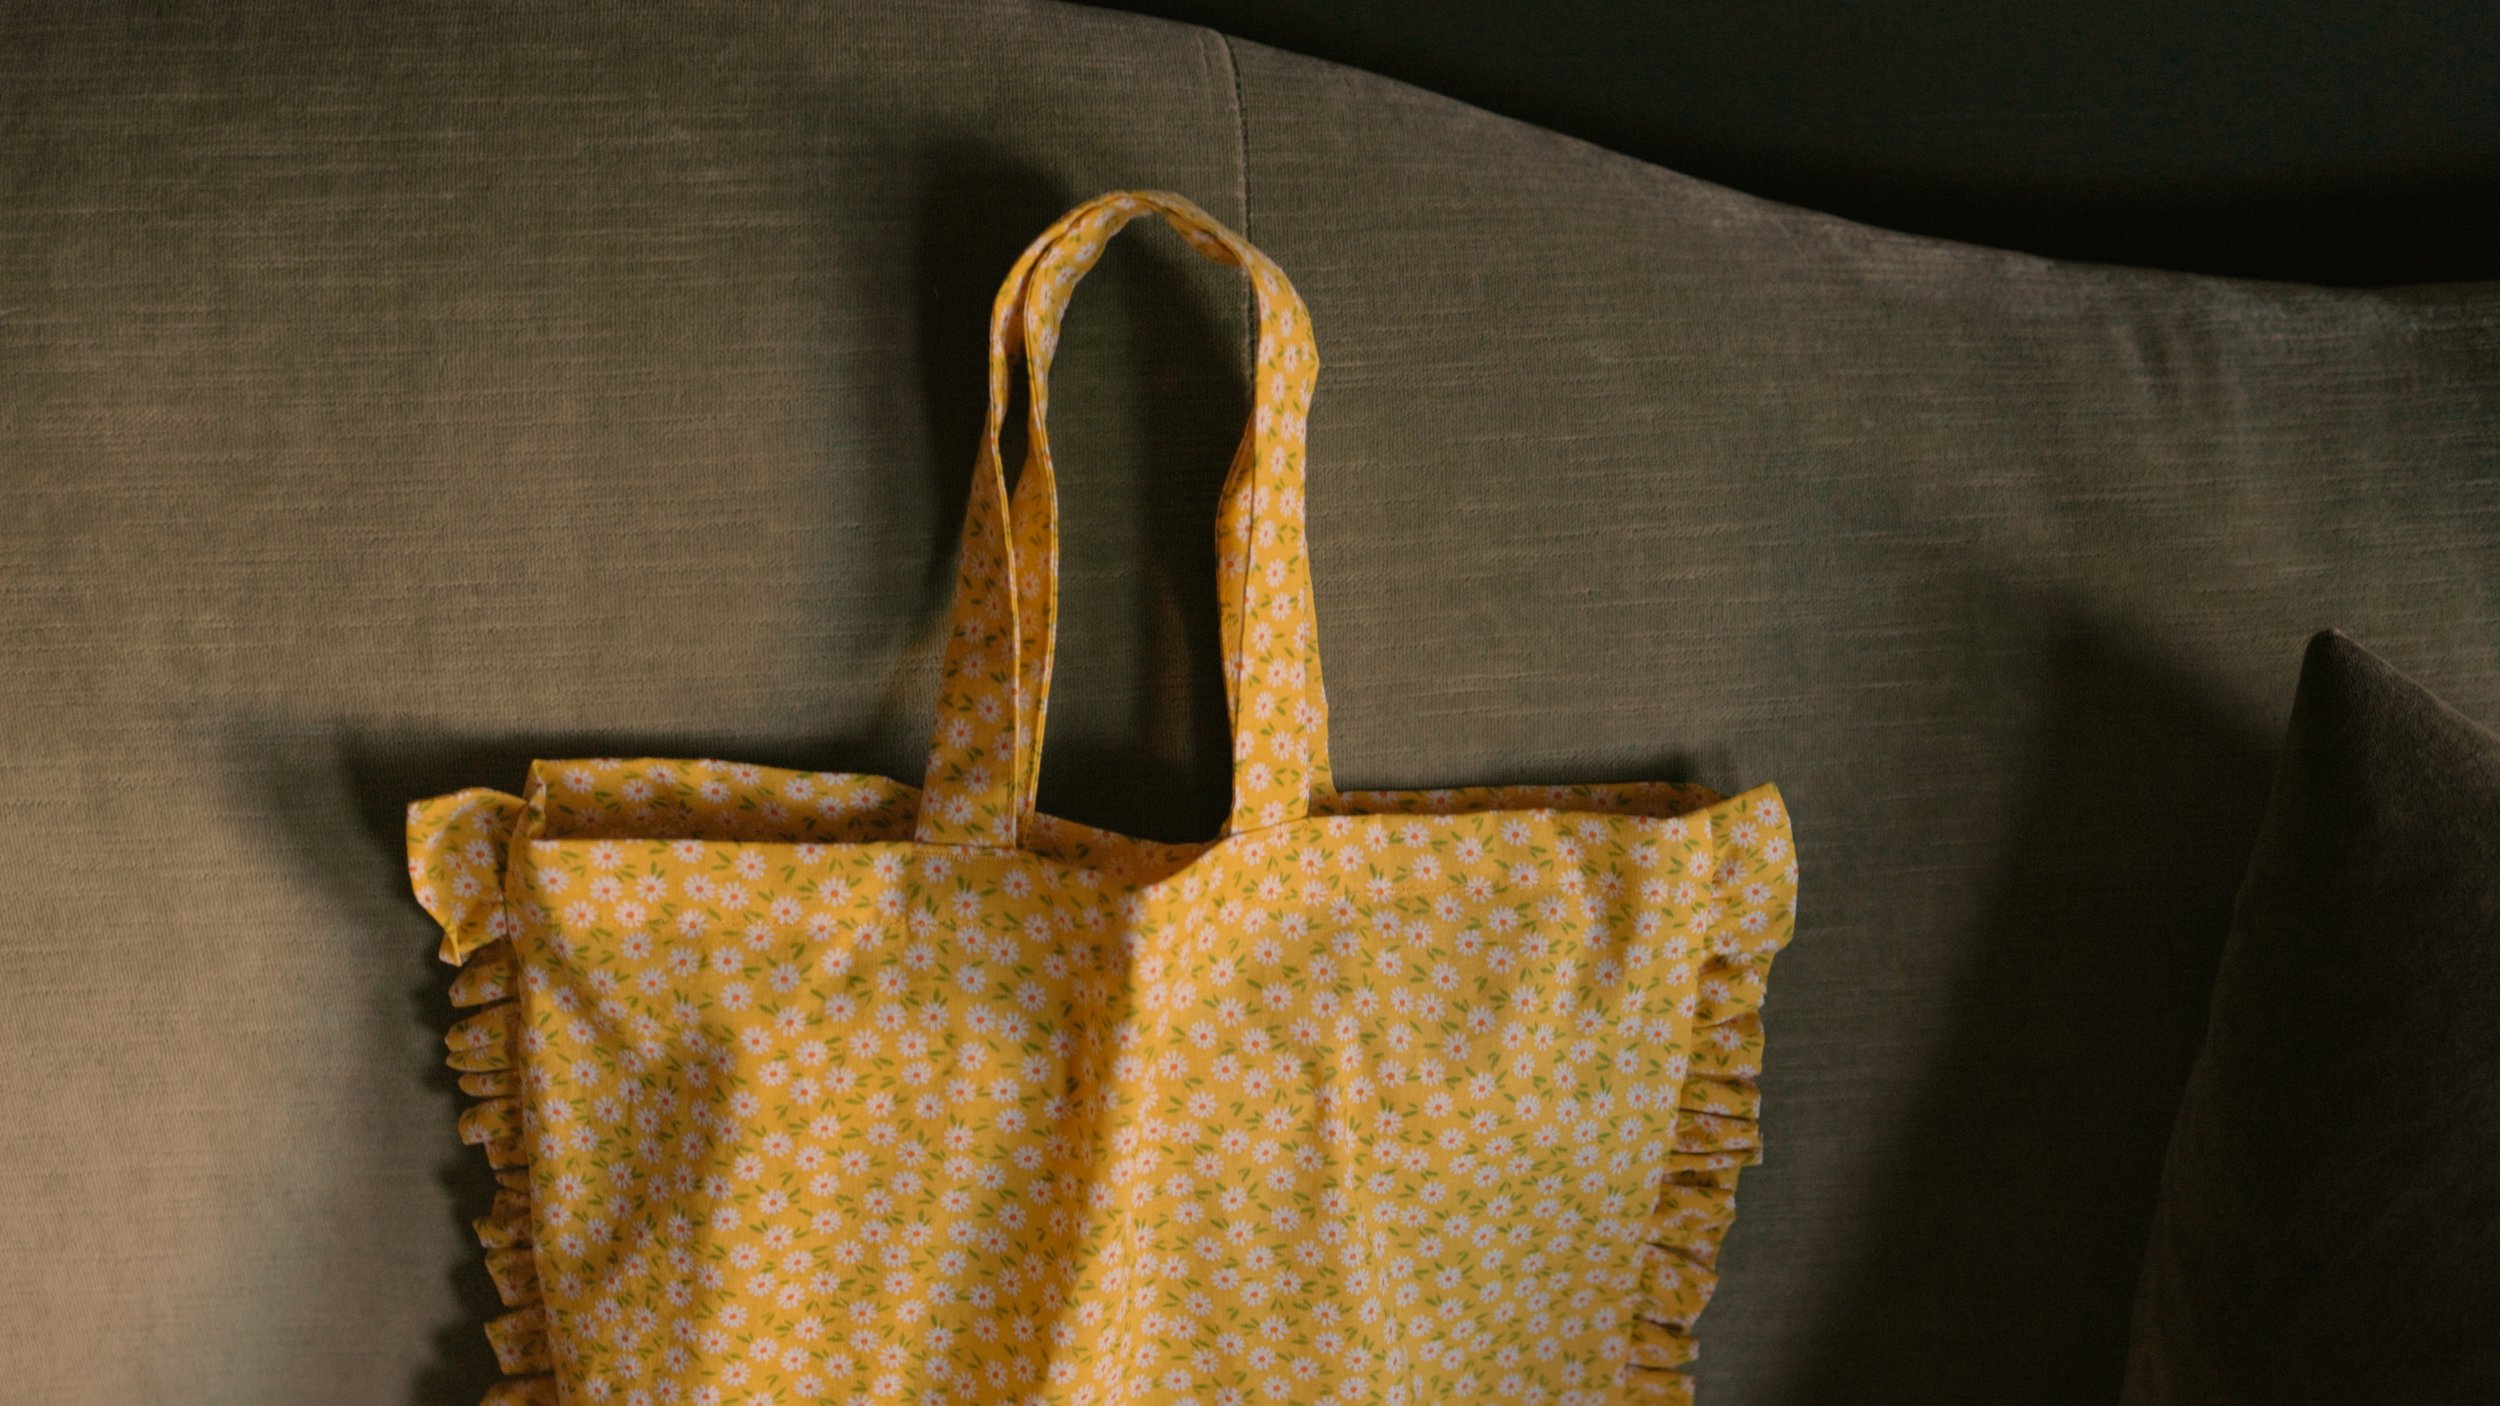
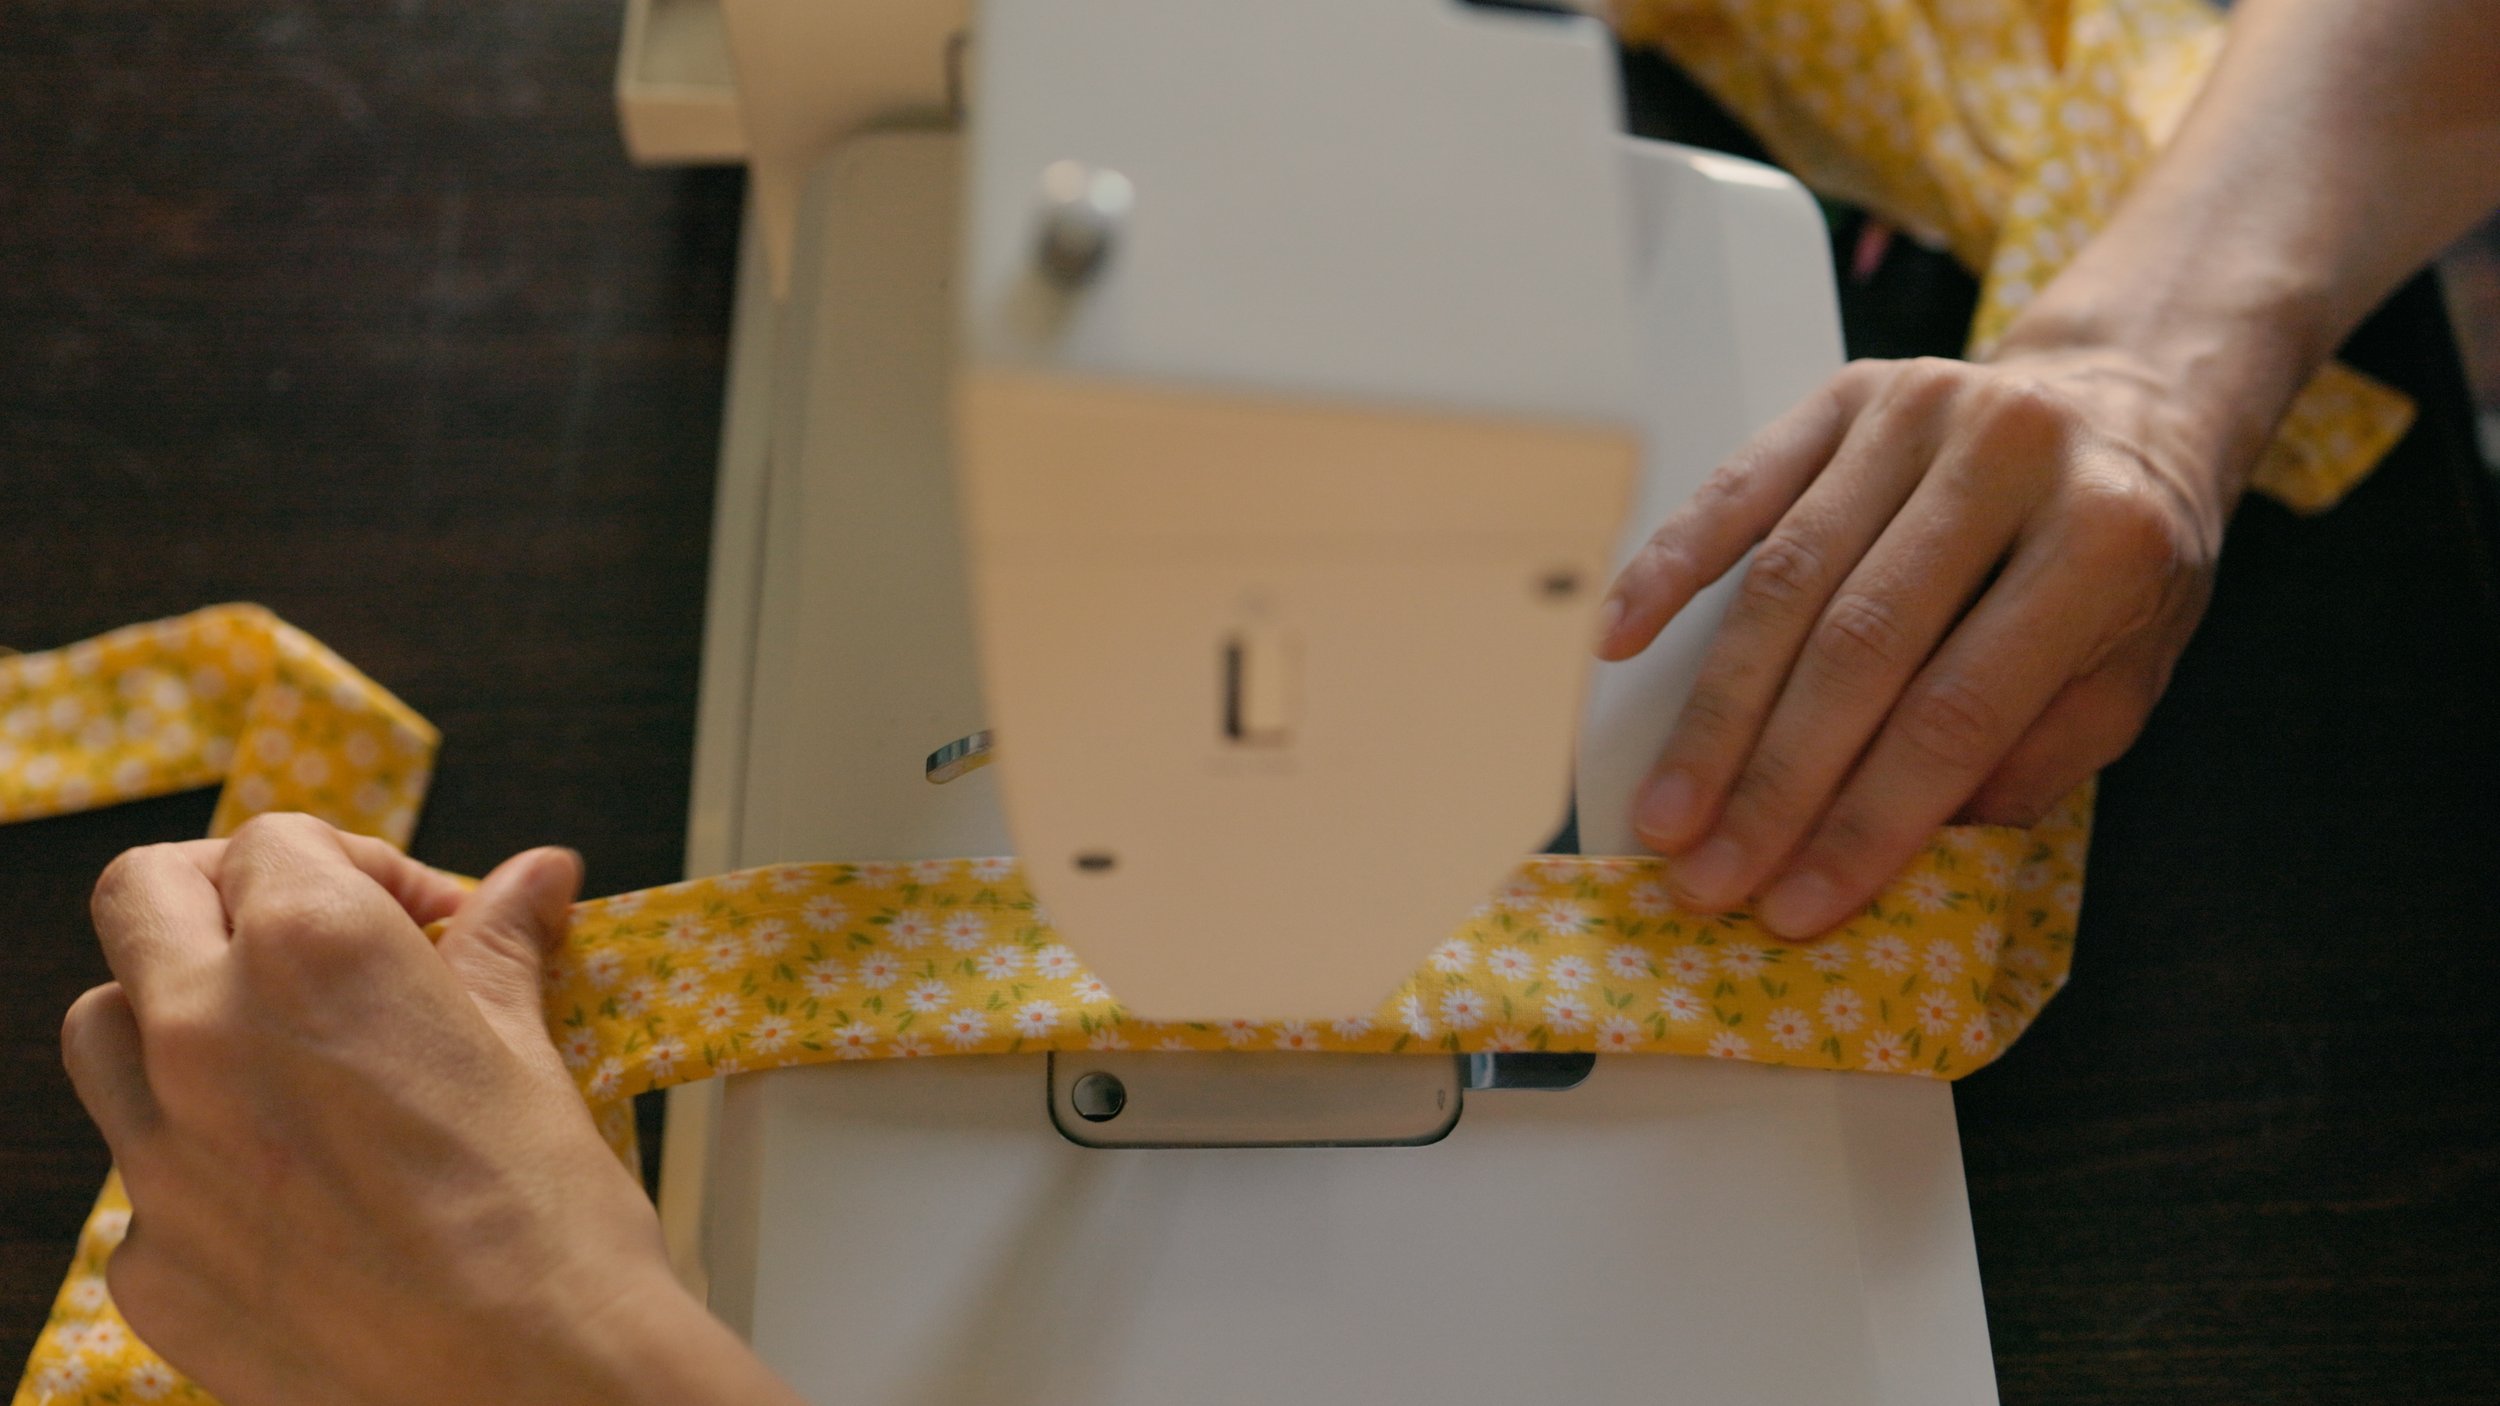
I hope this step by step video tutorial can serve you well in your ruffle tote adventures. This tutorial is for a simple unlined tote bag with short handles.
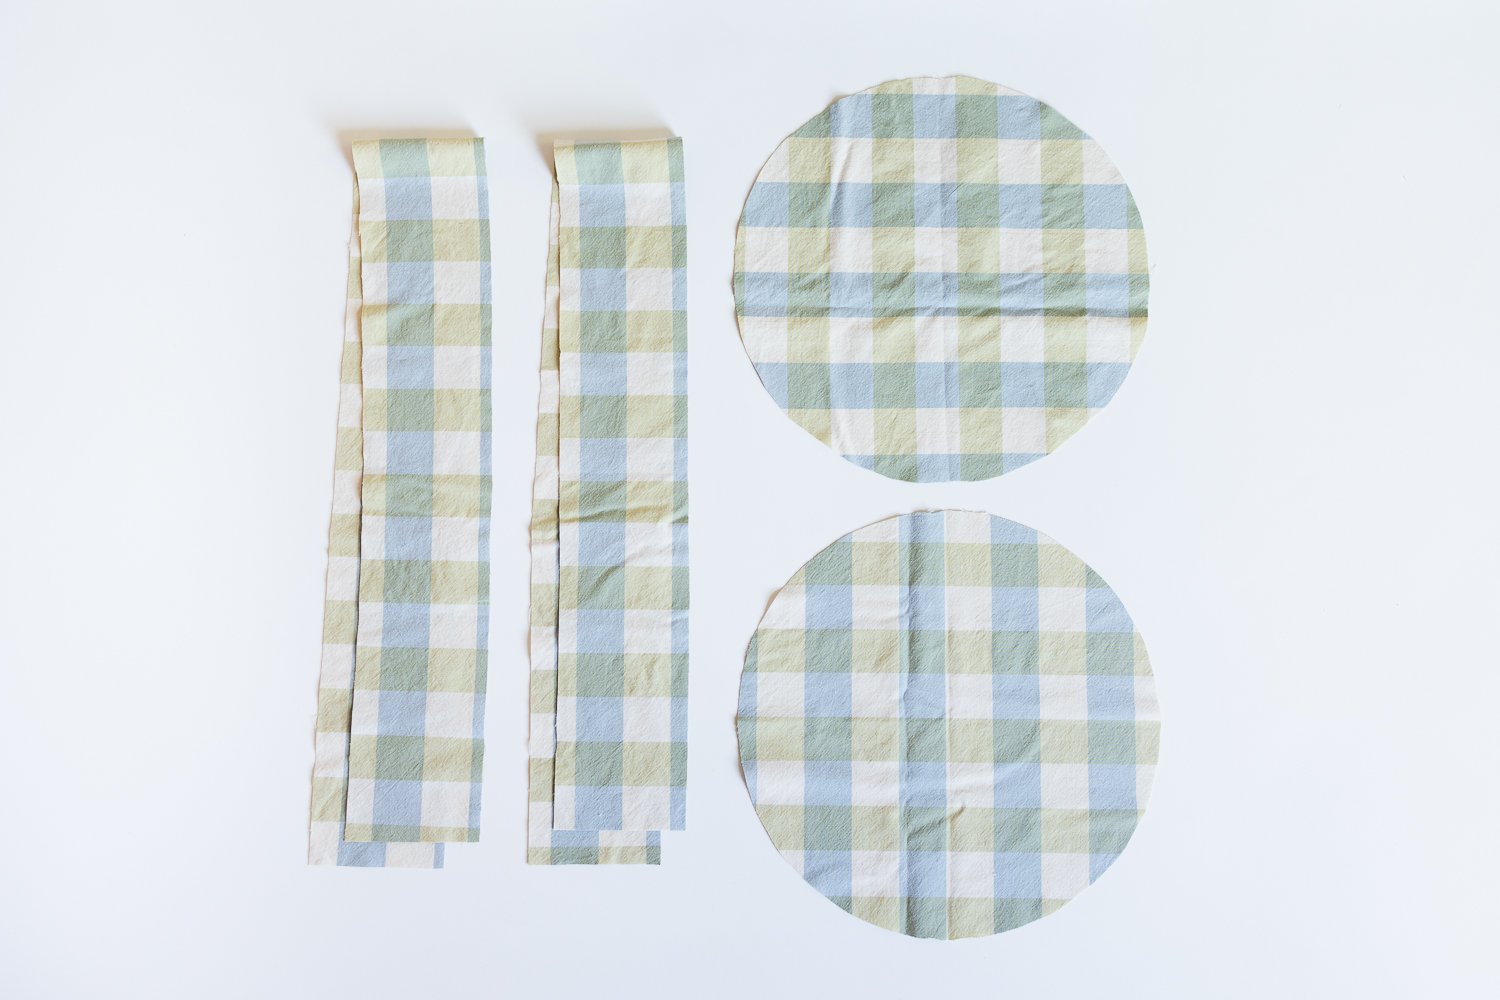
Fabric dimensions:

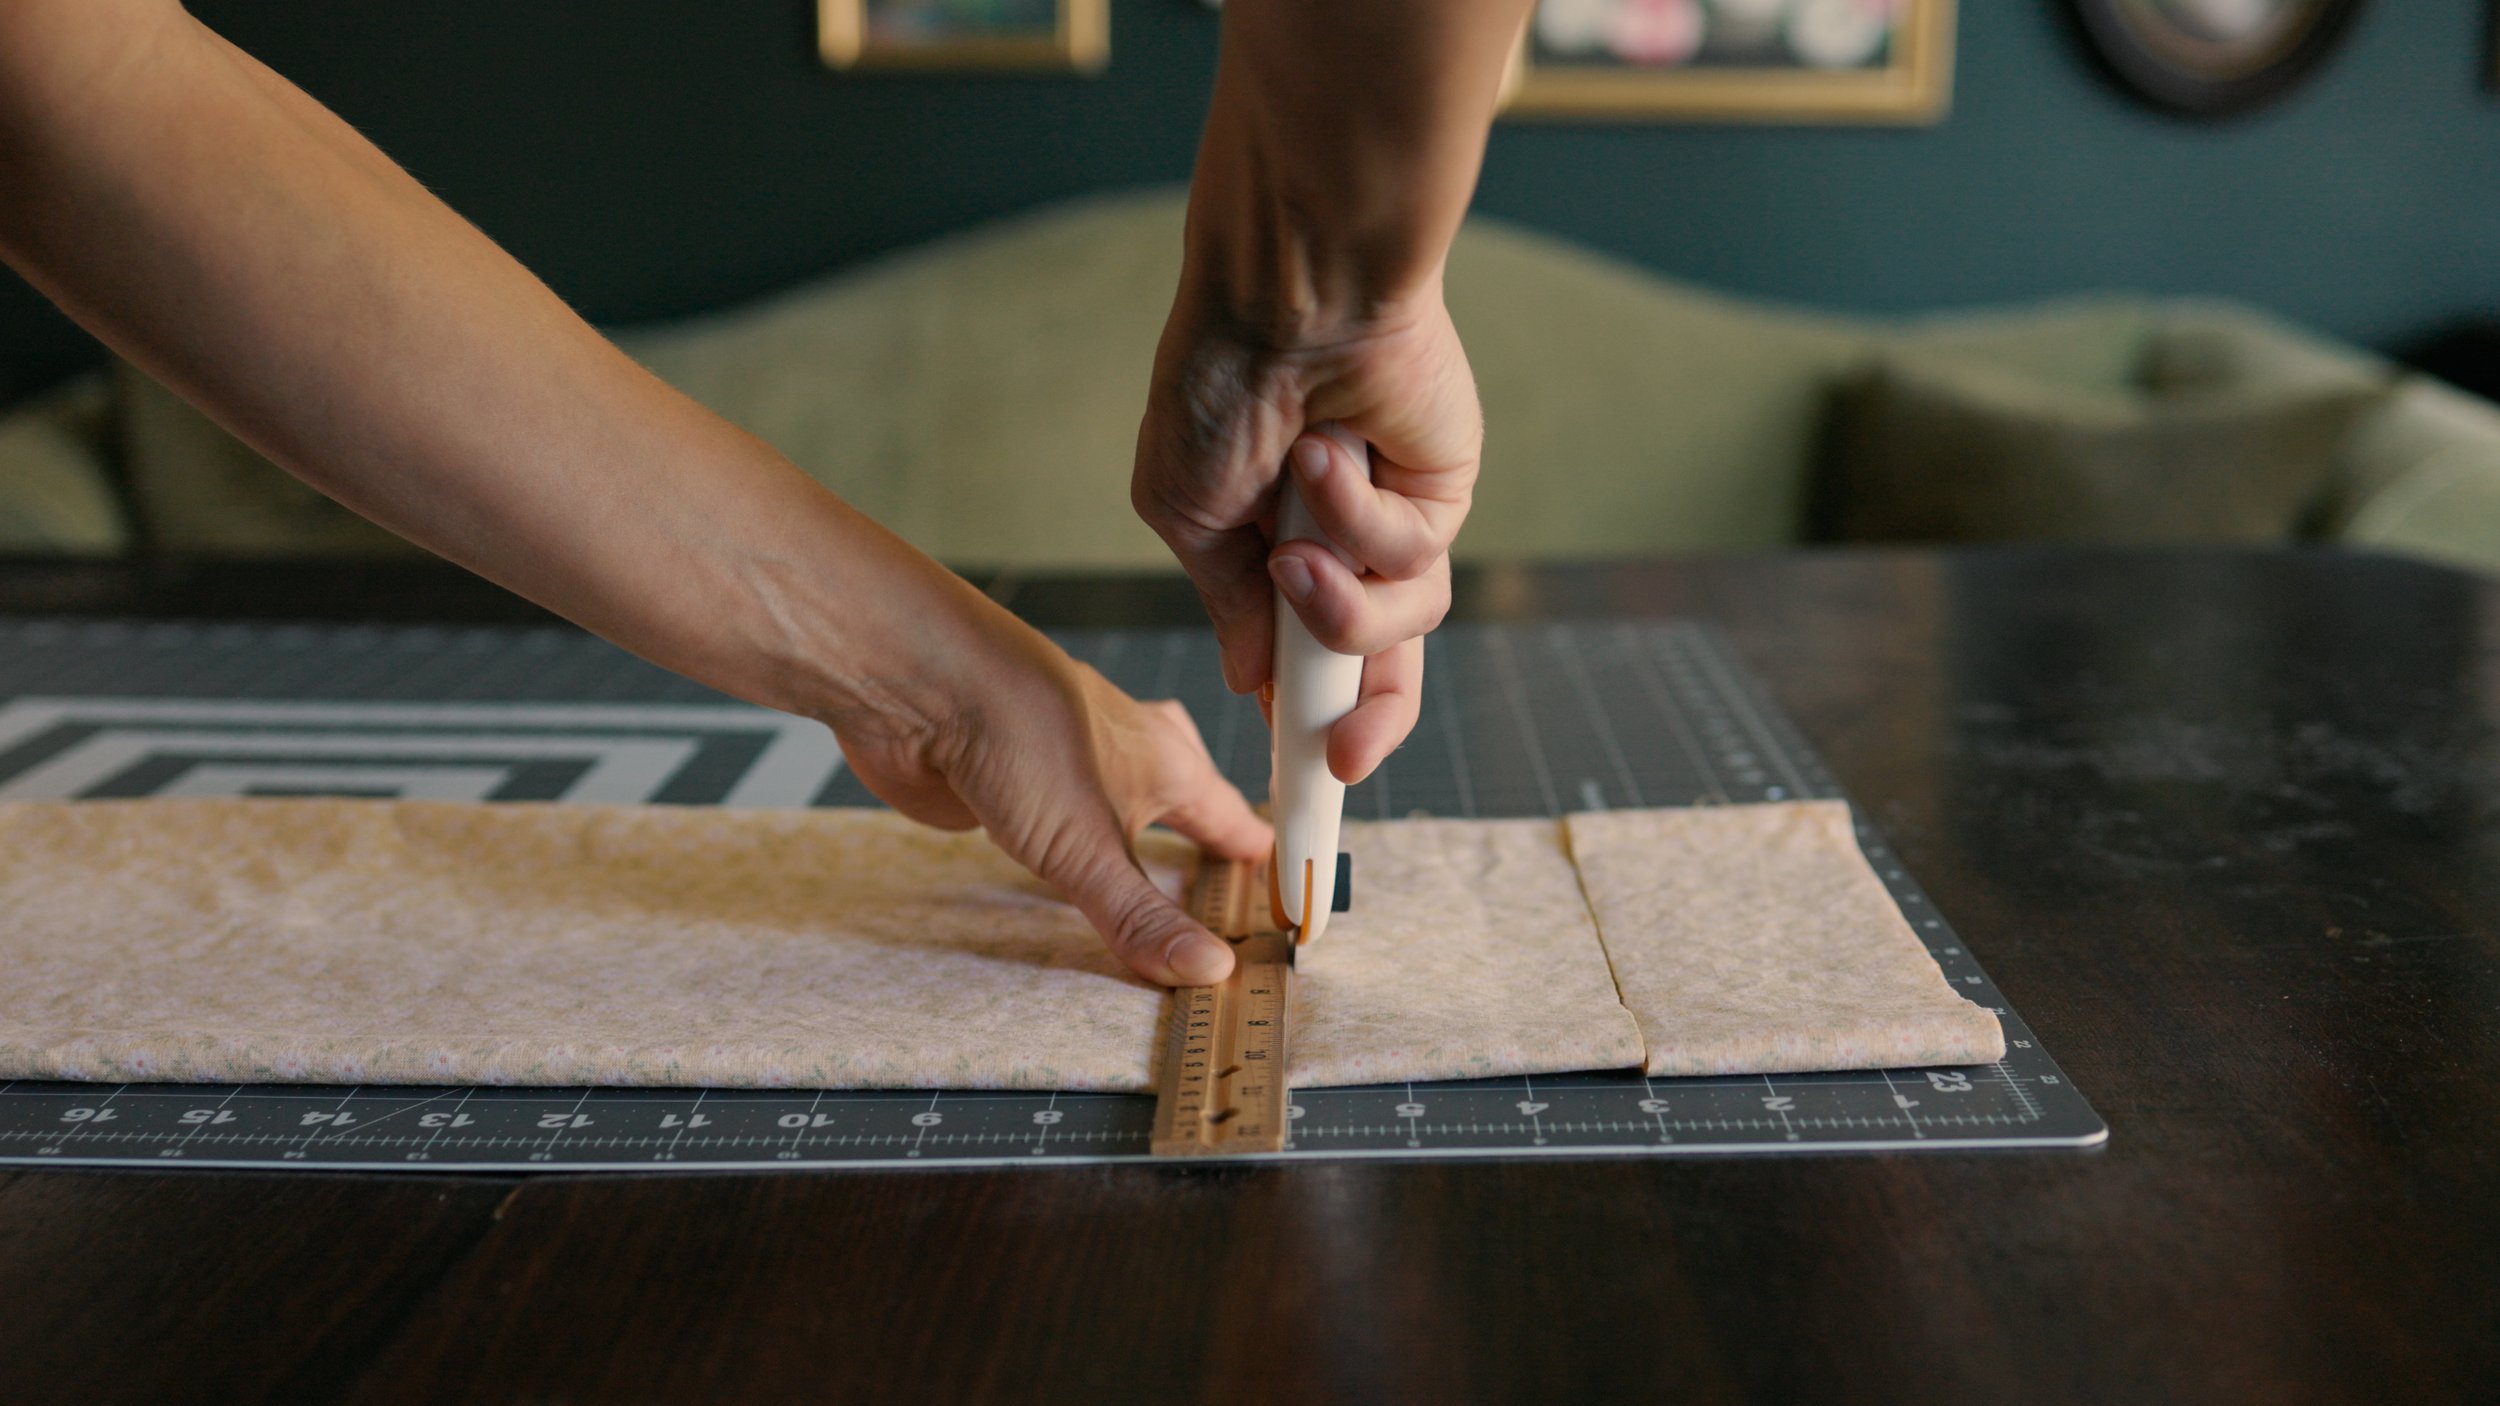
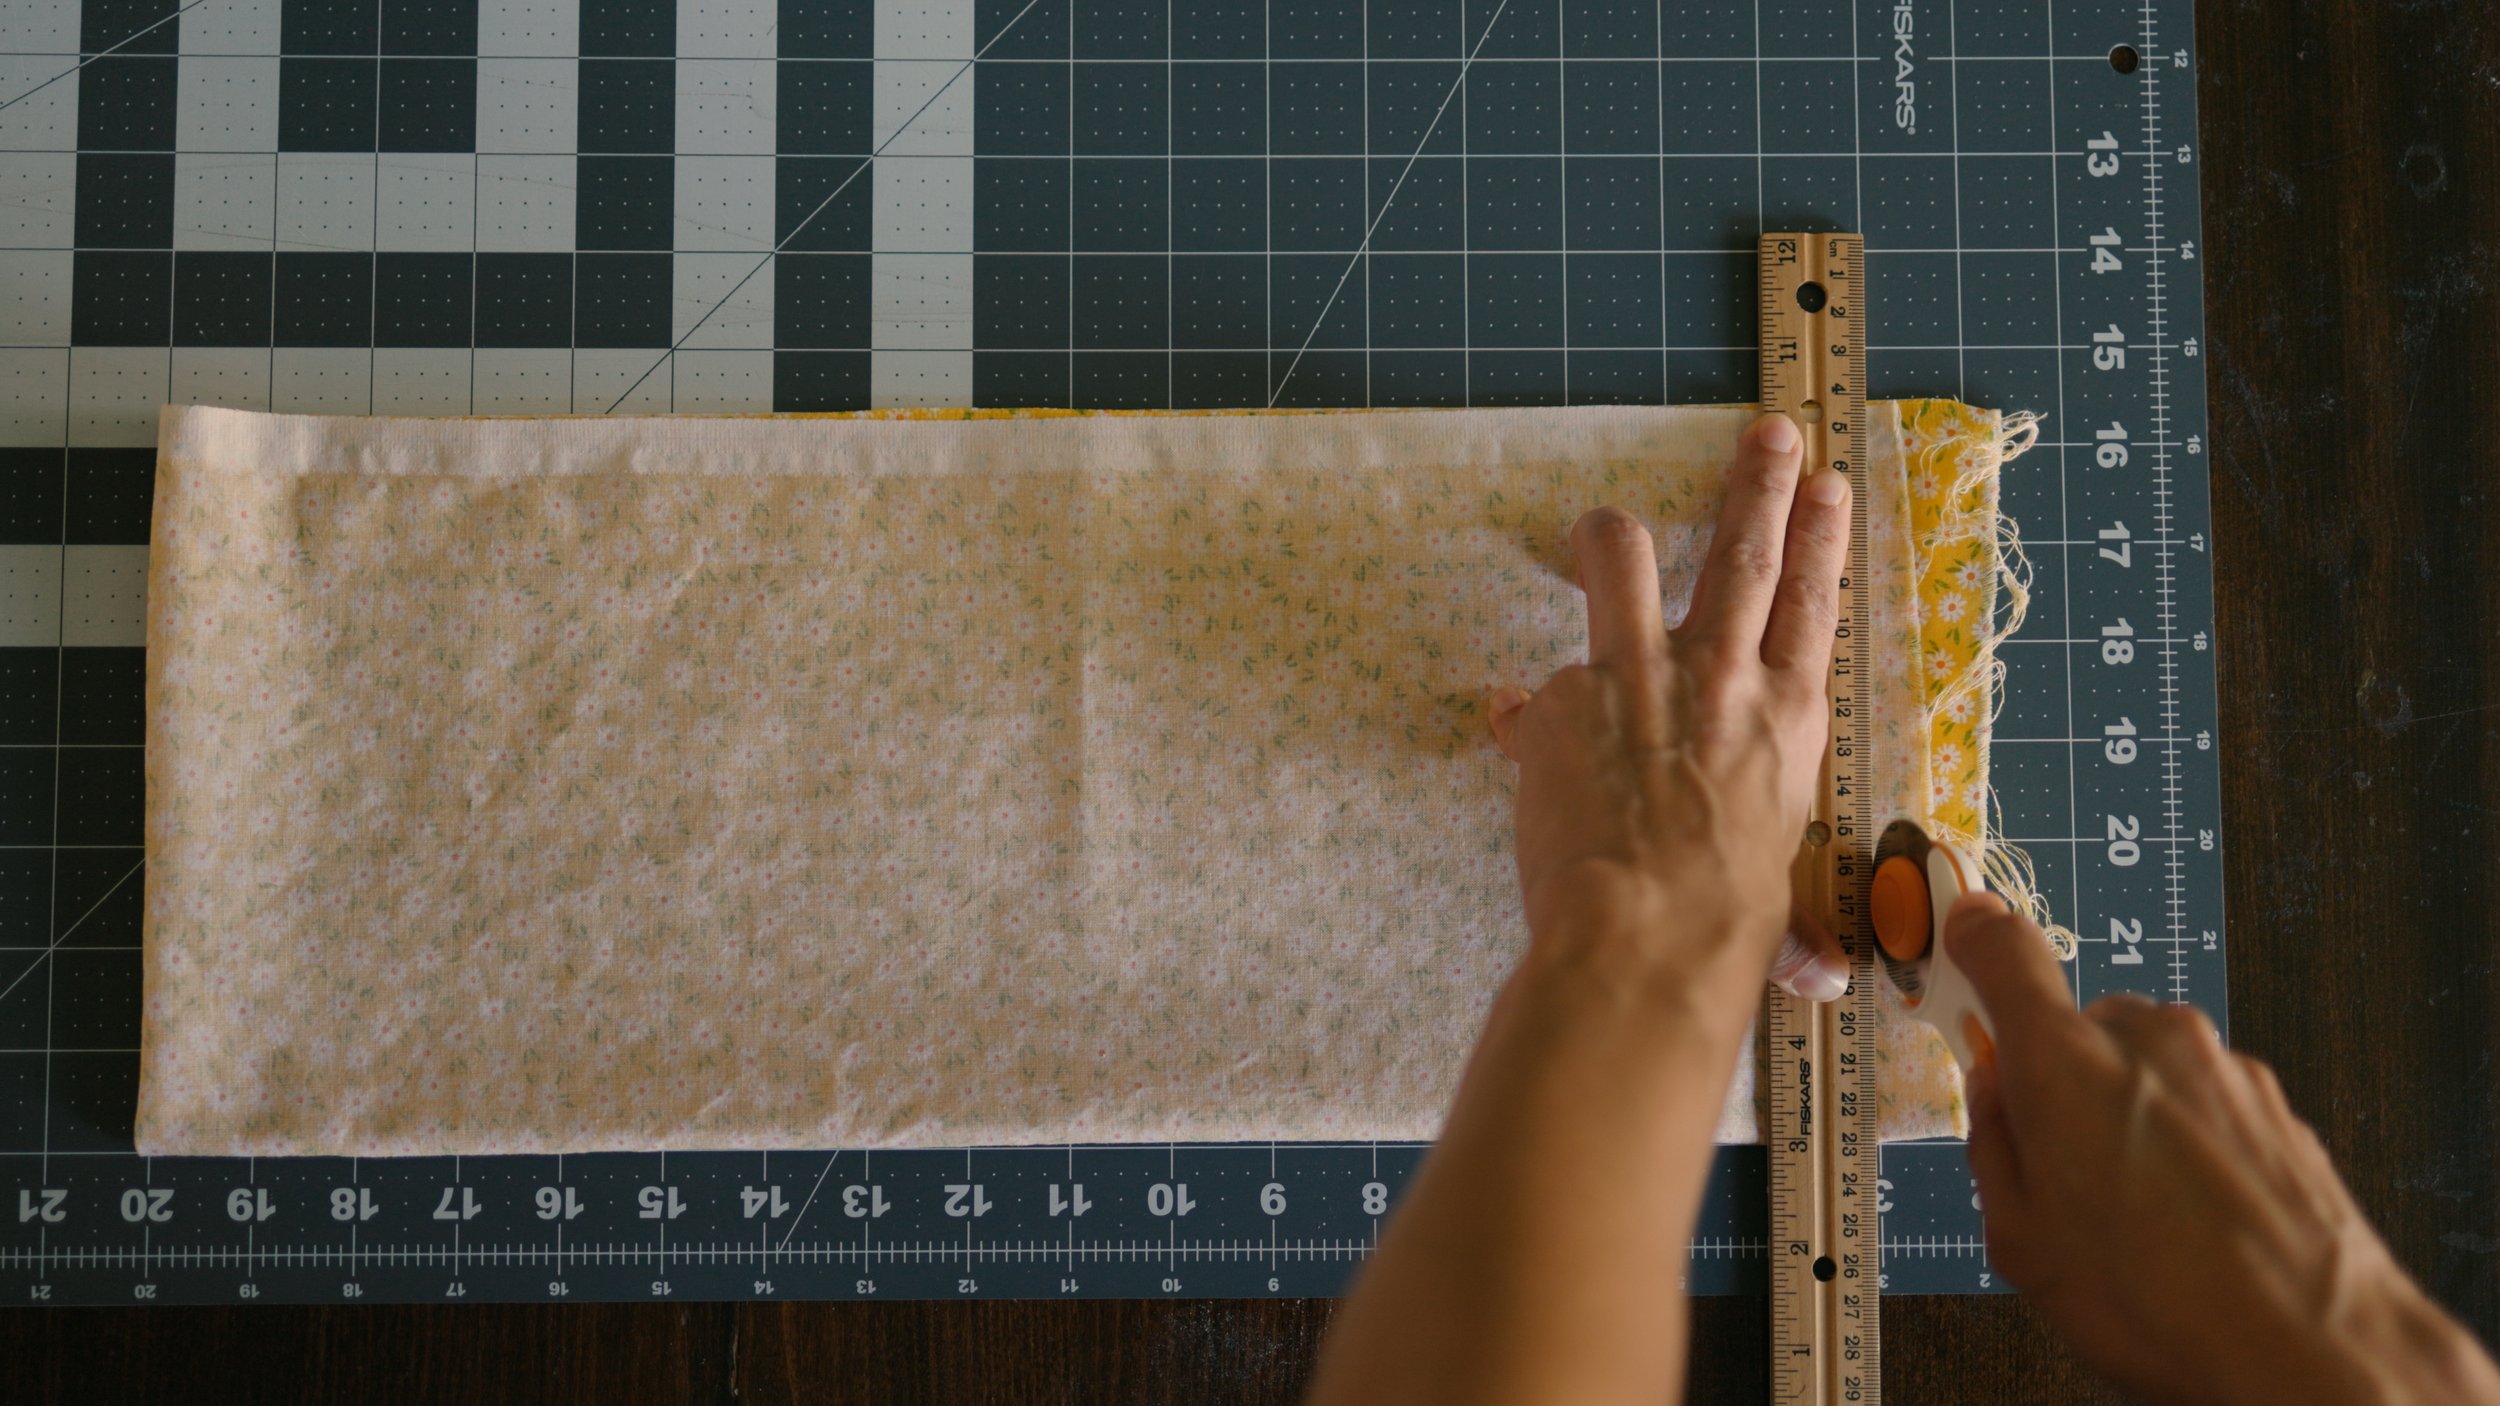
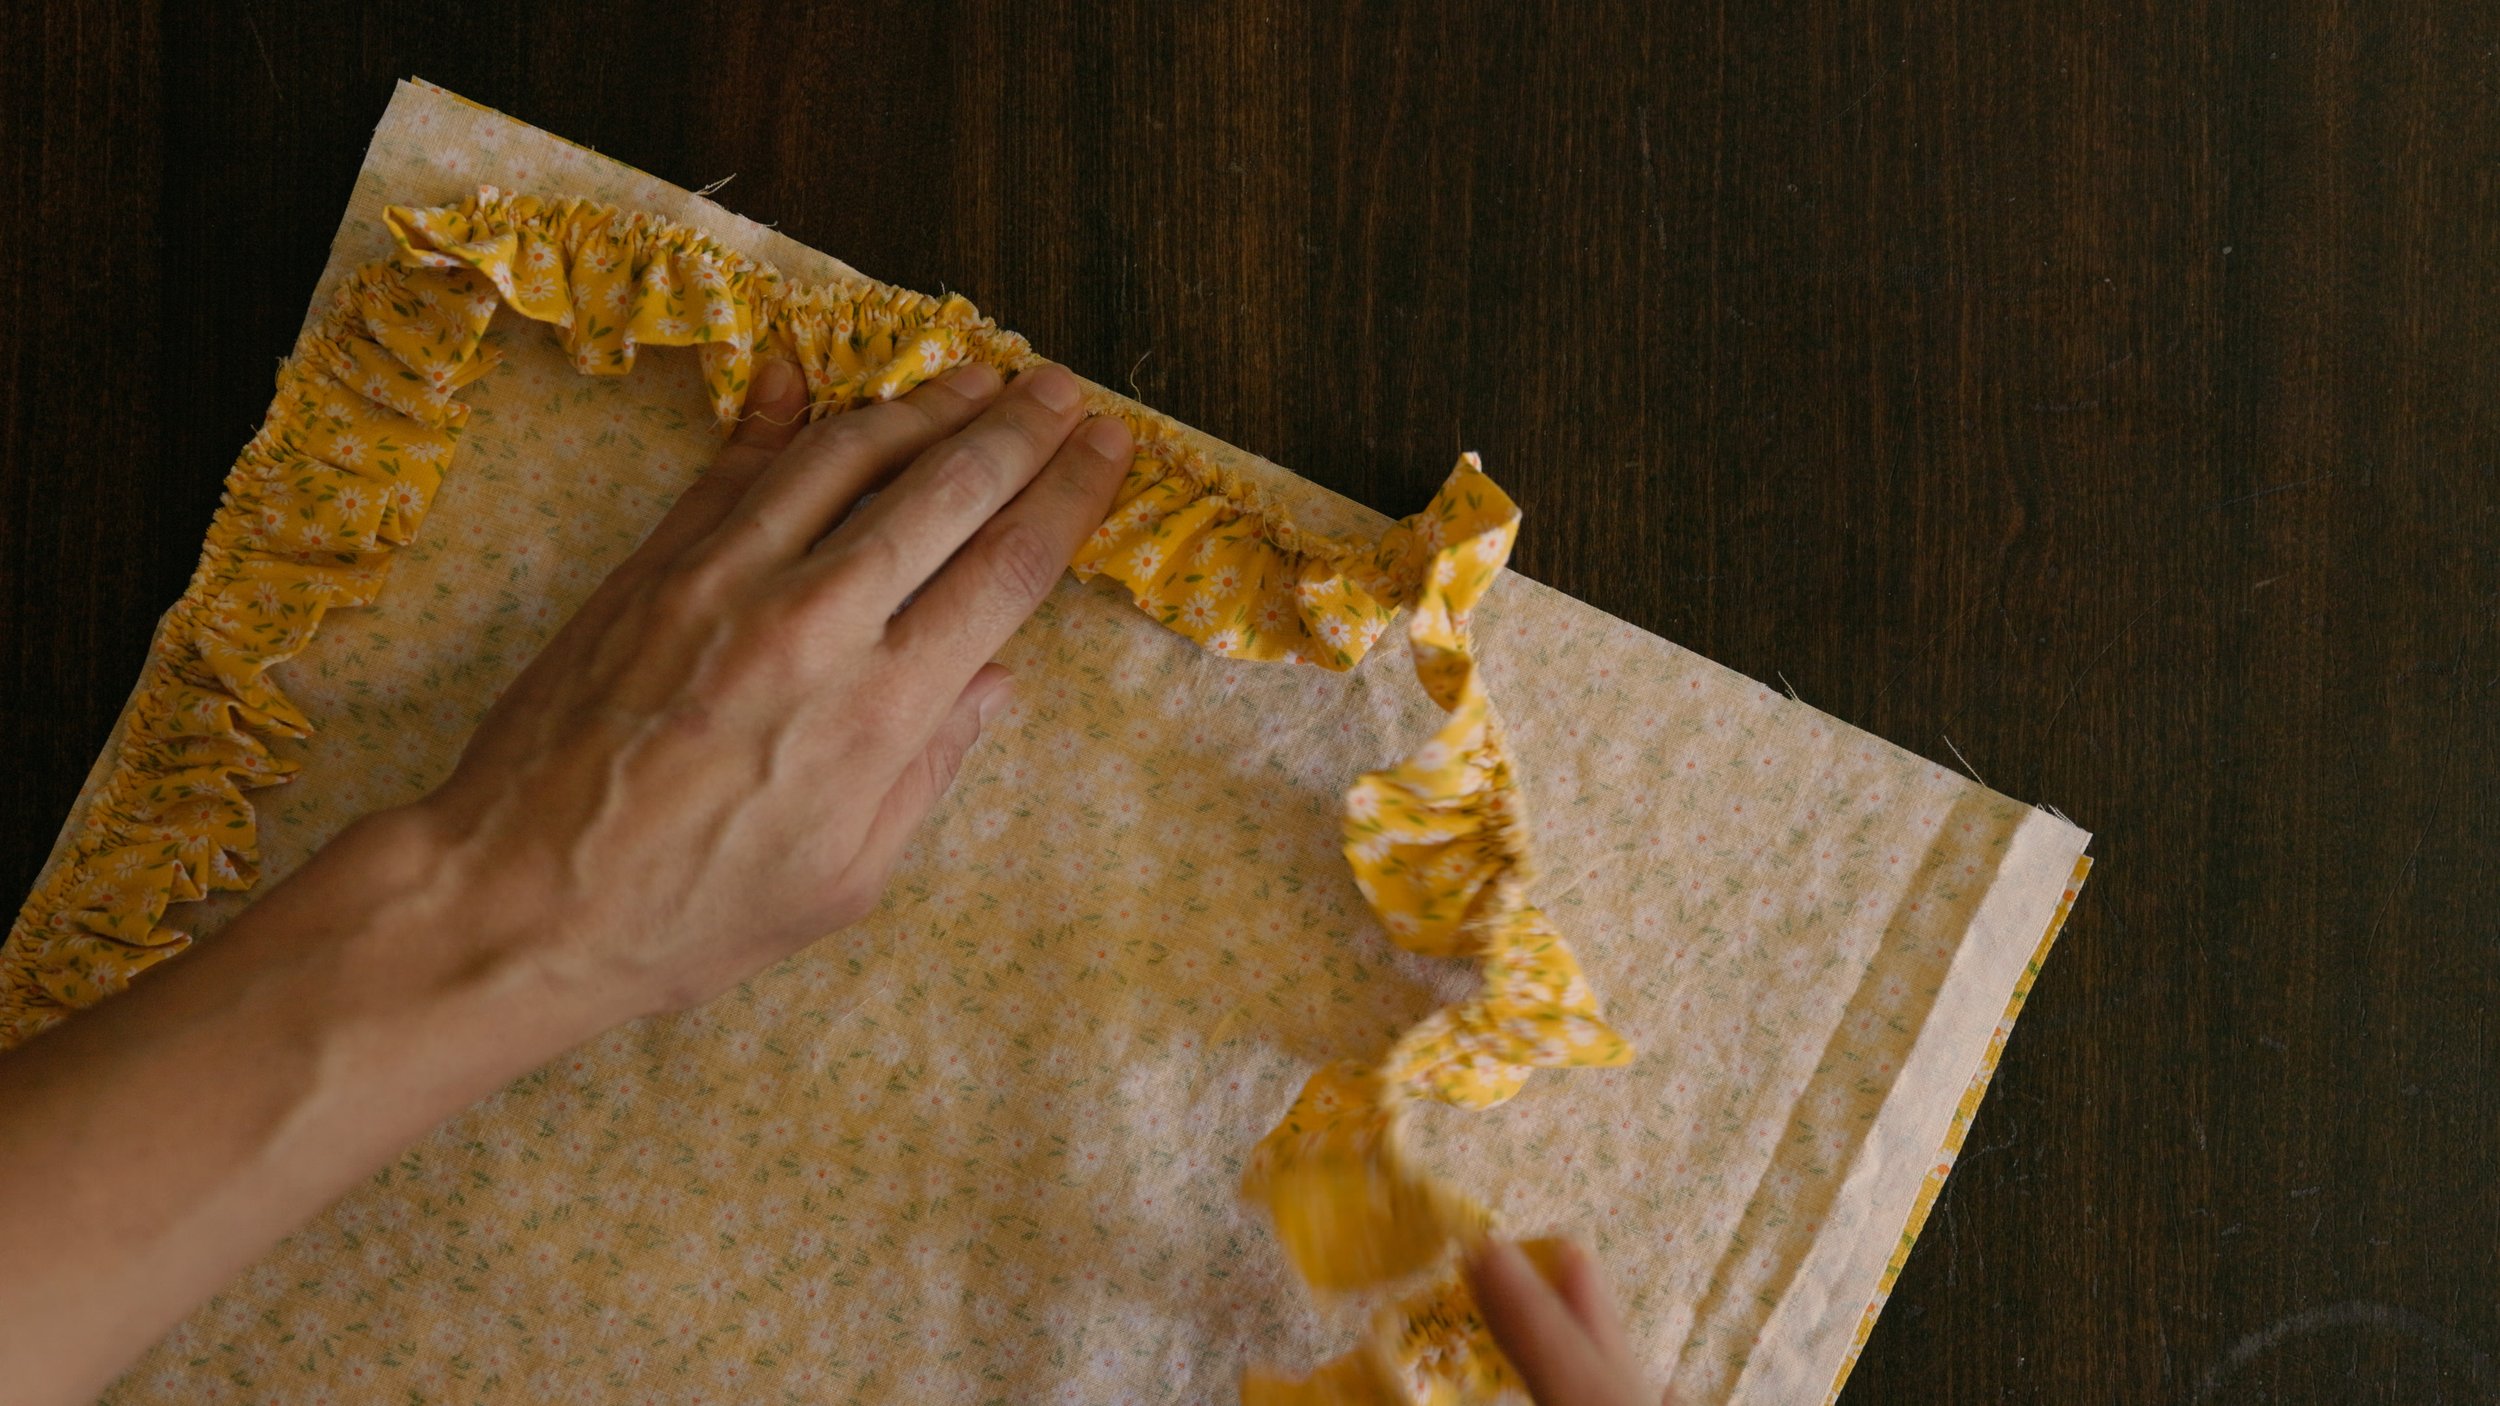
  • Cut two 15” x 17” (main body)

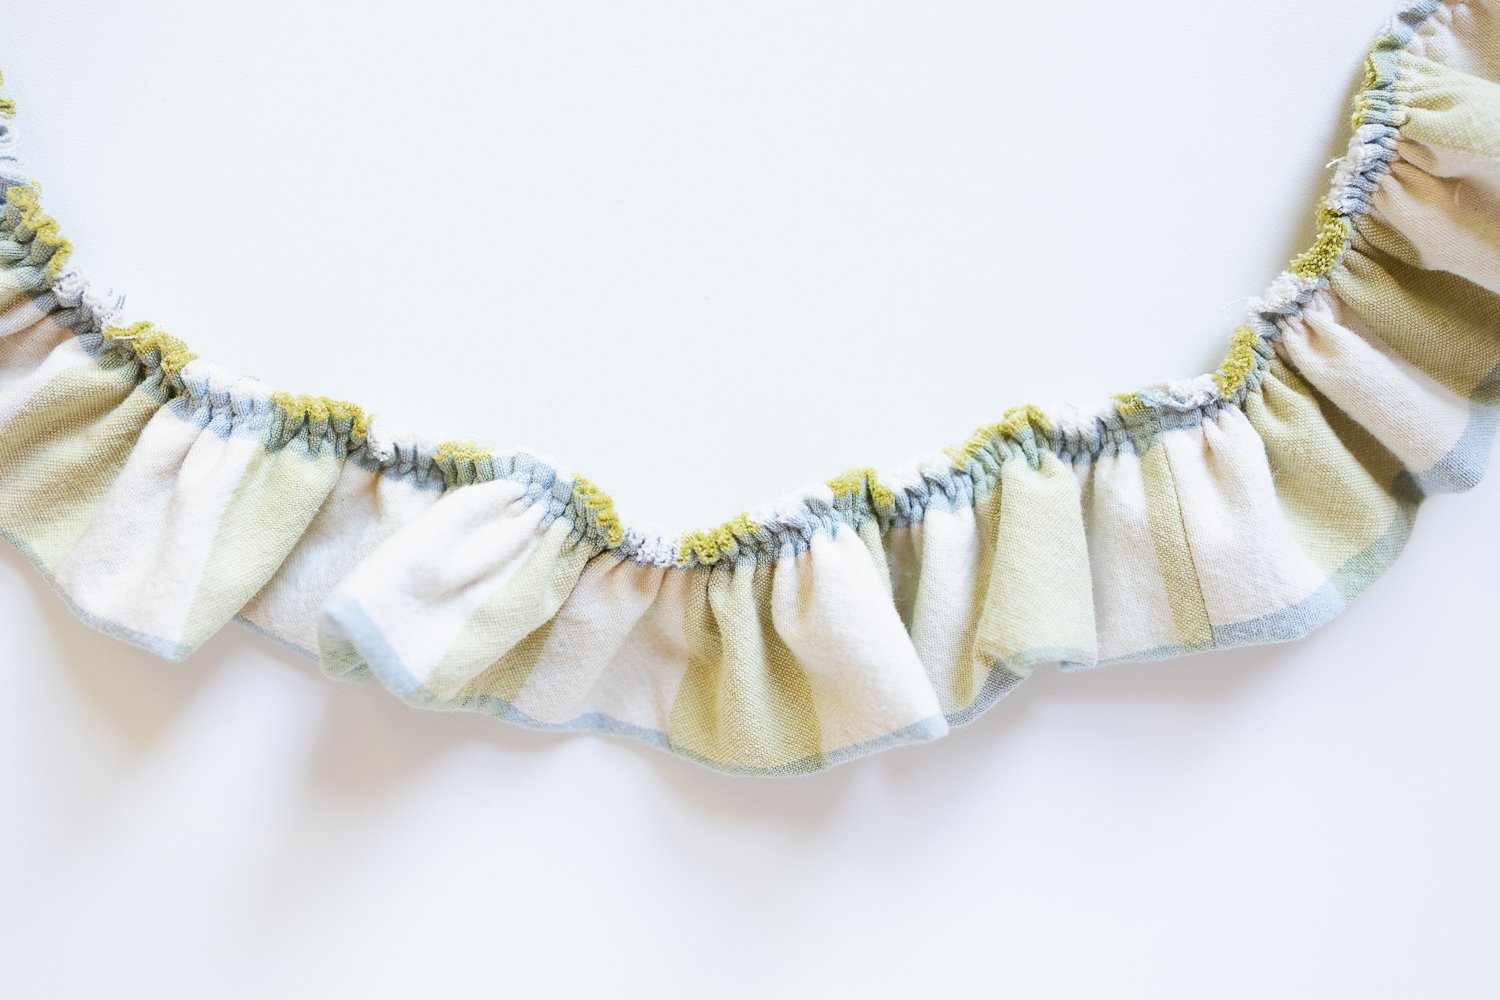
  • Cut three 3” x 36” (ruffle)

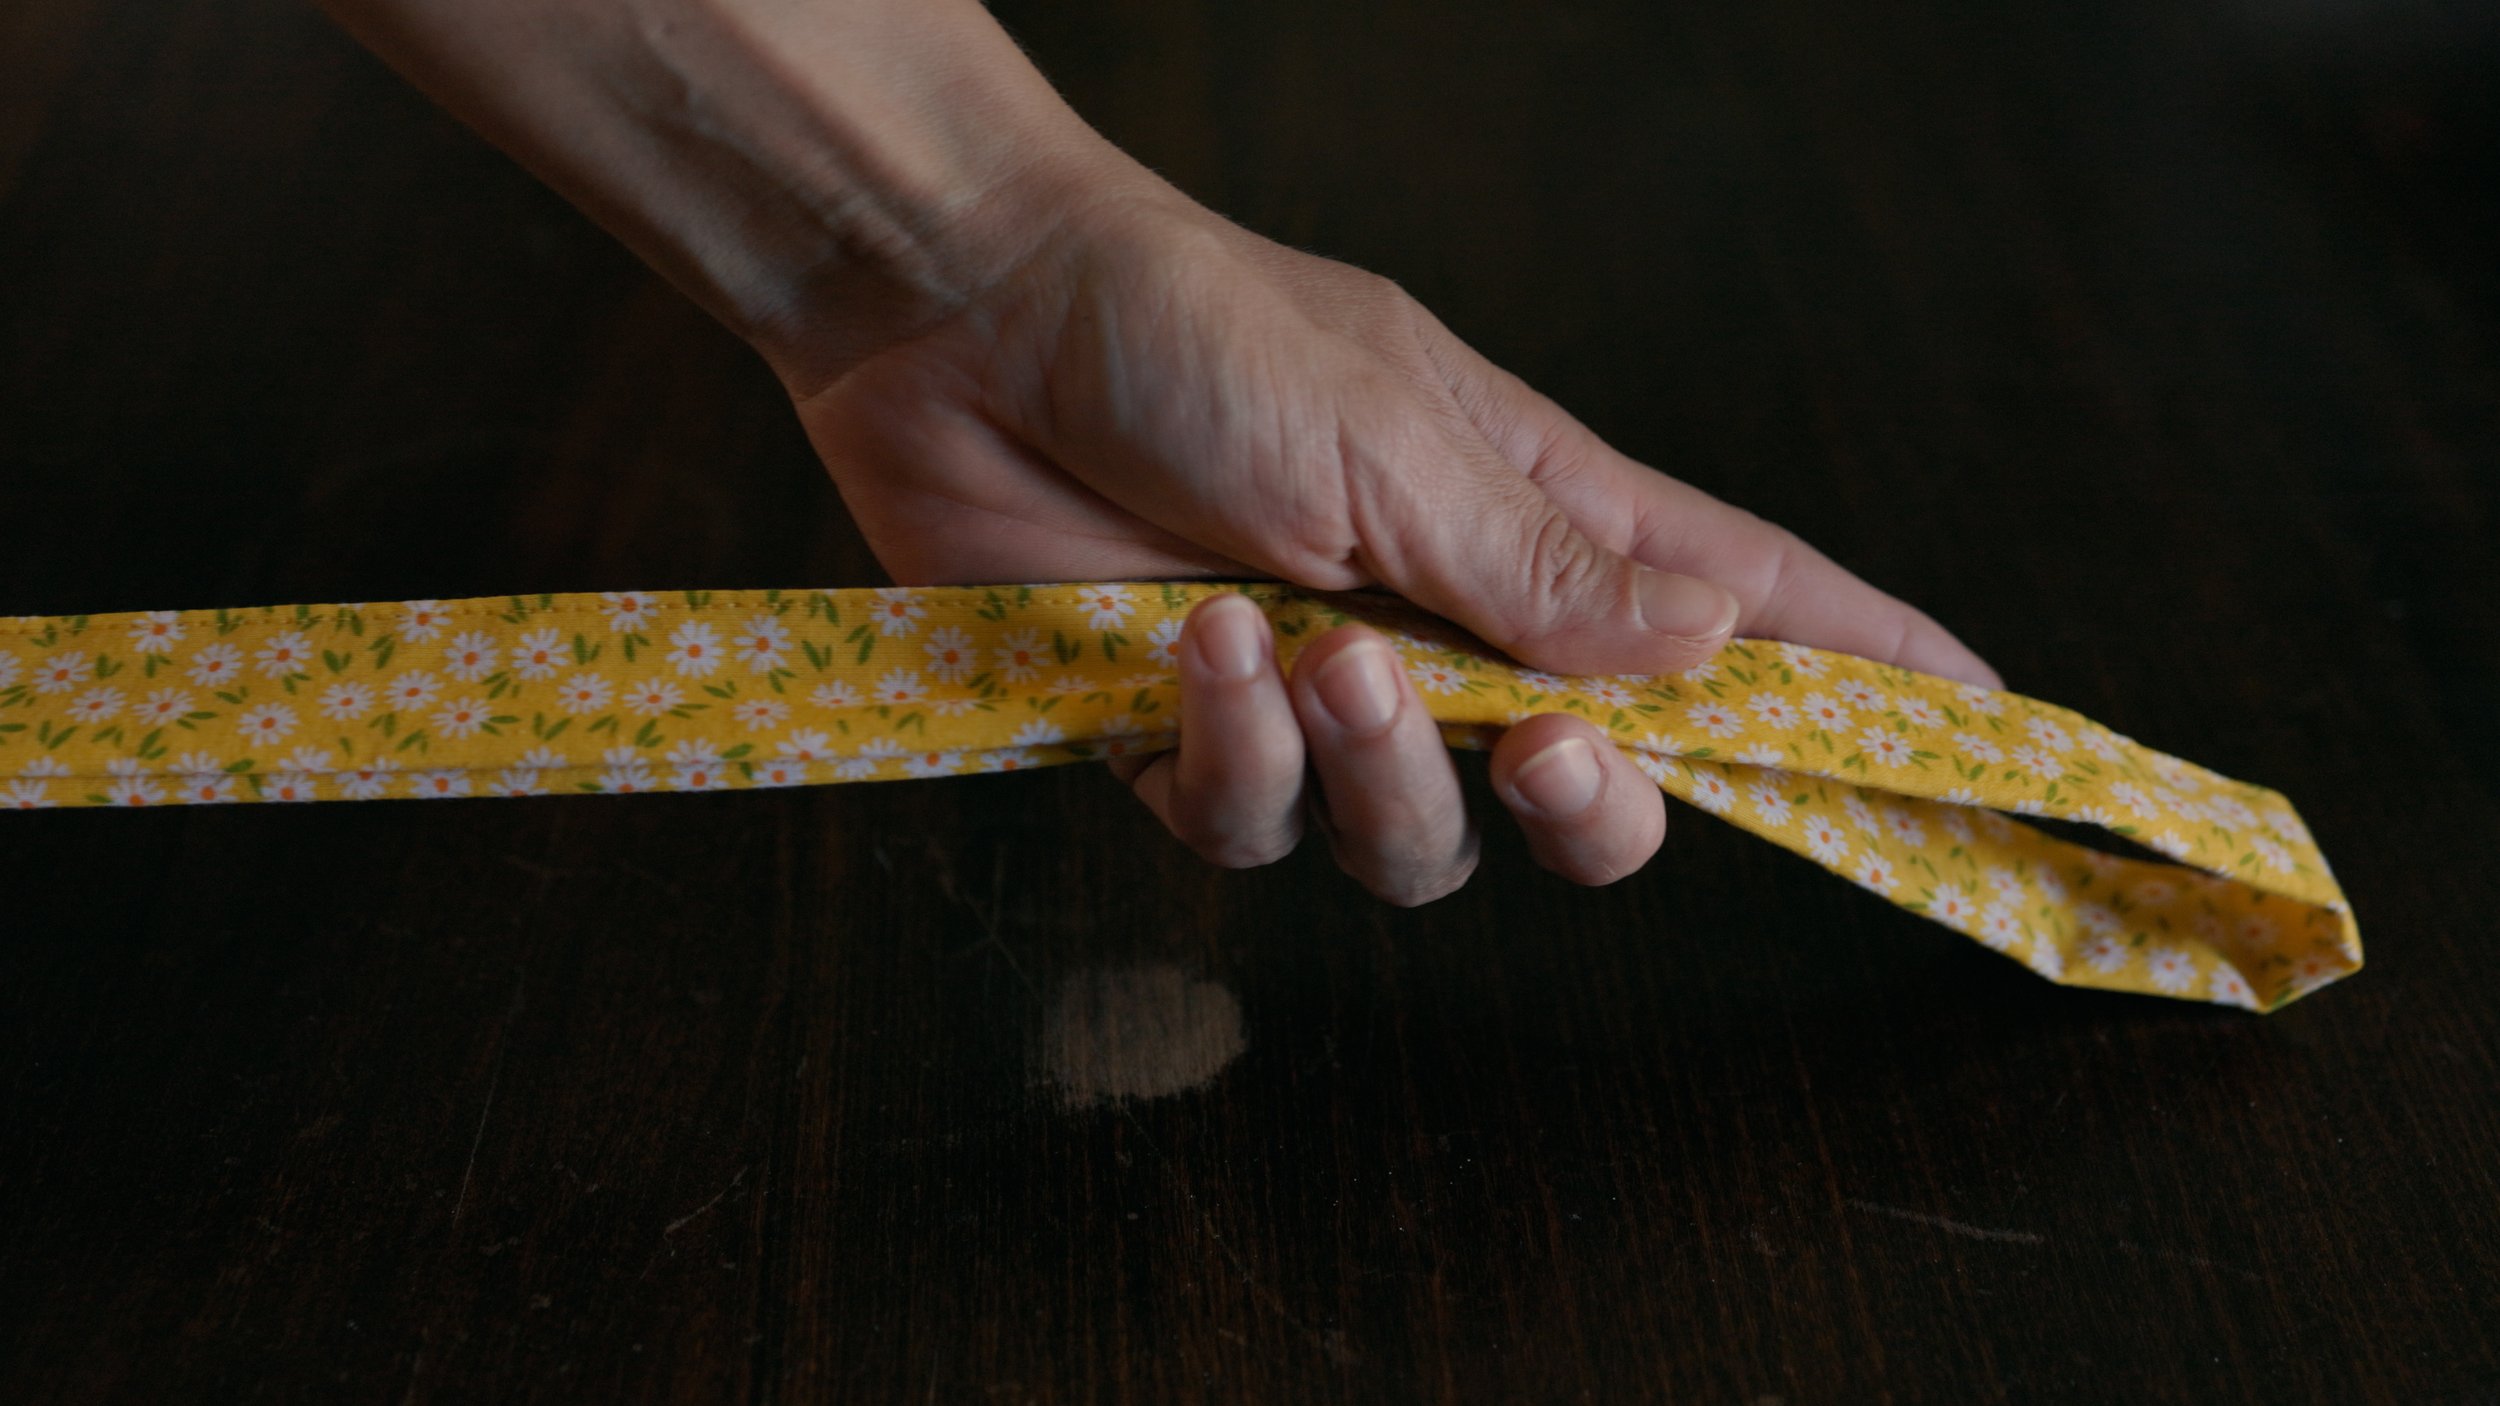
  • Cut one 4” x 36” (handle)

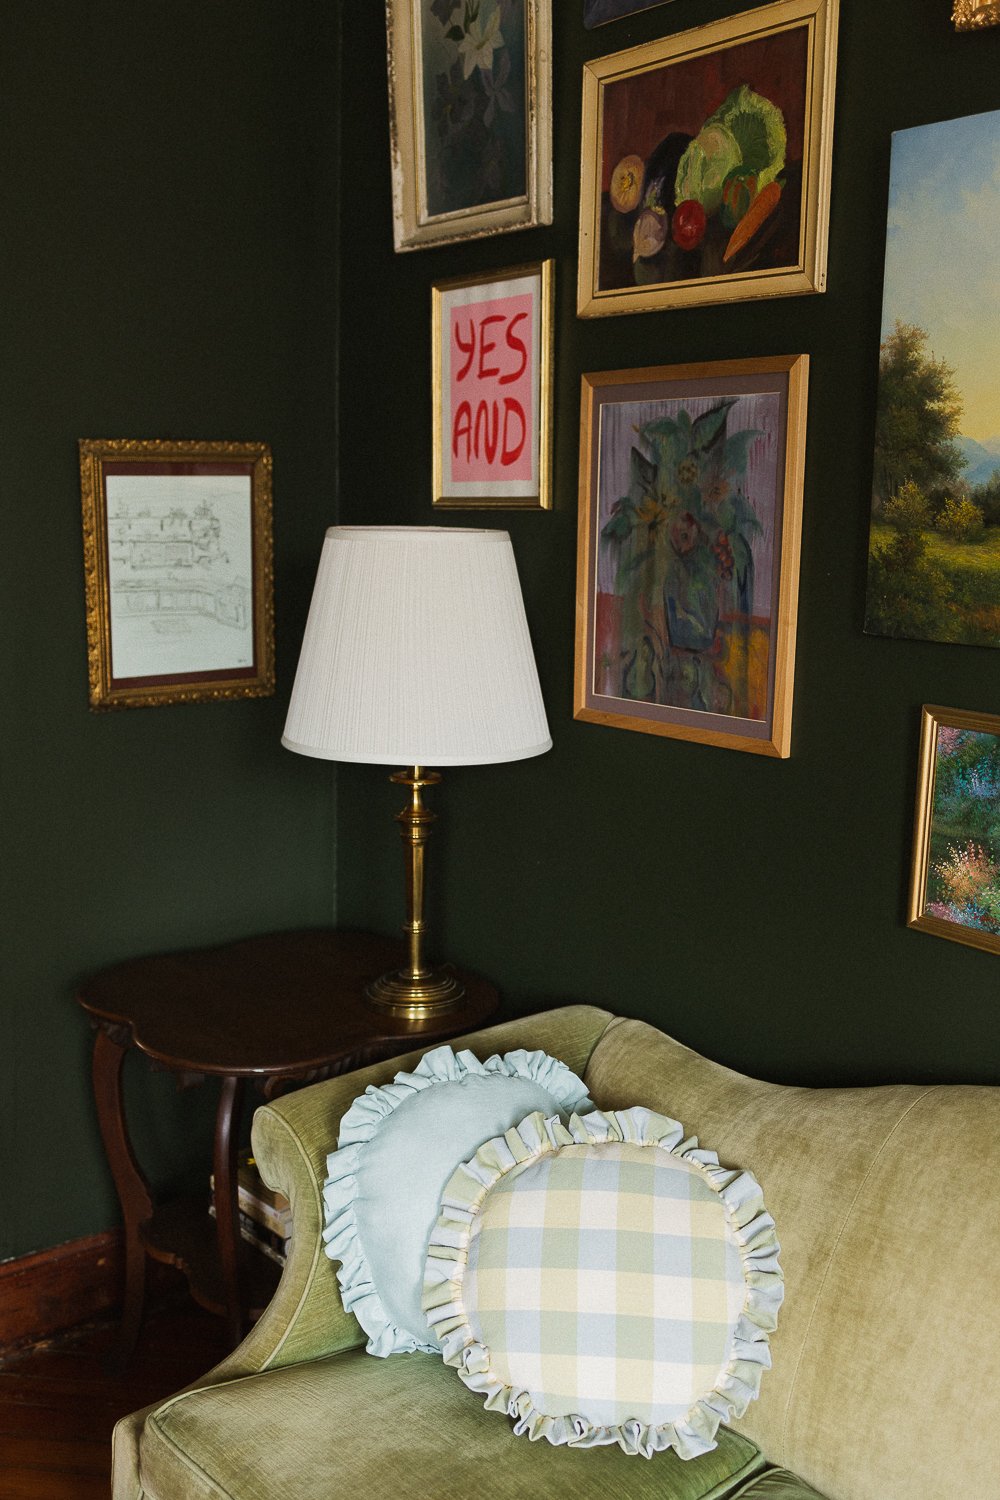
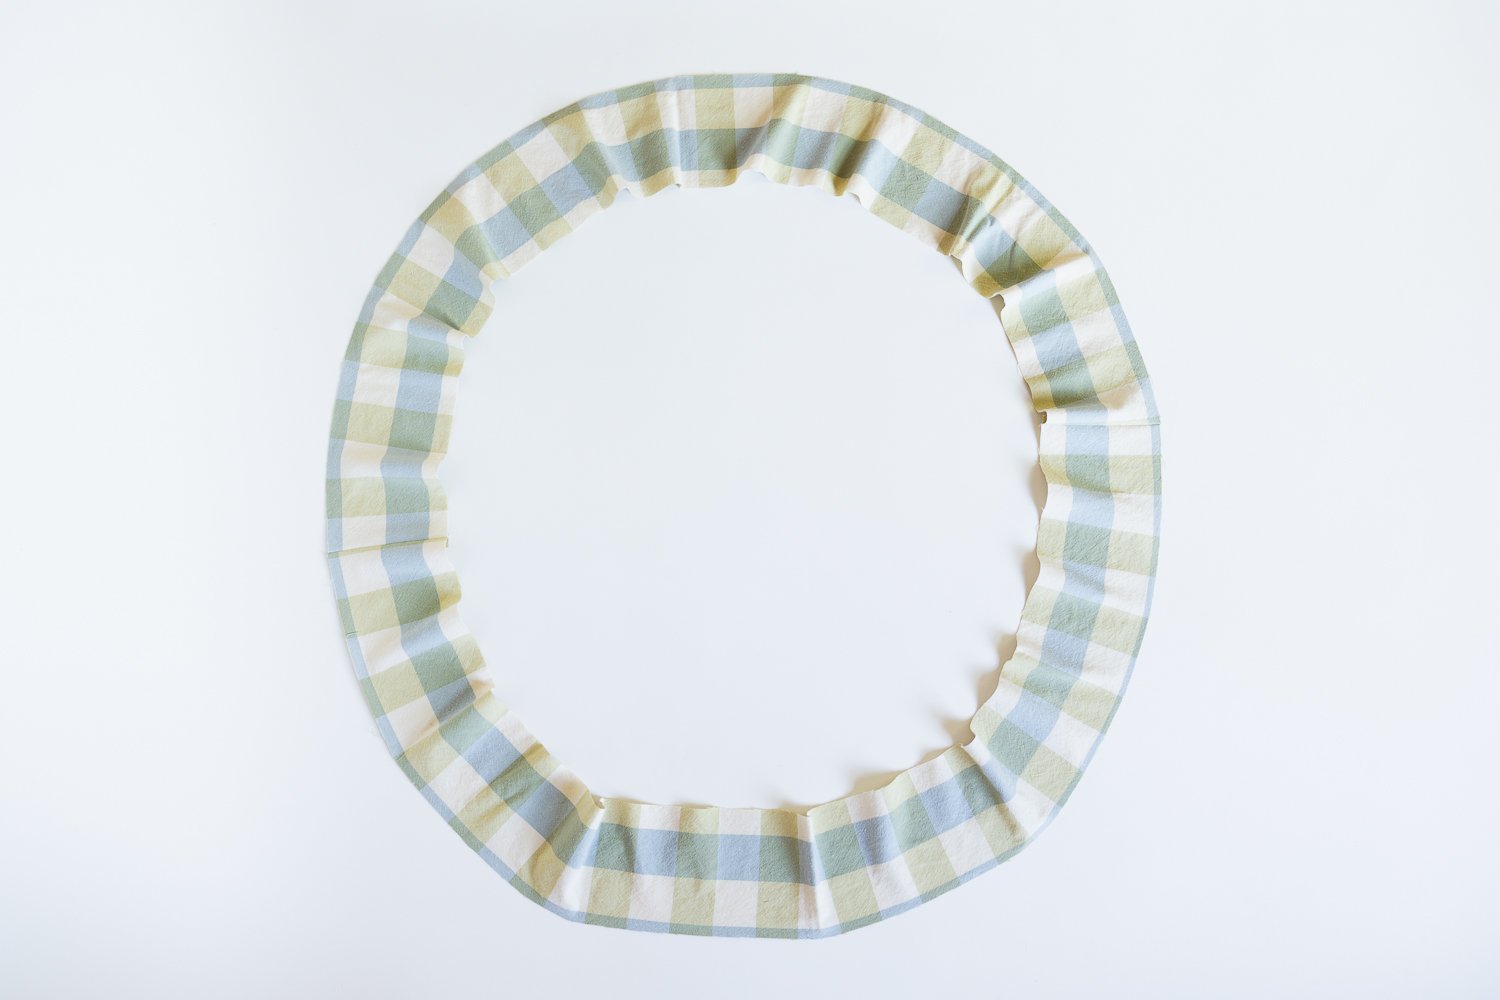
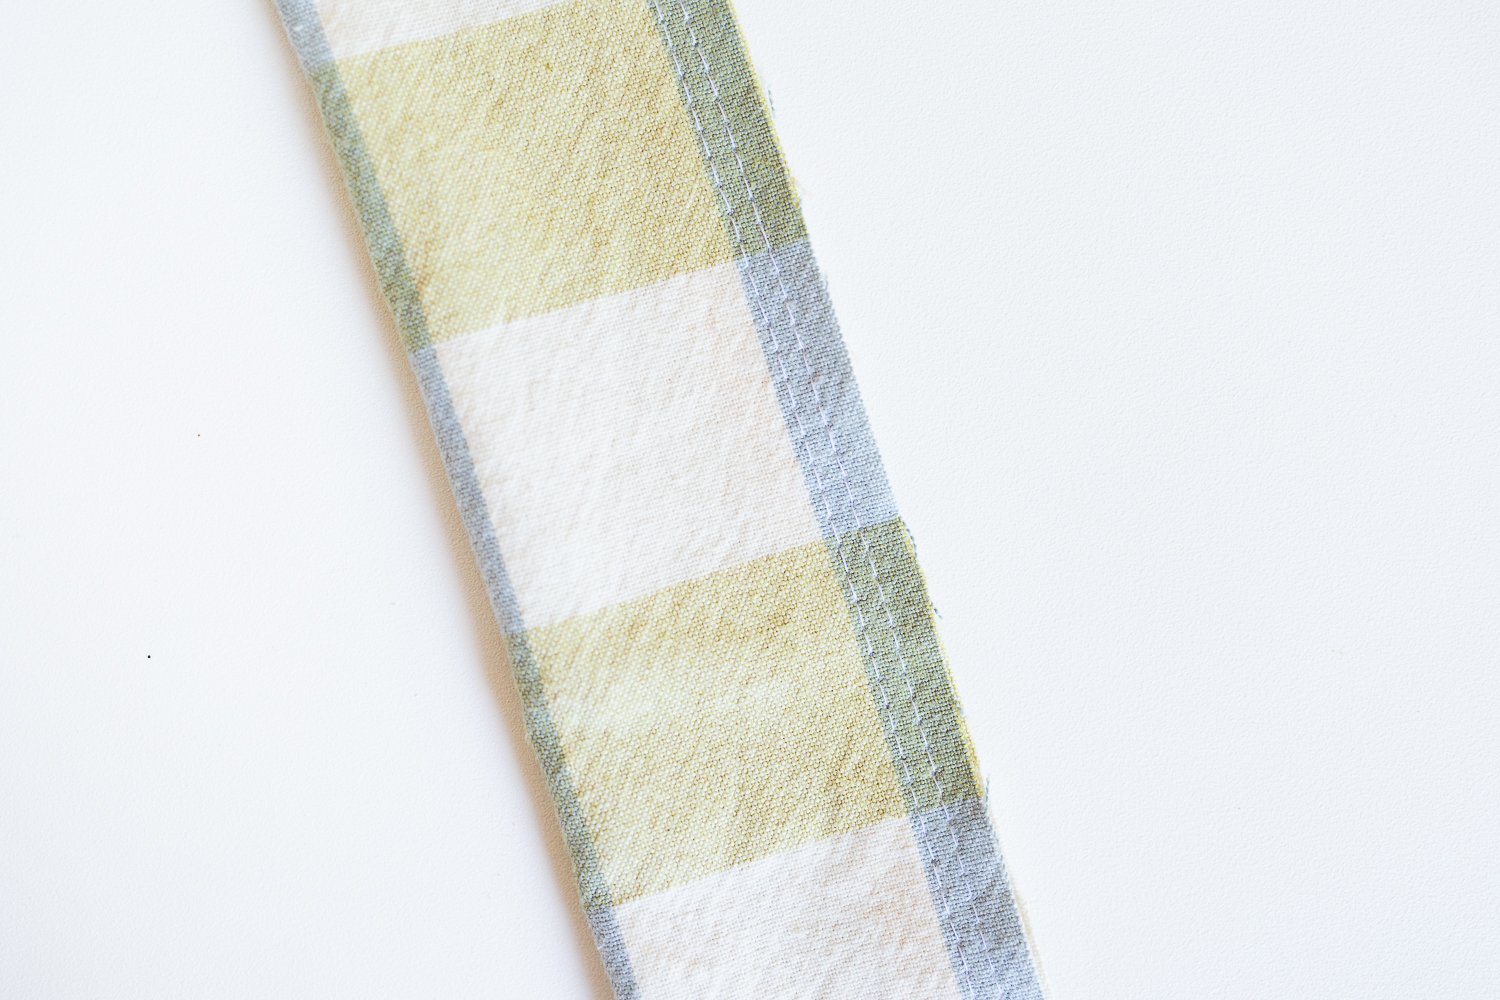
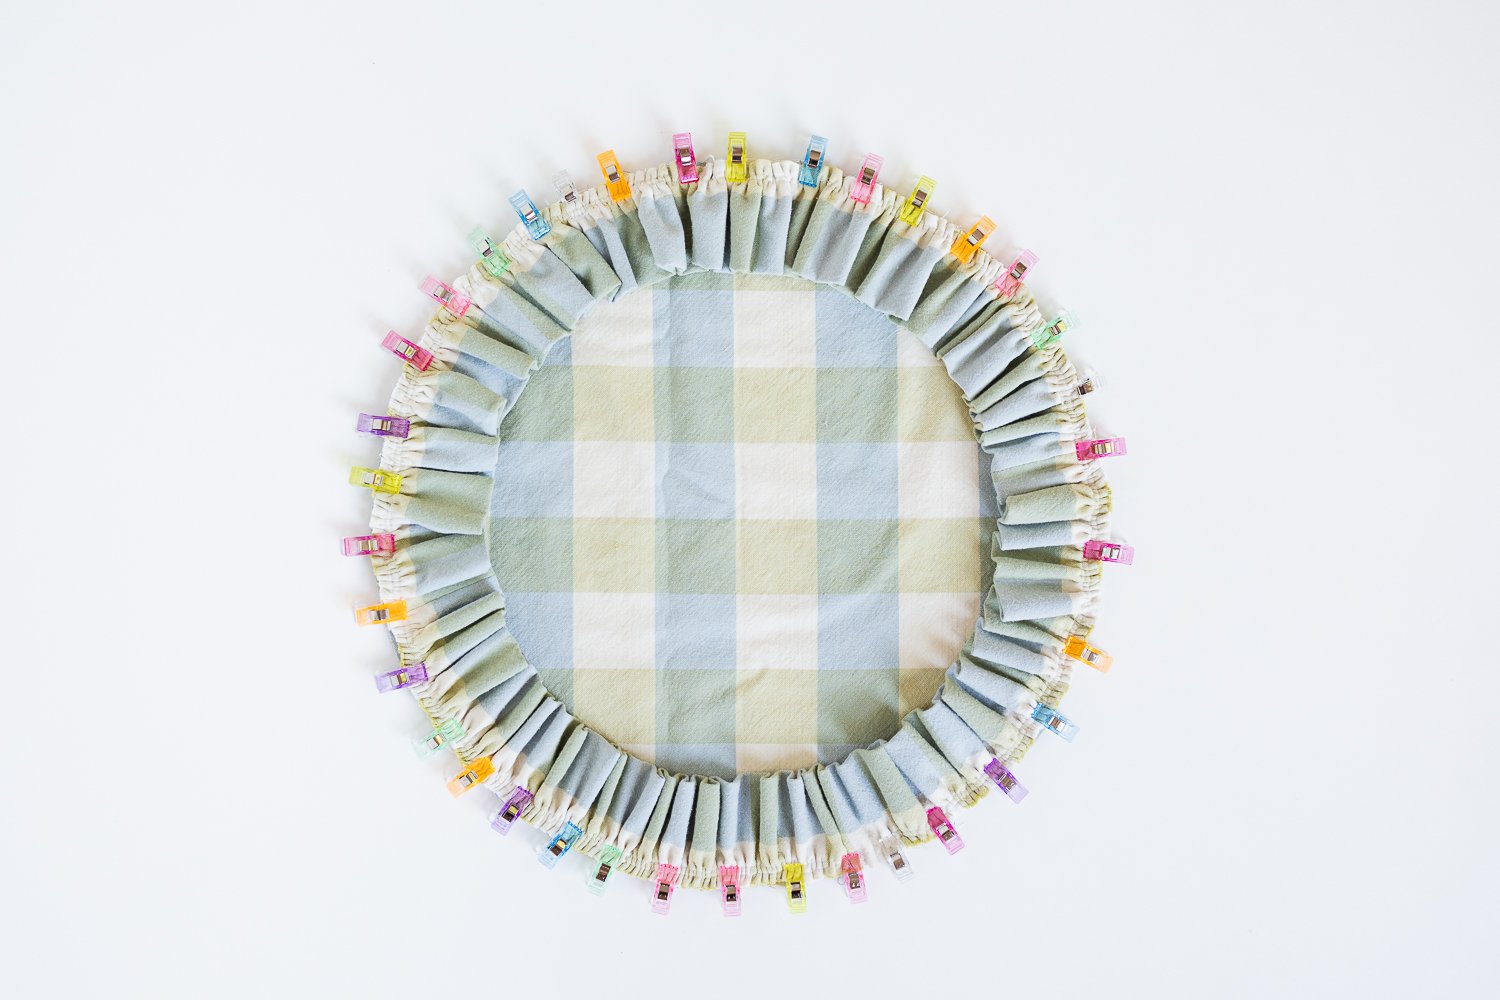
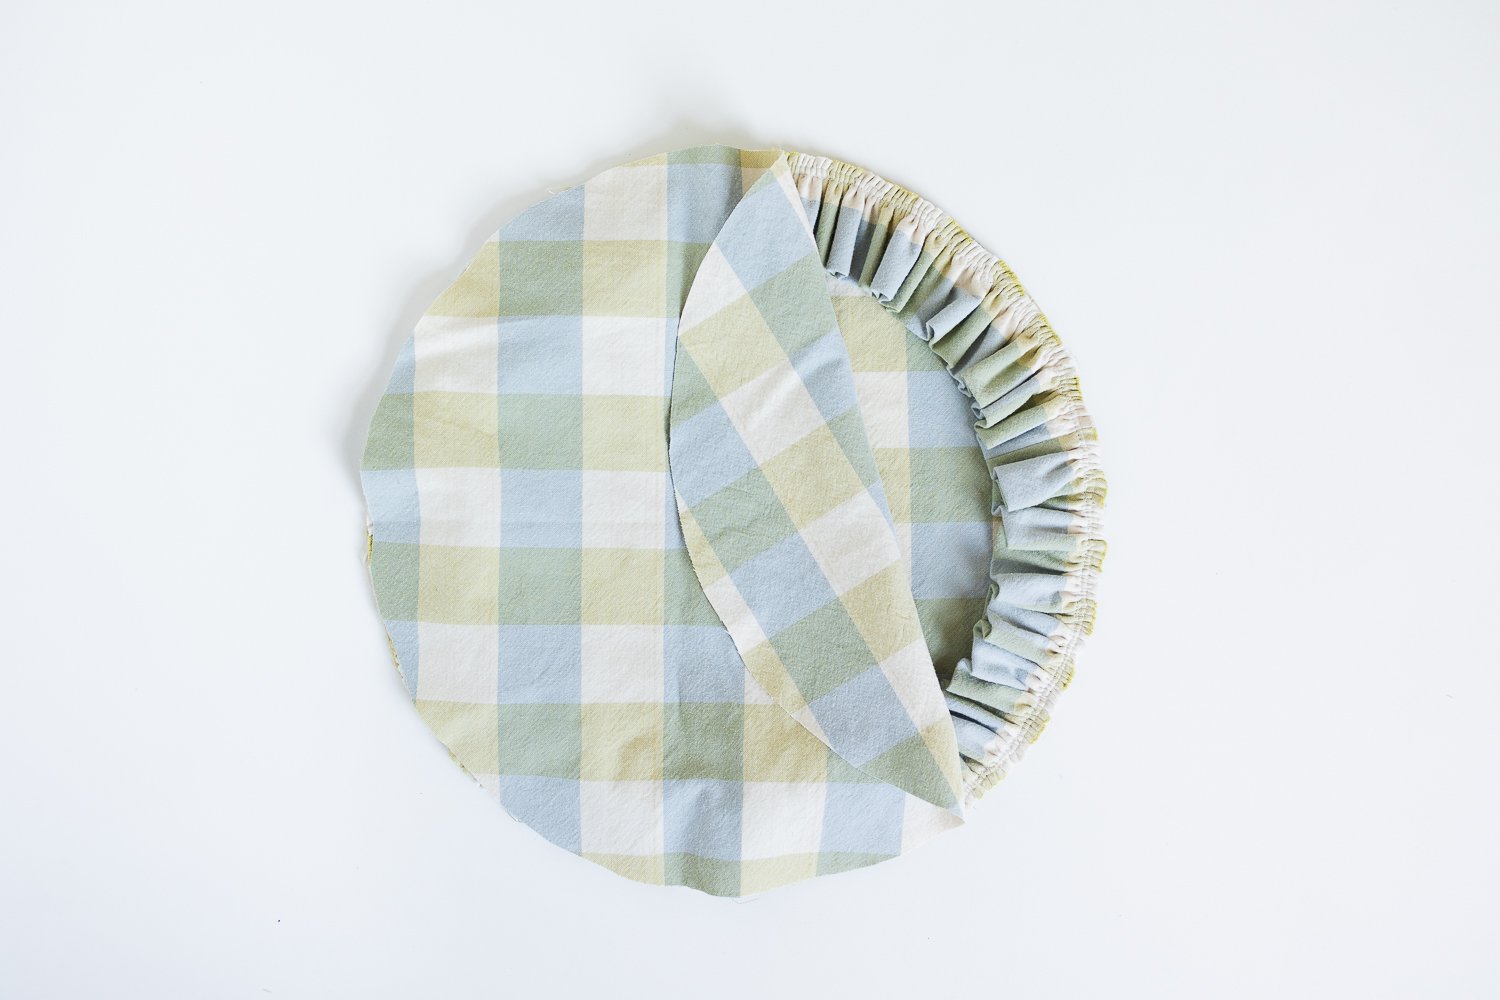
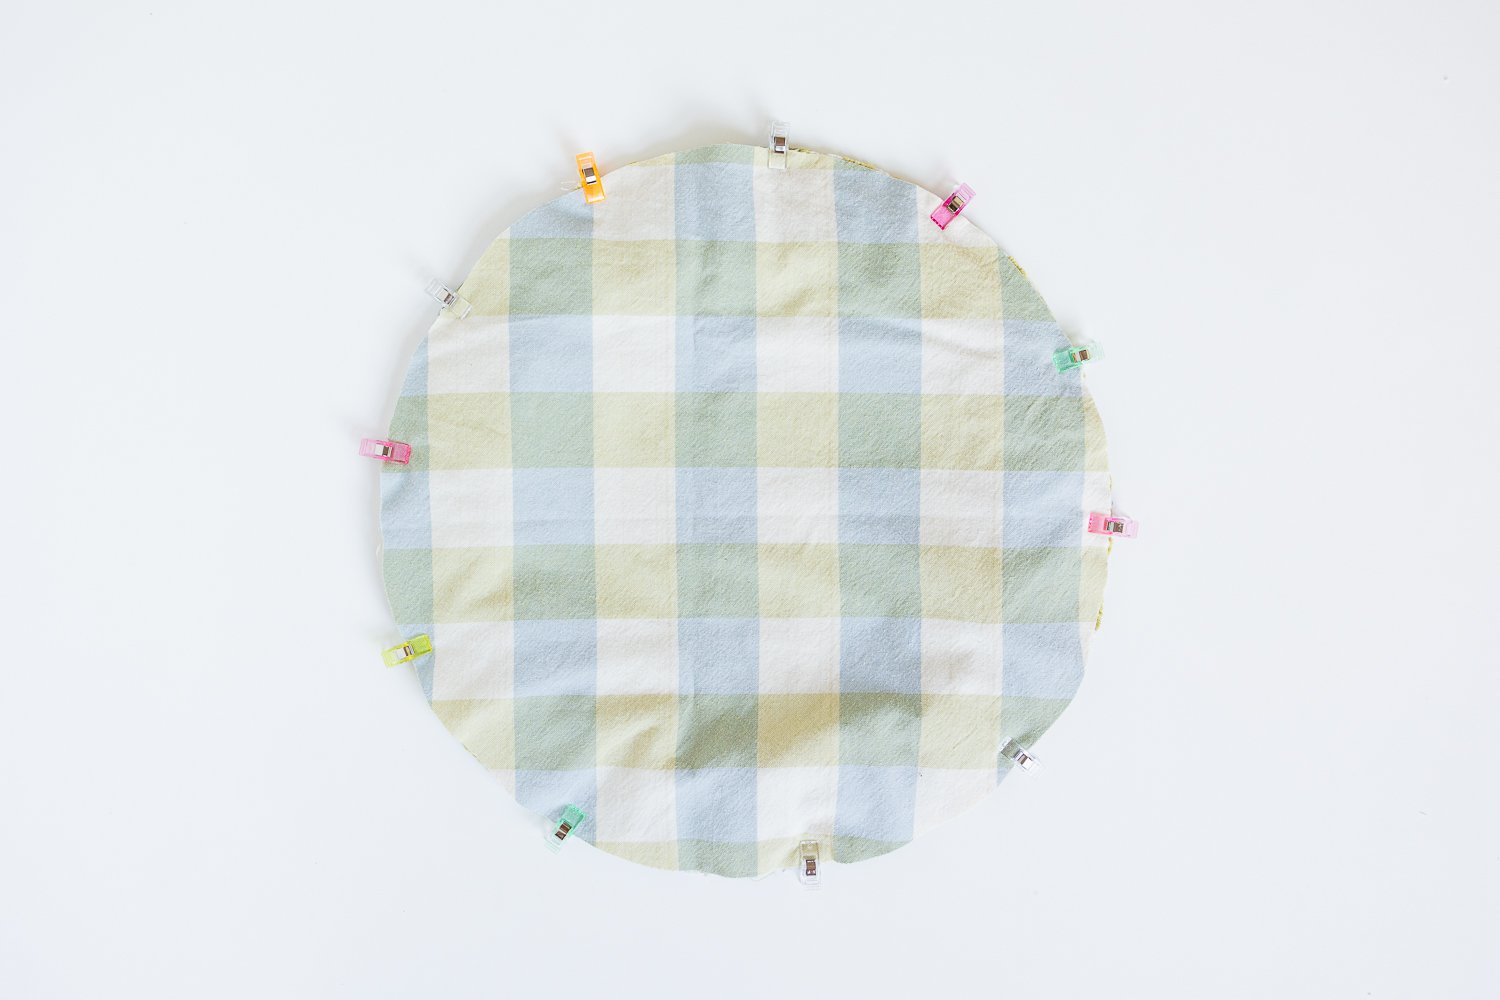
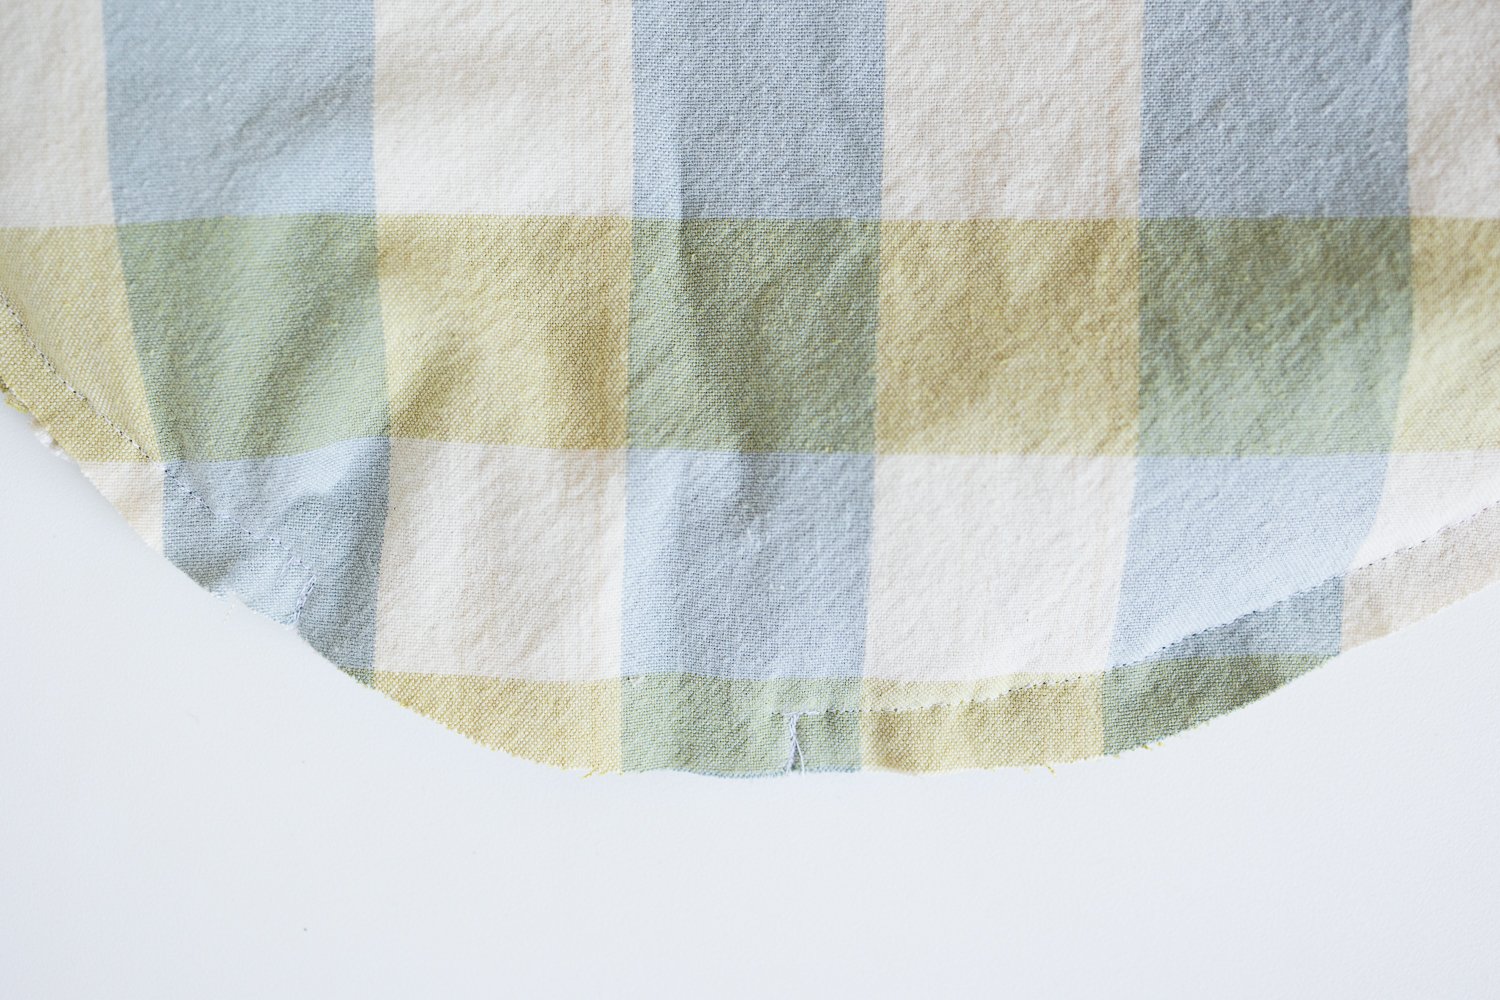
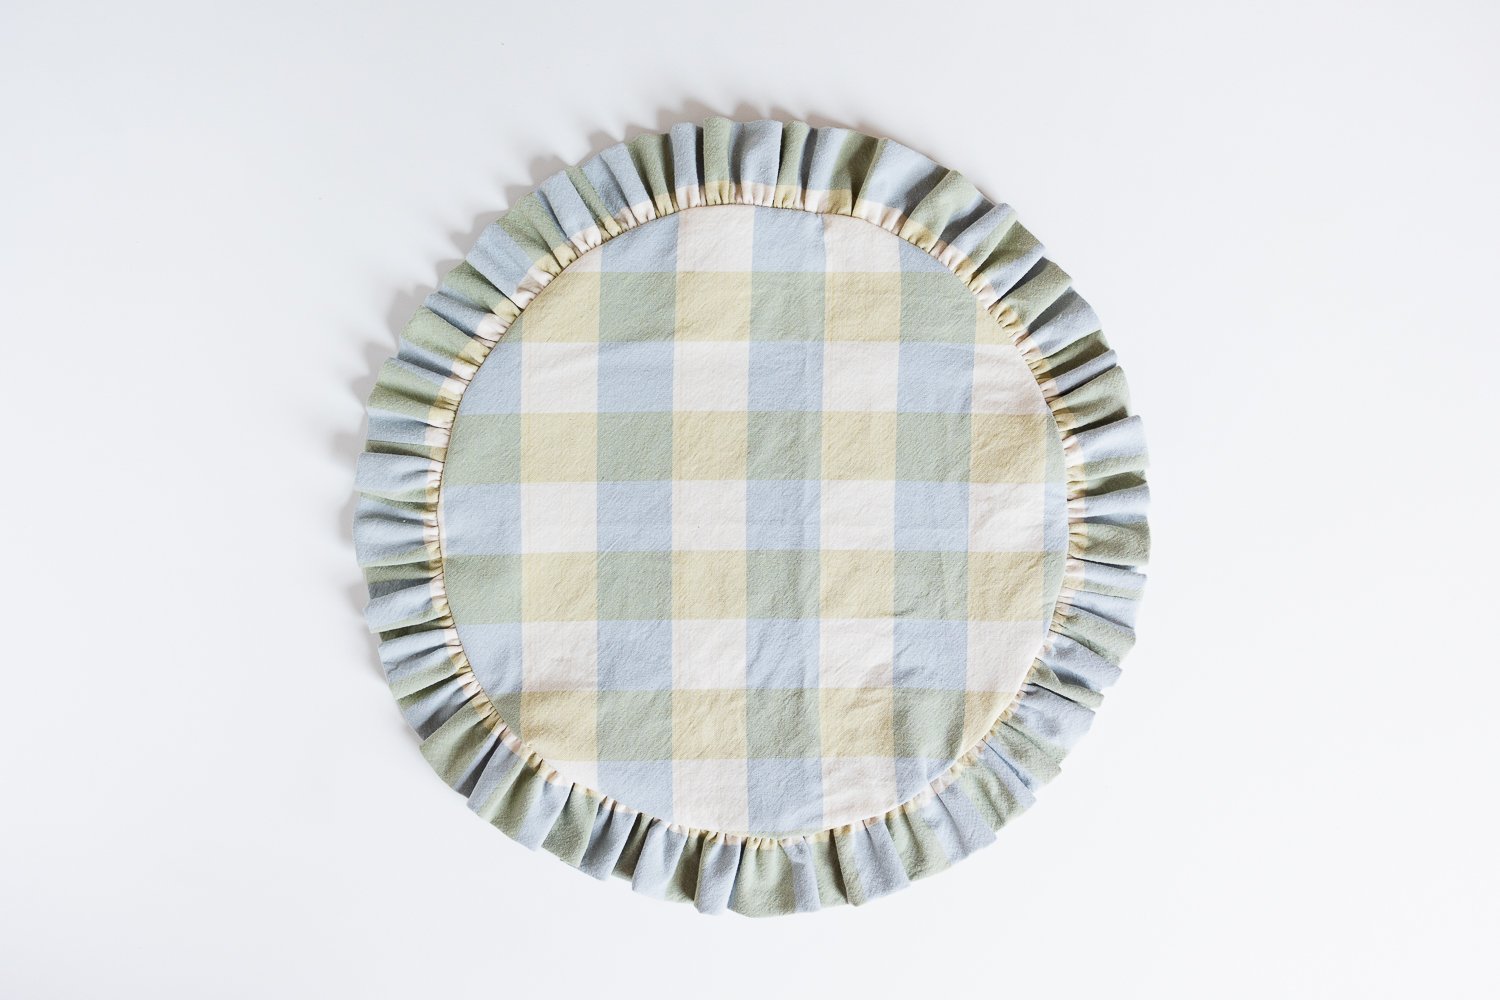
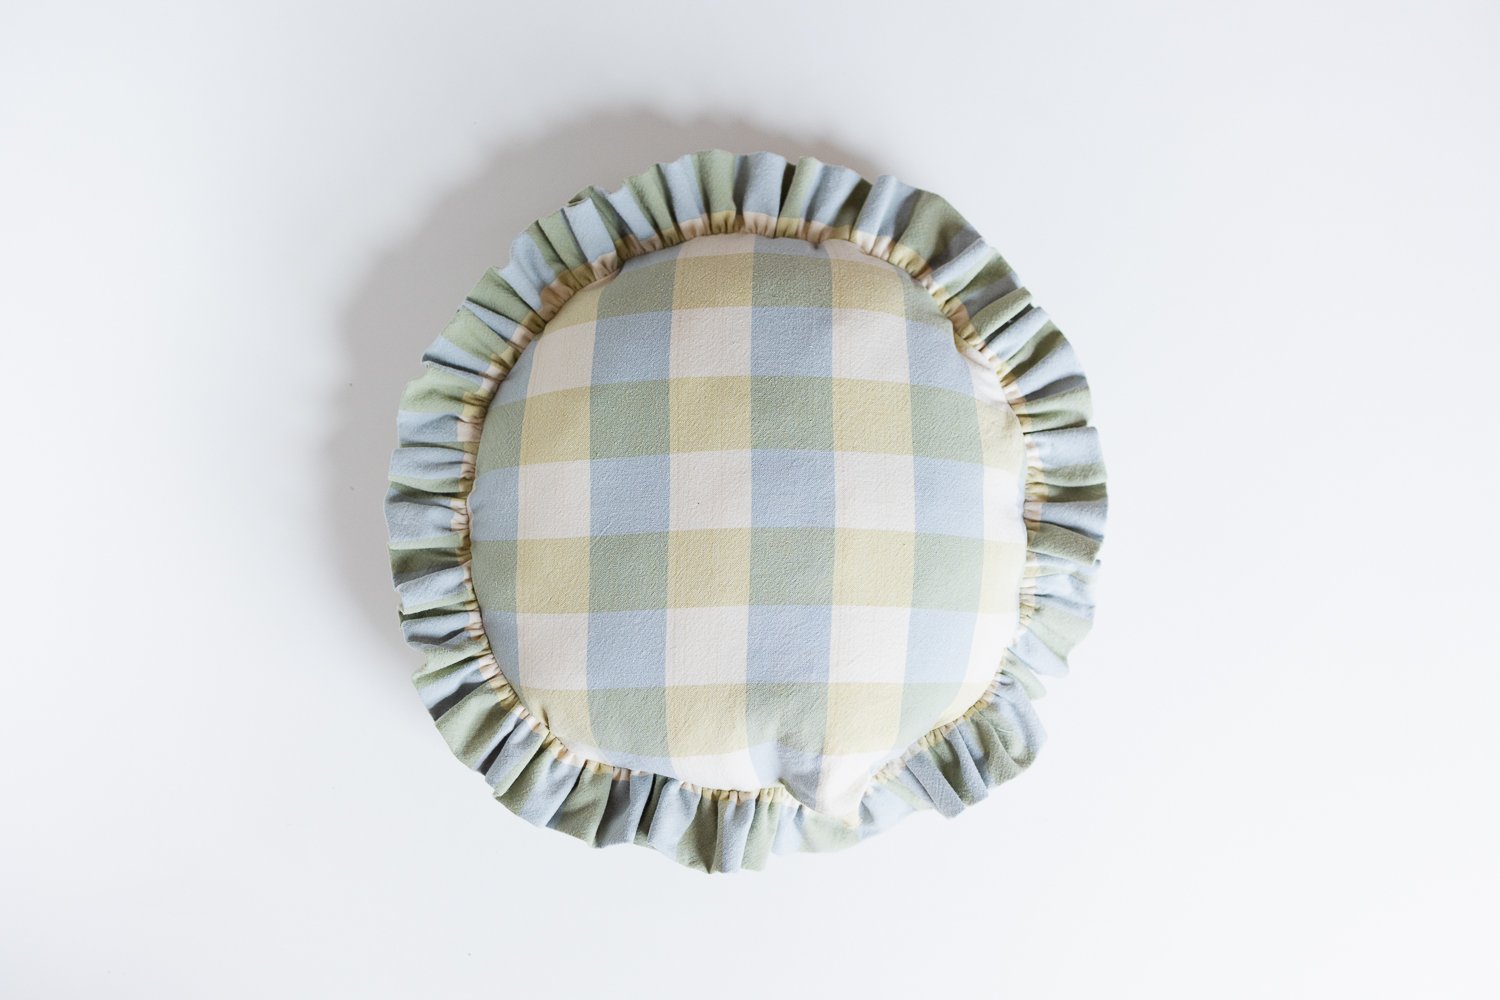
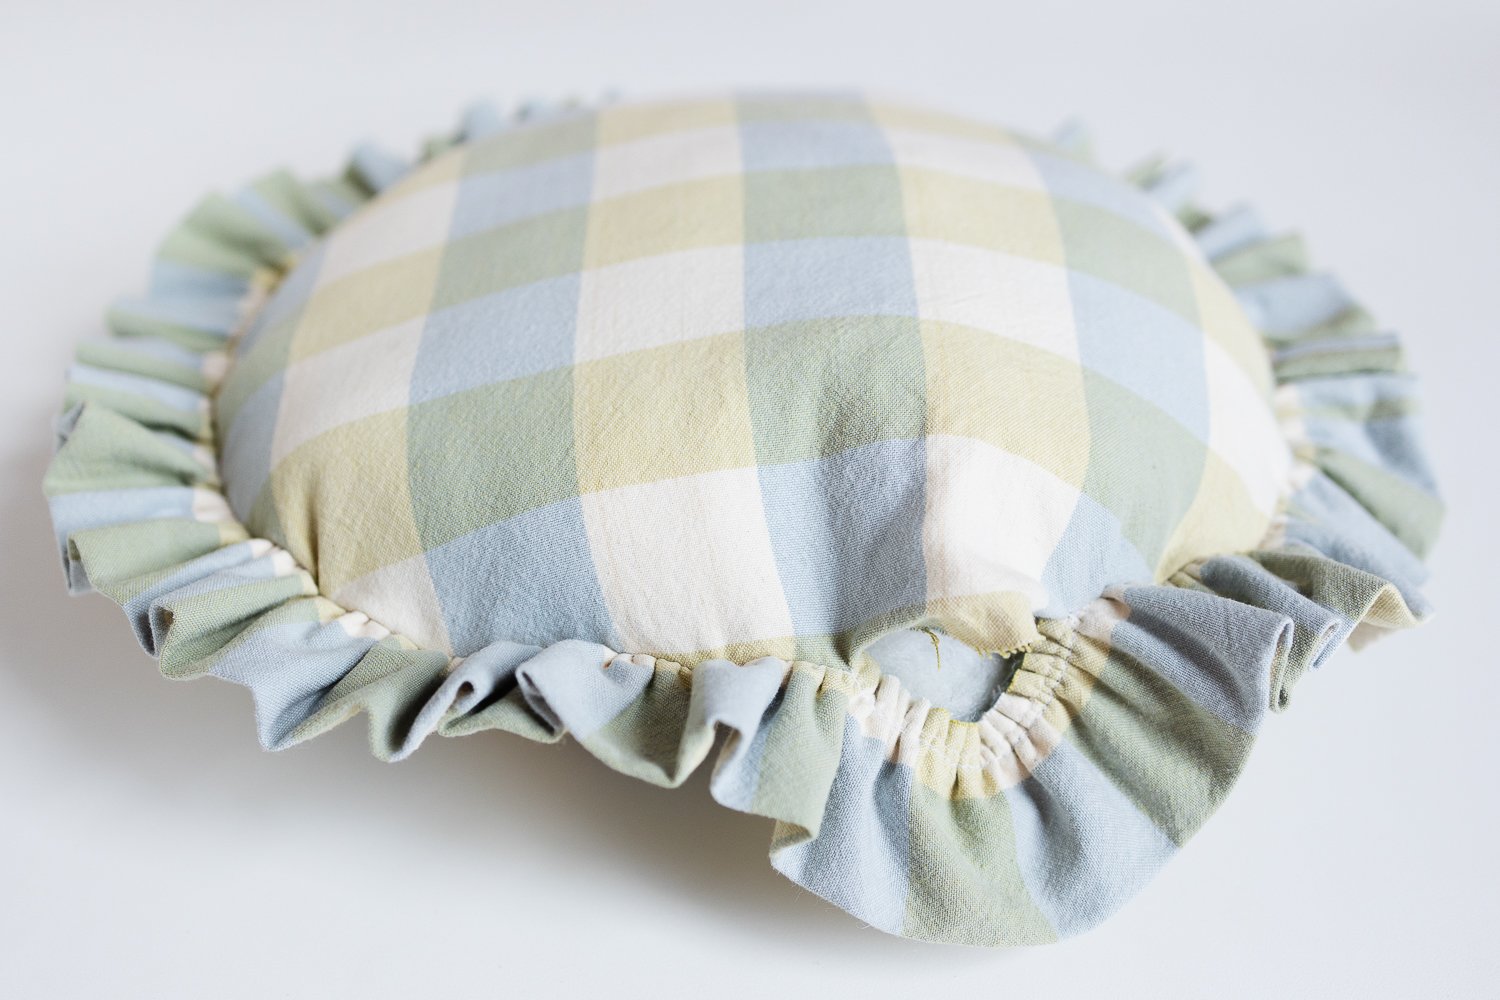
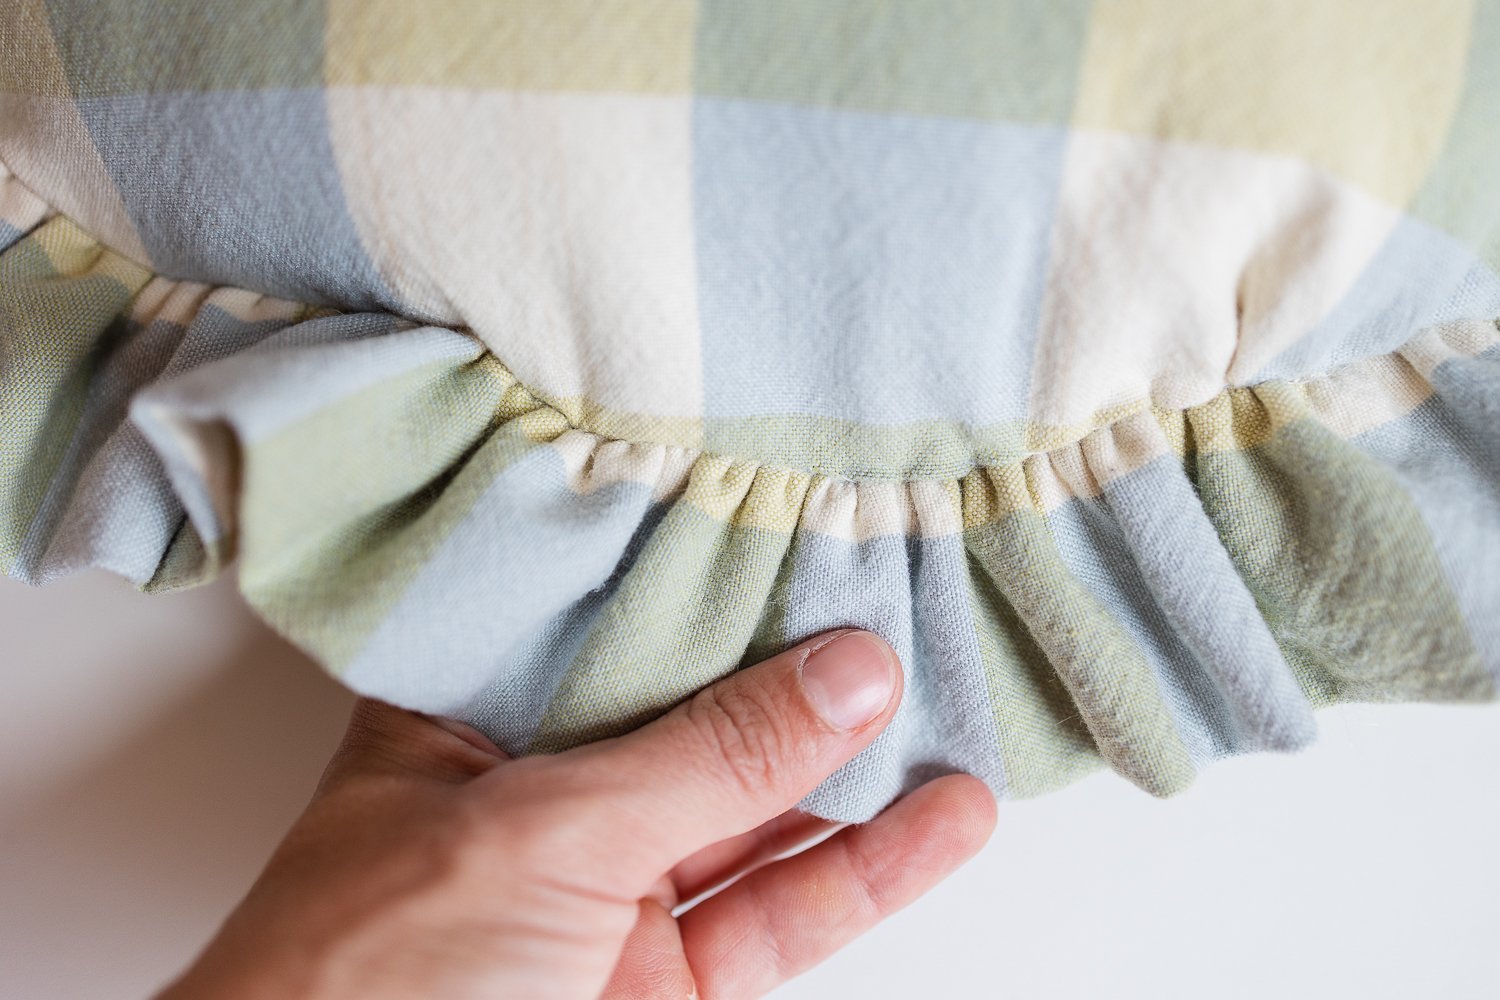
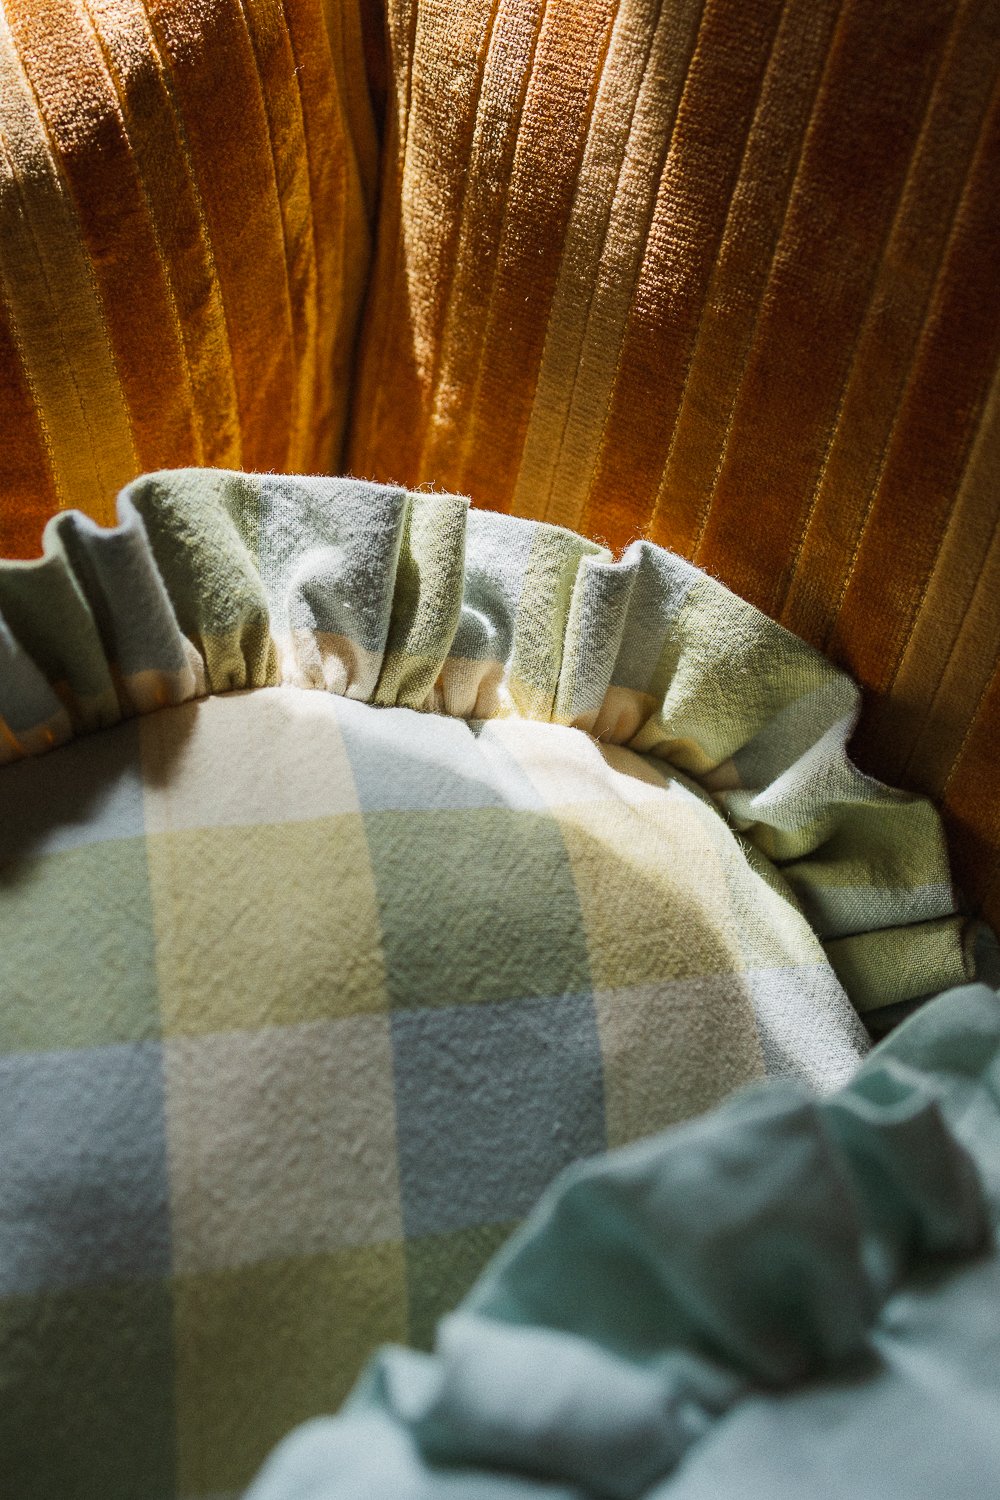
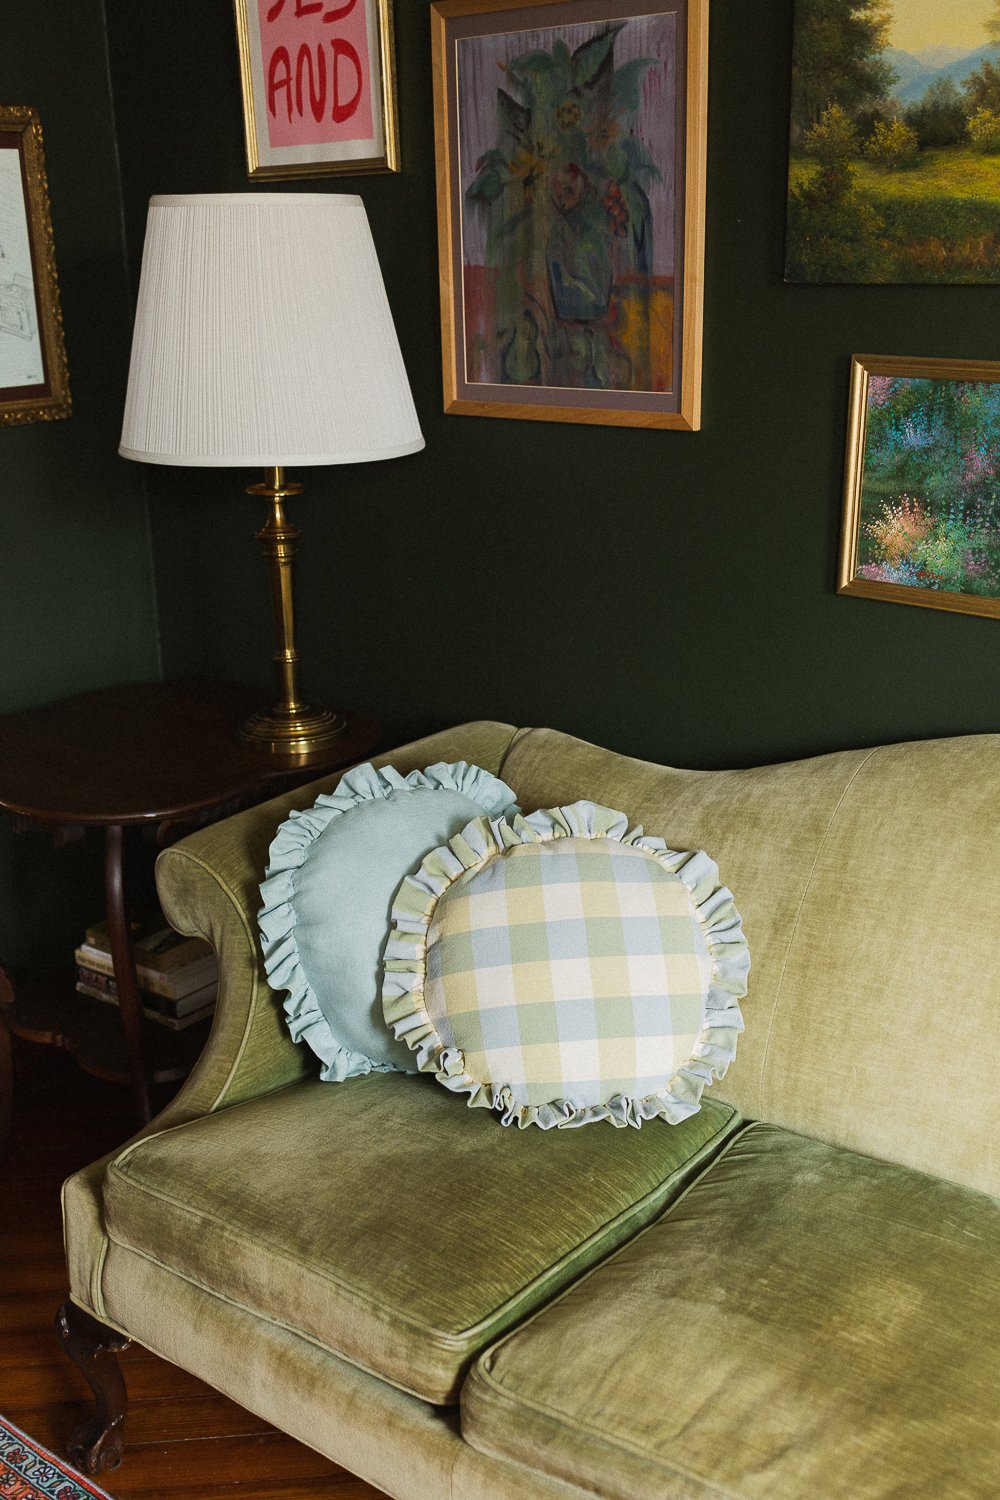
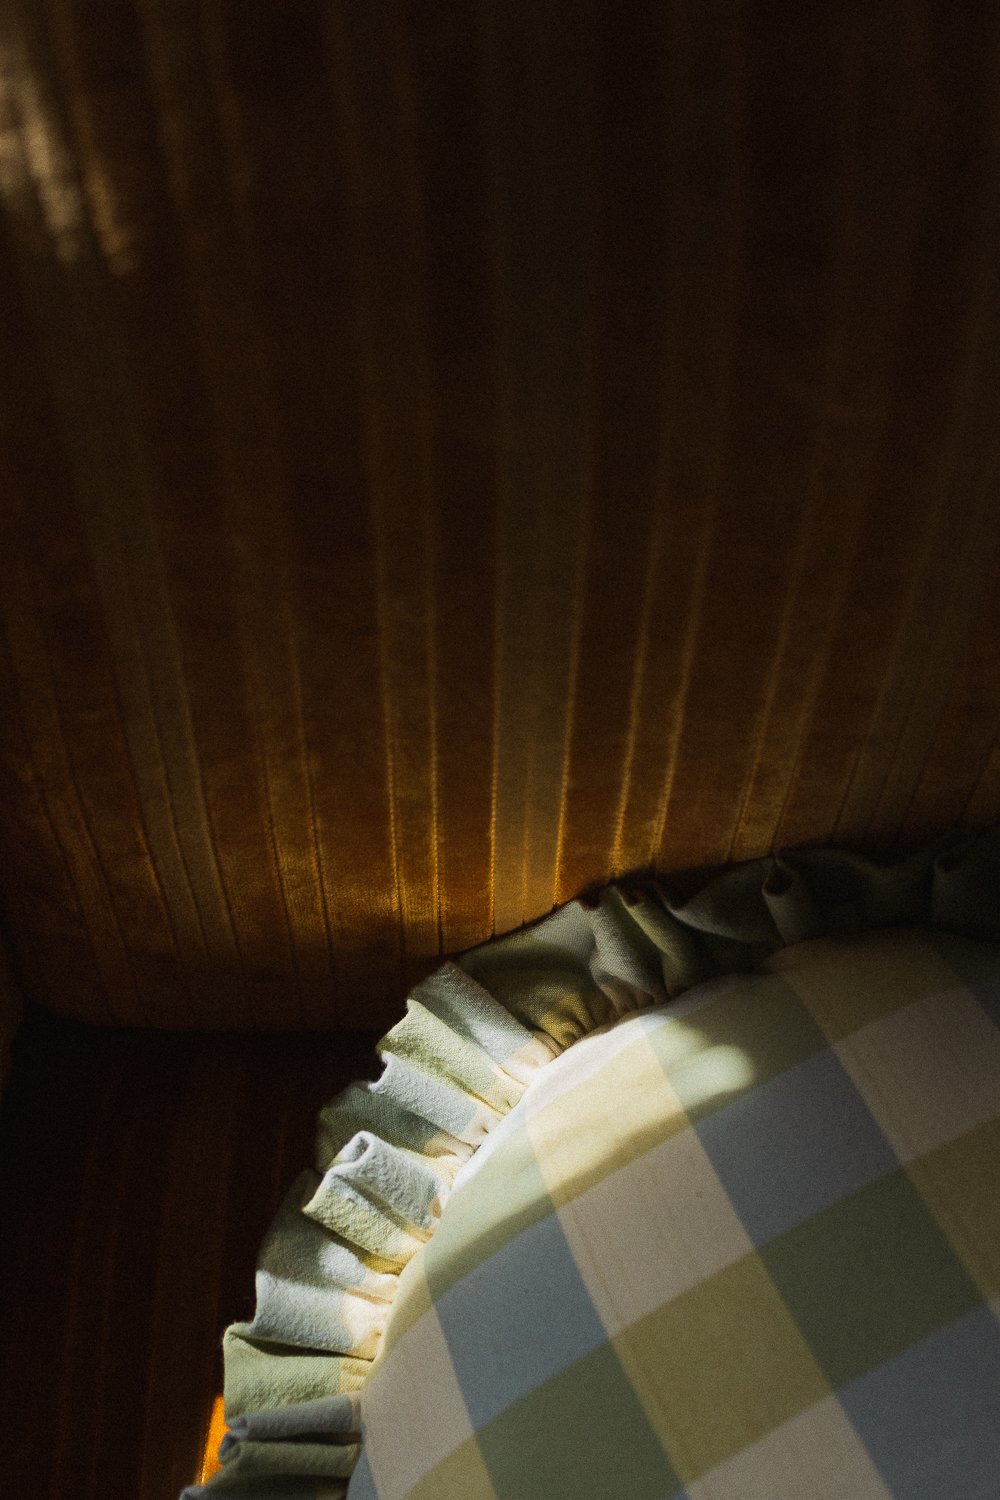
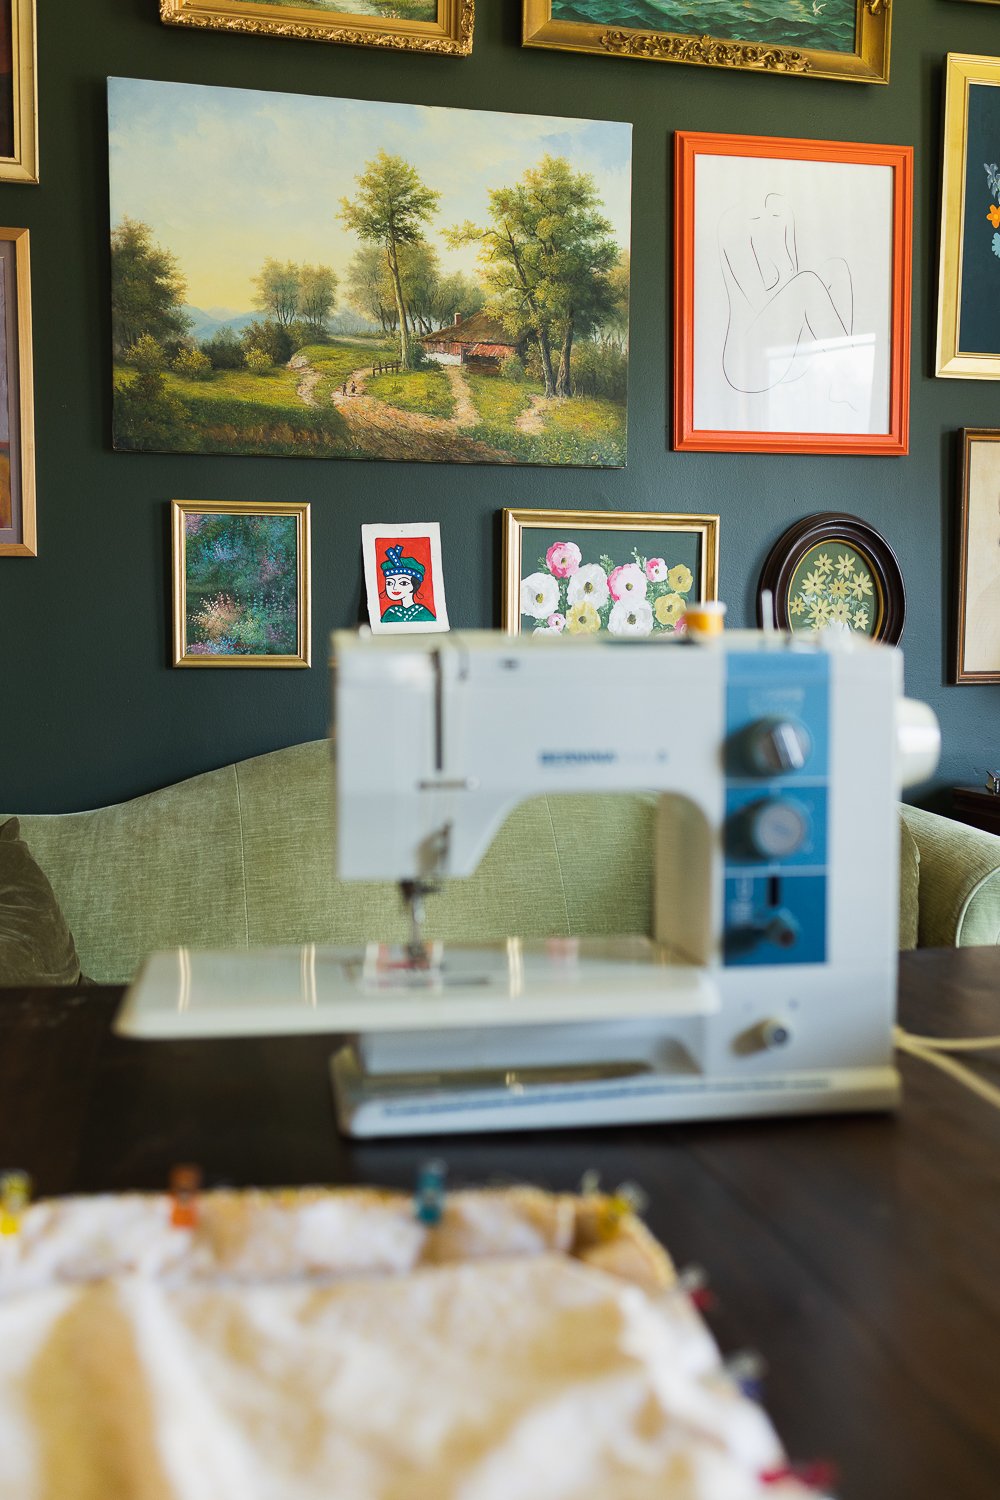
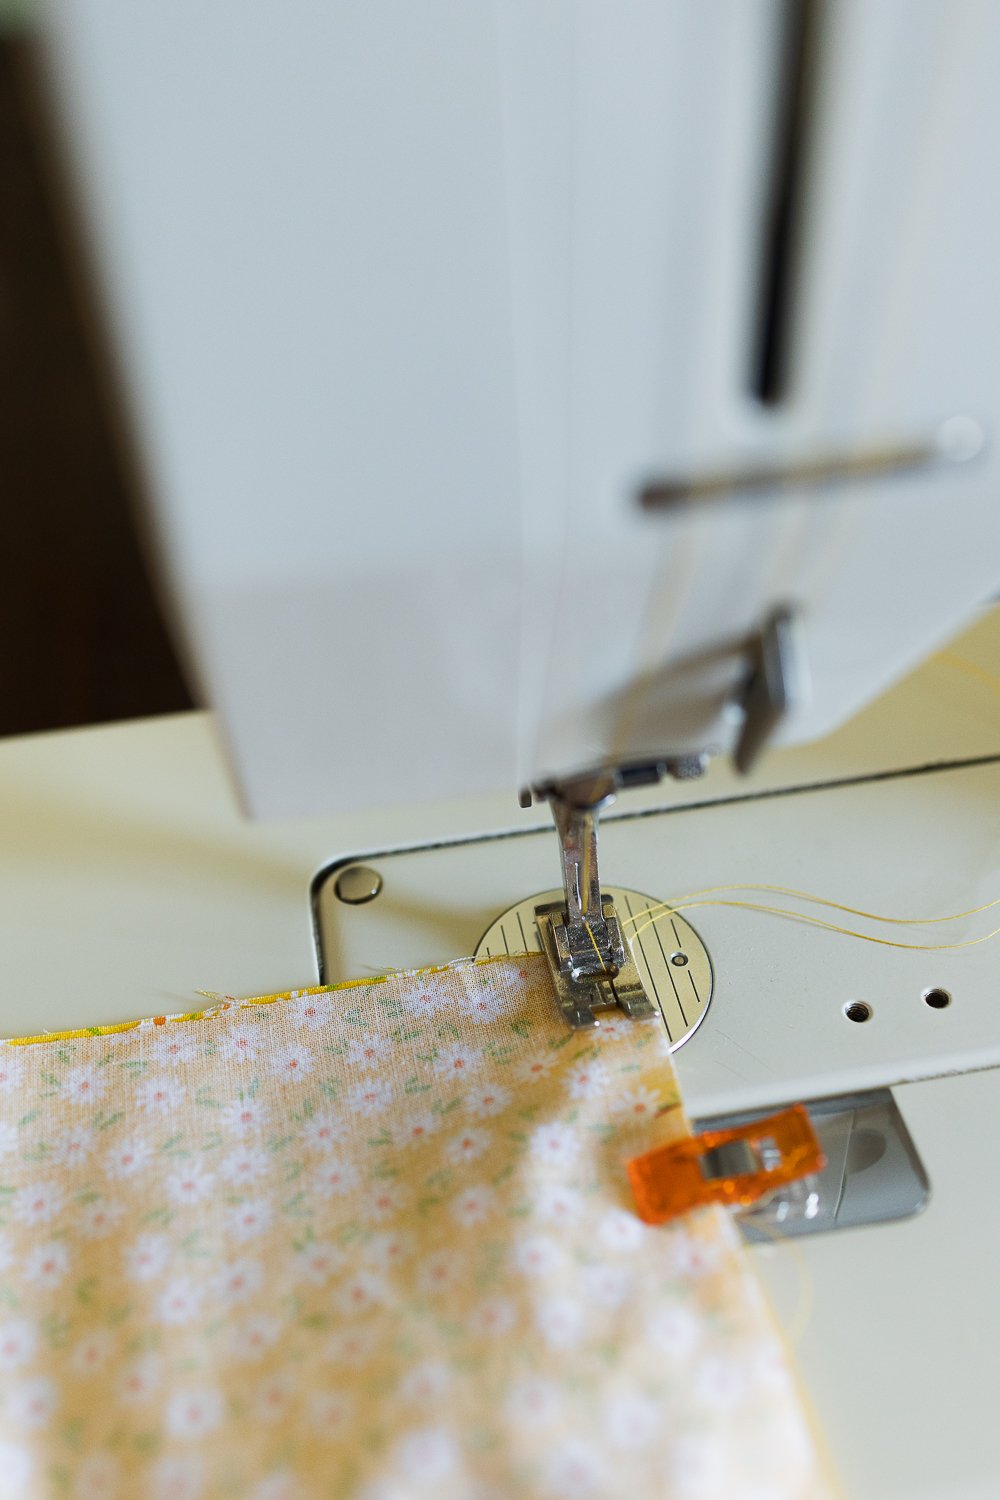
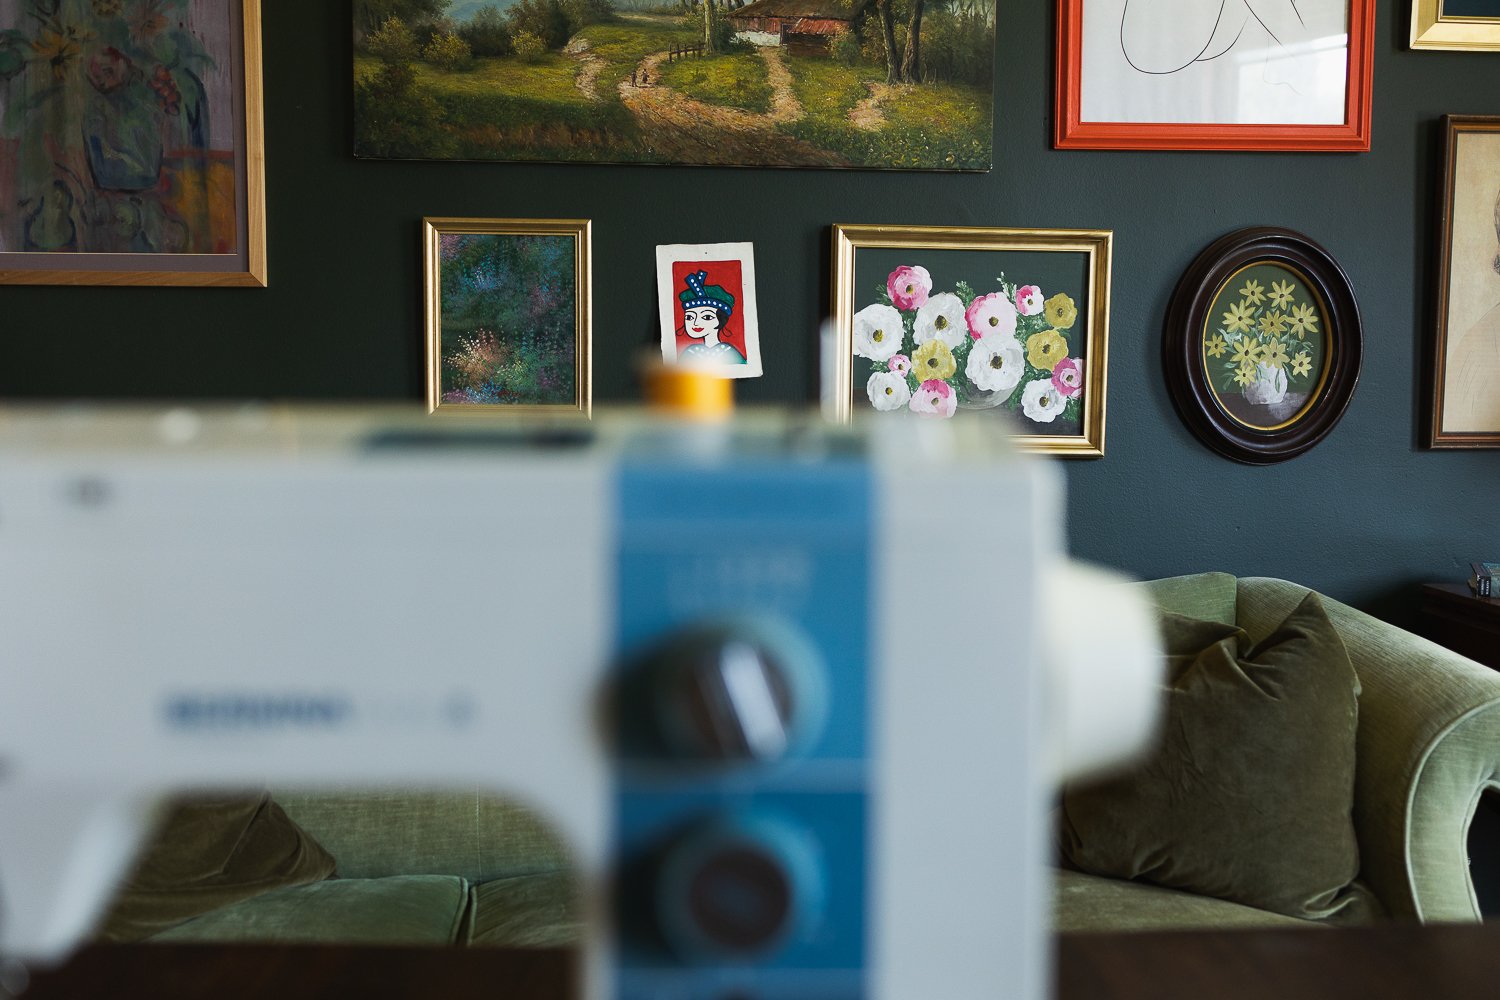
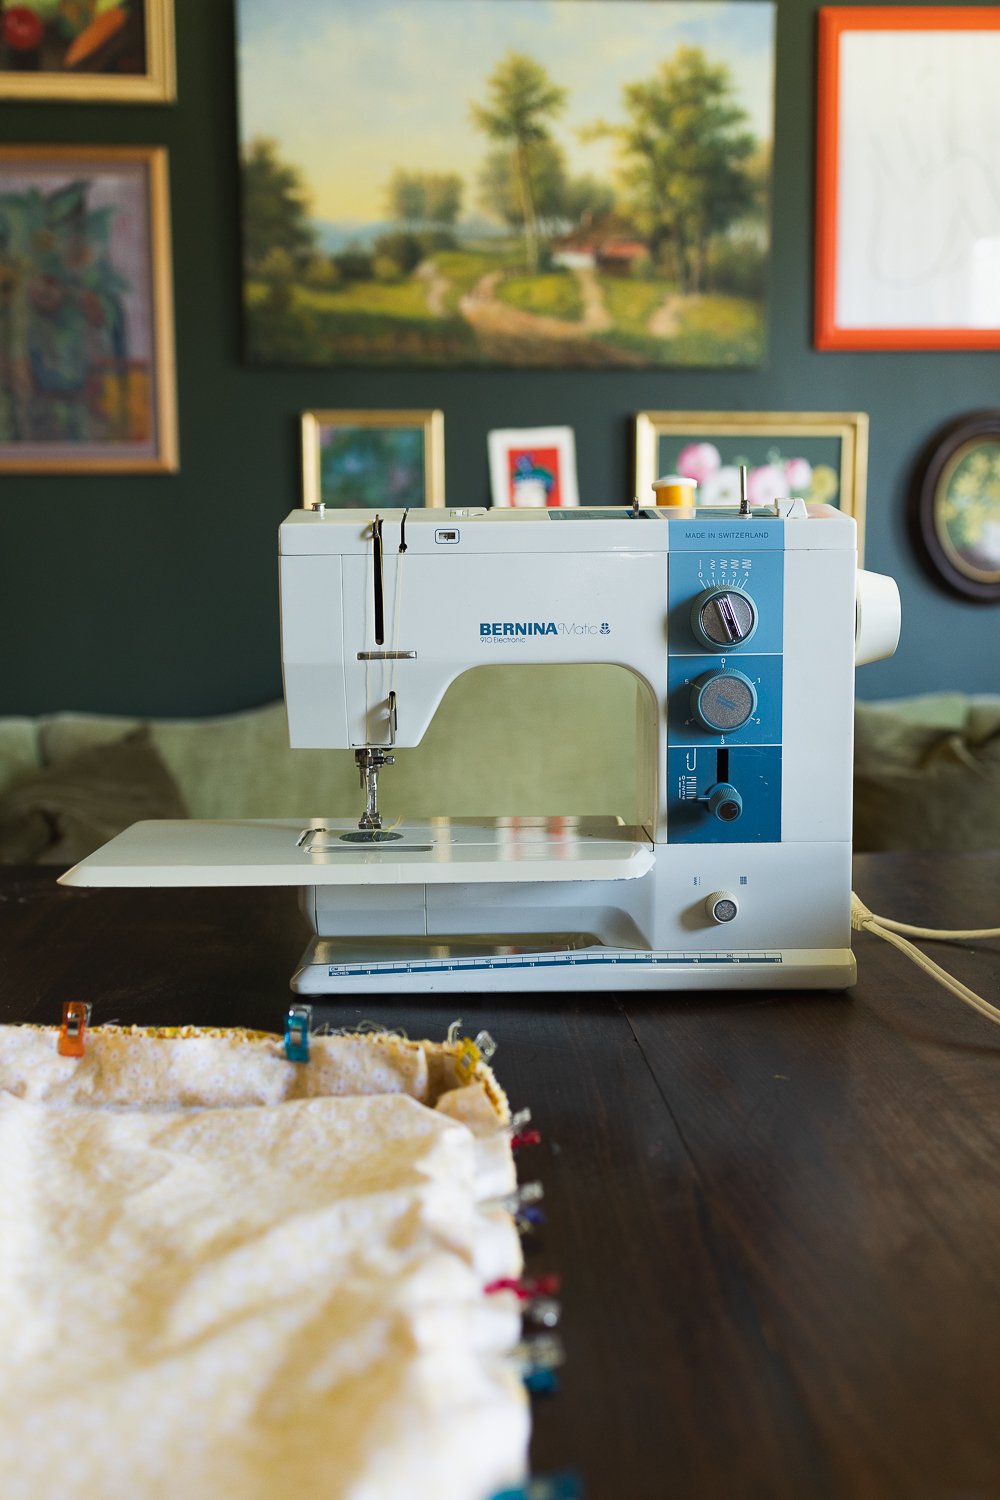
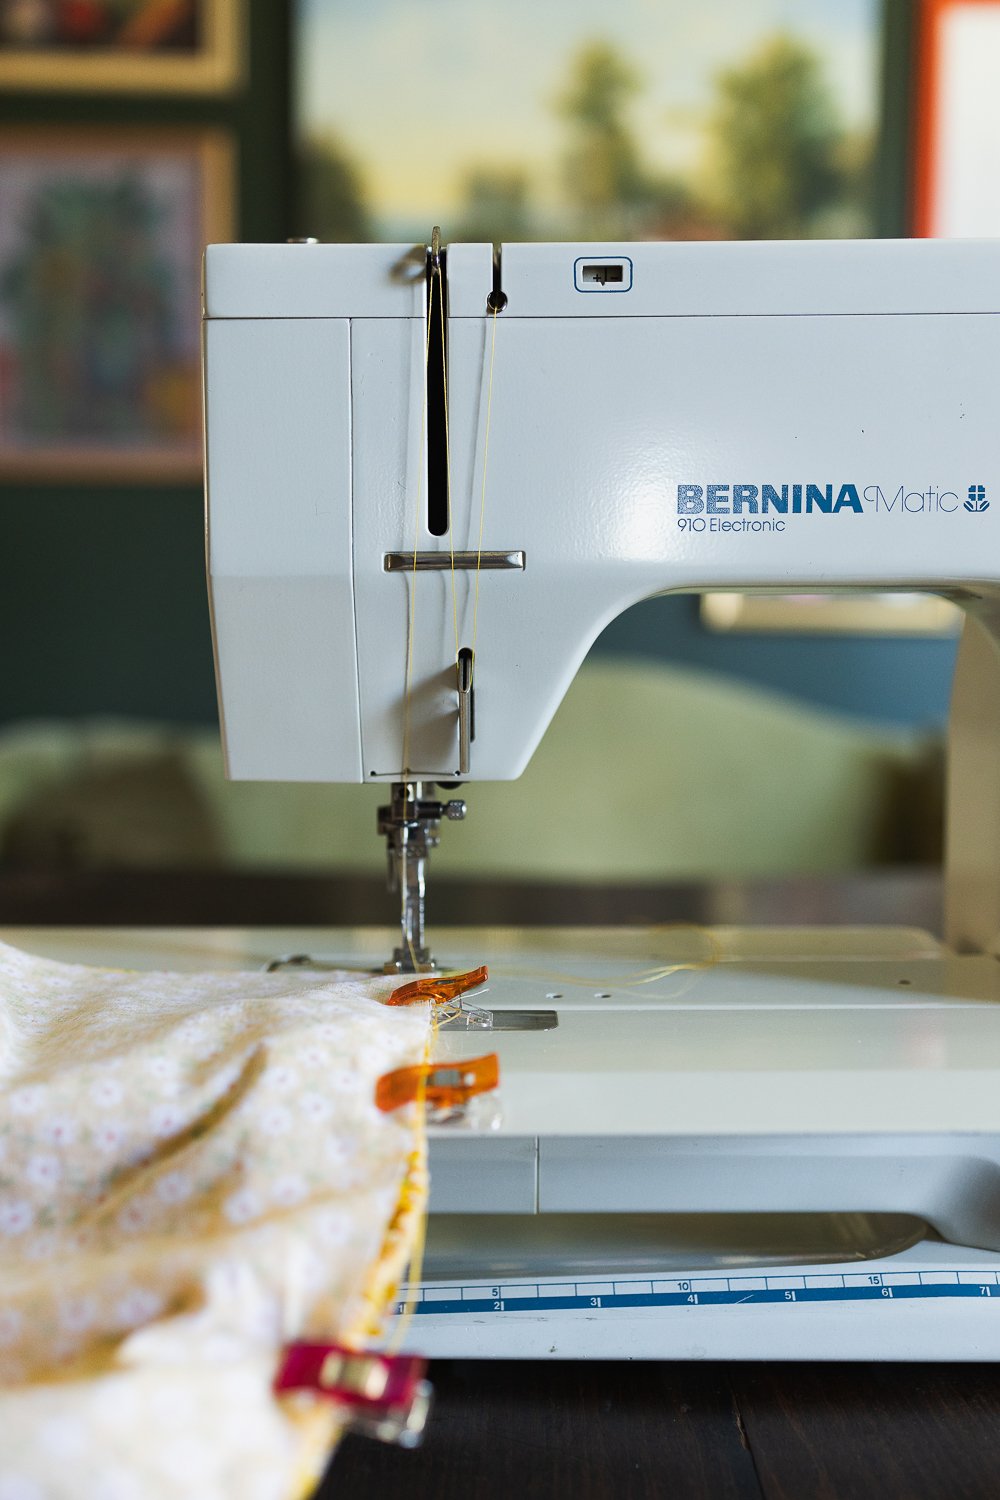
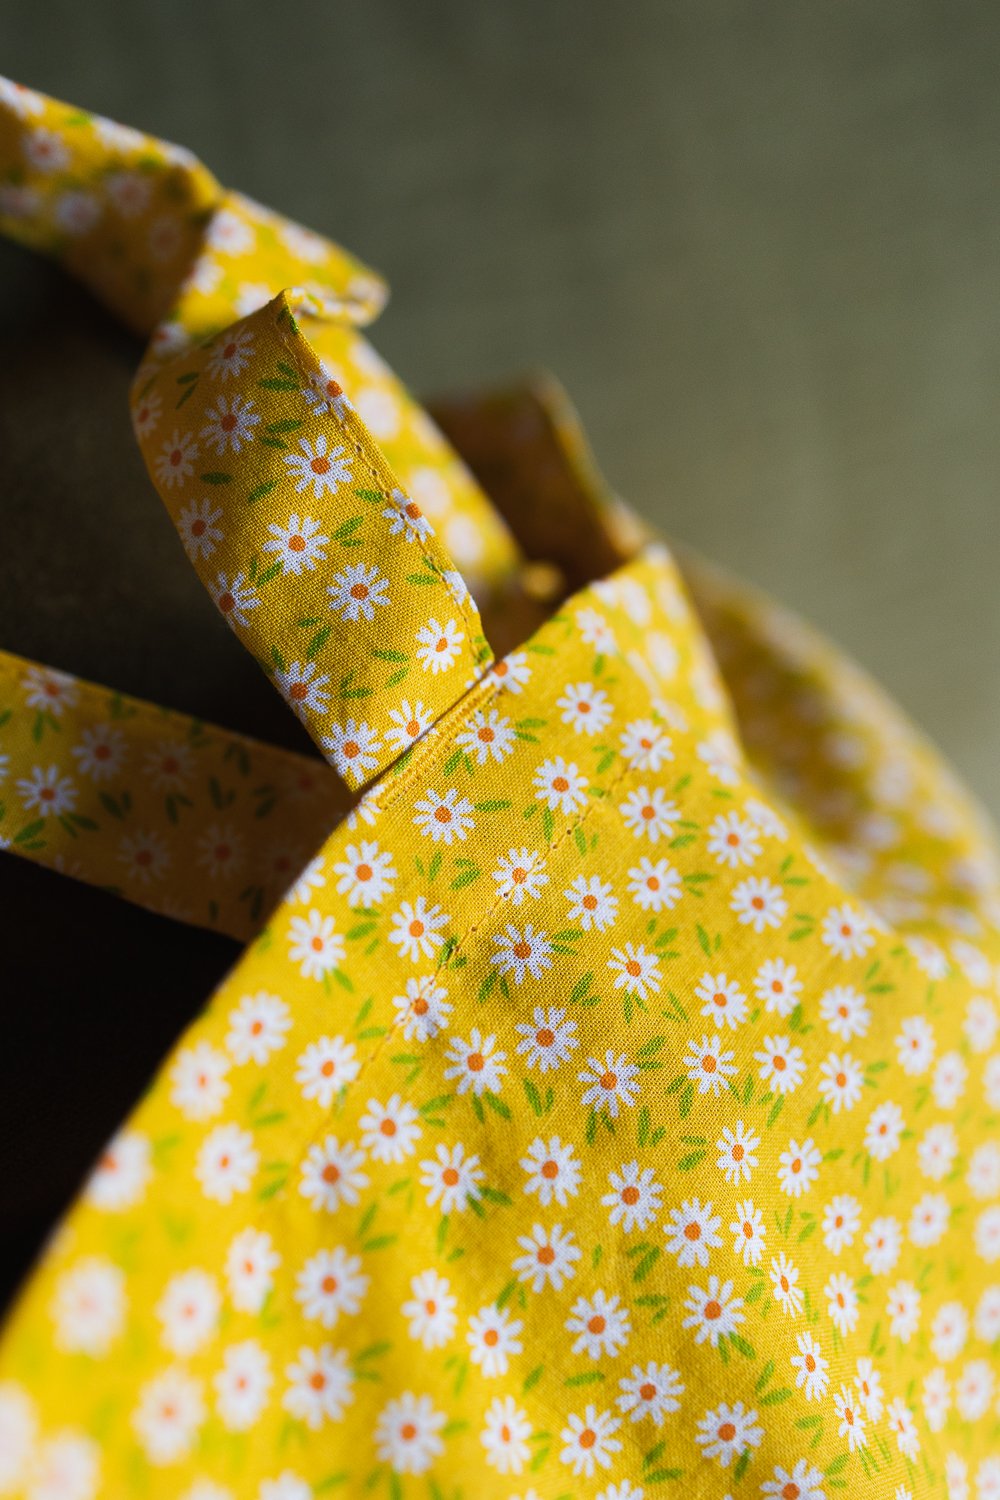
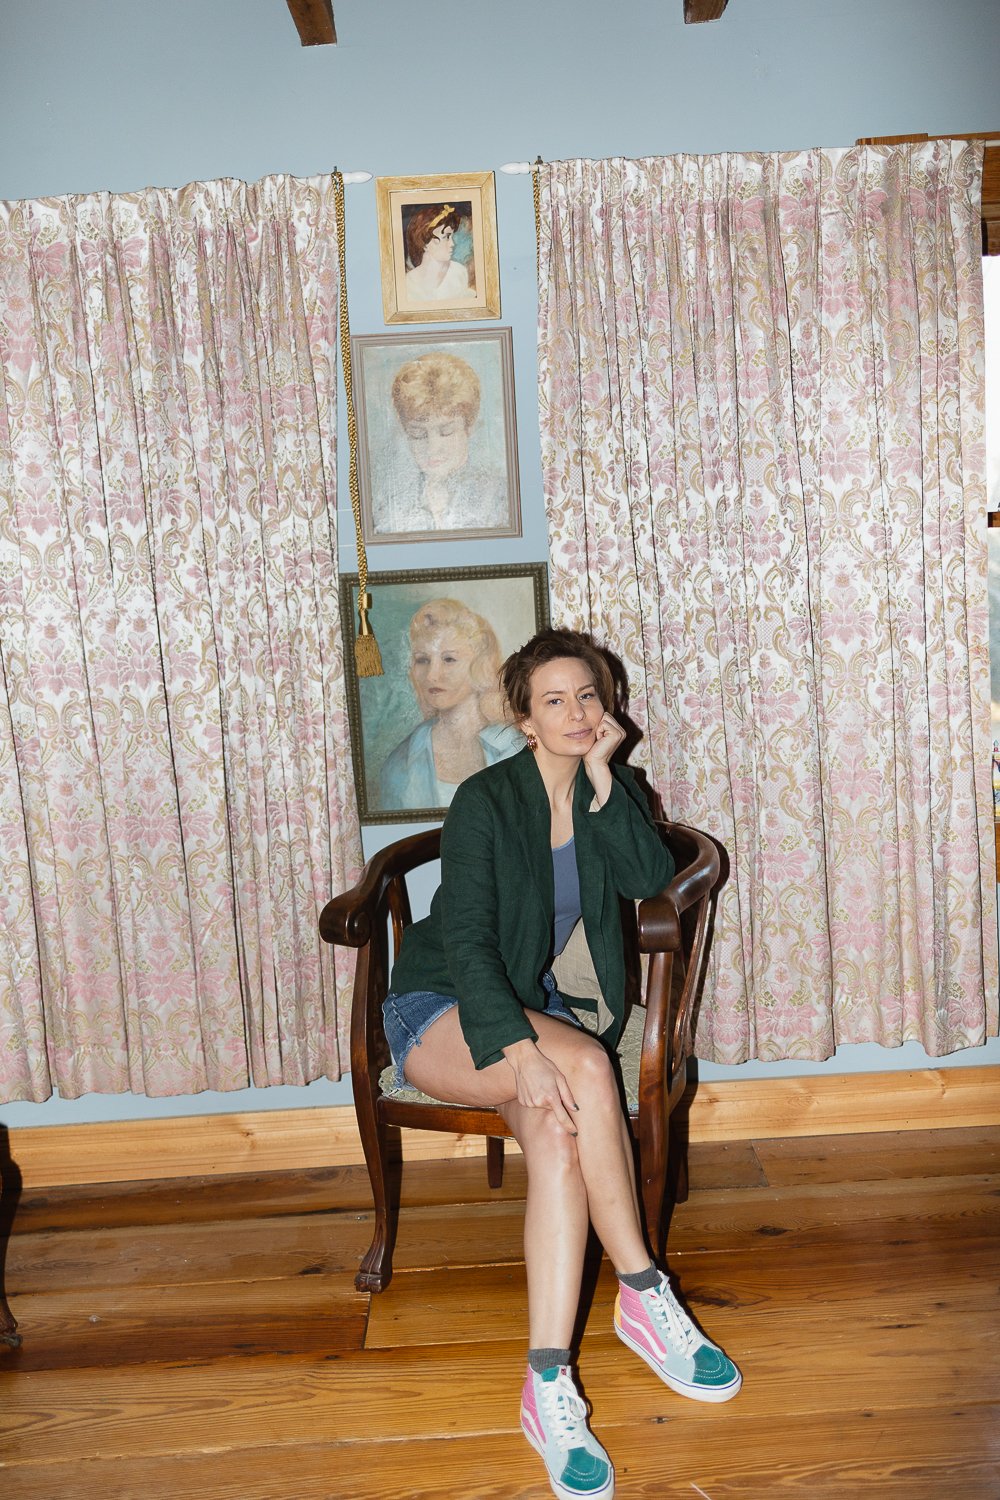
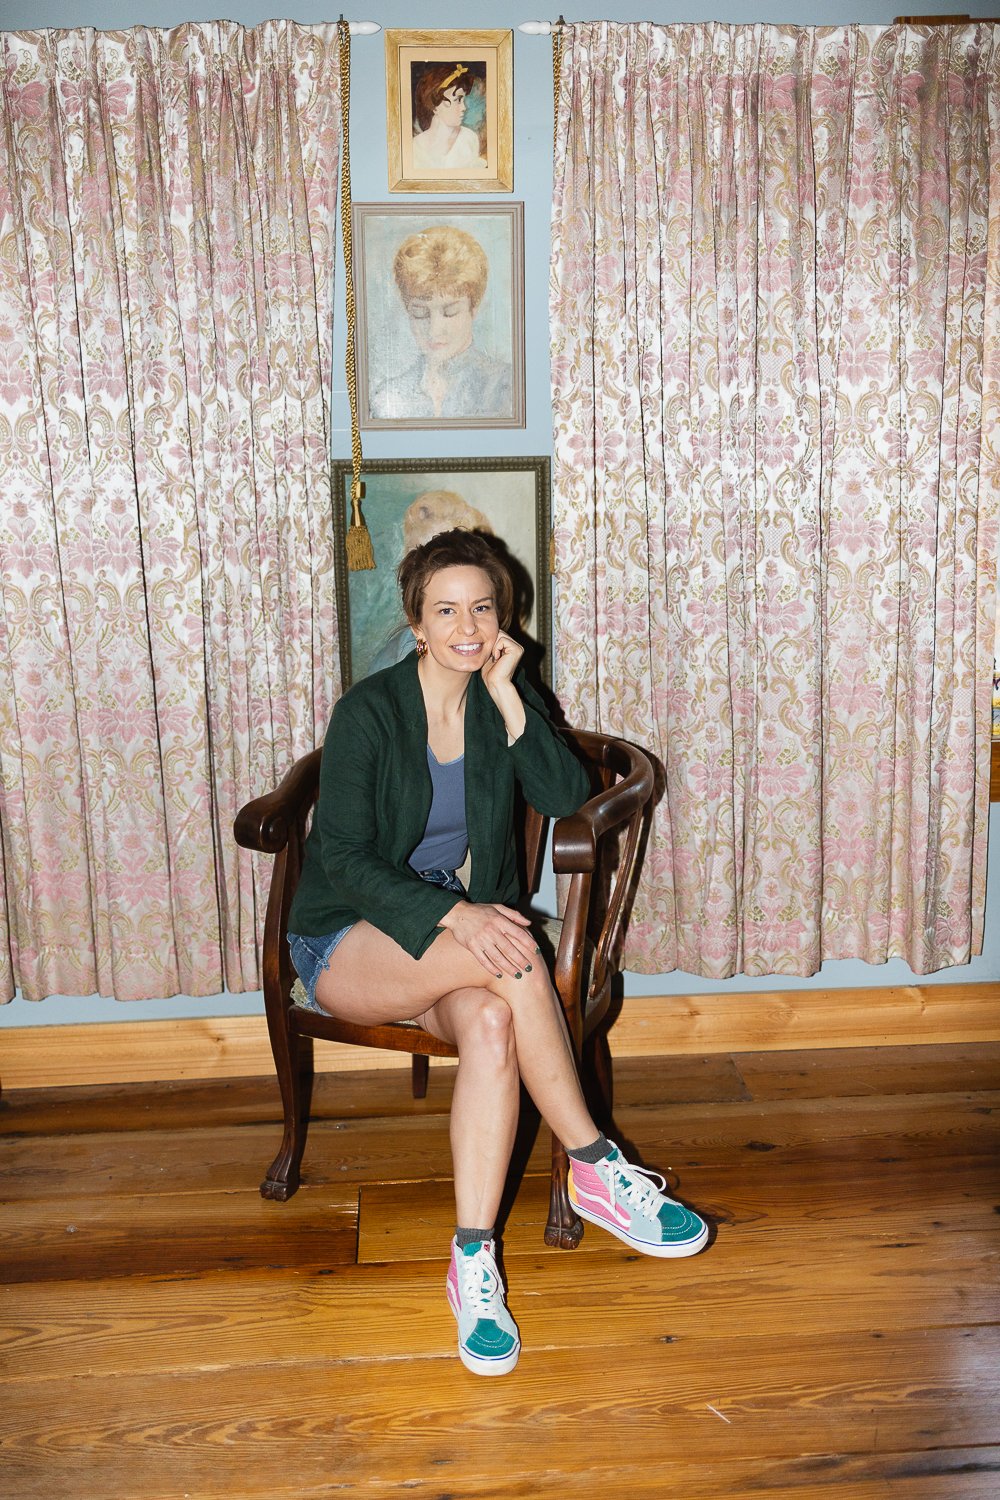
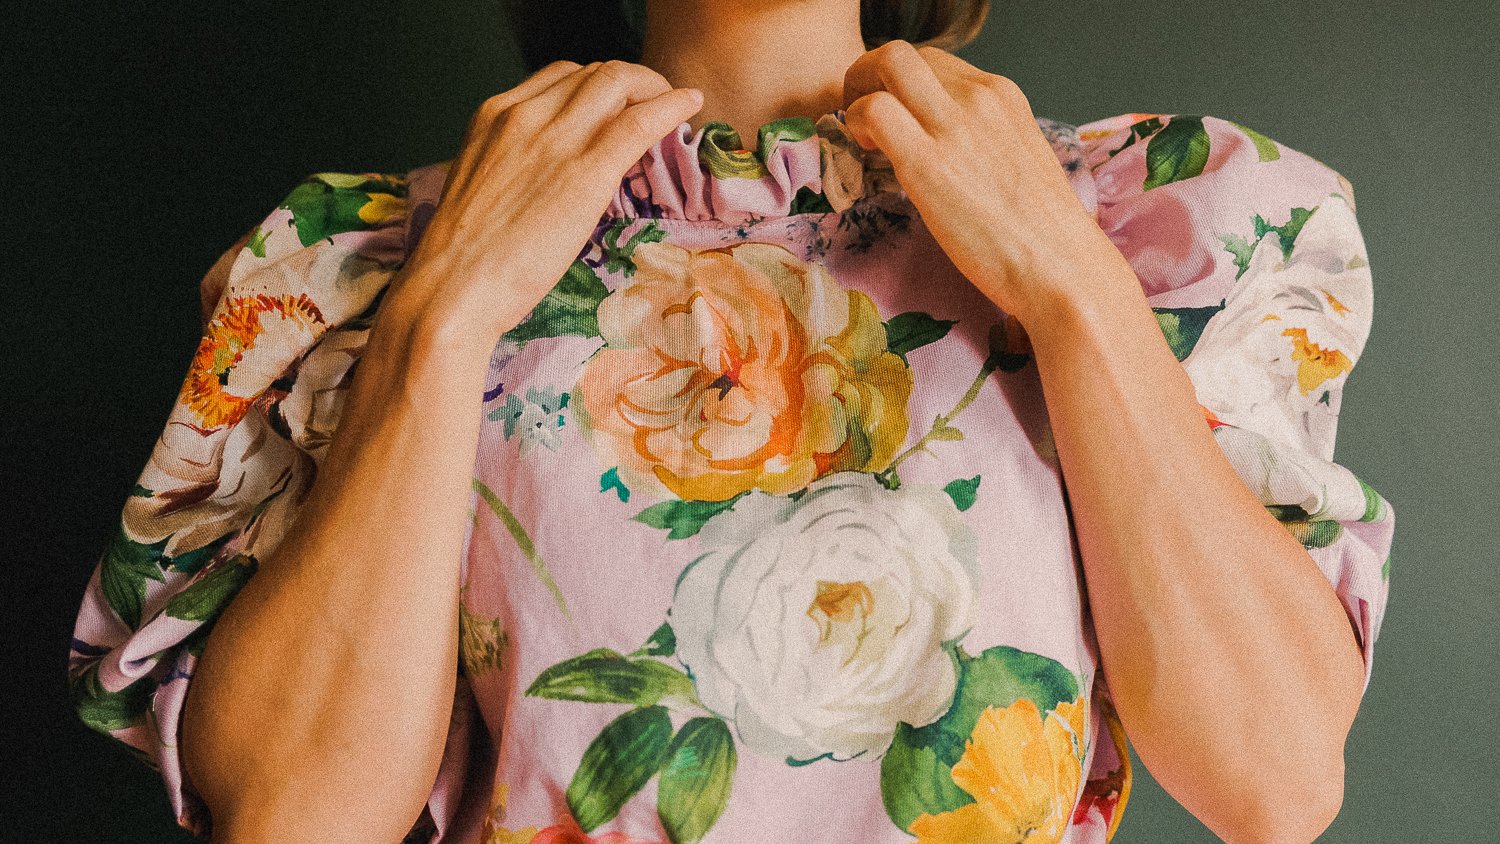
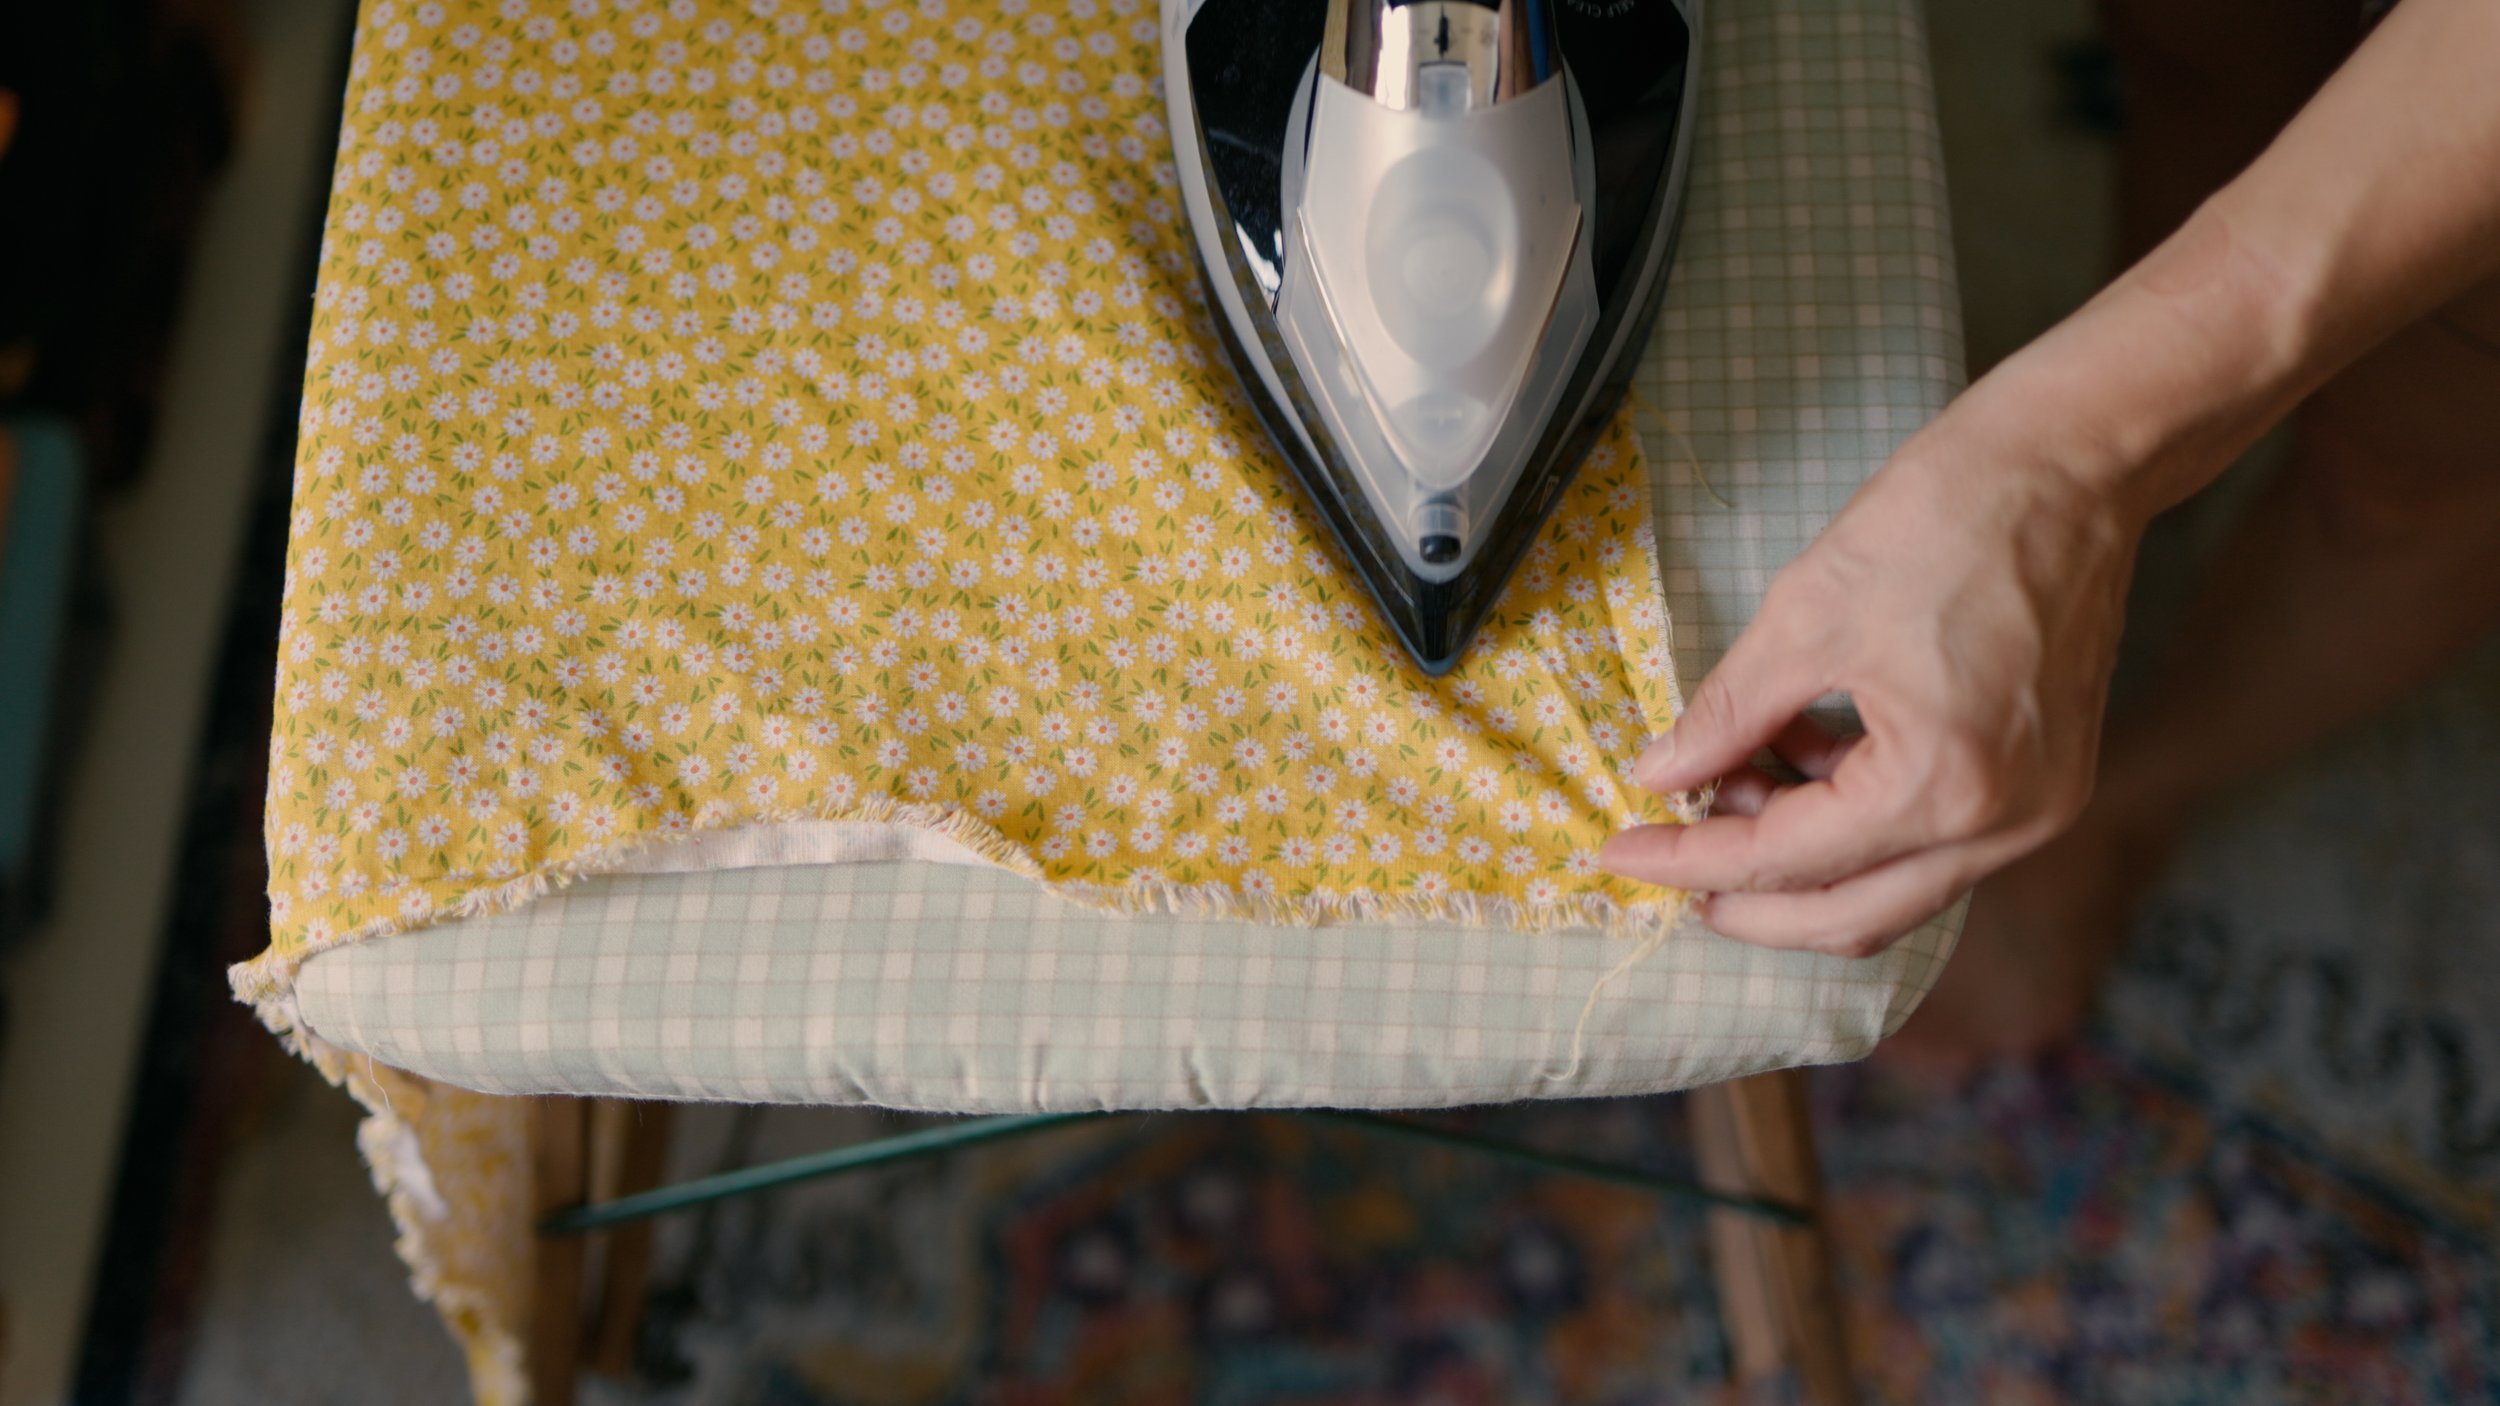
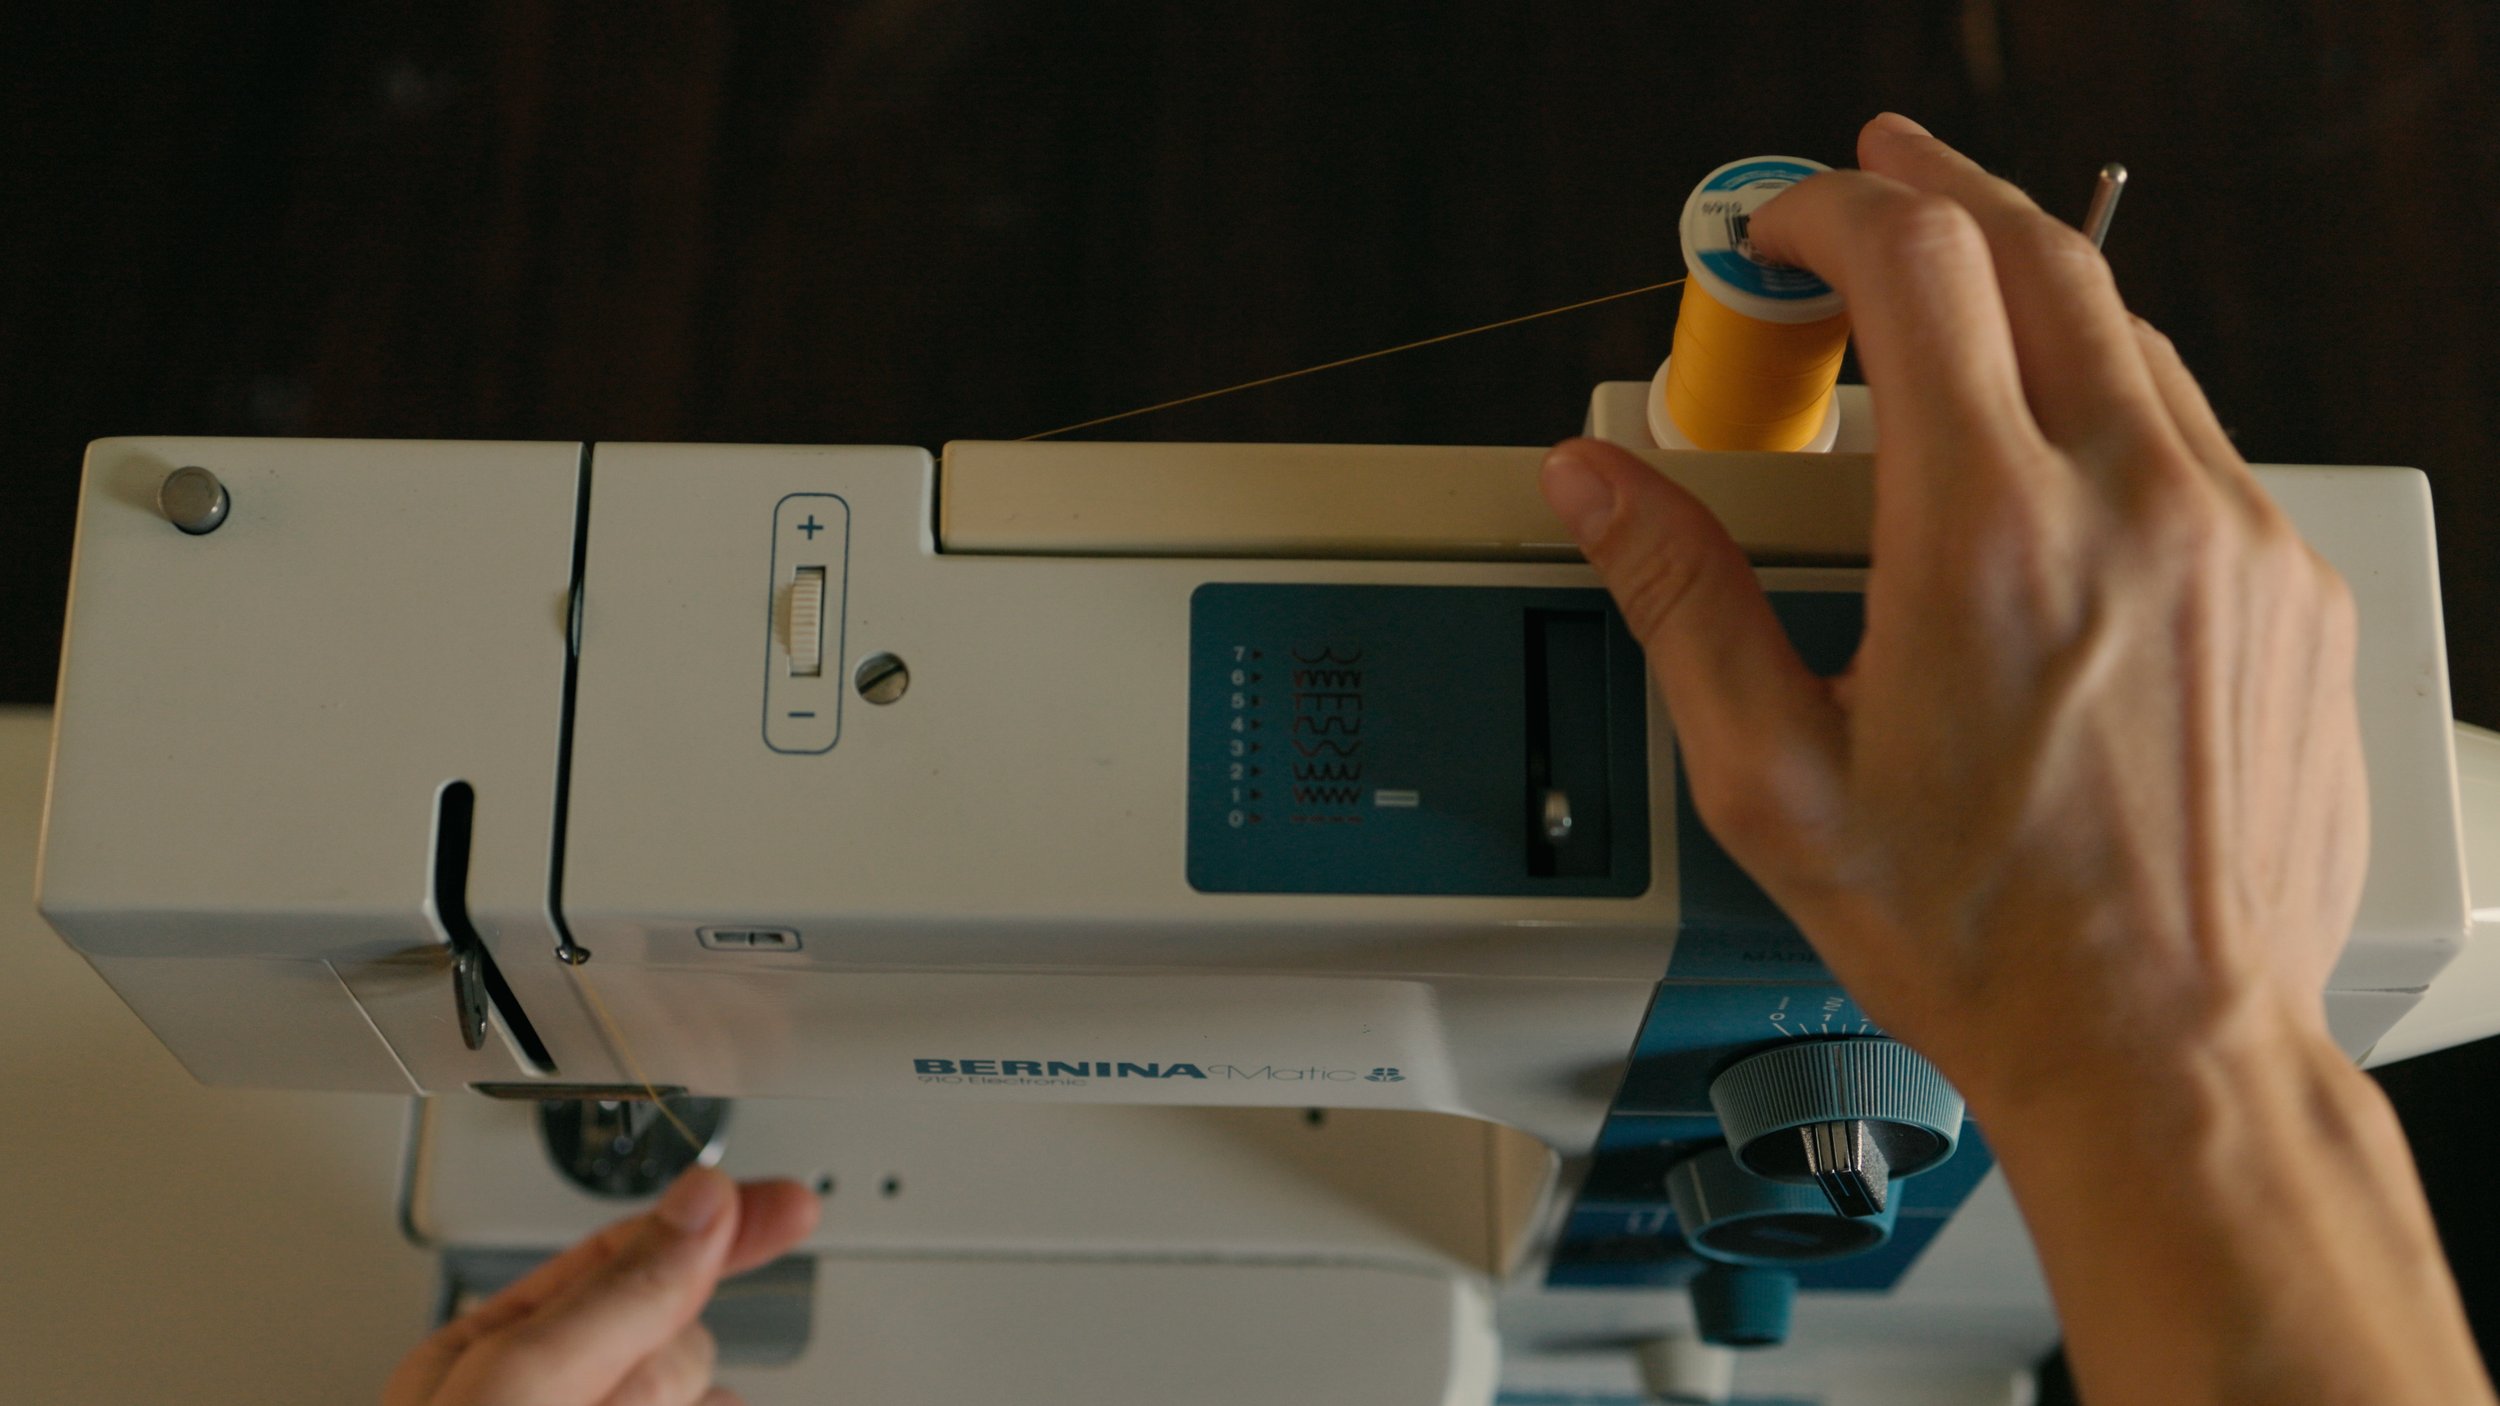
Here are some photos of the process to get you inspired

Check out my other tutorials in the ruffle series:

Details

Fabric: Quilting cotton from the clearance aisle at Joanns.

Pattern: I used the nifty Tote Bag Calculator to help me quickly determine what size to cut the fabric for this tote.

If you enjoyed this tutorial, you may also enjoy…

I glued pockets in different places to see how it would change the bum look.

Step by step illustrated tutorial to add pockets.

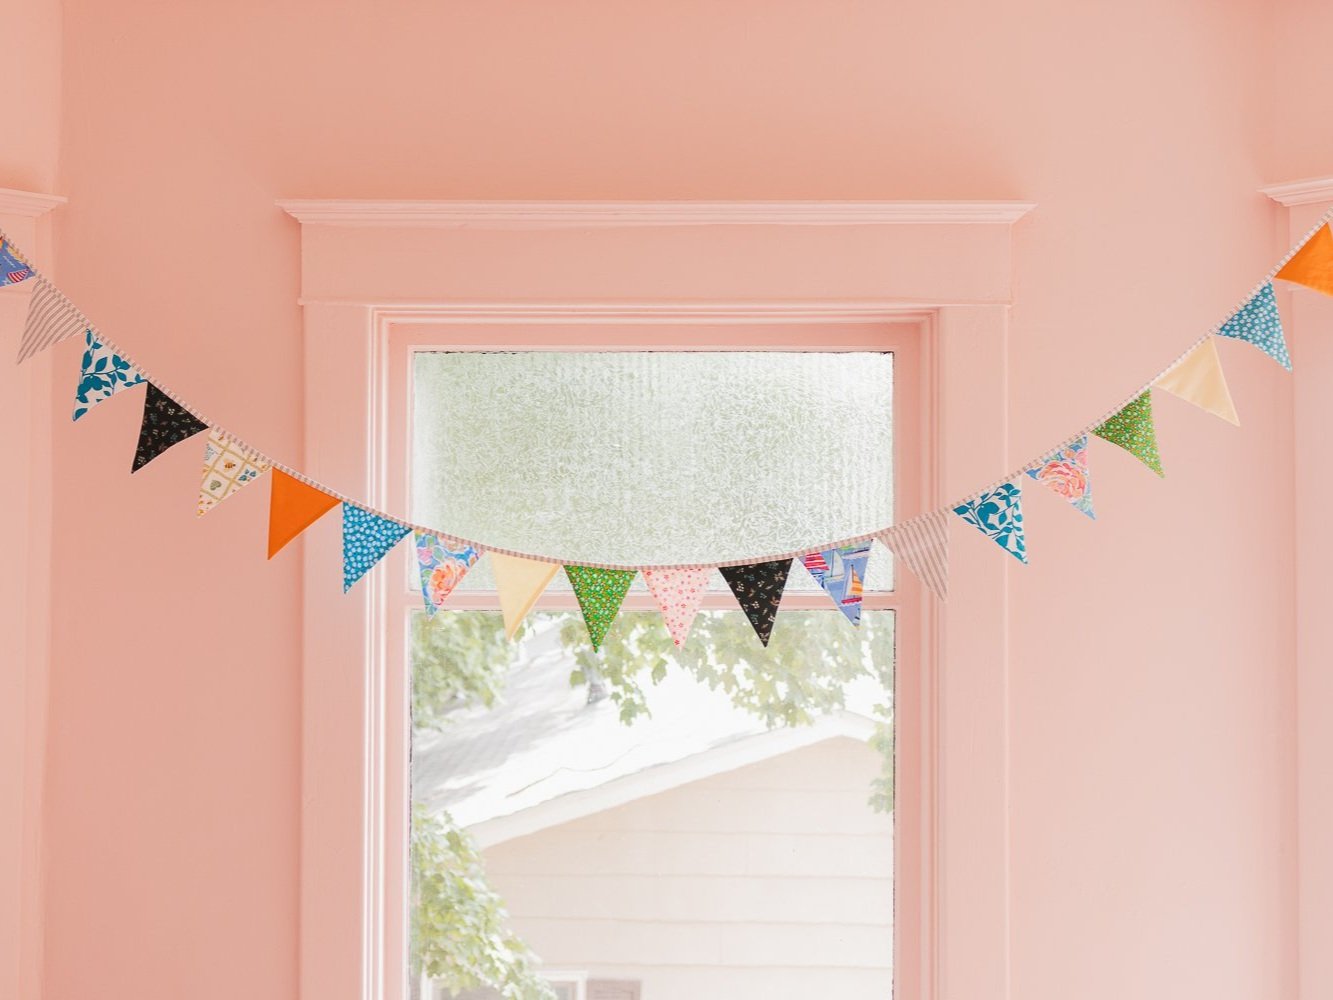
Step by step photo tutorial to make your own bunting banner.

How to Sew a Ruffle Pillow

Let’s jump in!

Step 1: Cut two circles any size. Calculate the circumference of the circles. Cut a strip 5” (13 cm) wide and 2 - 3x the length of the circumference.

The circles in this tutorial are 16” (40 cm) in diameter.

The strip in this tutorial is about 2.25x the circumference. 5” x 56” (13 cm x 142 cm) cut from two sections.

Step 2: Sew the strip together and press seams open.

Step 3: Fold strip in half with wrong sides together. Sew one line of loose stitching with 3/8” (1 cm) seam allowance. Follow with another line of loose stitching between the first line and the raw edge. Sew as loosely and possible and be sure not to backstitch at the beginning or end.

Step 4: Pull the bobbin threads from the two lines of stitching. Gather, gather, gather until it’s roughly (or should I say, rufflely) the circumference of the circles.

Step 5: Carefully clip the ruffled strip evenly all the way around the right side of one of the circles.

Step 6: Sew all the way around with 3/8” (1 cm) seam allowance.

Sew 7: Place the second circle right sides together and clip in place.

Step 8: Stitch with 3/8” (1 cm) seam allowance all the way around except for a few inch opening that a hand can fit through.

Step 9: Turn pillow right side out. Stuff the inside with pillow filling through the opening.

Step 10: Hand sew the opening with a blind stitch.

Step 11: Immediately cut fabric to fill your living room with more pillows because they are so fun!

Details

Fabric: Checkered fabric is heavyweight 100% cotton from a thrift store. Teal linen is Handkerchief Meadow Softened from the Fabrics-Store.

If you enjoyed this tutorial, you may also enjoy…

Everything you need to know to start playing with ruffles.

Step by step video tutorial to make your own tote with ruffle ruffle ruffles.

Step by step photo tutorial of each method.

Living Room Sewing -- Ruffled Tote

My sewing room is rather toasty in the summer months. I slid the kitchen table into the living room and set up shop until the weather turns. Today’s project: ruffled tote in yellow floral.

I used the nifty Tote Bag Calculator to quickly get the right fabric dimensions for sewing the tote size I want.

Details

Fabric: 100% cotton from Joann’s.

Pattern: I used the Tote Bag Calculator to get the fabric dimensions and changed a few things to add the ruffle. If you haven’t tried it yet, give her a whirl!

Mariana Linen Jacket

It’s more fun to wear clothes you make yourself.

Details

Pattern: Mariana from Fabrics-Store. They have a treasure chest of nice free patterns.

Photos: Courtesy of Mom. Thanks Mom!

Fabric: Outer layer is softened linen in the emerald color also from Fabrics-Store. Lining is from a an old tablecloth from Goodwill.

Fabrics-Store asked if I would do a guest post tutorial on how to add lining to this jacket for their blog. You can find the full tutorial I put together here.