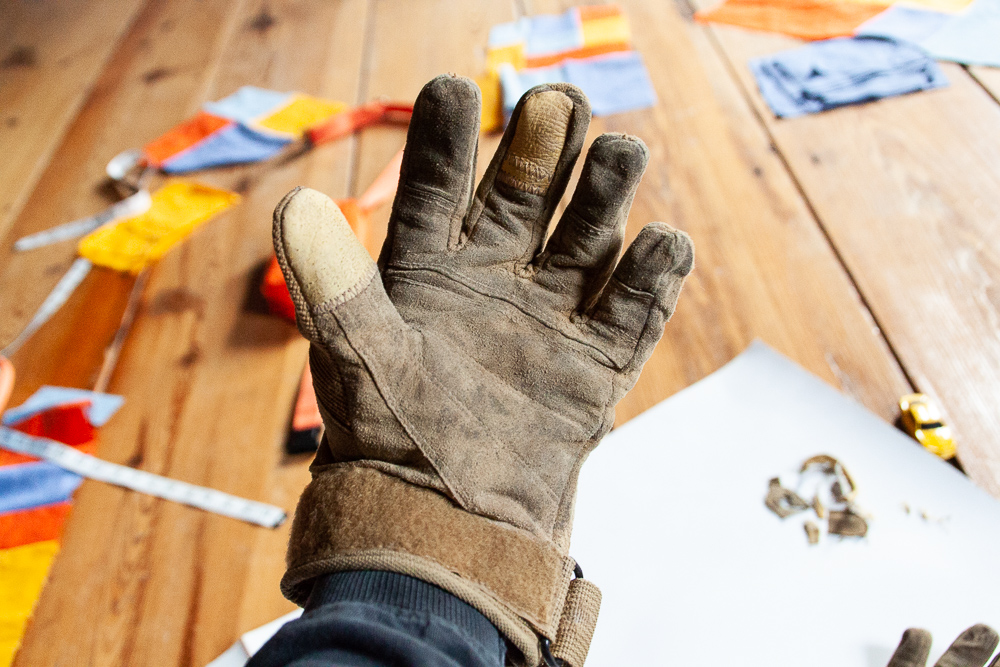
Three winters ago my mom bought me a new pair of leather gloves for the daily farm chores. They have been my best pair yet, but unfortunately they are already full of holes in almost all the finger tips. I think mine are a little beyond the repair stage (practically speaking). It’s an on-going problem — farm gloves that wear out too quickly.
Our neighbor said he has the same problem with his farm gloves and sent me this video of how to repair them. The video made it look so simple that I wanted to try it out. I asked if I could repair his gloves. It turns out it IS really simple and surprisingly easy. Here’s how to do it.
Step 1: Turn the gloves inside out and seam rip around the panel containing the hole.
Step 2: Cut out the piece with the hole.
Step 3: Using the piece with a hole as a pattern, cut out a new piece of leather (or fabric). Make the new piece 1/4” - 3/8” | 0.64 - 1 cm longer than the piece you cut out from the glove.
Step 4: Overlap the new piece with the existing finger panel and zigzag stitch them together along both edges (the edge of the new piece and the edge of the existing piece).
Step 5: Starting from the top of the finger, sew down each side. Stitch over the whole thing 2 - 3 times to reinforce the stitching.
Step 7: Turn the glove right side out and admire the new finger!
- Alternative Method -
On the thumb I tried a different method, and I ended up liking it more. Instead of cutting out the old piece just add a new piece on the outside and sew it back up!
Step 1: Seam rip around the panel containing the hole (or in this case, the soon-to-be-hole) and cut a matching piece of leather that extends past the holey area.
Step 2: Zigzag stitch the bottom of the new piece to the outside of the existing piece.
Step 3: Starting from the top of the finger, sew down each side. Stitch over the whole thing 2 - 3 times to reinforce the stitching.
Step 4: Turn the glove right side out and you’re done!


