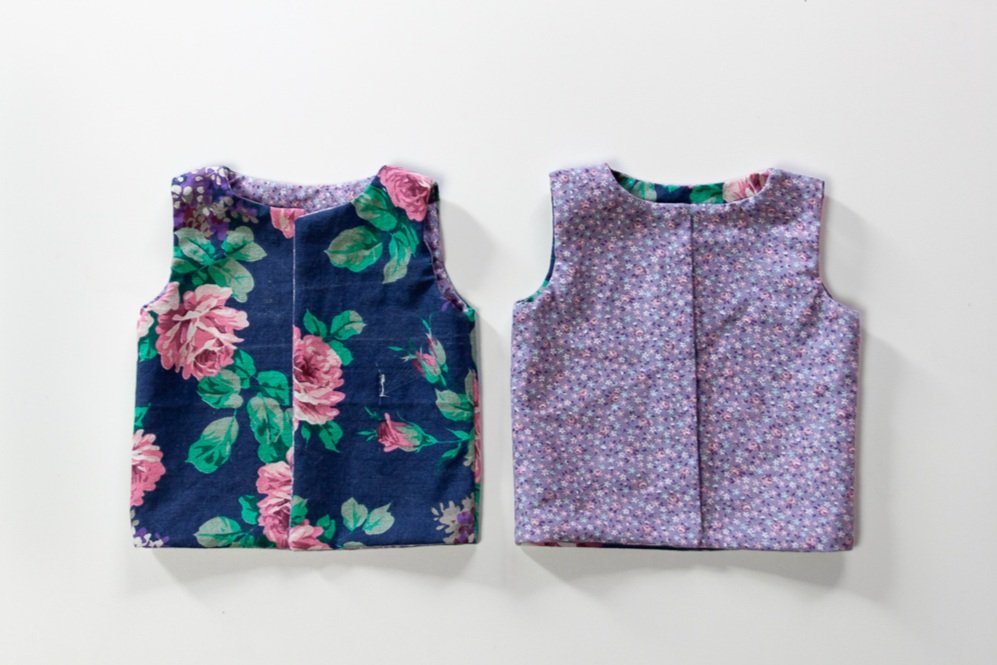
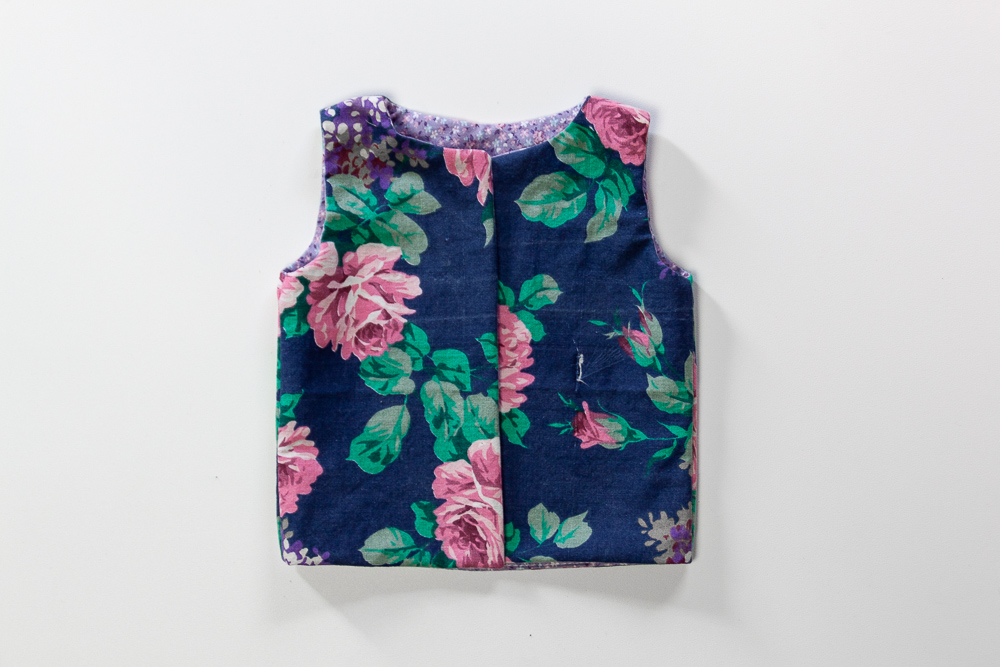
Have you ever wondered how to sew a lined vest without any raw edges showing? Wonder no more! Here are two ways to do it. The first method has open shoulders and the second has the shoulders sewn shut.
The pattern used in this tutorial is a self drafted miniature vest.
I purposely choose fabric for this tutorial that you can easily see the right and wrong sides and differentiate the lining from the outer layer.
Method One: Open Shoulders
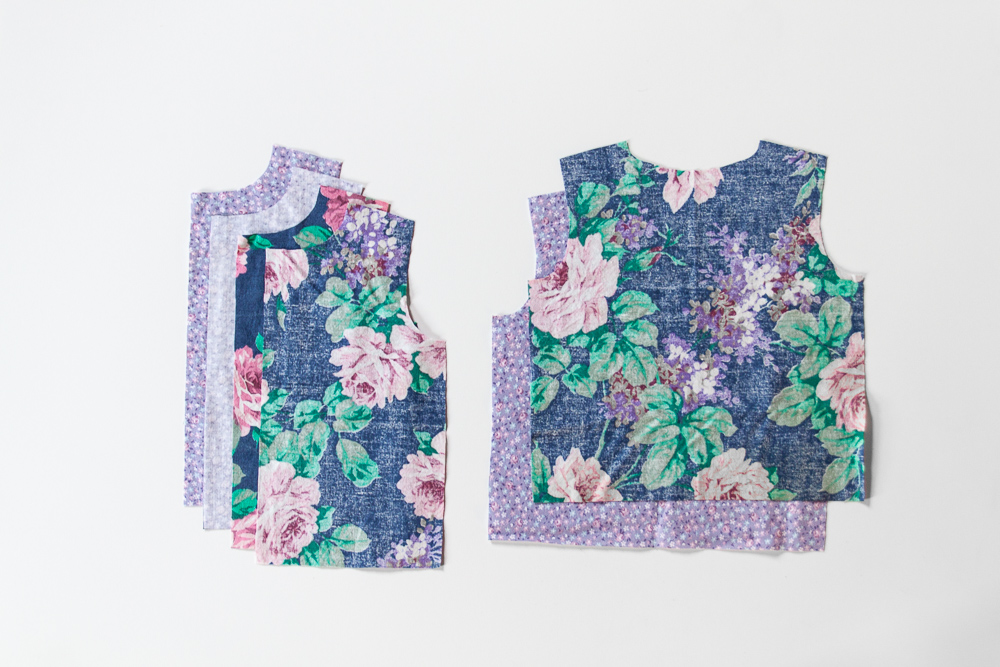
Step 1: Cut all the pieces - lining and outer layer.
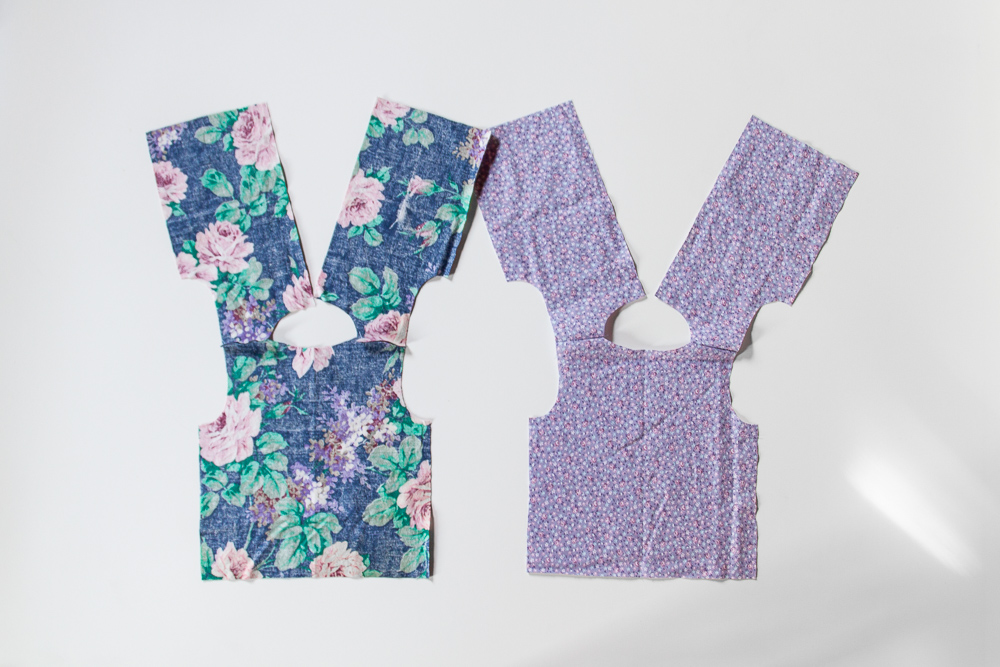
Step 2: Sew the shoulders of the outer layers together and the shoulders of the lining layers together with right sides together.
Step 3: Lay the two layers with right sides together. Press seams open and stitch from the bottom of the front center up around the neck and back down the front center of the other side. (If you look closely in the photo you can see white thread where I’ve stitched!)
Step 4: Stitch around the arm holes on each side. Don’t sew down the sides, just the arm holes.
Step 5: Clip curves and trim corners.
Step 6: Turn the vest right side out through the shoulders.
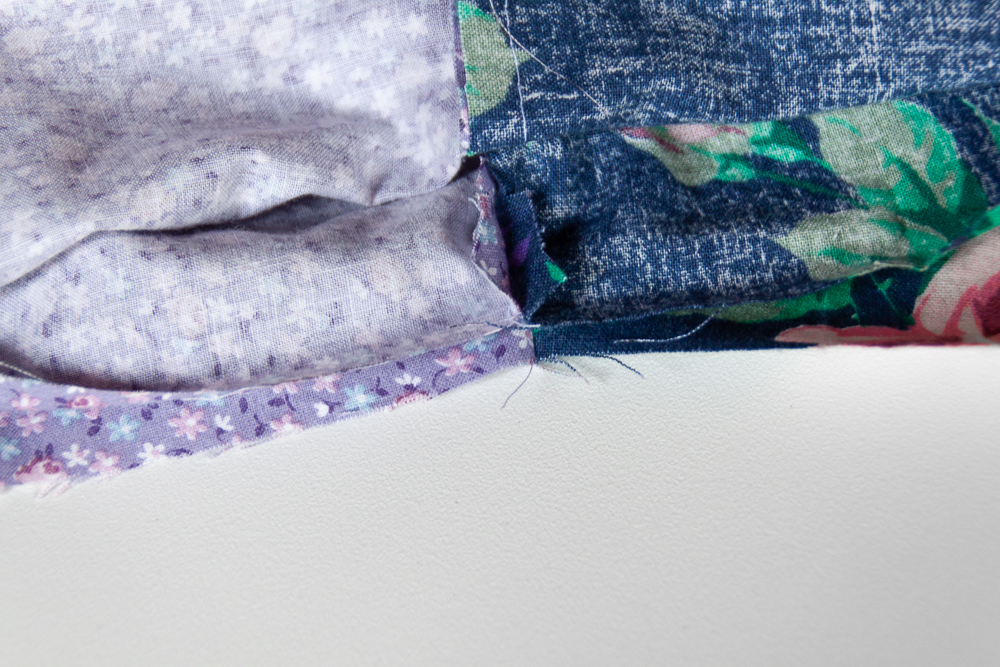
Step 7: Press the seams open and sew up the sides with right sides together. (This part is tricky to explain and photograph clearly, but it makes sence once you get it! Just play around with it a little bit.)
Be sure to match up the seams. (This is the side seam right by the arm opening.)
Here’s what it looks like with the sides sewn together.
Step 8: Now that the side seams are sewn, admire how good your vest is looking so far.
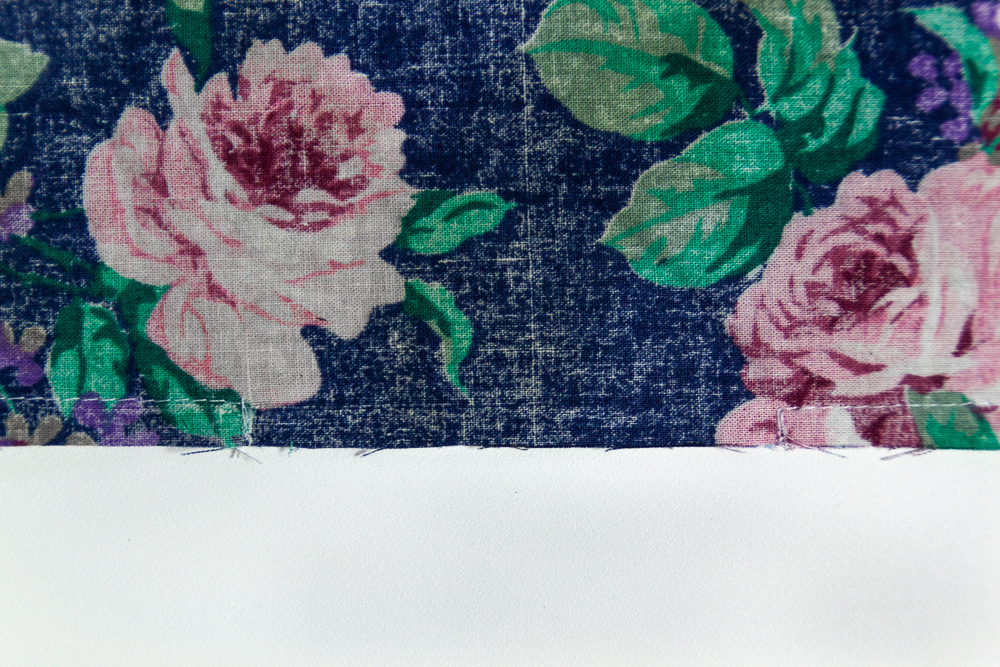
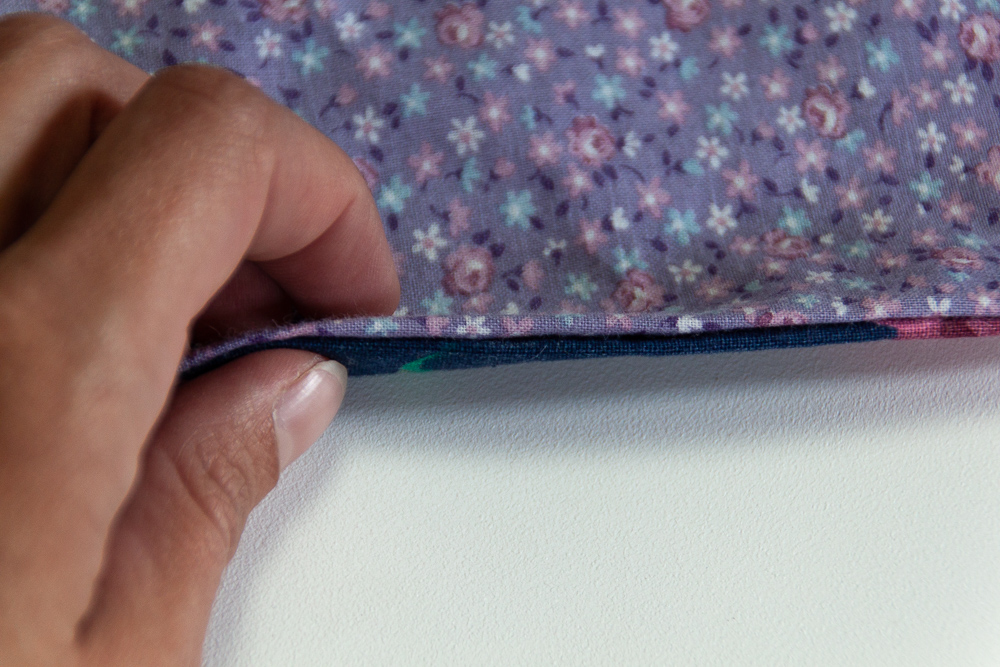
Step 9: Turn the vest inside out. Press the seams open and sew the bottom of the vest leaving a few inches open in the back. The thicker the fabric the wider you want to leave the hole for turning the vest right side out.
Since turning the vest can put a lot of stress on the stitching, it works well to sew down to the bottom edge of the fabric to add extra stability. It makes for much less stressful turning!
Step 10 & 11: Clip the corners. Turn the vest inside out through the opening in the back and hand or machine stitch the opening closed.
Give the vest a good press and it’s ready to wear!
Method Two: Closed Shoulders
Step 1: Cut out all the pieces - the lining and the outer layer.
Step 2: Lay the lining and the outer layers right sides together. Sew around the neck and arm openings on the back pieces. Sew around the arms, neck, and front center of the front pieces.
Step 3: Clip the curves, trim the corners, and trim the seam allowance at the top of the arm openings and neck by the shoulders.
Step 4: Turn the front vest pieces right side out.
Step 5: Put the front vest pieces in between the lining and outer layer of the back piece.
Step 6: Sew the shoulders closed.
Step 7: Press seams open and sew the sides of the vest with right sides together.
Be sure to match up the side seams.
Here’s what it looks like when the sides are sewn together.
Step 8: Turn the vest right side out and admire how it’s looking so far.
Step 9: Turn the vest inside out (one last time), press the seams open and sew the bottom shut leaving a few inches open in the back.
Step 10: Trim the corners.
Step 11: Turn the vest right side out (for the last time) through the opening in the back. Hand or machine stitch the opening shut.
Give the vest a good press and try it on to see how it looks.
Discussion notes:
In both of these examples I left the opening to turn the vest right side out on the bottom seam. It’s also a good option to leave the opening in the side seam of the lining instead of in the bottom.
The pattern used in this tutorial was a mini self drafted vest for easy sewing and photographing, but I used the pattern to make this little quilted vest with snaps. I used the open shoulder method for this vest so I could put the batting through the shoulders. I’m quite in love with how it turned out.
Then I made this full sized quilted vest for myself. For the batting I used wool from my parents’ sheep farm and a really lightweight ripstop nylon for the outer shell. I again used the open shoulder method to get batting up through the shoulders.
