These little pouch packs are ideal for storing and organizing flat things like clothes. They can be made in any size, but the small ones make excellent usage of fabric scraps.
Simple and quick to make. Here’s how to do it:
(PS - Yes, a PS in the middle of a blog post! These pouch packs are great for flat things, but if you’re looking for pouches for non-flat things, check out my free Boxy Pouch Pattern Calculator and instructions and Pear Pouch Pattern.)
1) Cut fabric to your chosen length and width. (Details and instructions on how to get the right measurements for any object at the bottom of the post!)
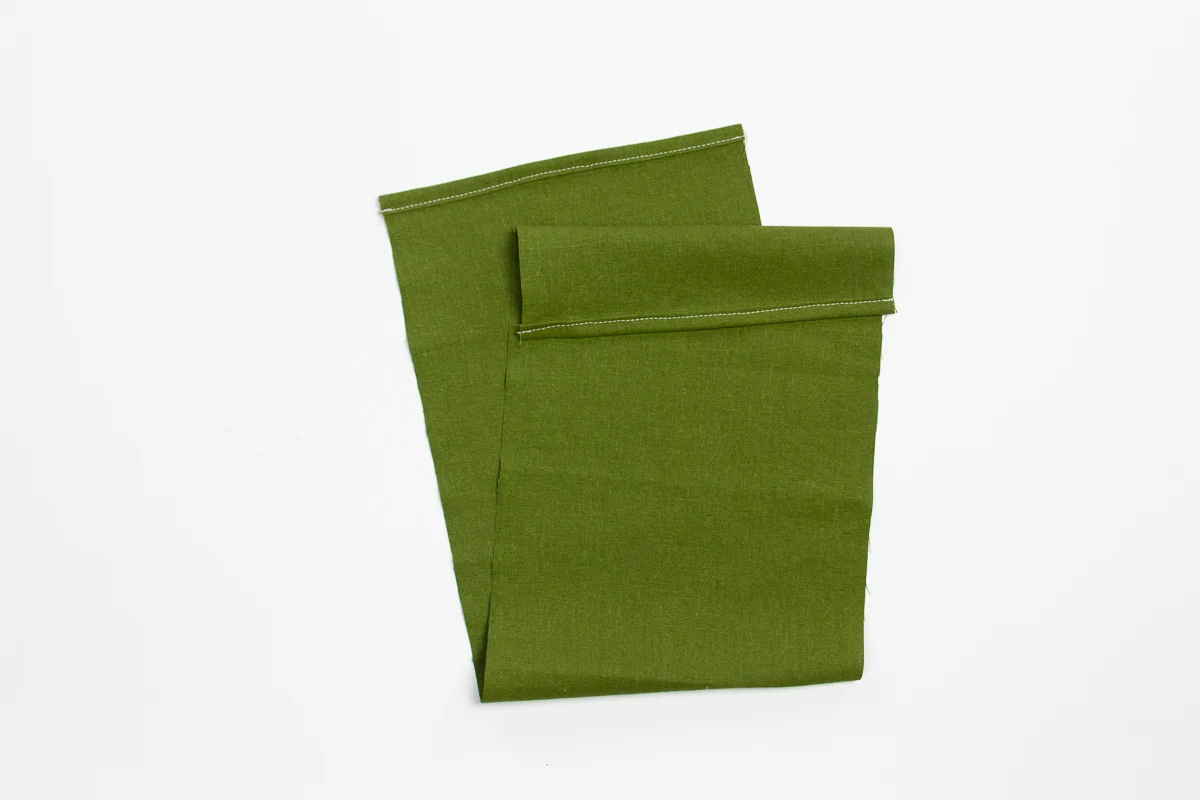
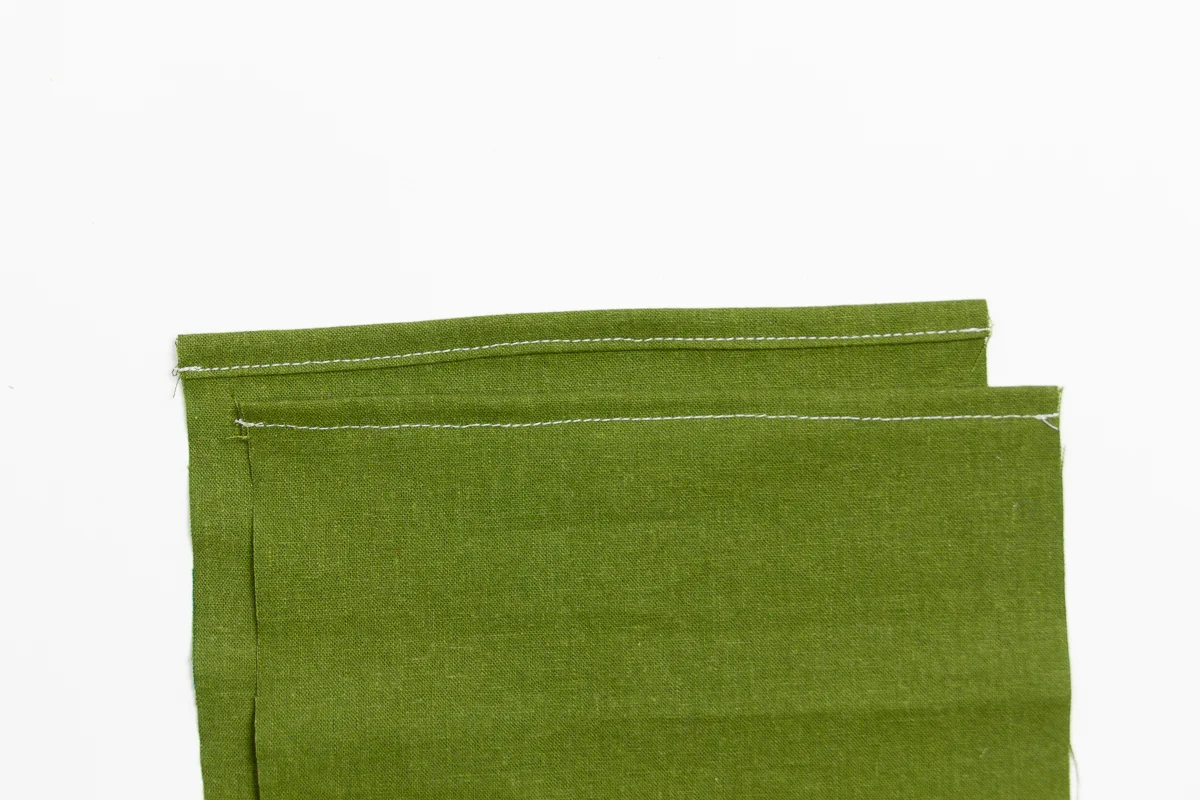
2) Hem the top and bottom with a double rolled hem 1/4” (or more) wide.
3) Fold the bottom up so it covers the entire length of the object for which the pouch pack is being made. Fold with wrong sides together.
4) Fold the top flap down over top.
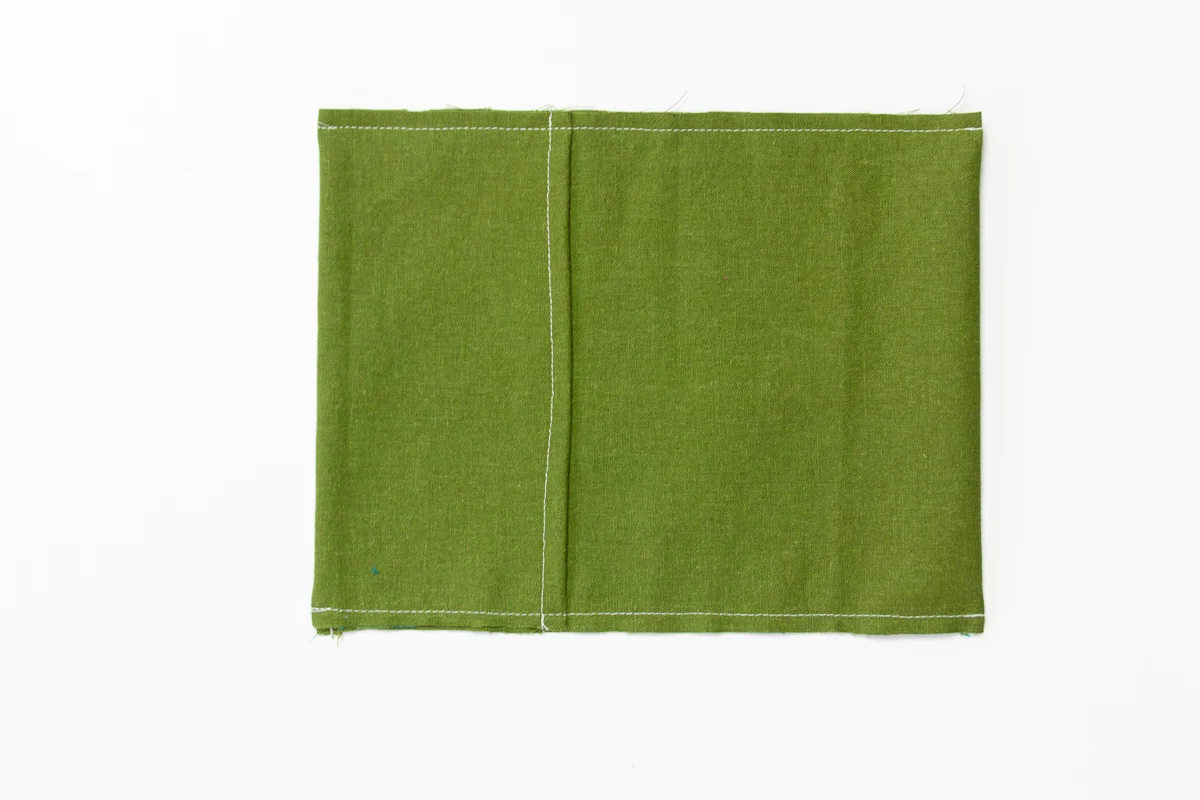
5) Sew up both sides with a 3/8” seam allowance.
6) Fold the pouch pack inside out.
7) With the pouch pack inside out and right sides together, sew up the same sides again with a 1/2” seam allowance, being sure to totally encase the raw edges within the new seam.
You can use different seam allowances than what I used in step 5 & 7. Just be sure the allowance you use in the initial seam is smaller than allowance you use in the second seam. That way the raw edges are sure to be encased.
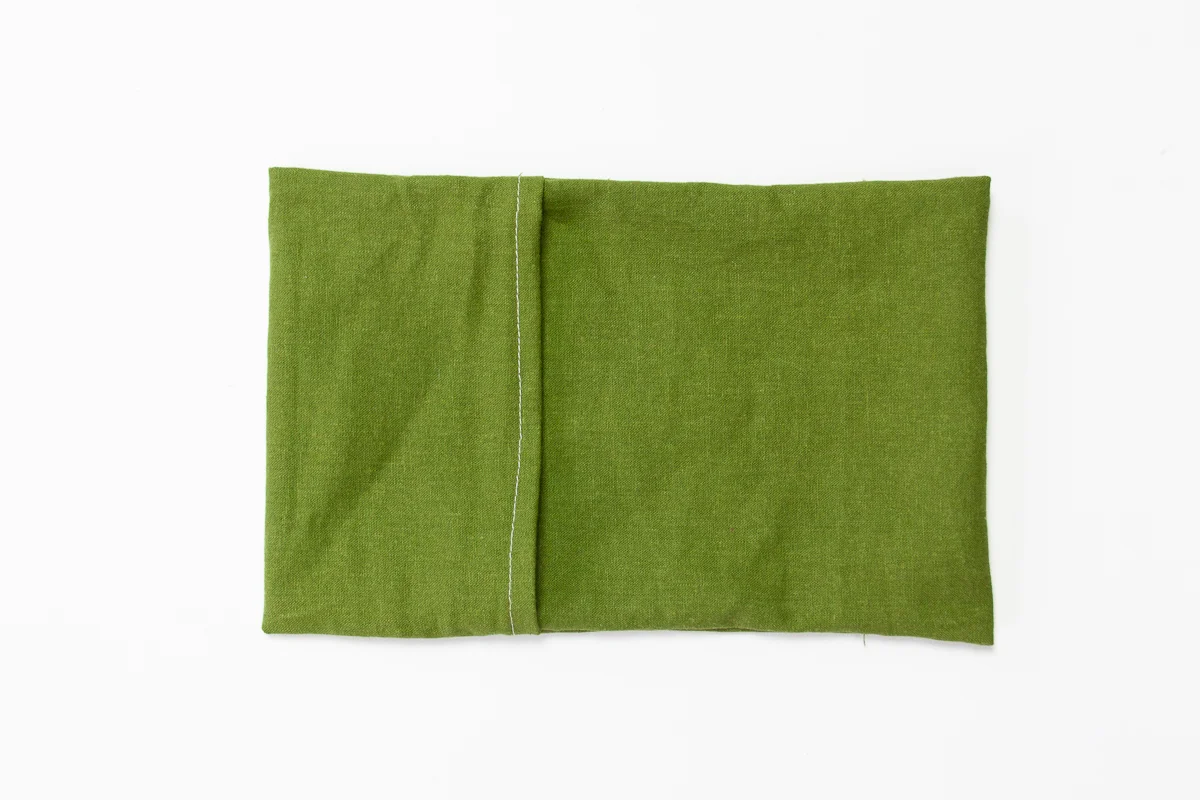
8) Turn the pouch pack right side out and it’s done!
How to Measure the Fabric
These pouch packs can be made in any size! To fit the pouches to a specific object, here’s how to do it.
1) Measure the length and width of the object (note these pouches do work best with relatively flat things like folded clothes, etc.). The width of the fabric should be the width of the object, plus some wiggle room, plus the seam allowance for French seams. I recommend 1 3/4” so you can use 3/8” seam allowance on the first seam and 1/2” allowance on the second seam.
2) Measure the length of the object. Multiply the length by 2, plus 1/3 the length of the object for the top flap to overlap, plus the hem allowance. In this illustration I made the double rolled hem allowance 1/4”, but obviously you could make it larger than that if you wish.
Here’s an example:
The object I want to make the pouch pack for is 5” wide and 10” tall.
The width of the fabric should be 5” + 2” (for wiggle room) + 1 3/4” = 8 3/4”
The length of the fabric should be (10)2 + 10/3 + 1” = 24.33 => 24 3/8”

