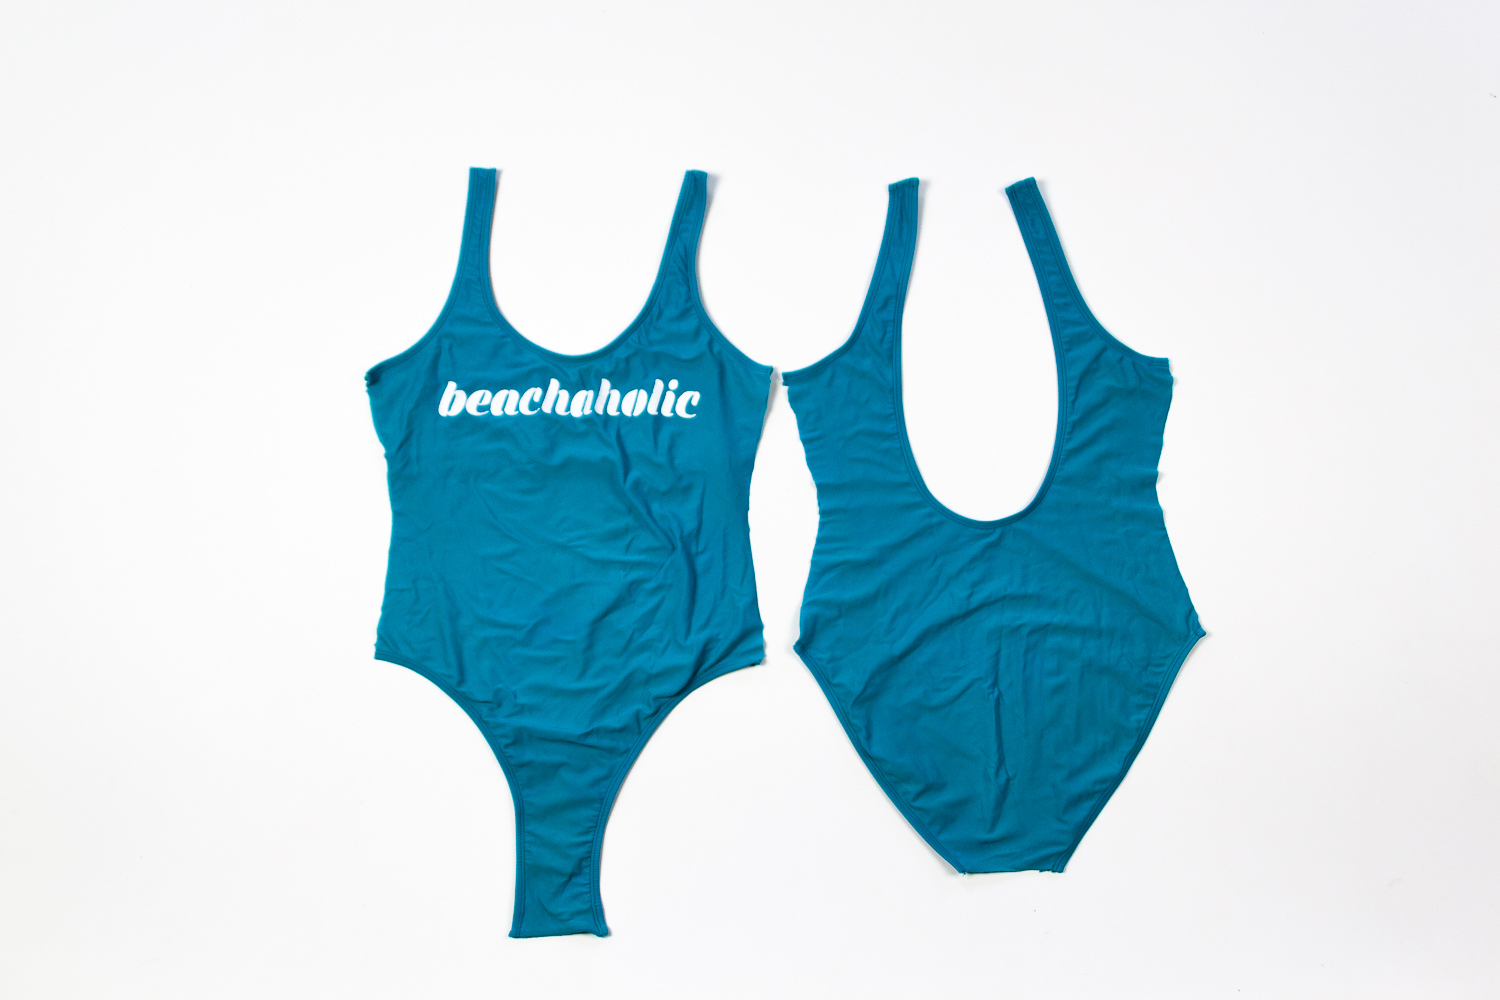
Last year I finally found a one piece swimming suit that I felt good in. I was walking through Walmart (probably in there buying thread or looking at their fantastic clearance fabric) and saw it on sale for $9. I’ve wanted a swimsuit like this, so I snapped it up without trying it on. It happened to fit my body well, and I felt great in it (which, as far as swimsuits go, is kind of rare).
It became my go-to swimsuit. I wore it so much that the fabric is already worn out. Quite sad. You can see how stretched out it is in the photo.
So I decided to see if I could cut it up and make myself a new swimsuit with the same great fit.
Here’s how to do it!
Step 1: Look at how the swimsuit is constructed. Remember how it’s sewn together so you can use the same sewing techniques (or different ones if you have better ideas) when you sew the new one together.
Step 2: Cut the swimsuit along all the seams. This was easy in this case because it’s only two pieces! I debated whether to also take out the elastic along the arms, legs, and neck, but it was really difficult to get the stitching out, so I left it.
Step 3: Fold the pieces in half and trace around them. Since I didn’t take out the elastic, I added about 1/4” - 1/2” length to the places that had elastic later.
Step 4: Draw the folded edge using a ruler to make sure it is straight.
Step 5: Add seam allowances. I decided to use a 1/2” seam allowance all around. (Here’s where I also added some extra length to places where there was elastic — the crotch and the shoulders.)
Step 6: Cut out the new pattern pieces.
I bought this beautiful blue swimsuit fabric from my friend’s previous fabric store, Cloth Story. It’s smooth like silk yet thick and firm. It’s delicious! For some reason the idea of another blue swimsuit that matches the color of my eyes was appealing. Isn’t it nice to wear clothes that bring out your eye color? Plus, Maycie (the owner) had such cool branding. I love her fabric tags!
Step 7: Cut out your swimsuit fabric. I decided to do a double layer, so I cut two of each pattern piece.
Step 8: SEW!
I sewed the crotch and the shoulders together in such a way that the seam allowance would be hidden within the double layer.
Then I measured the openings of the arms and legs and cut elastic that length minus 2” (depending on the stretchiness of your elastic you may want to cut more or less than that). I did the same thing for the neck opening, except I reduced the length of the elastic by 7” instead of 2” because of the greater length. I used 3/8” wide elastic.
I overlapped the ends of each elastic strip together and sewed them shut. Then I made sure the elastic was evenly distributed by clipping it in place along each opening (this is really important!) and serged it to the wrong side of the fabric.
Then I folded the elastic and the edge of the fabric it’s serged to over once and zigzag stitched along the folded edge with matching thread.
DONE!
Sewing swimwear is quick to sew, I’ve discovered. The fabric is forgiving and fun to sew. It’s a bit slippery and hard to work with, ha, but fun. I didn’t have blue serger thread, so I just used white. But I think blue would look nice. Next time maybe I’ll buy matching thread so the insides will match.
Now that I have the pattern, I can make another one for myself next spring! And the next spring.
Check out this post that shows the finished swimsuit at the pond.
What do you think? Does this make you want to whip out your scissors and elastic right now? I hope so. It’s really a satisfying project.


