Want to make a quilted mask with your own quilt design?
Here’s how to do it!
Supplies you’ll need:
Mask pattern (a great option is the Melon Mask!)
Paper
Pen
Paper Scissors
Ruler

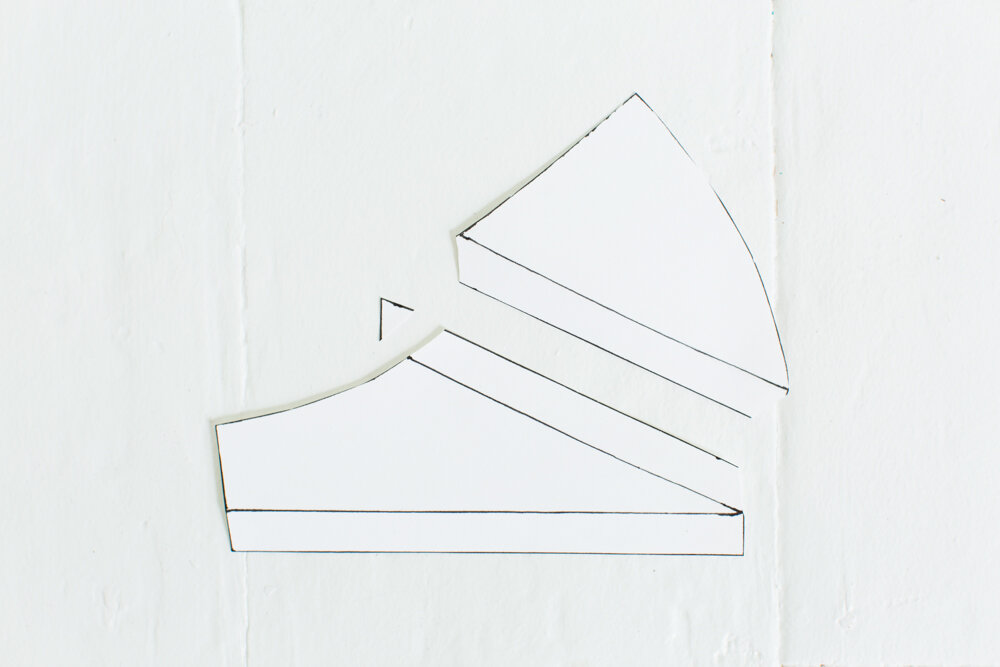
1) Fold the mask pattern in half and trace around it.

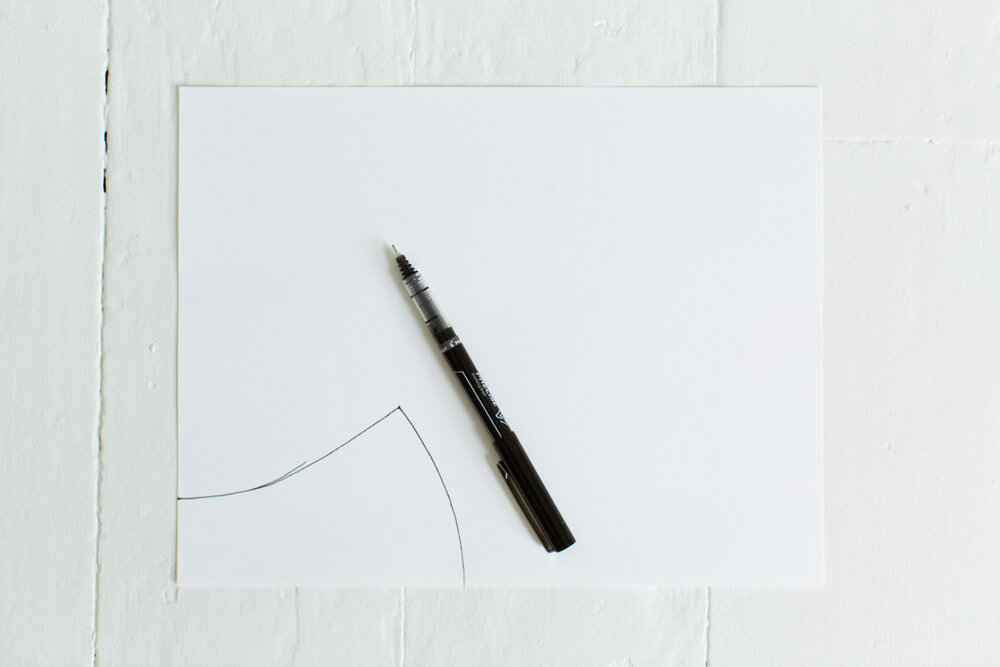
2 - the fun step) Draw whatever quilt design you would like to have on the mask.

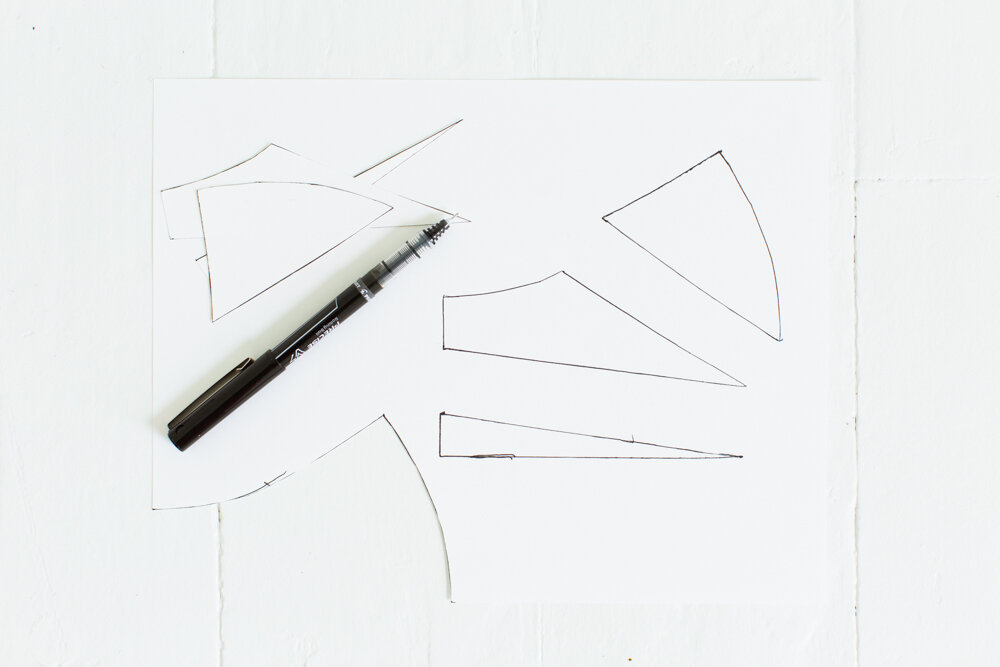
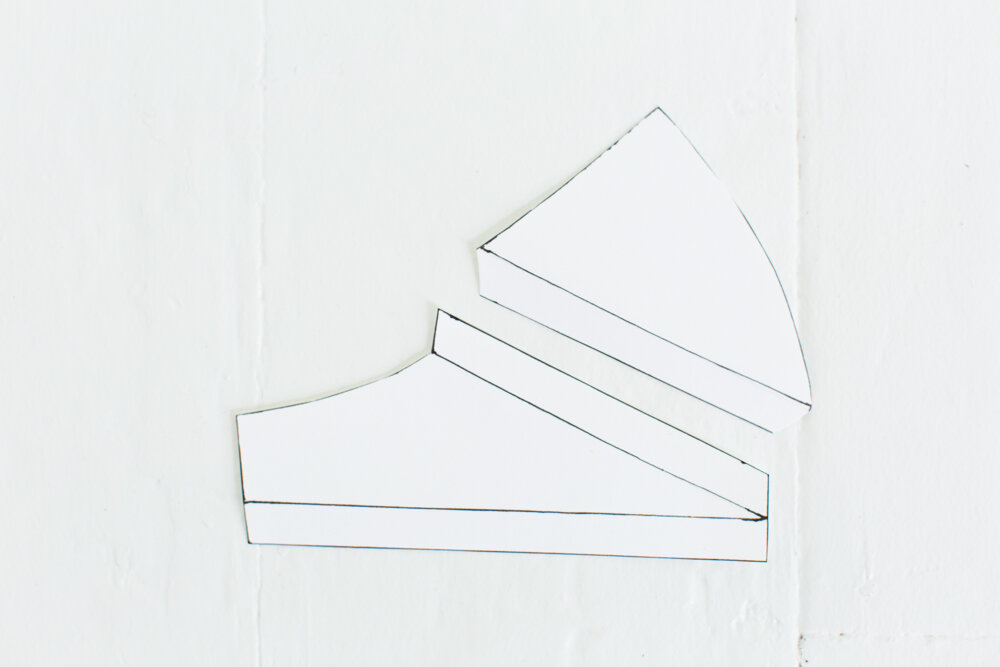
3) Cut along the lines to cut out the individual pieces. In this case there are 3 pieces. Lay them on the paper in the order that they will be sewn together. (Be sure to lay them with plenty of space in between.) Trace around each piece.
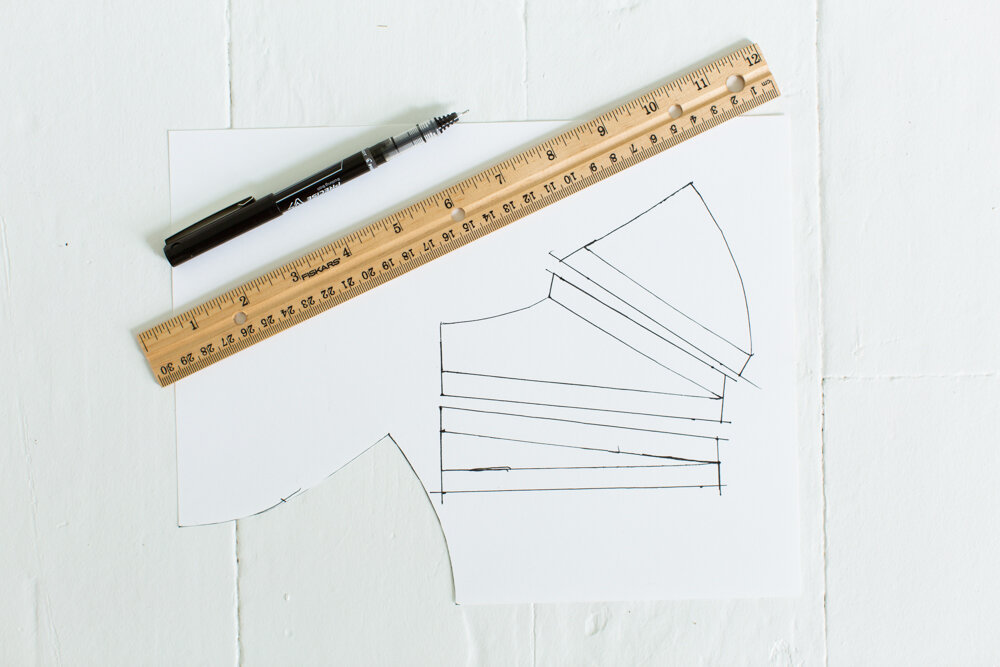
4) Add 3/8” (1 cm) seam allowance to all the sides that will be sewn to another piece. (You only need to add the seam allowances where you’re sewing pieces together as a result of your new design. For example, the curved nose piece doesn’t need a seam allowance added because that was already built into the pattern.)
Don’t worry about what the ends of the seam allowances look like for now. You will true them up in a few steps.
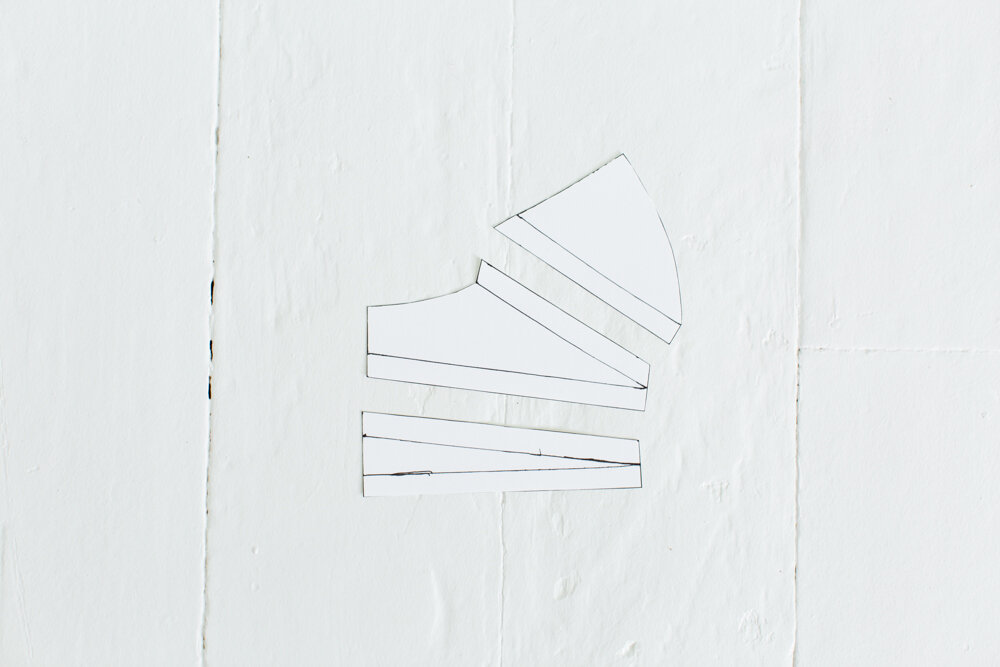
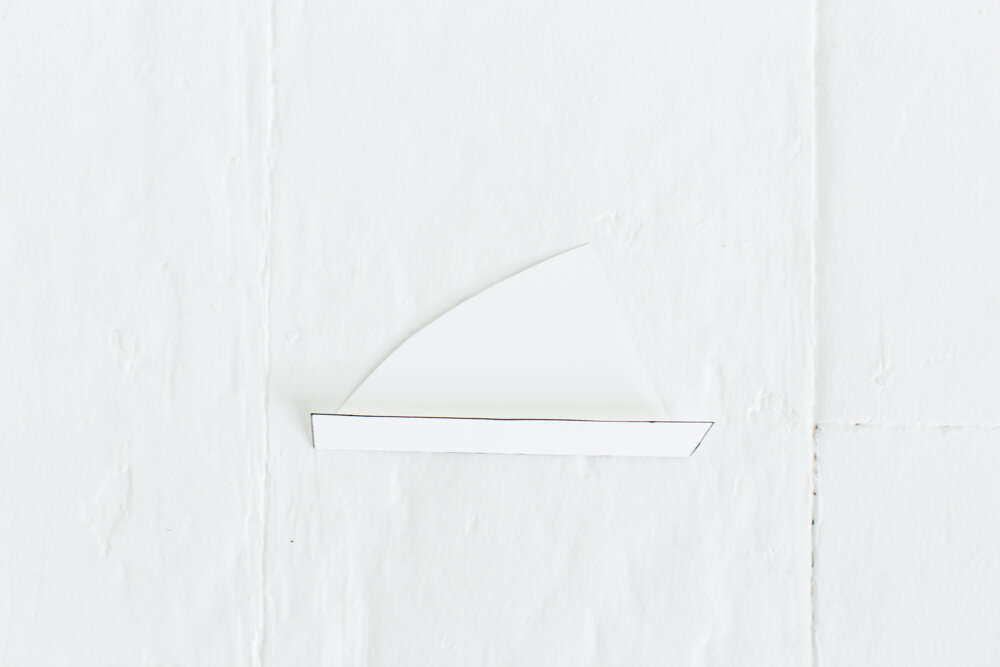
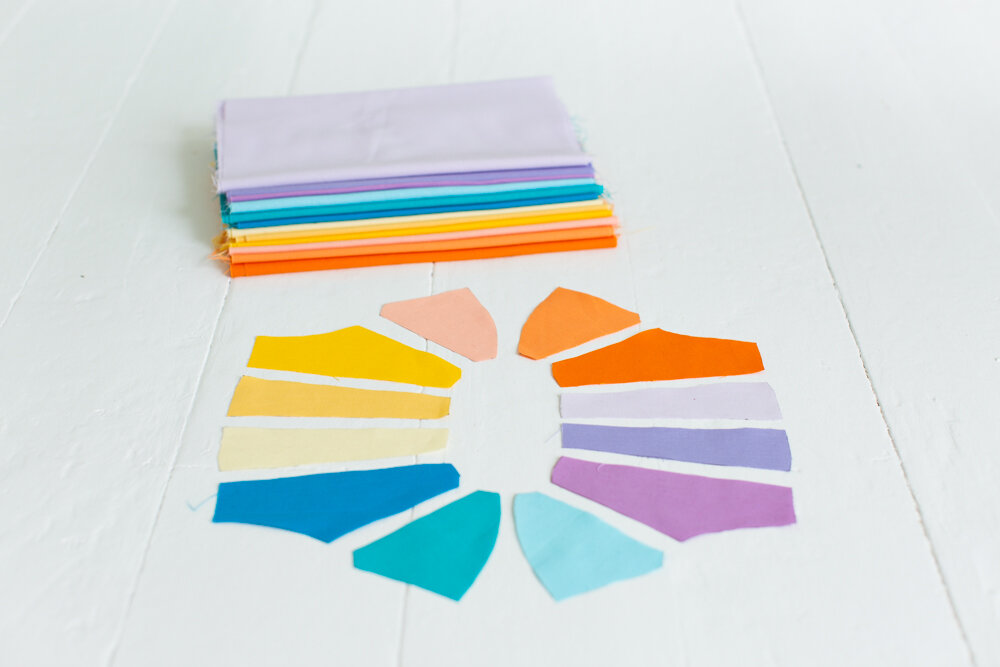
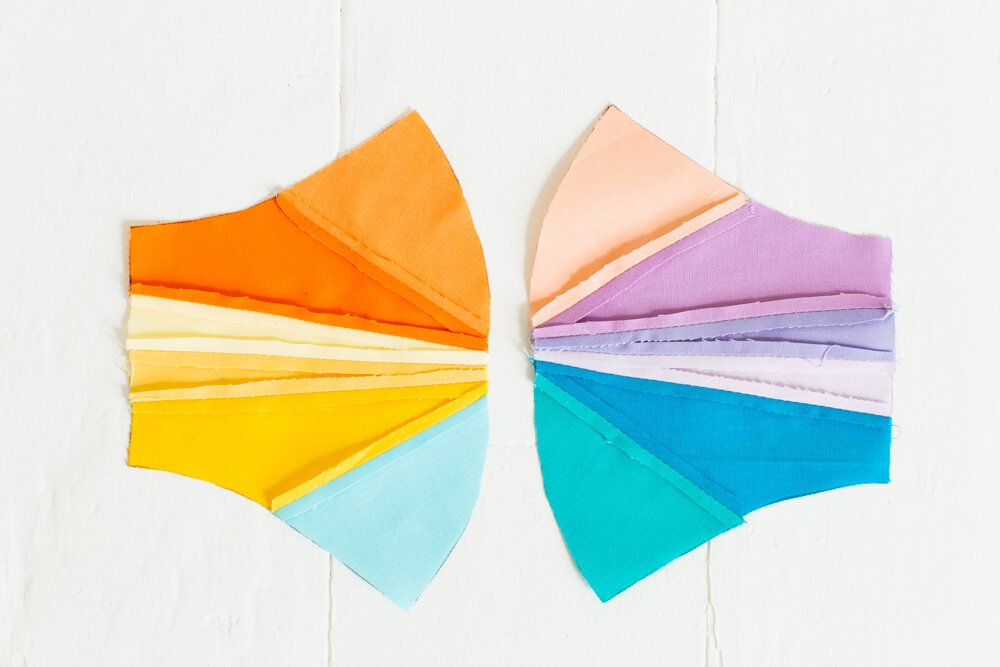
5) Cut out the pieces, seam allowances included. Lay them out in the arrangement they will be sewn.
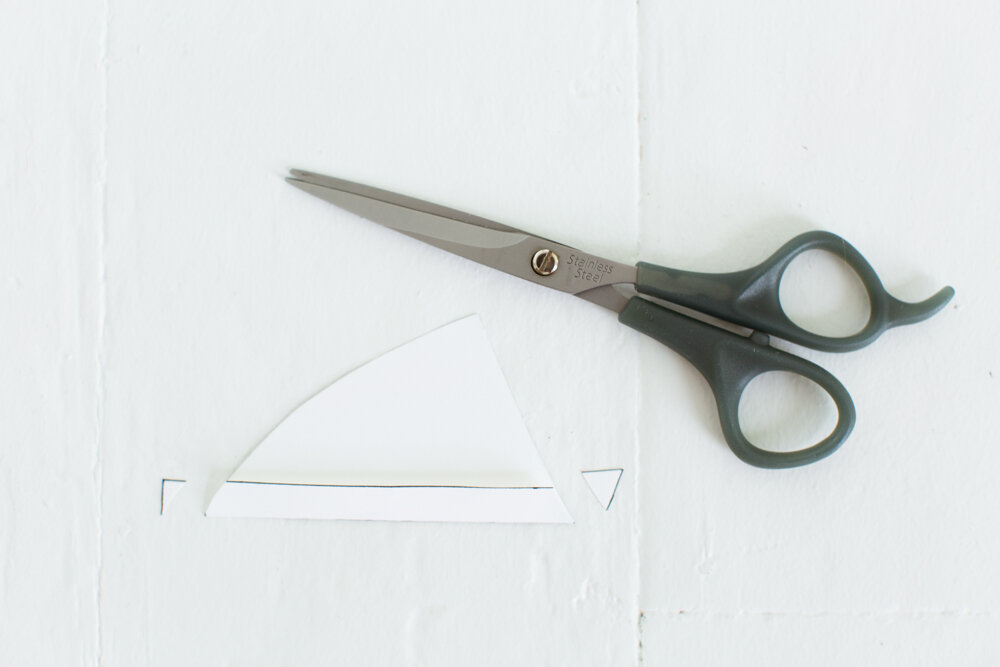
6) To true up the seams, take the top piece and fold the paper along the seam allowance line. Trim off the tips of the seam allowance so the edges match the edges it’s folded against.
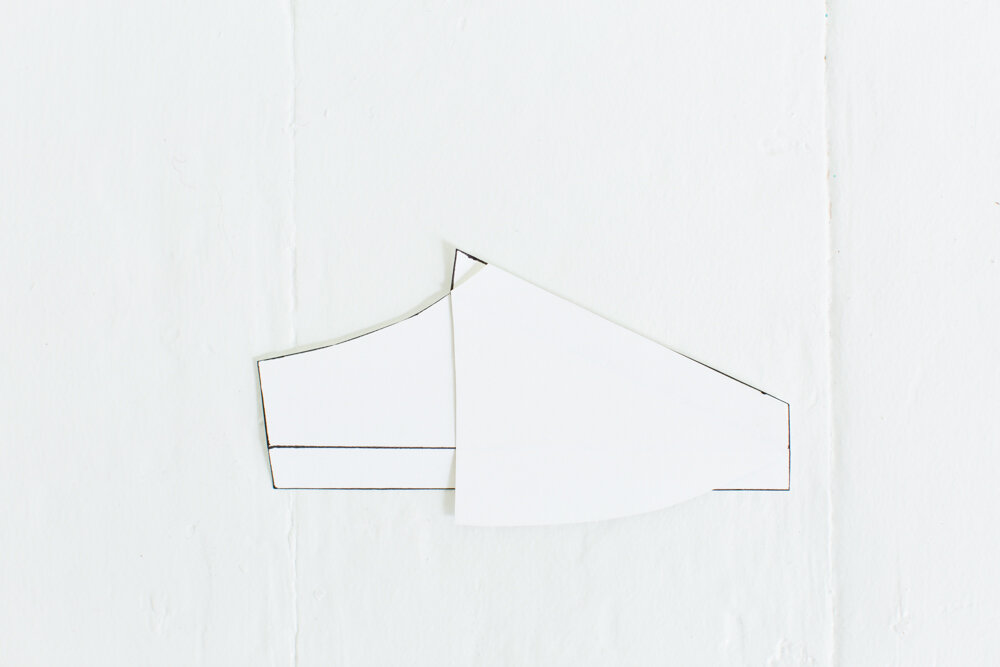
7) To true up the next piece, lay the first piece on top of the second piece as if you were sewing them together. Trim off the tips of the second piece so the edges of the first piece and second piece match.
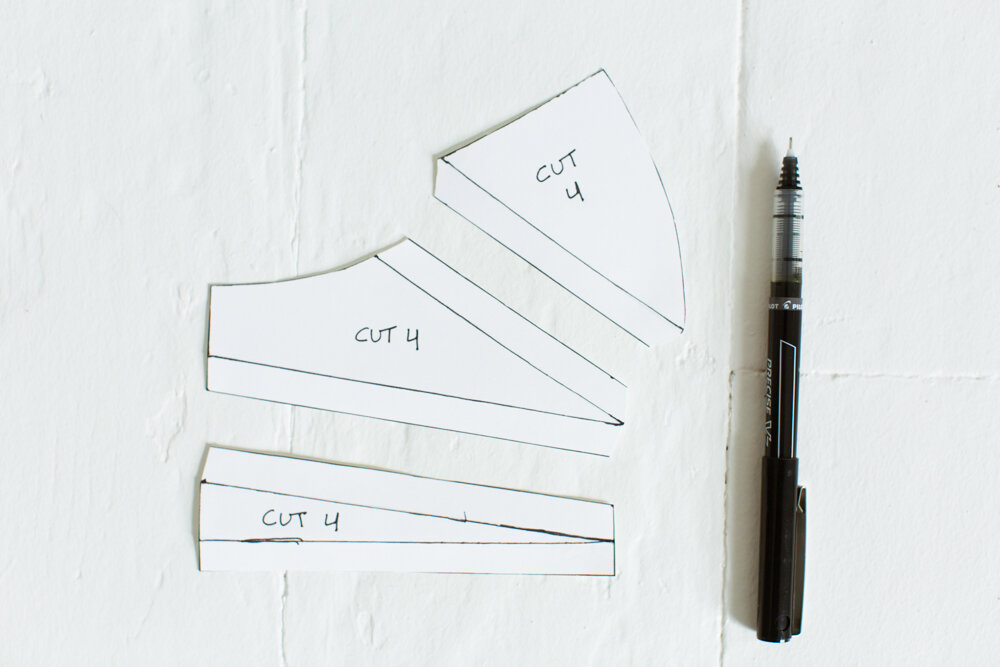
8) Follow the same steps to true up the seams of all the pieces. Label the pieces with how many pieces of fabric to cut of each.
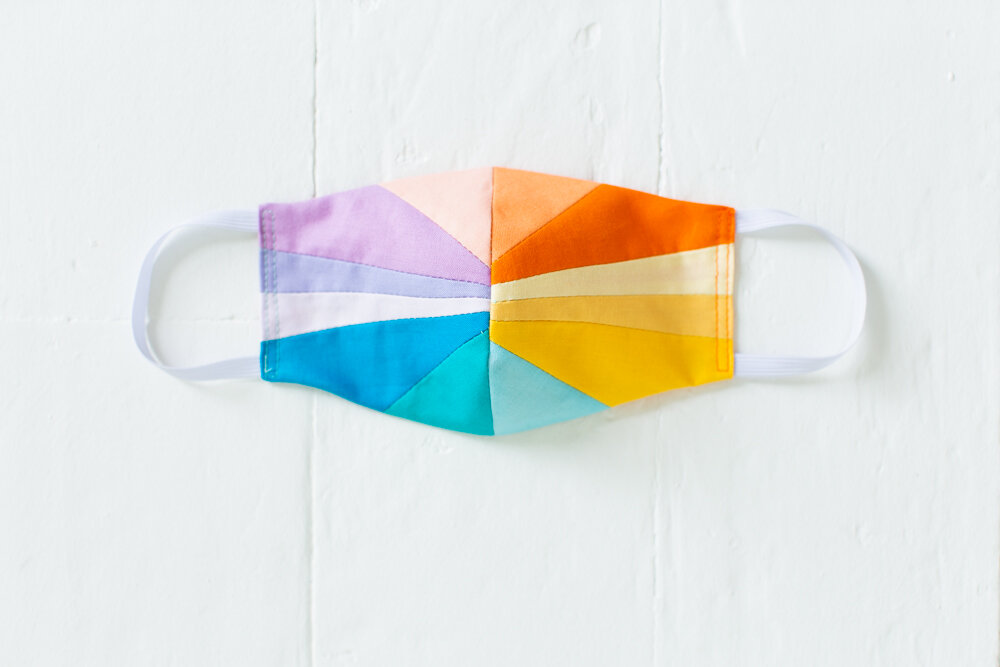
That’s it! Good work. You’ve just made your own quilted mask pattern.
To get some tips on how to sew your mask together, check out the Melon Mask Sew Along.
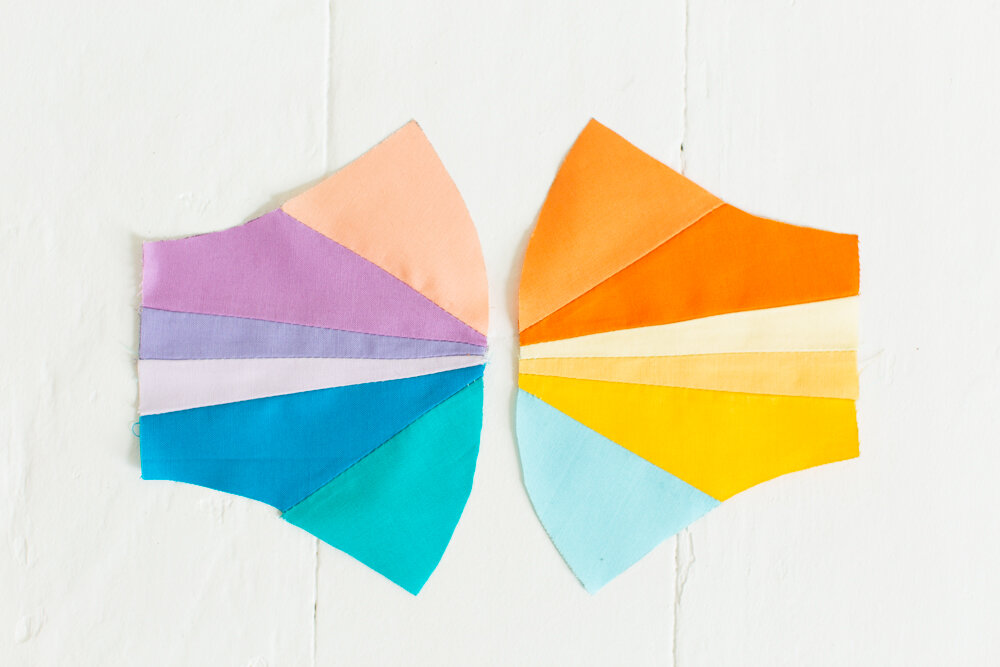
Here’s how the mask design from this tutorial turned out.
If you don’t want to make your own mask design, you can grab my quilted mask pattern here!


