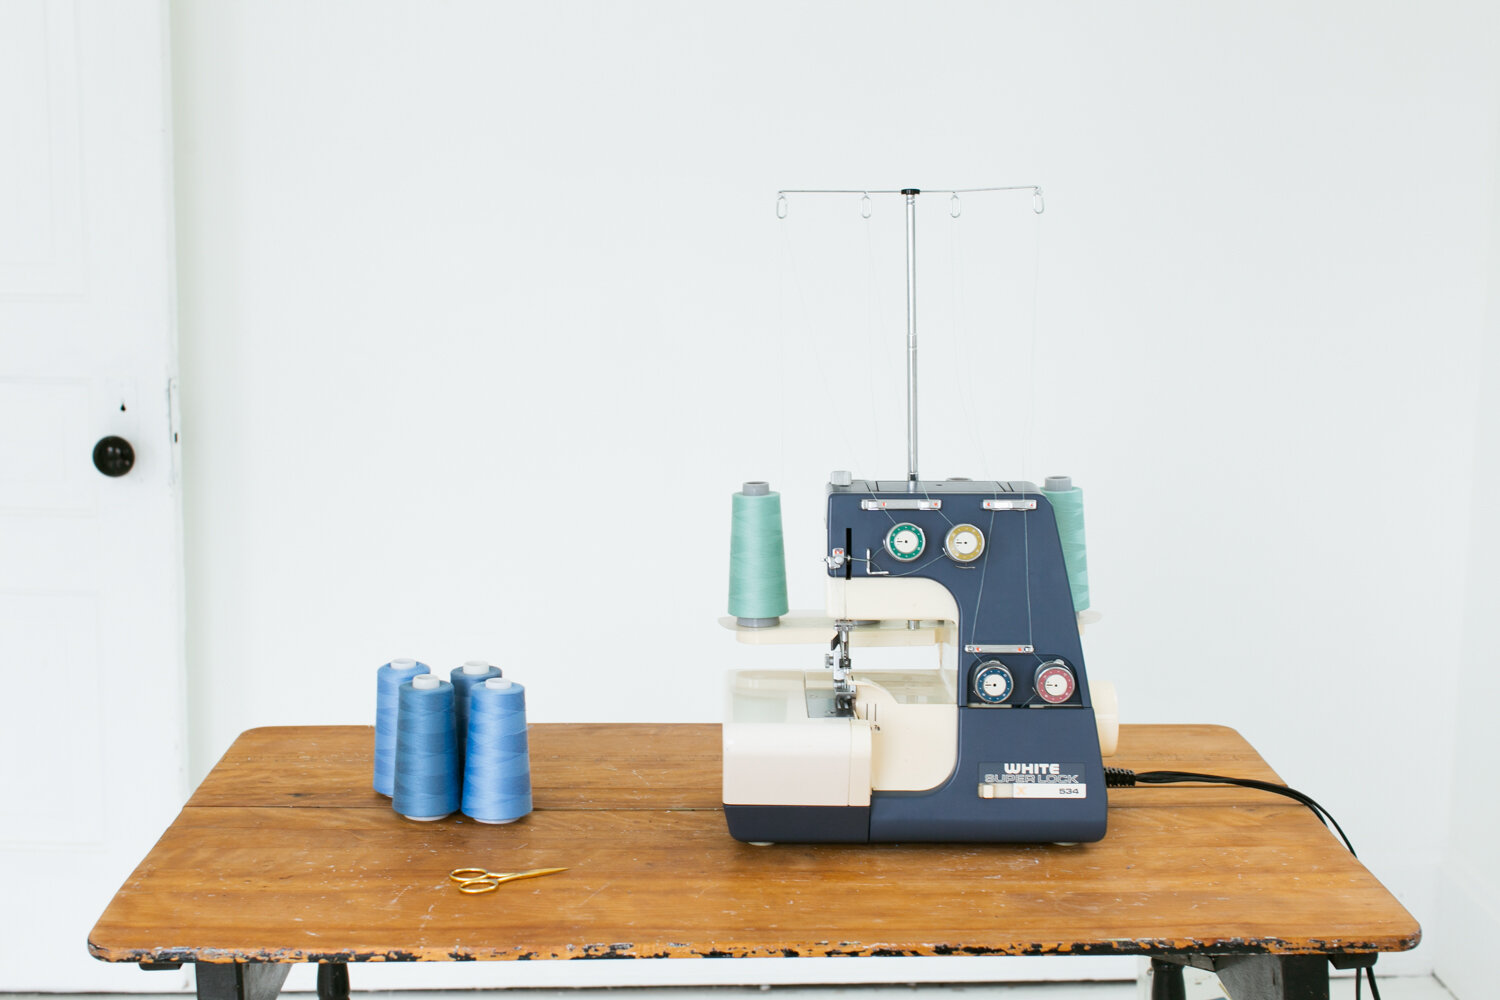
Sergers are a real joy to sew with, but not always fun to rethread.
I learned threading the hard way. My serger is on semi permanent loan from my sister who inherited it from our grandmother. No one taught me how to use it and I didn’t have the manual, so I always changed the threads manually. It took a long time, was quite frustrating, and it led me to not change the thread color very often.
But a good way to make your handmade clothes look more professional is to use matching thread, which means changing the serger thread often. Thankfully there is an easy way to do it!
I hope this can save someone else some frustration.
How to change serger thread the easy way
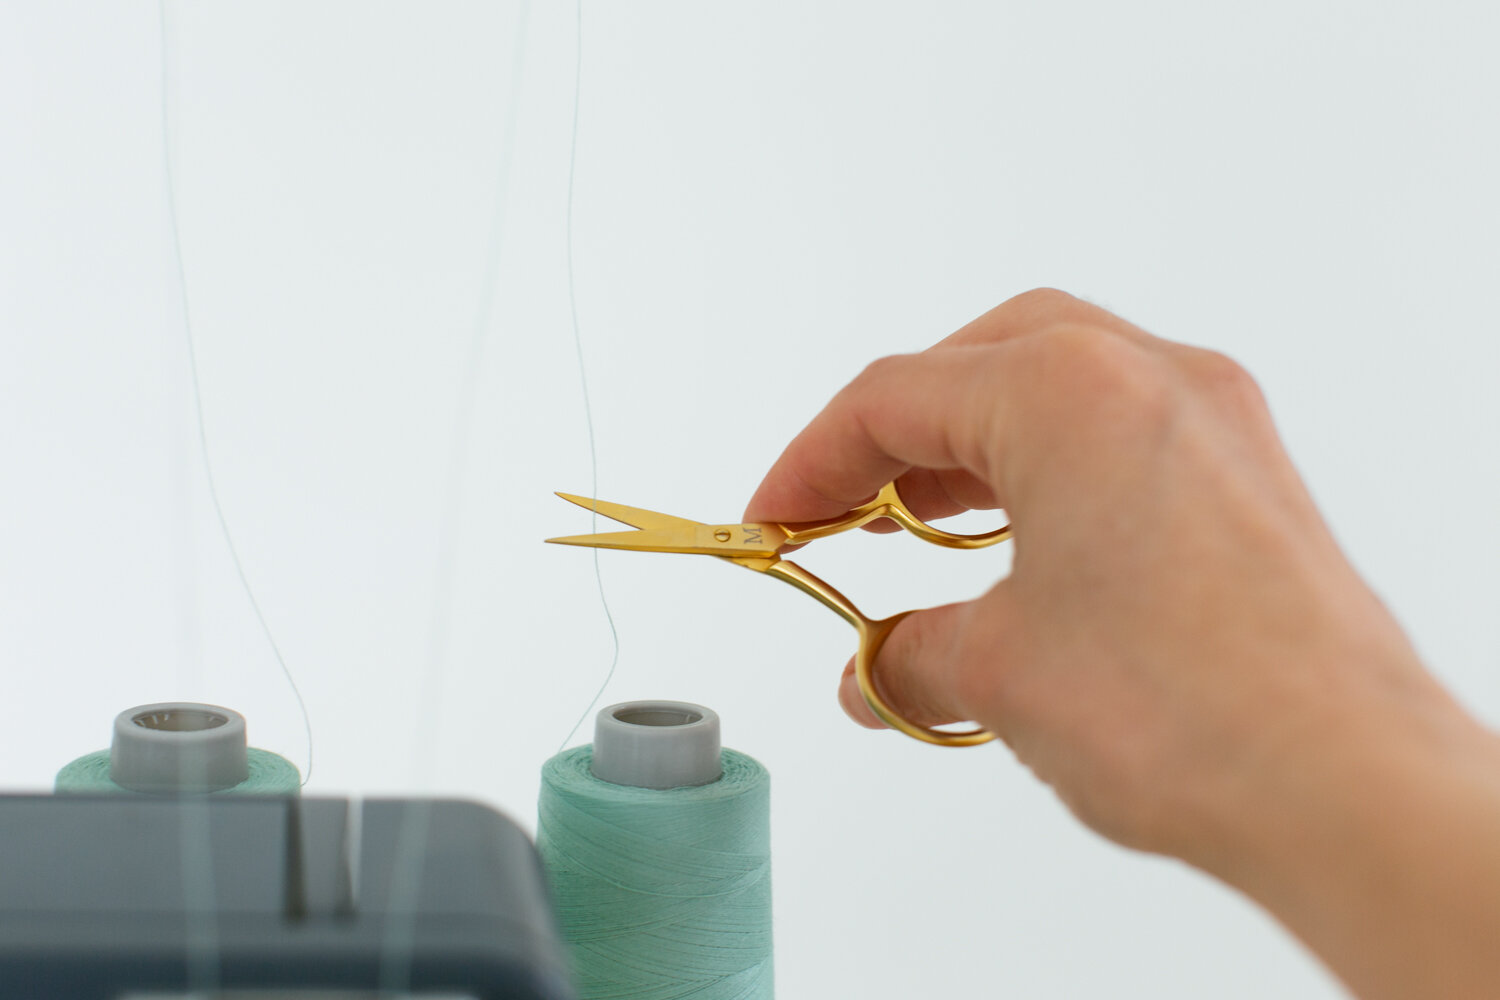
1) Snip all the threads that are currently threaded through the serger near their spool.
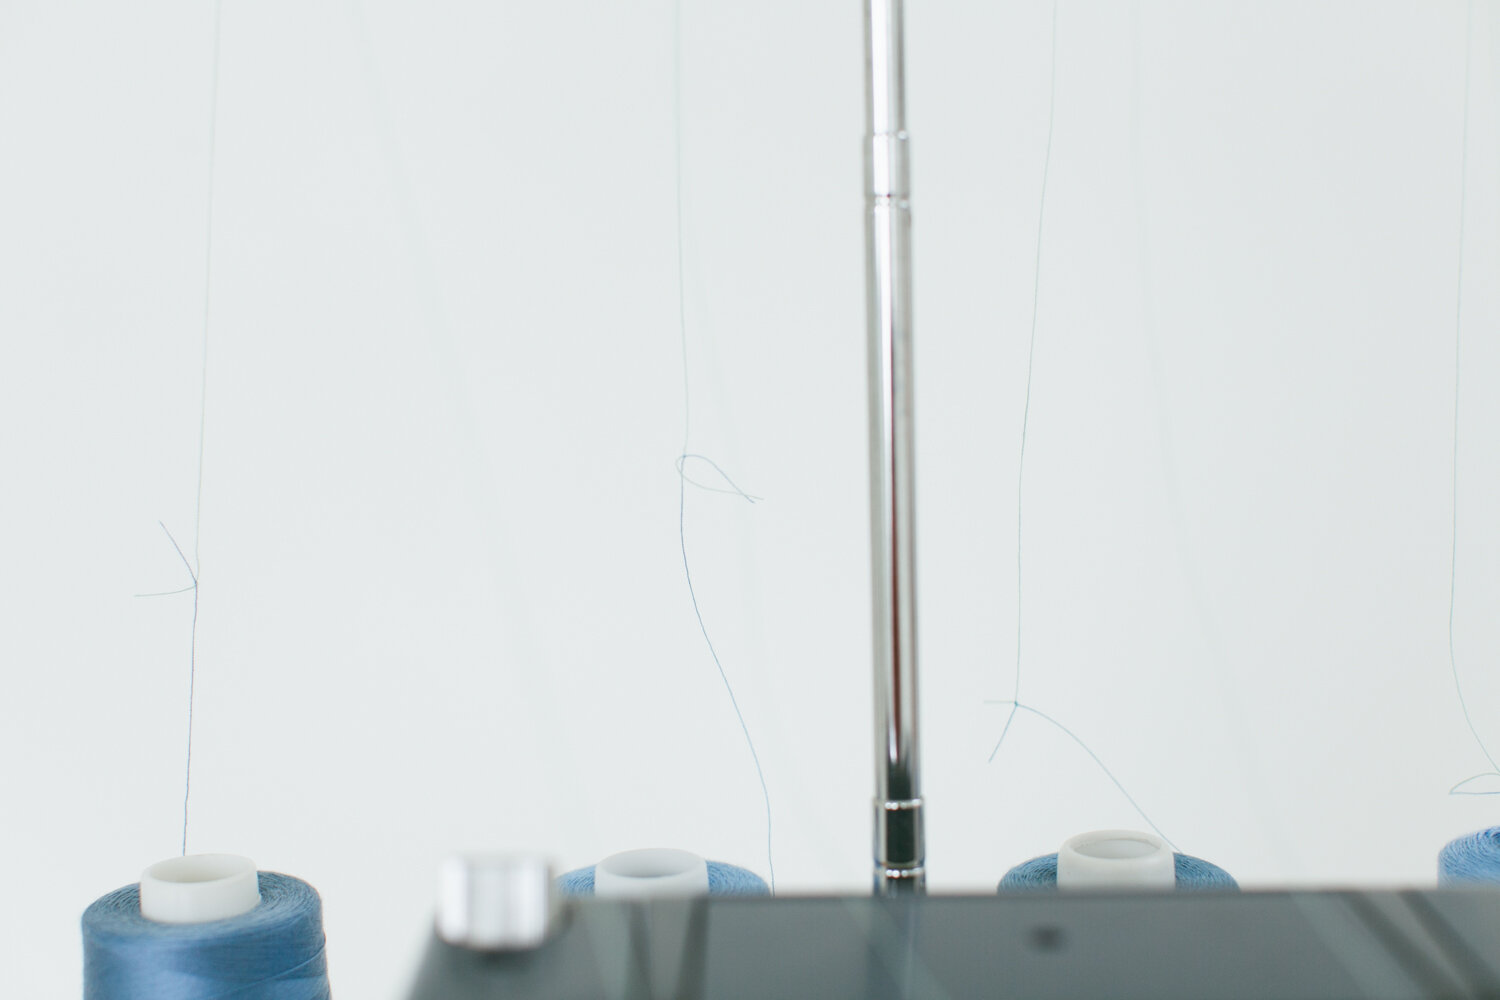
2) Put on the new spools. Tie each new spool to the old thread with a square knot.
3) Press the pedal and carefully let the new threads wind their way to the needles.
Often the thread goes smoothly through the needles with no problem. But sometimes you have to help a knot through a needle or to cut a knot and thread a needle manually. Either way, it beats manually threading the whole machine!
Woohoo! That’s it! This method is a big time saver (not to mention stress and frustration).


