Tutorials

Melon Mask Sew Along

The Melon Mask is here to bring you some joy. Here’s a photo version of how to sew it.

Get your Melon Mask here!

Let’s jump in…

Step 1: Pick out your favorite colors. If you want a coloring sheet to help plan colors, download the PDF here.

Melon Mask Sew Along - Sarah Kirsten

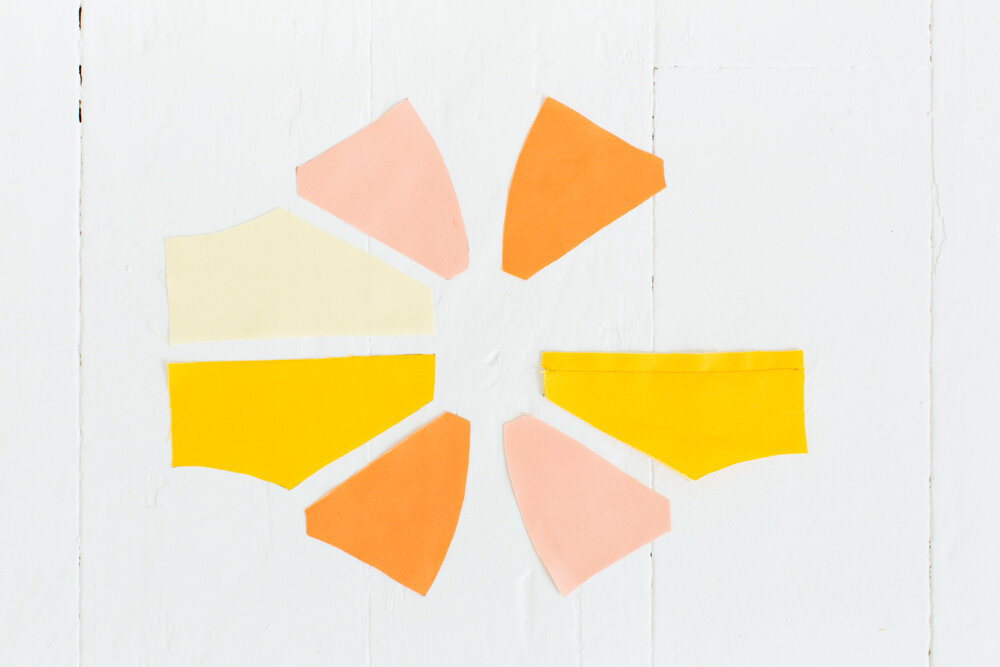
Step 2: Cut out all the pieces. Lay the front pieces out in the arrangement you want them on the finished mask.

Melon Mask Sew Along - Sarah Kirsten

We’ll start by sewing the right side of the mask together first.

Step 3: Sew the two right center pieces with right sides together. 3/8” (1 cm) seam allowance.

Melon Mask Sew Along - Sarah Kirsten

Step 4: Sew on the top right nose piece with right sides together. 3/8” (1 cm) seam allowance.

Be sure to move the seam allowance of the center pieces out of the way so they don’t get caught in the stitching.

Melon Mask Sew Along - Sarah Kirsten

Step 5: Sew on the bottom right nose piece with right sides together. 3/8” (1 cm) seam allowance.

Be sure to move the seam allowance of the center pieces out of the way again so they don’t get stitched through.

Melon Mask Sew Along - Sarah Kirsten

Take a moment to admire how lovely it’s coming together.

Melon Mask Sew Along - Sarah Kirsten

Step 6: Repeat steps to sew the left side of the mask together.

Melon Mask Sew Along - Sarah Kirsten

Step 7: Trim seam allowances in half. Press seams open with a steamy iron.

Melon Mask Sew Along - Sarah Kirsten

Step 8: Sew right and left sides of the mask with right sides together. 3/8” (1 cm) seam allowance.

Be extra mindful here of matching up the center seams!

Melon Mask Sew Along - Sarah Kirsten

Step 9: Trim seam allowance in half. Clip into seam allowance along the curve. Press seam open.

Melon Mask Sew Along - Sarah Kirsten

Step 10: Sew back pieces with right sides together. 3/8” (1 cm) seam allowance.

Melon Mask Sew Along - Sarah Kirsten

Step 11: Trim seam allowance in half. Clip into seam allowance along the curve. Press seam open.

Melon Mask Sew Along - Sarah Kirsten

Step 12: Place the front and back with right sides together. The front should be slightly larger than the back.

_U5A0049.jpg

Step 13: Sew along the top and bottom edge. 3/8” (1 cm) seam allowance.

Melon Mask Sew Along - Sarah Kirsten

Step 14: Clip into seam allowances along the curve.

Melon Mask Sew Along - Sarah Kirsten

Step 15: Turn mask right side out. Press edges with steam iron.

Melon Mask Sew Along - Sarah Kirsten

Step 16: Fold the ends in 3/8'“ (1 cm). Press with steamy iron.

Melon Mask Sew Along - Sarah Kirsten

Step 17: Pin one end of elastic 1/2” (1.3 cm) deep on one side of the mask. Try it on and determine what length is right for your ears (plus the seam allowance!). Cut two pieces of elastic that length.

_U5A0068.jpg

Step 18: Stick the ends of the elastic in 1/2” (1.3 cm) deep. Sew a 1/4” (0.6 cm) wide rectangle along the edge of the fabric.

Melon Mask Sew Along - Sarah Kirsten

Rejoice! What a good job you’ve done! #SKmelonmask

Melon Mask Sew Along - Sarah Kirsten

If you haven’t grabbed the pattern yet, you can get it here.

If you enjoyed this sew along, check out the Olive Undies sew along!

How to Organize and Keep Track of Your PDF Patterns

PDFs can be pesky things. Here’s how I organize my patterns from other pattern makers I love to make sure I don’t lose any and I can find them easily.

I notice for me personally, staying organized is much easier if I put the pattern in my filing system right away after buying it instead of leaving it in my messy downloads folder.

Most patterns come as .zip files. Once the files are extracted, you can delete the .zip file.

So here’s one good option of how to organize patterns

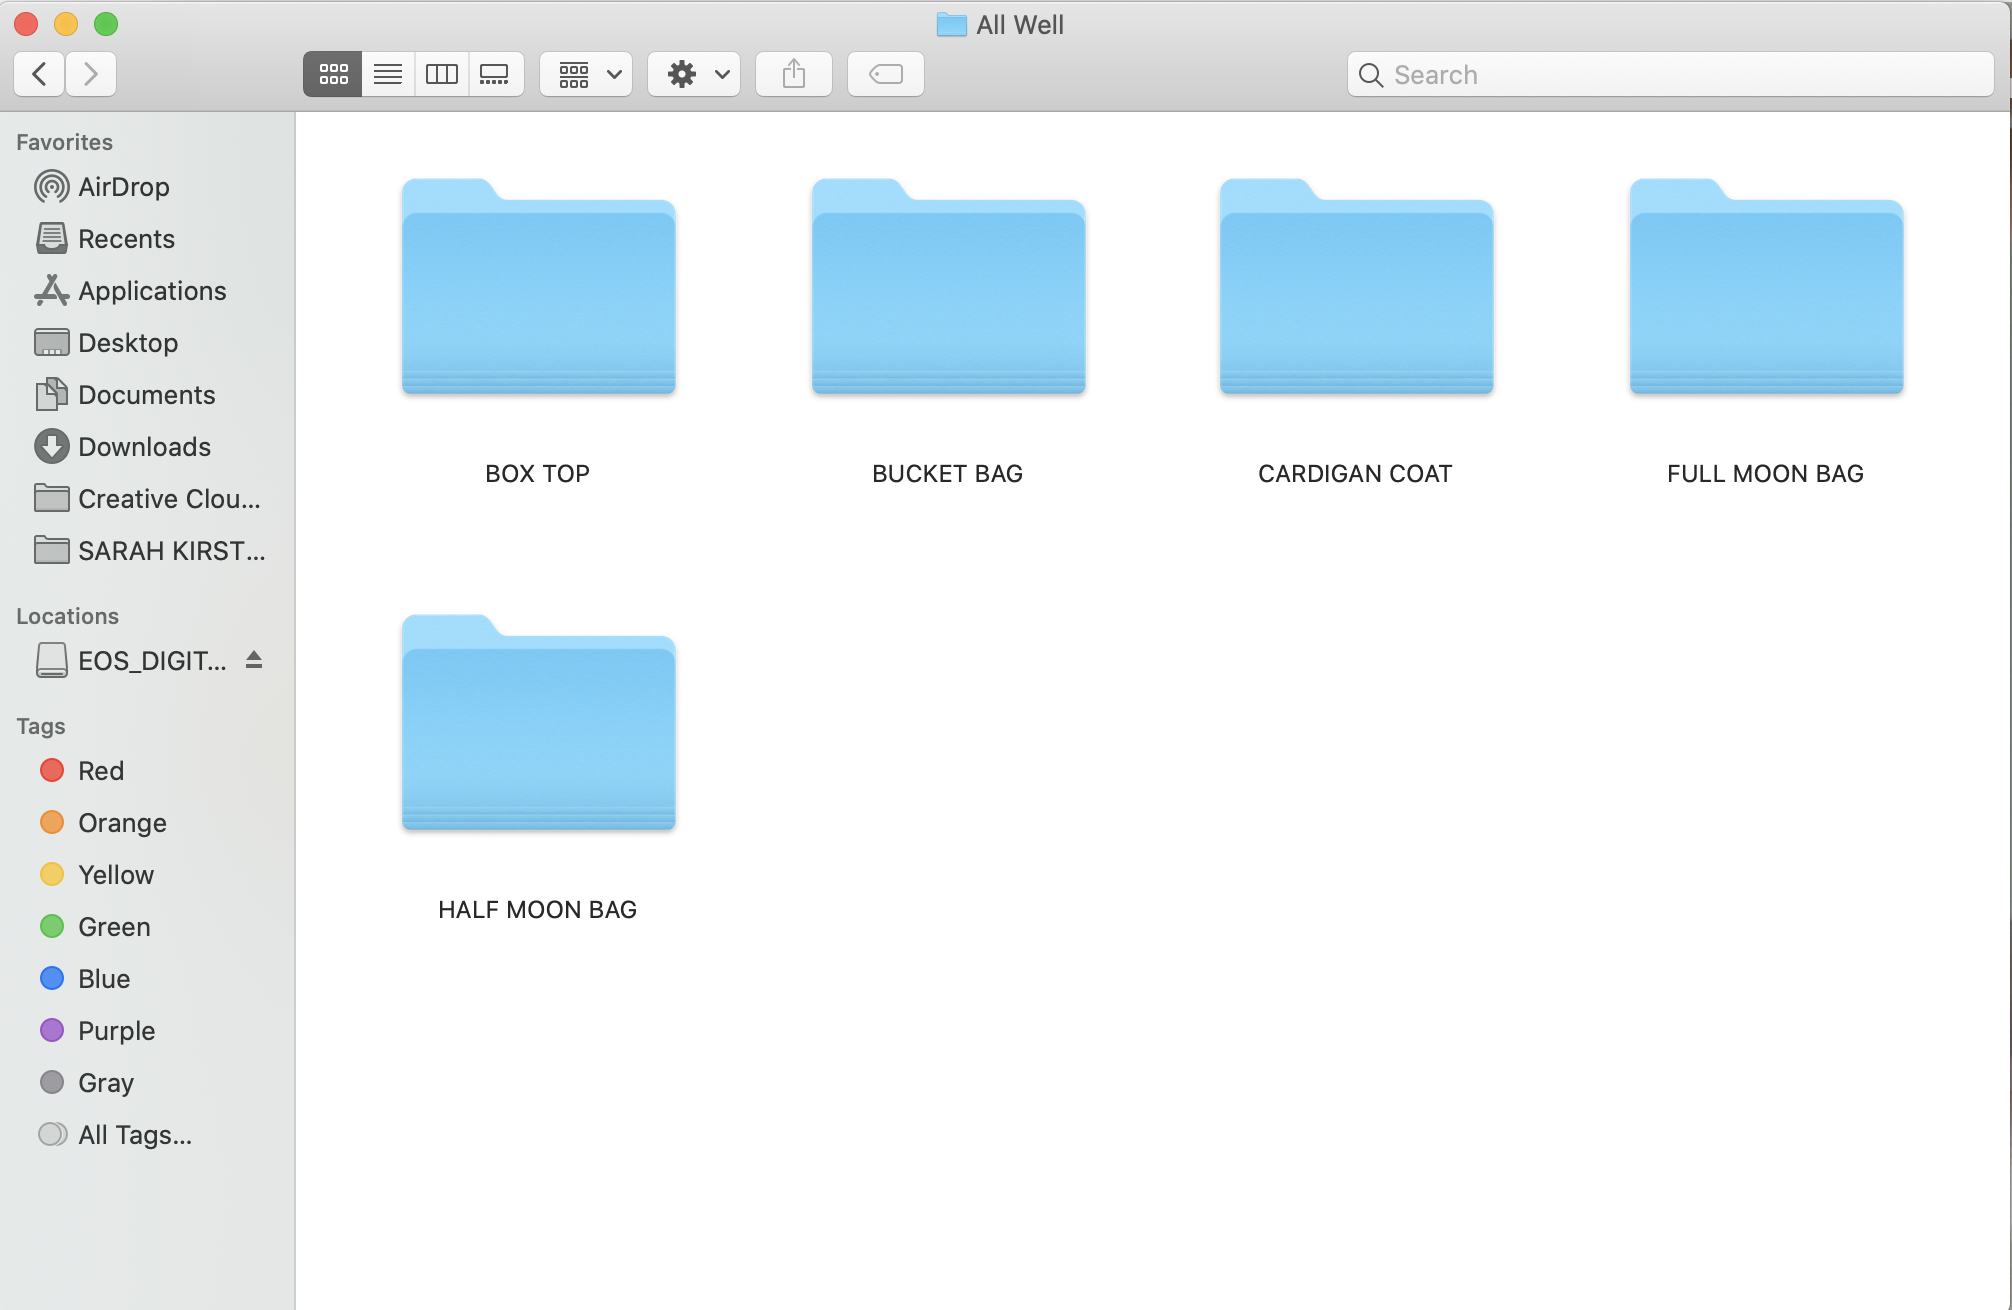
1) Have a folder just for sewing patterns.

How to organize your PDF patterns - Sarah Kirsten

2) In that folder, have a file for each pattern maker.

How to organize your PDF patterns - Sarah Kirsten

3) In each pattern maker’s file, have a file for each pattern you have from them.

How to organize your PDF patterns - Sarah Kirsten

4) In each pattern file, have all the PDFs that go with the pattern.

How to organize your PDF patterns - Sarah Kirsten

Again, once you have the PDFs, you don’t need to keep the .zip file. Declutter and toss it in the digital trashcan.

Rainbow Arch - How to do it

How to paint a rainbow arch in your house - Sarah Kirsten

Before I bought my new house, I was dreaming of how I would decorate. There is this wide beautiful archway, and I knew I wanted to do something with a rainbow. The ideas kept morphing into other ideas, and then this idea hit. It was pretty clear it was the one. (As in, the one you are going to marry, the rainbow you are going to paint.)

The ancient Hebrew texts describe the rainbow as a sign of the Lord’s faithfulness and promises. I love that! Besides rainbows being beautiful in and of themselves, I want to walk under a reminder of the Lord’s faithfulness every day.

Here’s how to do it

1) Paint the arch white.

2) Figure out how wide each rainbow strip is going to be.

3) Mark the lines of each strip in several places along the archway.

4) Following your markings, use 1/4” painters tape to delineate the strips.

 
How to paint a rainbow arch in your house - Sarah Kirsten
 

5) Paint the wall white again over the tape. This seals the cracks and gives a really clean edge when you peel off the tape. This step feels a bit extra, but seriously, do it. It makes a big difference and you’ll be glad you did it.

6) Spend a long time picking out the perfect colors.

 
How to paint a rainbow arch in your house - Sarah Kirsten
 

7) Paint the rainbow. (Somewhat difficult to decide if you want the red on the right or the left….)

 
How to paint a rainbow arch in your house - Sarah Kirsten
 

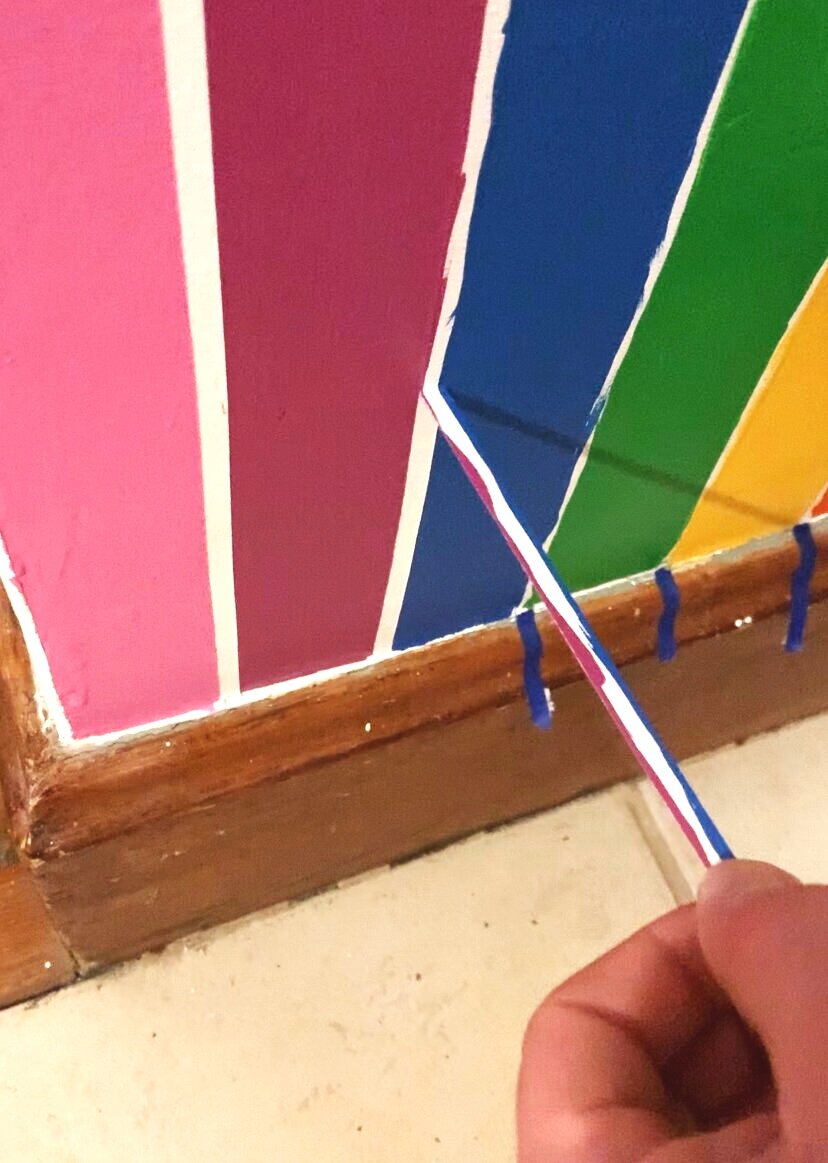
8) Carefully peel up the tape.

 
How+to+paint+a+rainbow+arch+in+your+house+-+Sarah+Kirsten
 

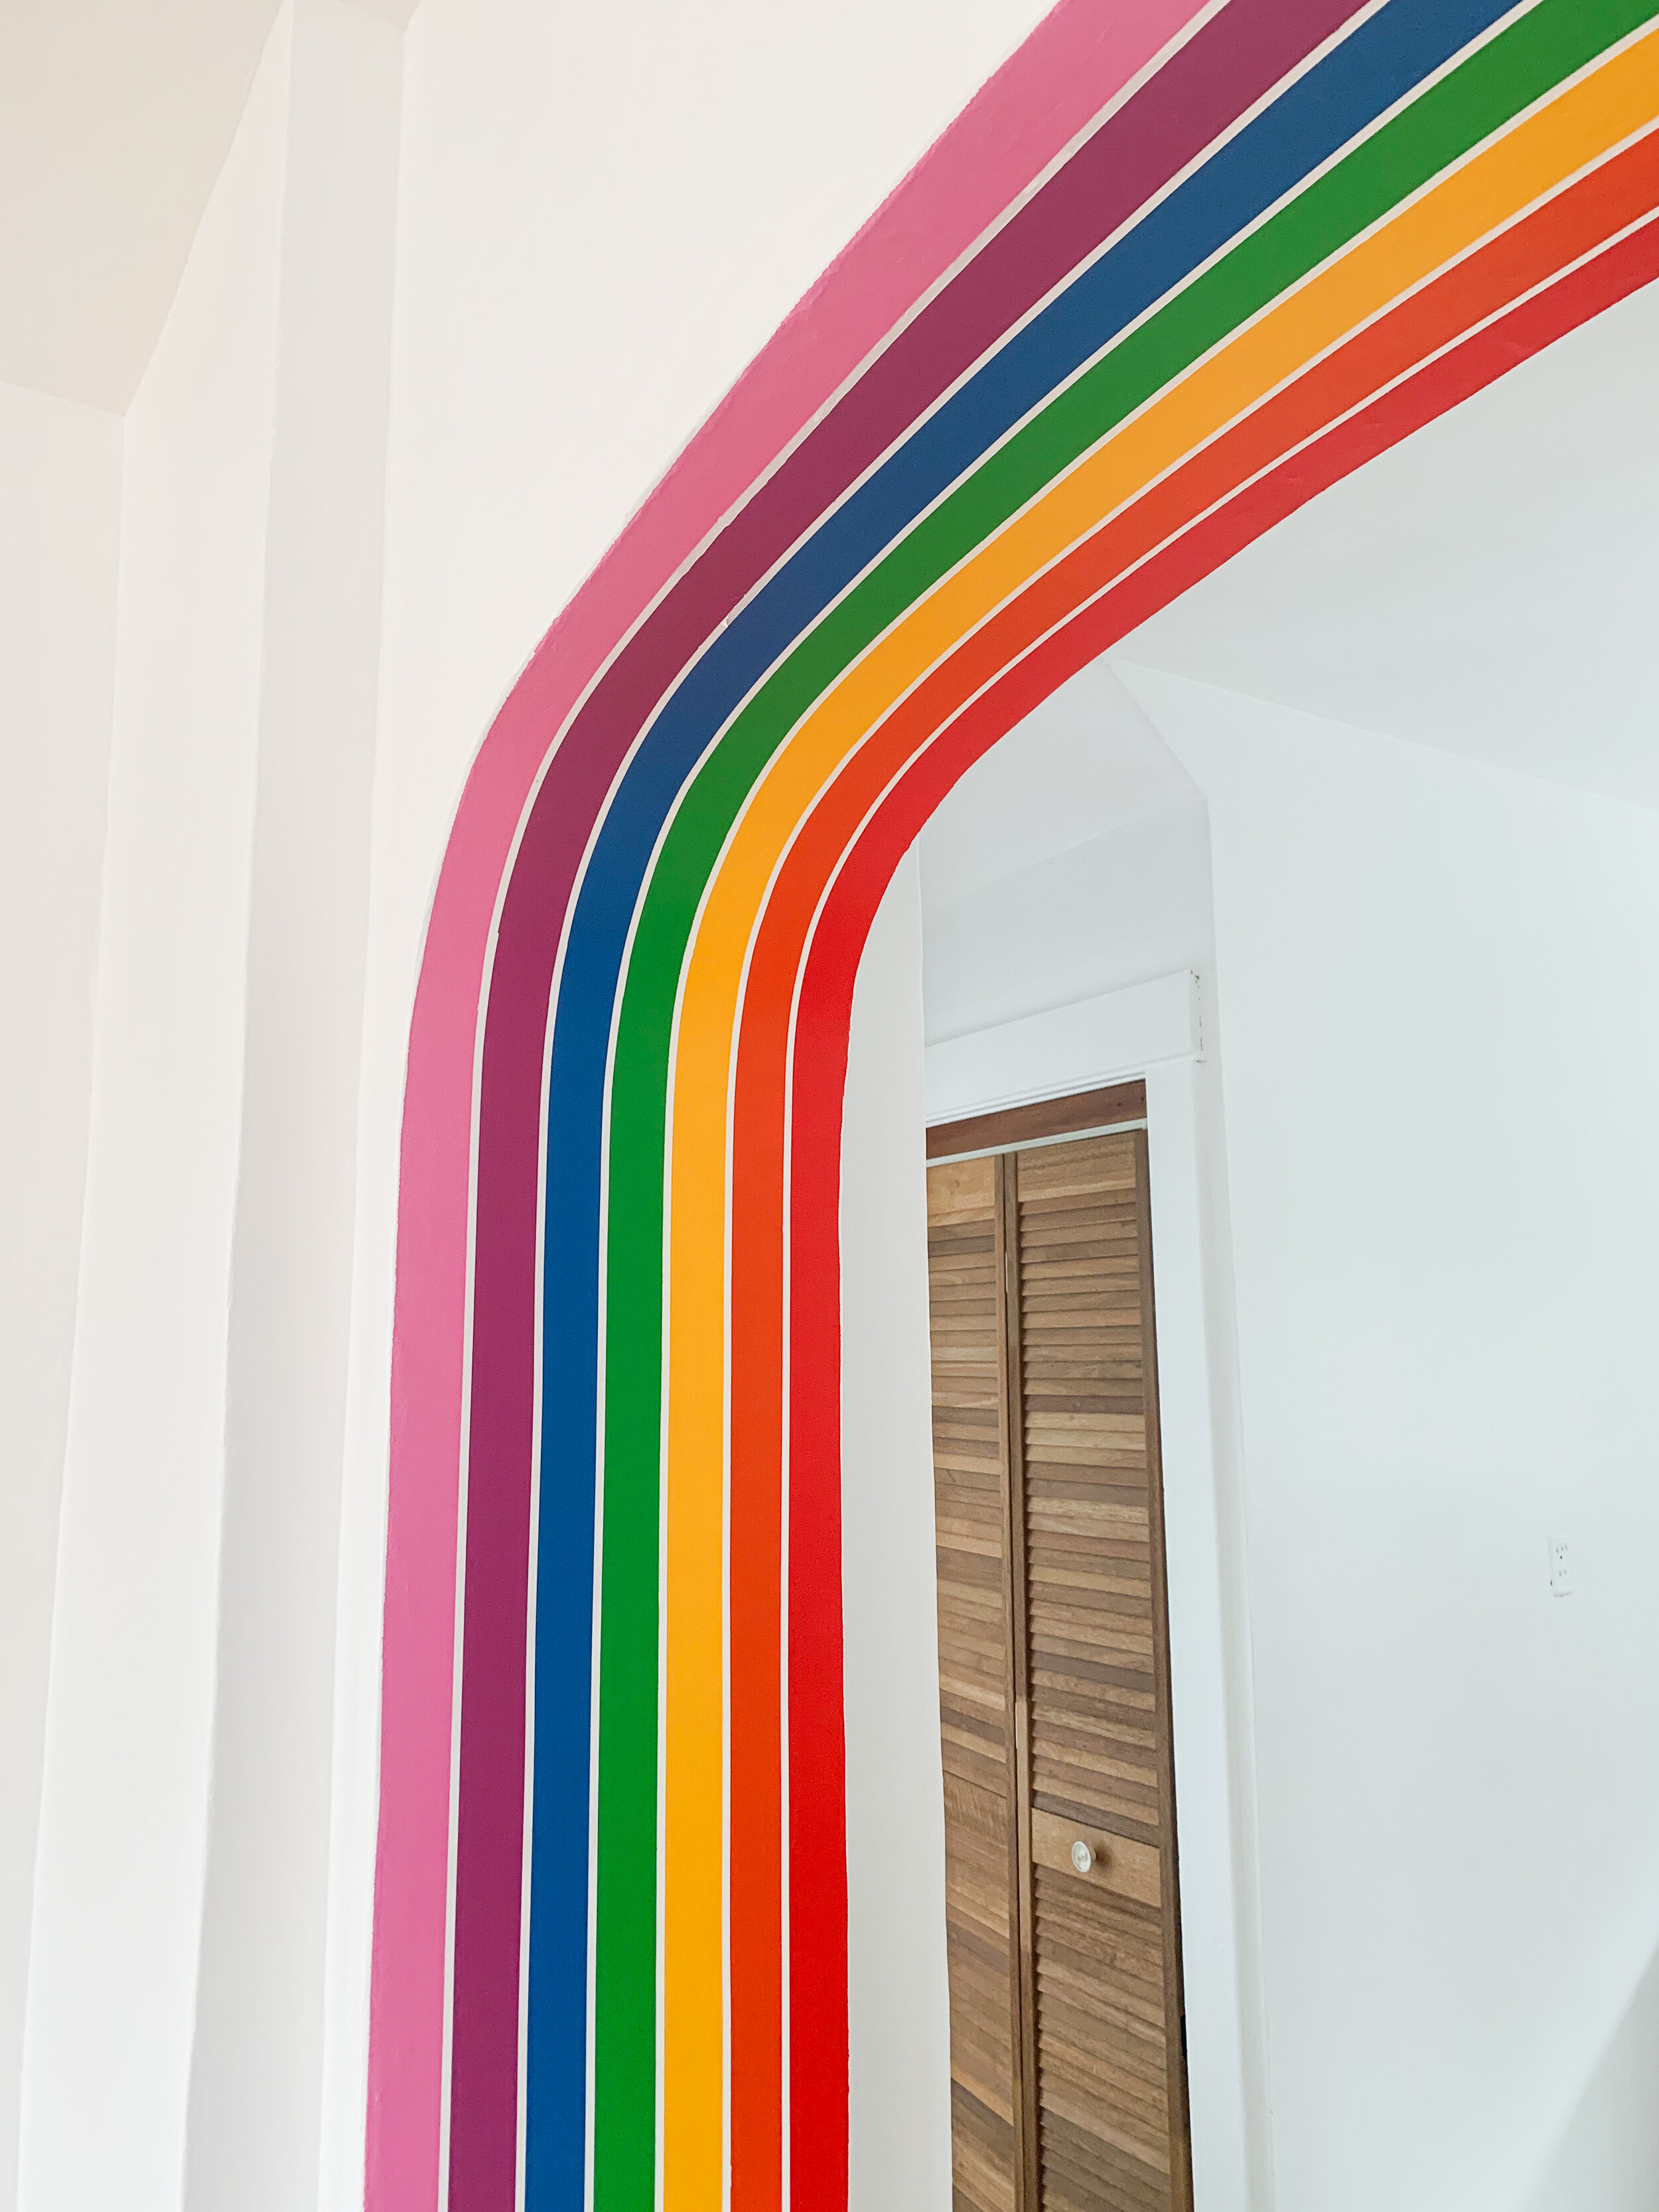
9) Enjoy rainbow.

How to paint a rainbow arch in your house - Sarah Kirsten

This superior painting method for obtaining crisp lines was taught to me by my friend Nate. Thank you, Nate!

Behind the Scenes - How I Made My Parents House Video

I recently posted this video, and I wanted to show you the more messy parts of how I made it.

One principle I see over and over again is that anytime something is birthed, it’s messy. I grew up on a farm and have seen many, many, many births. It’s always messy and painful. But the result is beautiful.

The same goes for creation of our projects.

Here’s my messy creation process

1) The best thinking happens while driving for me. I go on long drives just to come up with ideas. The idea for this video came on a drive, so I recorded the basic structure of how I wanted the story to go into my phone while rolling along the river.

2) Sitting on my bed a few days later, I re-recorded the story into my phone (much quieter in my house than in my car) in sections. At first I tried to record the whole thing straight through, but that was hard to not mess up, so I recorded it in 14 parts.

 
How to birth a creative project - Sarah Kirsten
 

3) I went through hundreds of photos at my parents house (on multiple occasions). I was looking for:

  • Photos of construction work on the house

  • Photos of the family

  • Photos of the new farm location

  • Photos of Grammie and Papa

  • Photos of my parents

My original idea was to tell the story through props. I was going to use popsicle sticks to build the house and a little toy truck to haul the house down the road. I went to the store and bought supples, and then went back to get even more supplies. But I couldn’t quite get it the way I wanted. So I scraped that idea and realized photos were a good option.

Birthing a creative project - Sarah Kirsten

4) It was a task to sort them out and decide which photos were best to use, and to decide the order. This took a long time.

Birthing a creative project - Sarah Kirsten

5) There were lots of gaps in the story that couldn’t be told through photographs, so I had to come up with ideas of other things to illustrate the story. This part was hard because I also had to figure out how to make the props visually engaging for the duration of time they were being talked about. That’s how I came up with the idea of writing, so there would be movement on the screen for a longer period of time to keep interest.

6) After putting photos and props in the chosen order and running through several practices, I set up the camera and recorded it. I hit record, then sat under the tripod and slowly piled on the story pieces.

Birthing a creative project - Sarah Kirsten

7) I imported the audio files and video file into Adobe Premier Pro and edited them together. It took some time to get each part to line up. Lots of the video parts are sped up or slowed down dramatically from their original state.

Birthing a creative project - Sarah Kirsten

8) After seeing about how long the video was, I knew how long the piano part had to be. I recorded the piano and made the song roughly as long as the video.

 
Birthing a creative project - Sarah Kirsten
 

9) After final edits, I hit publish. This step is simple but isn’t to be overlooked in any birth process. Without hitting send, your creations are not birthed into the world. It’s the scariest part, but one of the most important steps.

Birthing a creative project - Sarah Kirsten

All in all, it took me several weeks of thinking, rethinking, collecting more photos, re-working ideas. The final product is very different than my original imaginings. Very different but better. It’s finally done, birthed into the world. The mess is cleaned up, the photos are back at my parents’ house where they belong, and my camera is waiting for its next story.

The Easiest Way to Sew In-Seam Pockets

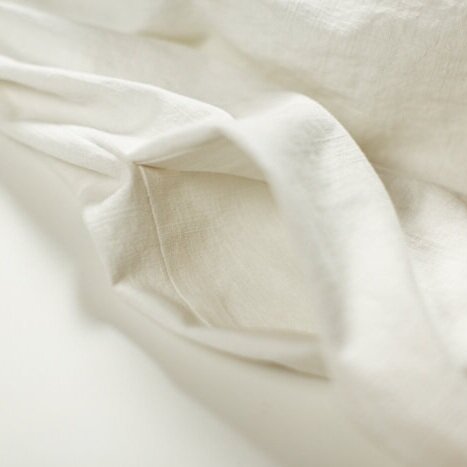
Did you know it’s super easy to add in-seam pockets to almost any skirt or dress sewing pattern? It’s just takes a few extra steps.

Here is a simple step-by-step tutorial of how to do it!

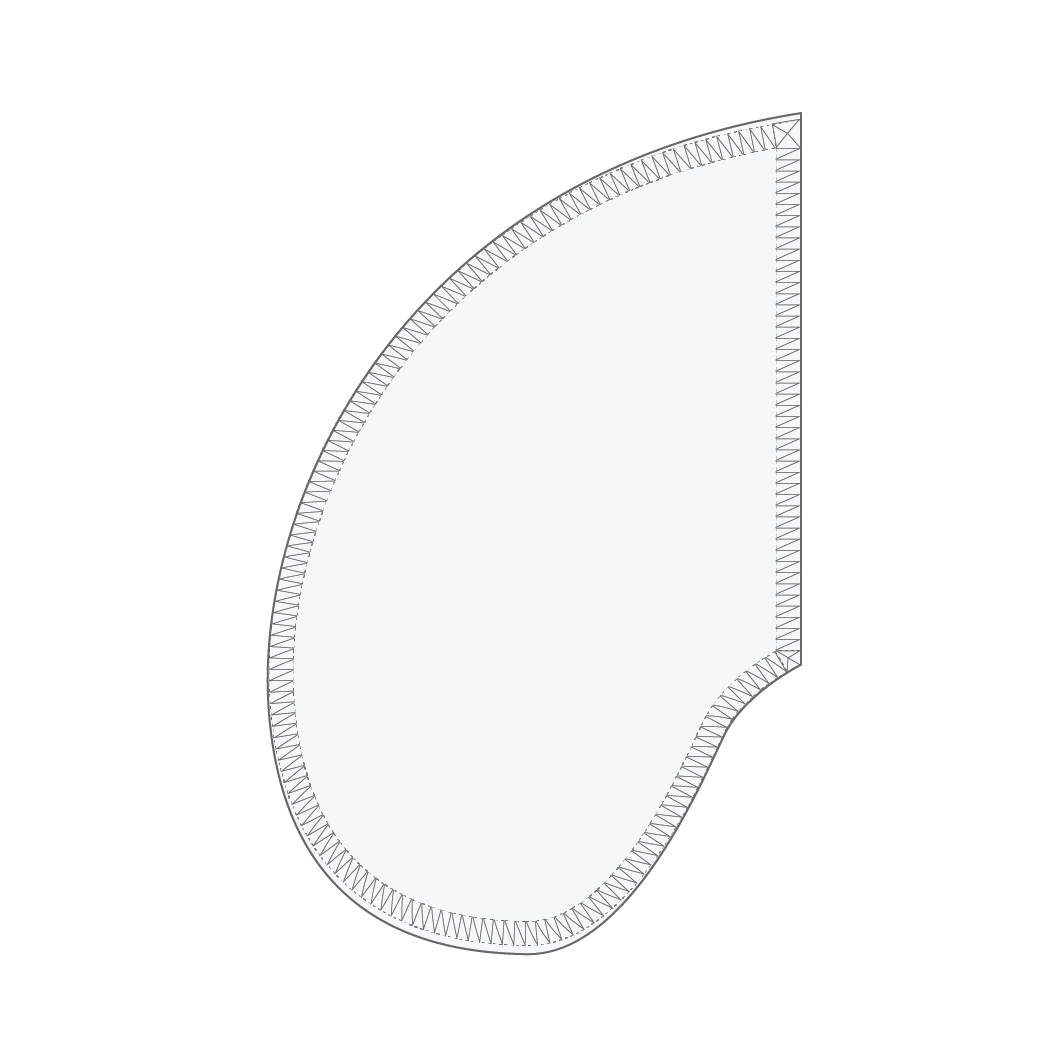
1) Cut 4 pocket pieces. Serge all the way around each piece.

1) Cut 4 pocket pieces. Serge all the way around each piece.

2) Serge the sides and bottom of the front and back skirt pieces.*Serging not shown in following illustrations.

2) Serge the sides and bottom of the front and back skirt pieces.

*Serging not shown in following illustrations.

3) Mark 5” (13 cm) down from the top of the skirt pieces. Depending on what you are making, you may want to move the pockets up or down. 5” is a suggestion if the skirt is going to sit on or near your waistline.

3) Mark 5” (13 cm) down from the top of the skirt pieces. Depending on what you are making, you may want to move the pockets up or down. 5” is a suggestion if the skirt is going to sit on or near your waistline.

4) With right sides together, line up the top of the pockets with the the mark made in step 3.Sew the pockets with 1/2” (1.3 cm) seam allowance.With a steamy iron, press the seam allowance toward the pocket.

4) With right sides together, line up the top of the pockets with the the mark made in step 3.

Sew the pockets with 1/2” (1.3 cm) seam allowance.

With a steamy iron, press the seam allowance toward the pocket.

5) Place the skirt pieces with right sides together. Pin or clip in place.

5) Place the skirt pieces with right sides together. Pin or clip in place.

6) Sew along the entire length of both seams and around the pockets. When you come to the top and bottom of the pockets, make a sharp pivot into and out of the pocket. Be sure not to sew straight down and sew the pockets shut!Sew with a 5/8” (1.6 cm…

6) Sew along the entire length of both seams and around the pockets. When you come to the top and bottom of the pockets, make a sharp pivot into and out of the pocket. Be sure not to sew straight down and sew the pockets shut!

Sew with a 5/8” (1.6 cm) seam allowance.

That’s it! Turn the skirt inside out and it’s fully pocketed.

Proceed with the rest of the sewing instructions for whatever pattern you are making.

The easiest way to sew in seam pockets - tutorial with step by step illustrations by Sarah Kirsten