Finding Thrifted Fabric

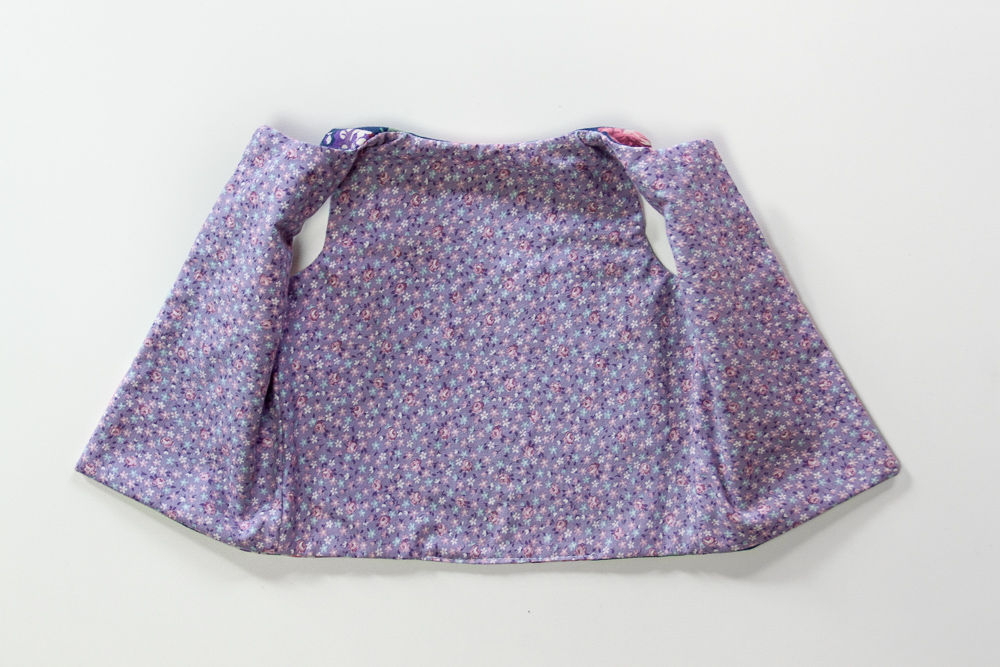
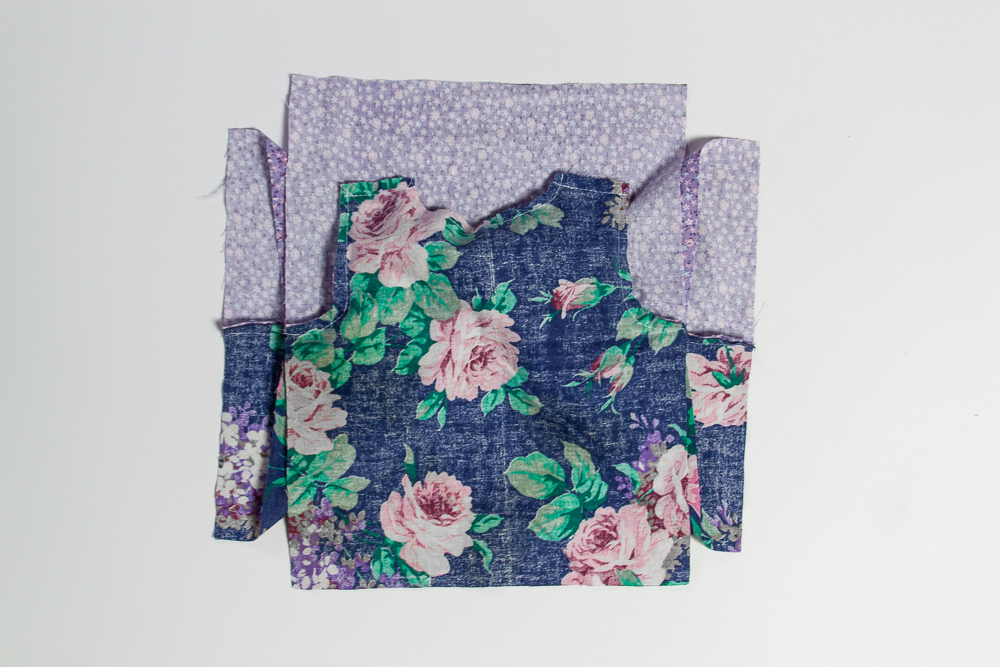
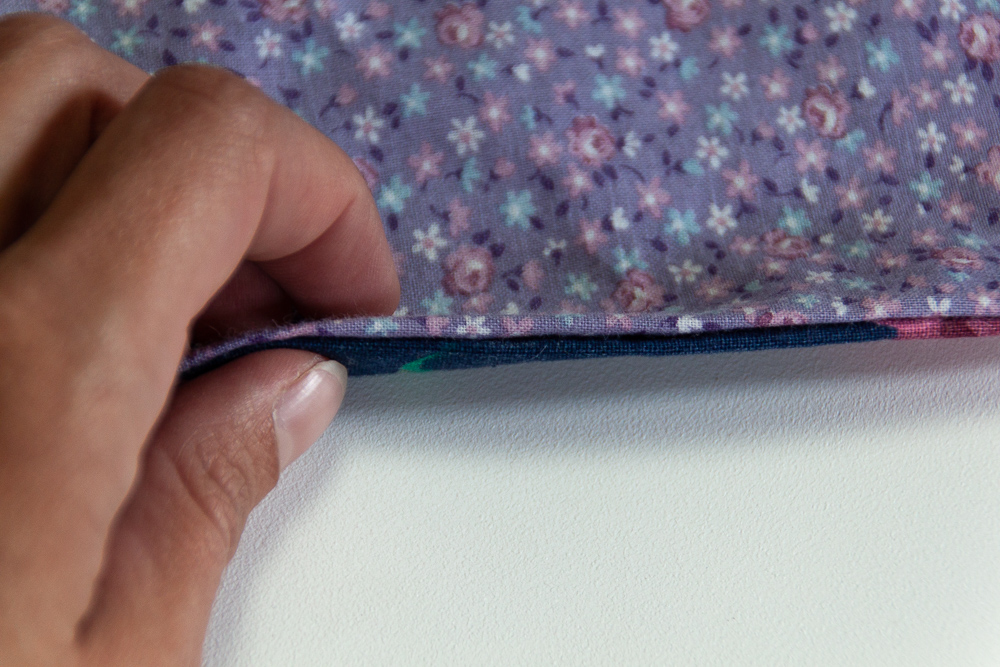
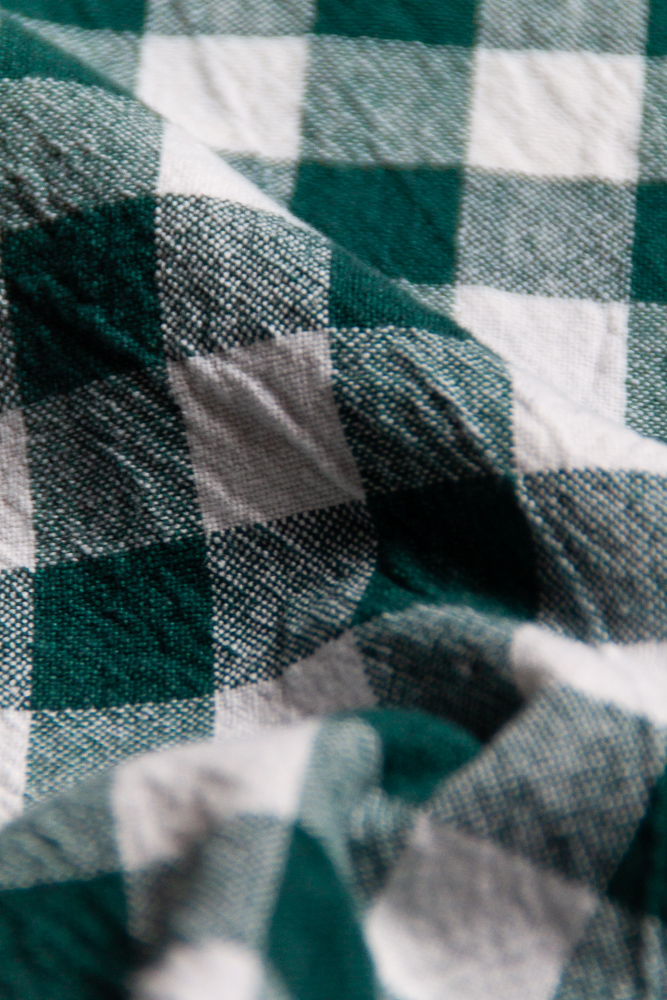
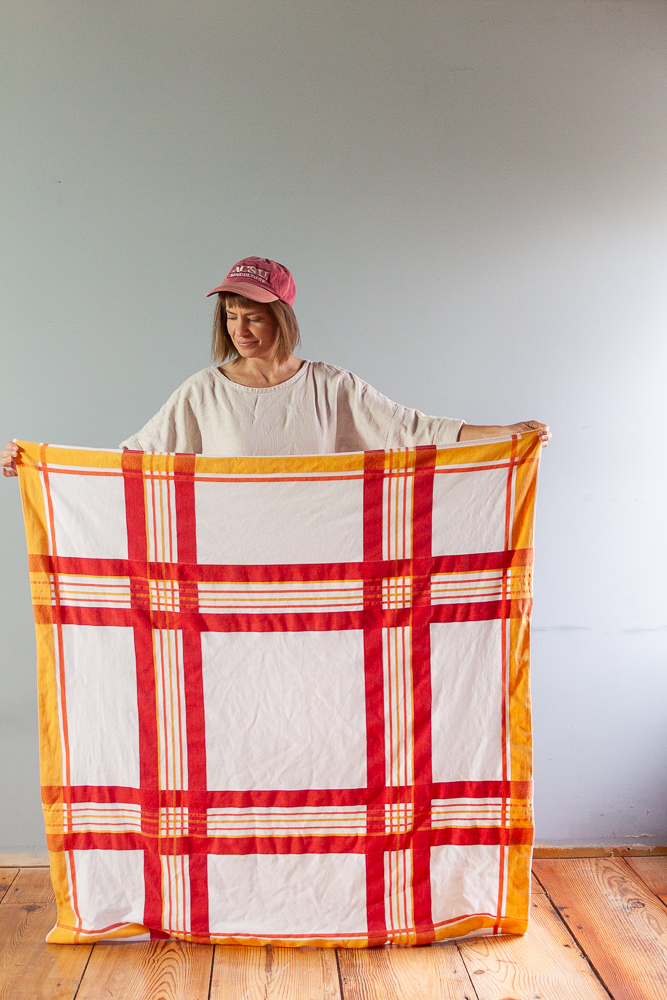
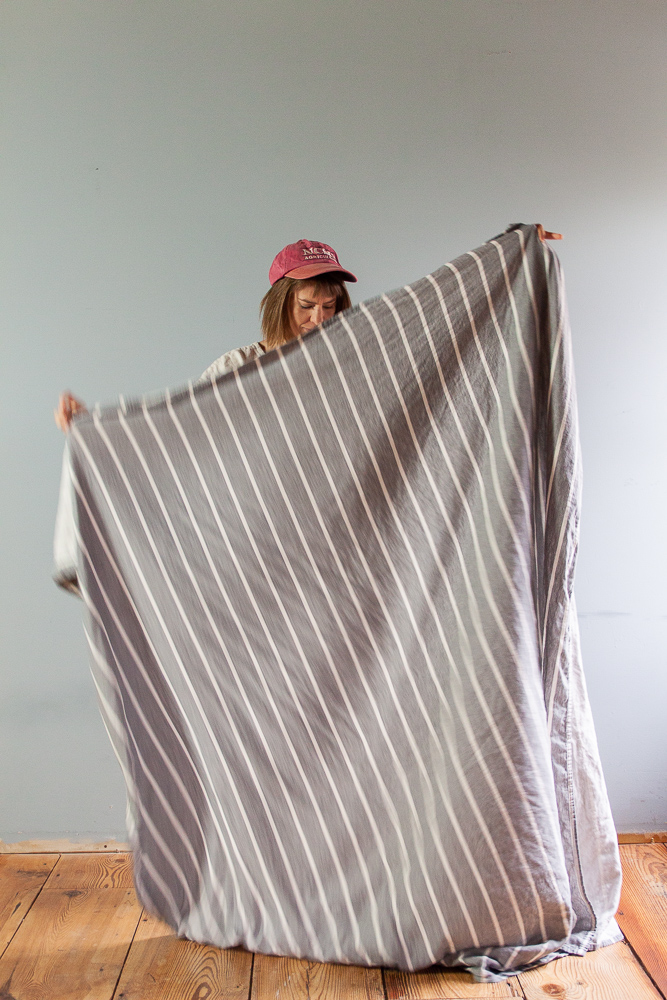
The linens section at secondhand shops are positive goldmines. Old tablecloths and curtains have such good texture, and you can’t beat the price for the yardage! Here are some recent finds from my local thrift shops. If I remember correctly, all of these were purchased for less than $3.00.

Thrifting fabric, secondhand fabric - Sarah Kirsten

Many people recommend not buying fabric unless you have a specific project in mind. I, on the other hand, think it’s a good idea to buy fabric with no project in mind. Fabric is a special thing. If you find something you love at a good price, don’t let it slip away. For many of us sewing is our main creative outlet. Having fabrics of various materials and sizes and colors on hand to play with is so important in our lives.

I love the freedom of checking my stash and picking out the right fabric for an idea the same hour it forms in my head. I love being able to play and experiment without driving to the store and waiting for new fabric to wash and dry. Our time is so limited — I want the time I dedicate to playfulness in my sewing room to be as productive as possible.

So, I believe in big stashes.

_MG_0439-2.jpg

Flannel Jumpsuit - Peppermint Mag & In the Folds Free Jumpsuit Pattern

Last winter there was a noticeable gap in my wardrobe. The house gets quite chilly in the cold months, especially in my sewing room, and I needed something warm to wear on those difficult days with… ahm…. cramps.

I wanted something that would keep my legs warm without putting any pressure on my tummy, so I printed out this free jumpsuit pattern by In the Folds for Peppermint Mag. In retrospect I didn’t need it quite this baggy and should have made a smaller size, but I think it’s bagginess is kind of endearing and it’s so comfortable.

To make it extra warm and cozy I sewed it in flannel (can you ever have too much flannel in your wardrobe?), and I just recently realized that I could pair it with my matching green flannel, self drafted, short sleeved turtle neck I made the winter before last for an even more cozy outfit.

This year I’m ready and armed with warmth for those cold days already on the way. I’m so thankful to have this piece in my wardrobe. It makes me happy having something joyful and soft and warm and cozy to put on.

Peppermint Mag & In the Folds Free Jumpsuit Pattern - Sarah Kirsten

Even though I made this mainly to wear at home, I love the bagginess and color and texture. I think I’ll wear it out and about this fall, too.

Peppermint Mag & In the Folds Free Jumpsuit Pattern - Sarah Kirsten

Notes:

The jumpsuit pattern has an invisible zipper in the back that I omitted. I deepened the V in the back by 1” or so to be sure I could slip it on without the zipper, but since I made a larger size I don’t think that was really necessary. I used French Seams instead of serging… I’m not sure why. I guess I usually prefer French seams.

The green flannel fabric is from Joann stores.

Blue shoes from Nike.

Orange trucker hat from winning the Youth Illinois Corn Husking Contest a few years ago. My favorite hat.

Persephone Pants

After sewing these Persephone Pants the direction of my wardrobe has undergone a profound shift. It feels as if my wardrobe listened to one of those incredibly insightful self help lectures or books and walked away with a deep new appreciation for a different way of thinking. Making jeans was intimidating until I started. I was quickly swept away in the current of sewing. Anna’s instructions are so easy and fun to follow it’s like a book you can’t put down. You traverse without halt from one step to the next, scarcely noticing the beginning or ending of chapters.

These pants make me want to get rid of nearly all my non-memade clothes and just sew everything from now on. They feel so good. I mean not just physically — it feels so good to put on a pair of jeans that you made yourself. They bring me so much joy. I want all my clothes to bring me this much joy.

Thank you, Anna, for all of your hard work on this pattern. I so appreciate your creation.

Sewing the Persephone Pants - Sarah Kirsten

Notes:

These are a size 0 with an extra 3/8” taken off the center back of the pattern piece. I think next time I’ll make them even a bit smaller so they stay tight as the fabric relaxes with wear. Instead of buttons I used snaps for the fly.

The bright orange fabric is Duck Canvas from Joann stores.

This yellow shirt is a rayon knit from Salvation Army thrift store several years ago.

Blue shoes are Nike (found on clearance!).

16 Tips for Self Drafting Freedom

FREE - 16 tips to help you start drafting
FREE - 16 tips to help you get started self drafting

When I think of sewing, I think about the opportunity to create, to explore, to express. It's a glorious thing to not leave the design and creation of your self expression totally up to others. You have uniqueness in you that deserves to be manifested and shown. You are worthy of spending time and energy and money and paper and fabric on figuring out how to express those things inside of you in the form of clothing! You uniqueness is worthy and deserving of being explored and showed in a physical form. 

If you want to start drafting but feel held back for whatever reason, these tips are for you. These are things I have learned that have been very helpful in my self drafting journey. I hope they can be a help and encouragement to you on your journey of self expression through self drafting. 


16 Tips for Self Drafting Freedom

A download to the PDF will be sent directly to your inbox!

    Puffy Wool Vest

    Puffy Wool Quilted Vest - Sarah Kirsten Blog

    Puffy quilted vests have been on my mind (which is why I put this tutorial together). I decided NOW IS THE TIME to make one!


    These photos are by my friend, Kelby Maria, who is a professional photographer in the Portland area. It was a real treat to have her visit my sewing space and take these photos! Thank you, Kelby! <3

    The ring I’m wearing in the photos is by the jewelry designer Aningri. I don’t wear a lot of jewelry, but I love to wear this ring because it’s slim and simple. It’s one of those rare pieces that I feel like I’M wearing instead of IT wearing me.

    Puffy Wool Vest - Sarah Kirsten Blog
    Puffy Wool Vest - Sarah Kirsten Blog

    I drafted a quick pattern, cut out all the pieces and sewed them together, and then used the same pattern pieces to cut out wool batting for the puff and insulation. My mom sent a truck load of our sheep’s wool to a mill and had it made into batting. The wool is quite easy and fun to work with in batting form.

    Once the vest was sewn together with the bottom left open, I stuffed the batting inside the vest and hand stitched it together on the shoulders and sides. I think I stuffed a little too much in the shoulder section because they kind of stick out. That can probably be rearranged with some hand shaping though.

    For the quilting stitching, I measured evenly spaced segments and placed scotch tape lines as stitching guides. It’s a bit of a pain to peel off the scotch tape if you stitch through it, but overall I think it that trick works quite well.

    Next I want to make one with a collar and pockets and snaps. I underestimated how puffy the wool was going to be on this draft. I’ll also make it a bit bigger in the next draft and overlap the batting on the shoulders a little less.

    How to Sew a Lined Vest - Two Easy Methods

    Sewing tutorial - Two methods of sewing a lined vest - with tons of photos

    Have you ever wondered how to sew a lined vest without any raw edges showing? Wonder no more! Here are two ways to do it. The first method has open shoulders and the second has the shoulders sewn shut.

    The pattern used in this tutorial is a self drafted miniature vest.

    I purposely choose fabric for this tutorial that you can easily see the right and wrong sides and differentiate the lining from the outer layer.

    Method One: Open Shoulders

    Step 1: Cut all the pieces - lining and outer layer.

    How to sew a lined vest - Sewing tutorial with tons of photos

    Step 2: Sew the shoulders of the outer layers together and the shoulders of the lining layers together with right sides together.

    How to sew a lined vest - Sewing tutorial with photos

    Step 3: Lay the two layers with right sides together. Press seams open and stitch from the bottom of the front center up around the neck and back down the front center of the other side. (If you look closely in the photo you can see white thread where I’ve stitched!)

    How to sew a lined vest - Sewing tutorial with photos
    How to sew a lined vest - two methods for sewing a lined vest

    Step 4: Stitch around the arm holes on each side. Don’t sew down the sides, just the arm holes.

    How to sew a lined vest - Sewing tutorial with photos

    Step 5: Clip curves and trim corners.

    How to sew a lined vest - easy to understand sewing tutorial
    How to sew a lined vest - easy to understand sewing tutorial

    Step 6: Turn the vest right side out through the shoulders.

    How to sew a lined vest - easy to understand sewing tutorial

    Step 7: Press the seams open and sew up the sides with right sides together. (This part is tricky to explain and photograph clearly, but it makes sence once you get it! Just play around with it a little bit.)

    How to sew a lined vest - easy to understand sewing tutorial

    Be sure to match up the seams. (This is the side seam right by the arm opening.)

    How to sew a lined vest - easy to understand sewing tutorial

    Here’s what it looks like with the sides sewn together.

    How to sew a lined vest - easy to understand sewing tutorial

    Step 8: Now that the side seams are sewn, admire how good your vest is looking so far.

    How to sew a lined vest - easy to understand sewing tutorial
    How to sew a lined vest - easy to understand sewing tutorial

    Step 9: Turn the vest inside out. Press the seams open and sew the bottom of the vest leaving a few inches open in the back. The thicker the fabric the wider you want to leave the hole for turning the vest right side out.

    How to sew a lined vest - easy to understand sewing tutorial

    Since turning the vest can put a lot of stress on the stitching, it works well to sew down to the bottom edge of the fabric to add extra stability. It makes for much less stressful turning!

    How to sew a lined vest - easy to understand sewing tutorial

    Step 10 & 11: Clip the corners. Turn the vest inside out through the opening in the back and hand or machine stitch the opening closed.

    How to sew a lined vest - easy to understand sewing tutorial
    How to sew a lined vest - easy to understand sewing tutorial

    Give the vest a good press and it’s ready to wear!

    Sewing Tutorial - Two methods for sewing a lined vest with tons of photos
    Sewing Tutorial - Two methods for sewing a lined vest with tons of photos

    Method Two: Closed Shoulders

    Step 1: Cut out all the pieces - the lining and the outer layer.

    How to sew a lined vest - Sewing tutorial with photos

    Step 2: Lay the lining and the outer layers right sides together. Sew around the neck and arm openings on the back pieces. Sew around the arms, neck, and front center of the front pieces.

    How to sew a lined vest - Sewing tutorial with photos
    How to sew a lined vest - Sewing tutorial with photos

    Step 3: Clip the curves, trim the corners, and trim the seam allowance at the top of the arm openings and neck by the shoulders.

    How to sew a lined vest - Sewing tutorial with photos
    How to sew a lined vest - Sewing tutorial with photos

    Step 4: Turn the front vest pieces right side out.

    How to sew a lined vest - Sewing tutorial with photos

    Step 5: Put the front vest pieces in between the lining and outer layer of the back piece.

    How to sew a lined vest - Sewing tutorial with photos
    How to sew a lined vest - Sewing tutorial with photos

    Step 6: Sew the shoulders closed.

    How to sew a lined vest - Sewing tutorial with photos
    How to sew a lined vest - Sewing tutorial with photos

    Step 7: Press seams open and sew the sides of the vest with right sides together.

    How to sew a lined vest - Sewing tutorial with photos

    Be sure to match up the side seams.

    How to sew a lined vest - Sewing tutorial with photos

    Here’s what it looks like when the sides are sewn together.

    How to sew a lined vest - Sewing tutorial with photos

    Step 8: Turn the vest right side out and admire how it’s looking so far.

    How to sew a lined vest - Sewing tutorial with photos
    How to sew a lined vest - Sewing tutorial with photos

    Step 9: Turn the vest inside out (one last time), press the seams open and sew the bottom shut leaving a few inches open in the back.

    How to sew a lined vest - Sewing tutorial with photos
    How to sew a lined vest - sewing tutorial with tons of photos by Sarah Kirsten

    Step 10: Trim the corners.

    How to sew a lined vest - Sewing tutorial with photos

    Step 11: Turn the vest right side out (for the last time) through the opening in the back. Hand or machine stitch the opening shut.

    How to sew a lined vest - Sarah Kirsten sewing tutorial with tons of photos

    Give the vest a good press and try it on to see how it looks.

    How to sew a lined vest - Sewing tutorial with tons of photos by Sarah Kirsten
    How to sew a lined vest - Sewing tutorial with tons of photos by Sarah Kirsten

    Discussion notes:

    In both of these examples I left the opening to turn the vest right side out on the bottom seam. It’s also a good option to leave the opening in the side seam of the lining instead of in the bottom.

    The pattern used in this tutorial was a mini self drafted vest for easy sewing and photographing, but I used the pattern to make this little quilted vest with snaps. I used the open shoulder method for this vest so I could put the batting through the shoulders. I’m quite in love with how it turned out.

    How to sew a lined vest - sewing tutorial with tons of photos by Sarah Kirsten

    Then I made this full sized quilted vest for myself. For the batting I used wool from my parents’ sheep farm and a really lightweight ripstop nylon for the outer shell. I again used the open shoulder method to get batting up through the shoulders.

    How to sew a lined vest - sewing tutorial with tons of photos by Sarah Kirsten

    How to Make Pattern Weights

    After a while of using various heavy objects from around my sewing room as pattern weights — my extra scissors, my ceramic thread collection creamer from Vivian Shao Chen, a big roll of cut-to-length zipper, my iPhone, etc., I decided it was time to upgrade.

    I found all these large washers in our Nuts & Bolts Bucket (you know, the bucket in the garage where you put all the spare nuts and bolts in case you need them for a project sometime). I asked Dad if I could use the washers, took them inside and gave them a bath to wash off some grease, and then set to work making them little baggies.

    I decided to put 4 washers in each bag. But, obviously, depending on how big of washers you are using, you may want to add more or less than that to each bag. These washers and other heavy objects like massive bolts are easily findable at most hardware stores for relatively inexpensive prices.

    Here’s a quick photo tutorial of how I made the baggies and how you can make your own.

    Mini tutorial - how to make your own pattern weights. Sarah Kirsten
    Mini tutorial - how to make your own pattern weights. Sarah Kirsten
    Mini tutorial - how to make your own pattern weights. Sarah Kirsten
    Mini tutorial - how to make your own pattern weights. Sarah Kirsten
    Mini tutorial - how to make your own pattern weights. Sarah Kirsten
    Mini tutorial - how to make your own pattern weights. Sarah Kirsten
    Mini tutorial - how to make your own pattern weights. Sarah Kirsten
    Mini tutorial - how to make your own pattern weights. Sarah Kirsten
    Mini tutorial - how to make your own pattern weights. Sarah Kirsten
    Mini tutorial - how to make your own pattern weights. Sarah Kirsten

    That’s it! Sew EASY and an excellent use for scraps!

    FREE Sewing Pattern - Pear Pouch

    After posting a photo of these little Pear Pouches on Instagram a few months ago, I've had soo many messages asking for this sewing pattern. So here it is! 

    Download PDF Here!

    Features:

    • Two sizes of pouches

    • Fully lined

    • French Seamed

    • Ideal for altering and making your own sizes and dimensions.

    Finished Dimensions (H x W x L):

    • Large pouch: 6" x 3 1/2" x 9"

    • Small pouch: 4 1/2" x 3" x 7"

    I hope this pattern can serve as a reference on how to sew lining with a zipper, how to sew zipper ends, how to sew French seams, and offer a good base pattern to alter if you would like to make your own sizes of pouches. 

    How to Flower Pound

    Right outside our kitchen is a little green patio area we call the Kitchen Garden. Among numerous fragrant herb species is a beautiful clematis plant with sprawling tendrils and an abundance of flowers. 

    Last summer I discovered the wonders of flower pounding. Through some experimenting I found that clematis flowers work exceptionally well and retain their colorfastness on fabric. I have a tank top that I pounded with clematis flowers and although the flowers turned brown, their imprint has remained vibrant through it's many washing machine cycles.

    So here's how to flower pound:

    Step 1: Pick some beautiful flowers. 

    sarah-kirsten-flower-pounding01

    Step 2: Lay a flower on a piece of cloth. 

    sarah-kirsten-flower-pounding02
    sarah-kirsten-flower-pounding03

    Step 3: Fold the fabric over top (or lay another piece on top), place it on something hard and smooth, then pound the entirety of the flower. If you don't have a hard, smooth surface, try placing a towel on the sidewalk and hammering into the towel.

    I made the mistake of pounding flowers on a brand new linen shirt I just finished sewing on a sidewalk without a towel underneath and the roughness of the cement put holes in the fabric! 

    sarah-kirsten-flower-pounding04
    sarah-kirsten-flower-pounding06
    sarah-kirsten-flower-pounding07

    Step 4: Unfold and peel off the remains of the flower. 

    sarah-kirsten-flower-pounding09

    Step 5: Hold up your cloth and stare at it for a few minutes. Then make another one! After waiting a few days, it should be safe to machine wash if you're putting it on a piece of clothing. 

    sarah-kirsten-flower-pounding10

    I've found that it works for lots of other leaves and flowers, too! But I can't vouch for how they will all hold up in the wash. 

    sarah-kirsten-flower-pounding11
    sarah-kirsten-flower-pounding12

    Here's a shirt I flower pounded with Clematis flowers from our Kitchen Garden. 

    Easy guide to flower pounding
    Easy guide to flower pounding your own clothes

    For the Love of Simple Sewing - French Seams without Ironing or Trimming or Pinning

    French seams are such a pleasant way to finish the insides of a bag or garment. And the truth is, they don't have to take that much time. 

    Here is a quick photo guide on how to sew French seams without any trimming or ironing or pining. 

    Step 1: Place wrong sides together and line up the edges of the seam you want to sew. 

    sarah-kirsten-simple-sewing-french-seams

    Step 2: Sew the pieces together with a 1/4" seam allowance. Depending on the thickness of the fabric you are using and its propensity to fray, you may want to increase the allowance of the seam a little bit. 

    sarah-kirsten-simple-sewing-french-seams02

    Step 3: Turn inside out so the right sides are together. 

    sarah-kirsten-simple-sewing-french-seams03
    sarah-kirsten-simple-sewing-french-seams04
    sarah-kirsten-simple-sewing-french-seams05

    Step 4: Press the seam flat with your fingers up and down the whole length of the seam.

    sarah-kirsten-simple-sewing-french-seams06
    sarah-kirsten-simple-sewing-french-seams07

    Step 5: Sew over the same seam with a 3/8" seam allowance. Again, depending on the thickness of the fabric you may want to increase the seam allowance slightly. Just be sure that whatever allowance you used on the first seam, you use a slightly larger allowance on this second seam. 

    sarah-kirsten-simple-sewing-french-seams08

    Step 6: Admire your beautifully finished seam!

    sarah-kirsten-simple-sewing-french-seams09
    sarah-kirsten-simple-sewing-french-seams09

    101 Sewing Hashtags to Grow Your Instagram Community.

    simple sewing patterns sarah kirsten

    It was shocking, really, to discover how quickly my Instagram community could grow with the help of a few hashtags. If you're like me, you probably know you ought to be using more hashtags, but they are such a pain to find and save!

    Well... good news! I put together a list of 101 sewing related hashtags that you can use on any post relating to sewing!

    Instagram allows you to use 30 hashtags per post, and it's a good idea to mix up the hashtags so you don't use the exact same ones each time. 

    What I like to do is make a few batches of hashtags and put them in the notes on my phone. Then every time I post I copy one of the batches and paste it into the comments right after I post. 

    Most of these are general and applicable to all sewing related topics, though some of these are for specific things (such as #selfdrafted or #indiepatterns). I would also like to note that I did my best to research each of these to make sure they are not connected to a specific company or account, And I would like to mention two specifically. #millennialsewing is a delightful hashtag started by @maddiemadethis. And #sewingisselfcare is another delightful hashtag started by @sewliberated

    Without further ado, here are 101 Sewing Hashtags (actually there are 102...) in alphabetical order. 

    Get them now

    An email with a PDF download will be sent right to your inbox!

      HASHTAGs: 

      #collectivelycreate

      #createeveryday

      #diyfashion

      #fabric

      #fabricheaven

      #fabrics

      #fortheloveofsewing

      #handmadecloset

      #handmadeclothes

      #handmadeclothing

      #handmadeisbetter

      #handmadestyle

      #handmadewardrobe

      #homemadewardrobe

      #homesewing

      #homesewn

      #ilovesewing

      #ilovetosew

      #imadethis

      #imakefashion

      #imakemyclothes

      #imakemyownclothes

      #indiepatterns

      #indiesewfabric

      #indiesewing

      #instasew

      #isew

      #isewmyclothes

      #isewmyownclothes

      #lovetosew

      #makedoandmend

      #makeitsewcial

      #makersgonnamake 

      #makersgonnashare

      #makesmthng

      #memadeeveryday

      #memadewardrobe 

      #millennialsewing 

      #modernsewist

      #patternfreesewing

      #pdfpattern

      #refashion

      #seamstress

      #selfdrafted

      #selfdraftedpattern

      #selfdraftedpatterns

      #selfishsewing

      #selfsewn

      #sew

      #sewallthethings

      #sewcialist

      #sewcialists

      #sewclothes

      #sewcute

      #sewdelightful

      #sewersgonnasew

      #sewersofinstagram

      #sewhappy

      #sewing

      #sewingaddict

      #sewingdresses

      #sewingforboys

      #sewingfriendsarethebest

      #sewingfun

      #sewingisfun

      #sewingismypassion

      #sewingismysuperpower

      #sewingisselfcare 

      #sewingissexy

      #sewingleftovers

      #sewinglife

      #sewinglove

      #sewinglovers

      #sewingmama

      #sewingpatterns

      #sewingproject

      #sewingskills

      #sewingtime

      #sewist

      #sewistsofinstagram

      #sewlittletime

      #sewmyheartout

      #sewn

      #sewsewsew

      #sewtimeless

      #sewunique

      #sewyourheartout

      #sewyourown

      #sewyourownclothes

      #sewyourstash

      #slowfashion

      #slowfashionmovement

      #slowliving

      #slowlivingforlife

      #slowsewing

      #stashbusting

      #summersew

      #summersewing

      #thriftedfabric

      #wearethemakers

      #wearhandmade

      #wintersewing


      Making Paper with Newspaper and Fabric Scraps

      paper-making-with-fabric-scraps-and-newspaper-14

      Truth be told, I was hoping this would be a good way of using my fabric scraps... if I was making hundreds of sheets of paper every week it undoubtedly would be. Since I'm not, it isn't exactly the most effective way to use scraps. But that said, it's still a really neat process and the texture and color of the paper when mixed with newspaper is really beautiful. 

      If you'd like to make your own, here is a rough guide: 

      Supplies:

      • Fabric scraps

      • Newspaper

      • Blender

      • Two picture frames with a flat side

      • Screen

      • Lots of towels

      • Iron

      Directions: 

      1. Trim fabric scraps very, very small. I used linen/rayon and cotton scraps.

      2. Add a few scraps and water to the blender and blend them up until the scraps turn into a pulp consistency.

      3. Tear up some newspapers, add them to the blender with more water and blend them together. (Note: I actually broke my parents' blender doing this because I had too much in there at one time. Do small batches!)

      4. Pour the mixture into a large basin with lots of water.

      5. Place a screen in between two picture frames and scoop out the pulp.

      6. Place the paper face down on a towel and press out the excess water.

      7. Iron dry and set under something large and heavy so the paper flattens.

      8. Enjoy your new paper and try very hard to not be so attached to it that you never actually use it for anything.

      paper-making-with-fabric-scraps-and-newspaper-01
      paper-making-with-fabric-scraps-and-newspaper-02
      paper-making-with-fabric-scraps-and-newspaper-15
      paper-making-with-fabric-scraps-and-newspaper-04
      paper-making-with-fabric-scraps-and-newspaper-05
      paper-making-with-fabric-scraps-and-newspaper-06
      paper-making-with-fabric-scraps-and-newspaper-07
      paper-making-with-fabric-scraps-and-newspaper-08
      paper-making-with-fabric-scraps-and-newspaper-10

      At this point, you can either let the paper dry on the towel, or you can iron them dry. I prefer to iron them so they dry flatter and the imprint from the screen is smoothed out. 

      paper-making-with-fabric-scraps-and-newspaper-13
      paper-making-with-fabric-scraps-and-newspaper-11
      paper-making-with-fabric-scraps-and-newspaper-12
      paper-making-with-fabric-scraps-and-newspaper-15