The Melon Mask is here to bring you some joy. Here’s a photo version of how to sew it.
Let’s jump in…
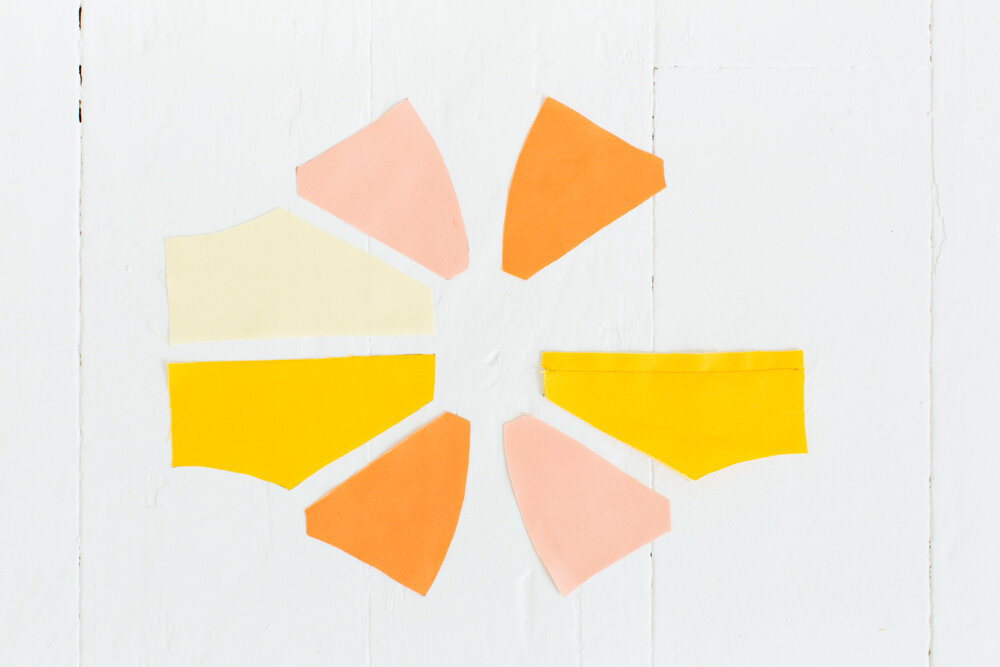
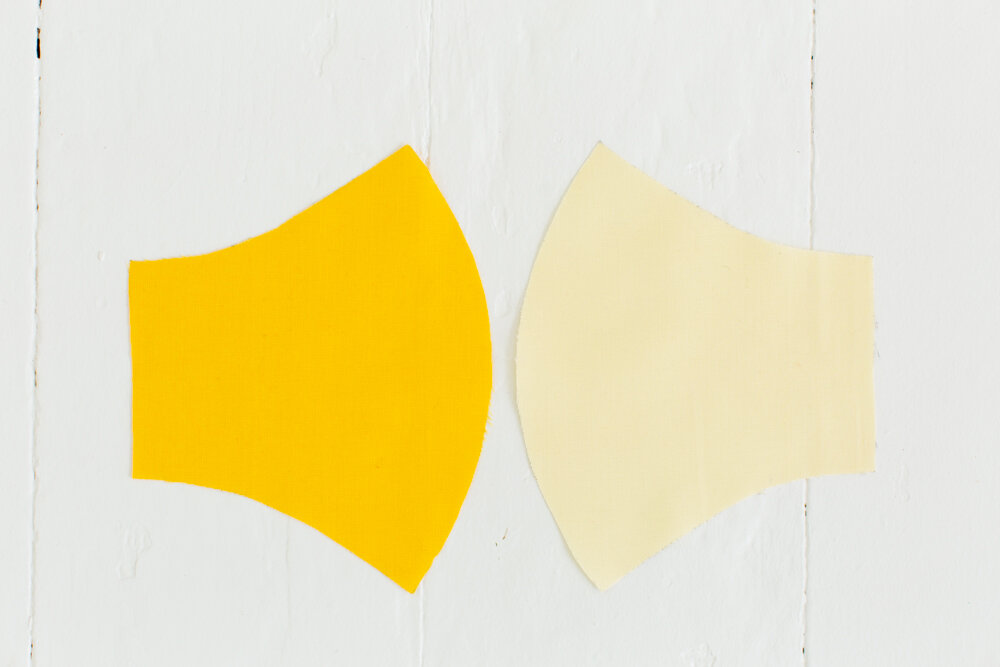
Step 1: Pick out your favorite colors. If you want a coloring sheet to help plan colors, download the PDF here.

Step 2: Cut out all the pieces. Lay the front pieces out in the arrangement you want them on the finished mask.

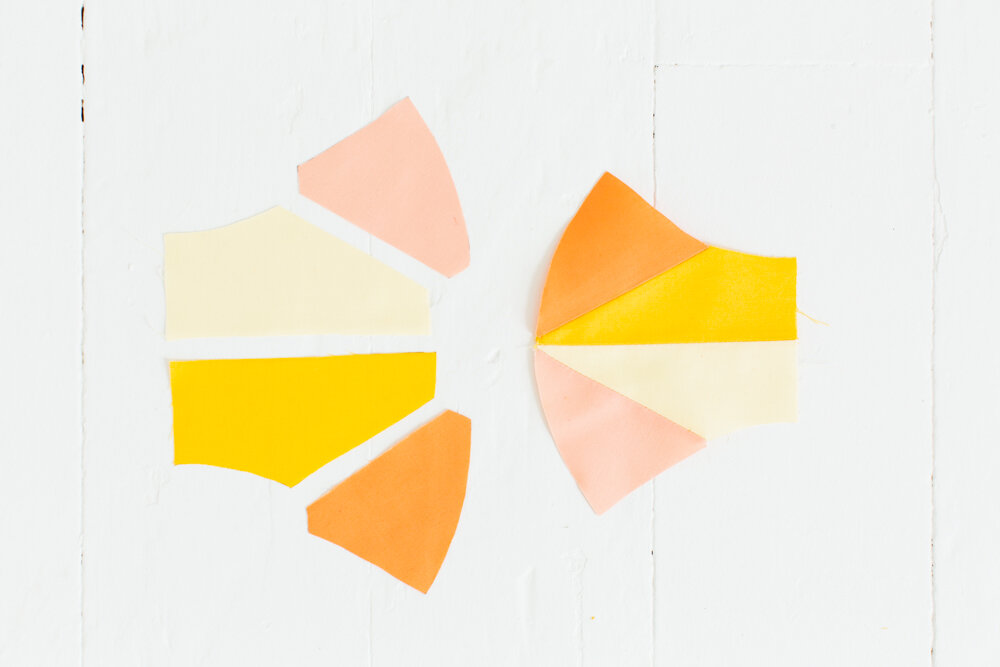
We’ll start by sewing the right side of the mask together first.
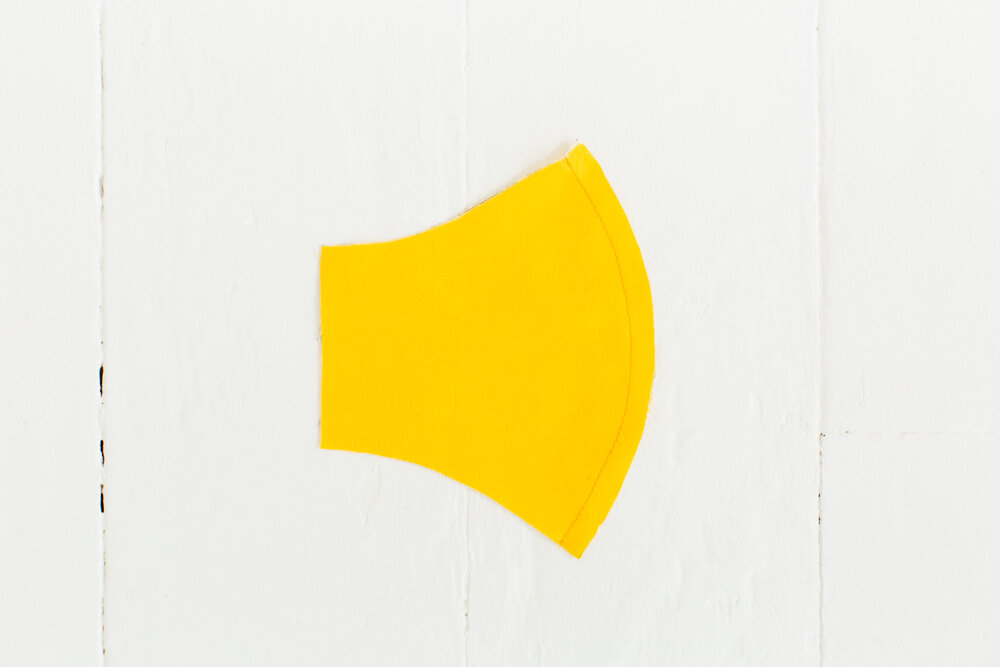
Step 3: Sew the two right center pieces with right sides together. 3/8” (1 cm) seam allowance.

Step 4: Sew on the top right nose piece with right sides together. 3/8” (1 cm) seam allowance.
Be sure to move the seam allowance of the center pieces out of the way so they don’t get caught in the stitching.

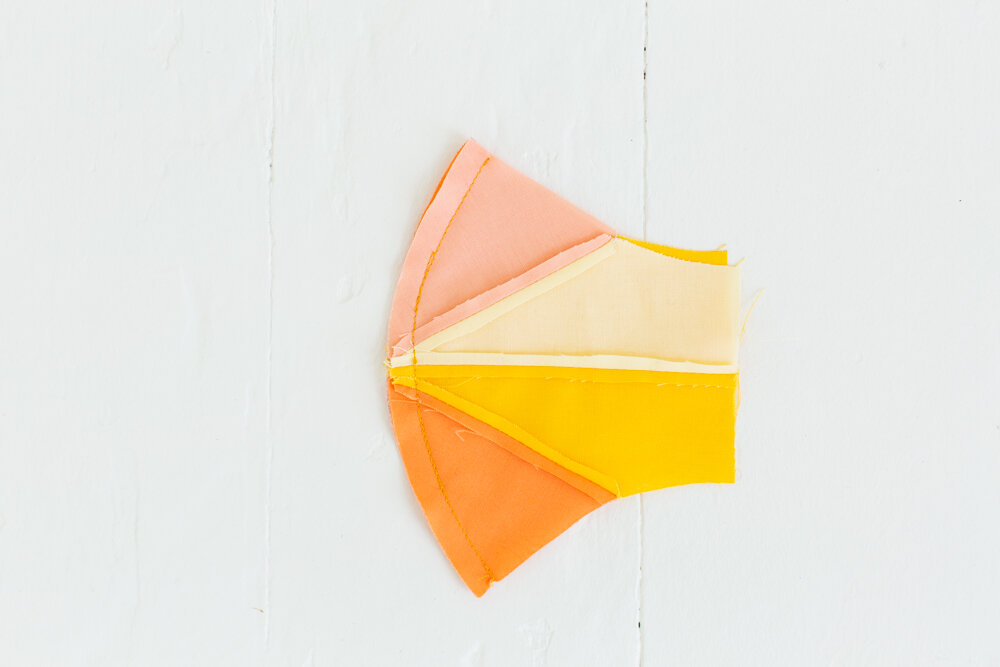
Step 5: Sew on the bottom right nose piece with right sides together. 3/8” (1 cm) seam allowance.
Be sure to move the seam allowance of the center pieces out of the way again so they don’t get stitched through.

Take a moment to admire how lovely it’s coming together.
Step 6: Repeat steps to sew the left side of the mask together.

Step 7: Trim seam allowances in half. Press seams open with a steamy iron.

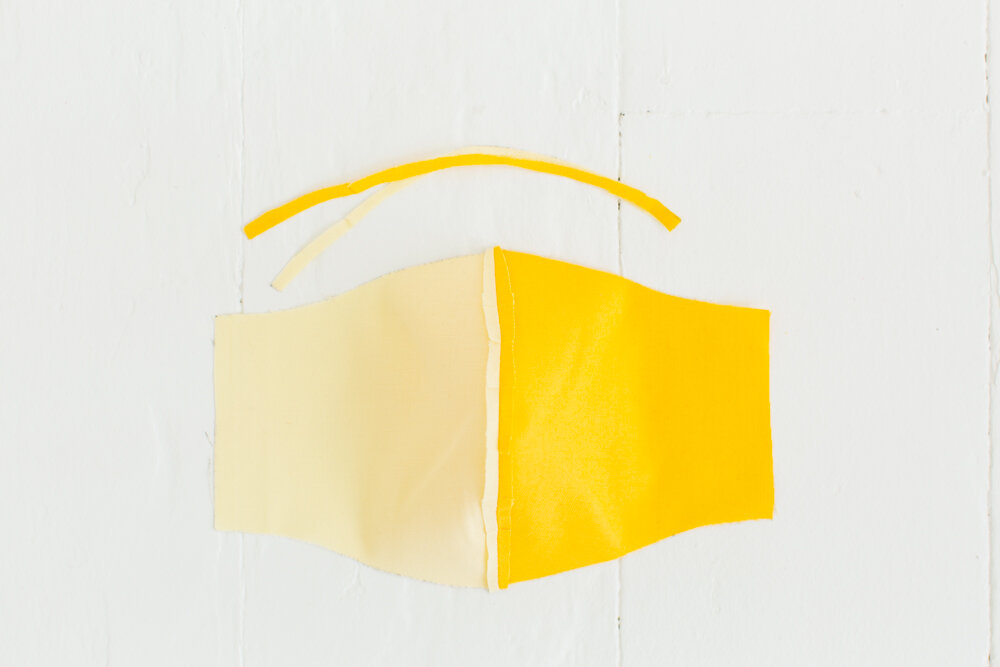
Step 8: Sew right and left sides of the mask with right sides together. 3/8” (1 cm) seam allowance.
Be extra mindful here of matching up the center seams!
Step 9: Trim seam allowance in half. Clip into seam allowance along the curve. Press seam open.

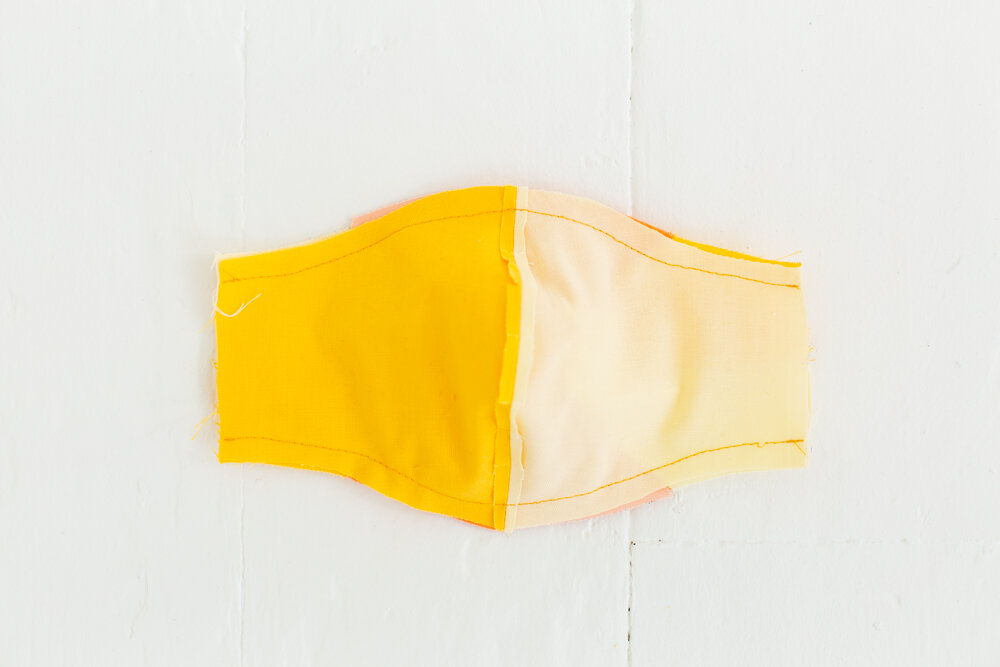
Step 10: Sew back pieces with right sides together. 3/8” (1 cm) seam allowance.
Step 11: Trim seam allowance in half. Clip into seam allowance along the curve. Press seam open.
Step 12: Place the front and back with right sides together. The front should be slightly larger than the back.

Step 13: Sew along the top and bottom edge. 3/8” (1 cm) seam allowance.
Step 14: Clip into seam allowances along the curve.

Step 15: Turn mask right side out. Press edges with steam iron.

Step 16: Fold the ends in 3/8'“ (1 cm). Press with steamy iron.

Step 17: Pin one end of elastic 1/2” (1.3 cm) deep on one side of the mask. Try it on and determine what length is right for your ears (plus the seam allowance!). Cut two pieces of elastic that length.

Step 18: Stick the ends of the elastic in 1/2” (1.3 cm) deep. Sew a 1/4” (0.6 cm) wide rectangle along the edge of the fabric.

Rejoice! What a good job you’ve done! #SKmelonmask

If you haven’t grabbed the pattern yet, you can get it here.
If you enjoyed this sew along, check out the Olive Undies sew along!