How to Batch Sew the Olive Undies

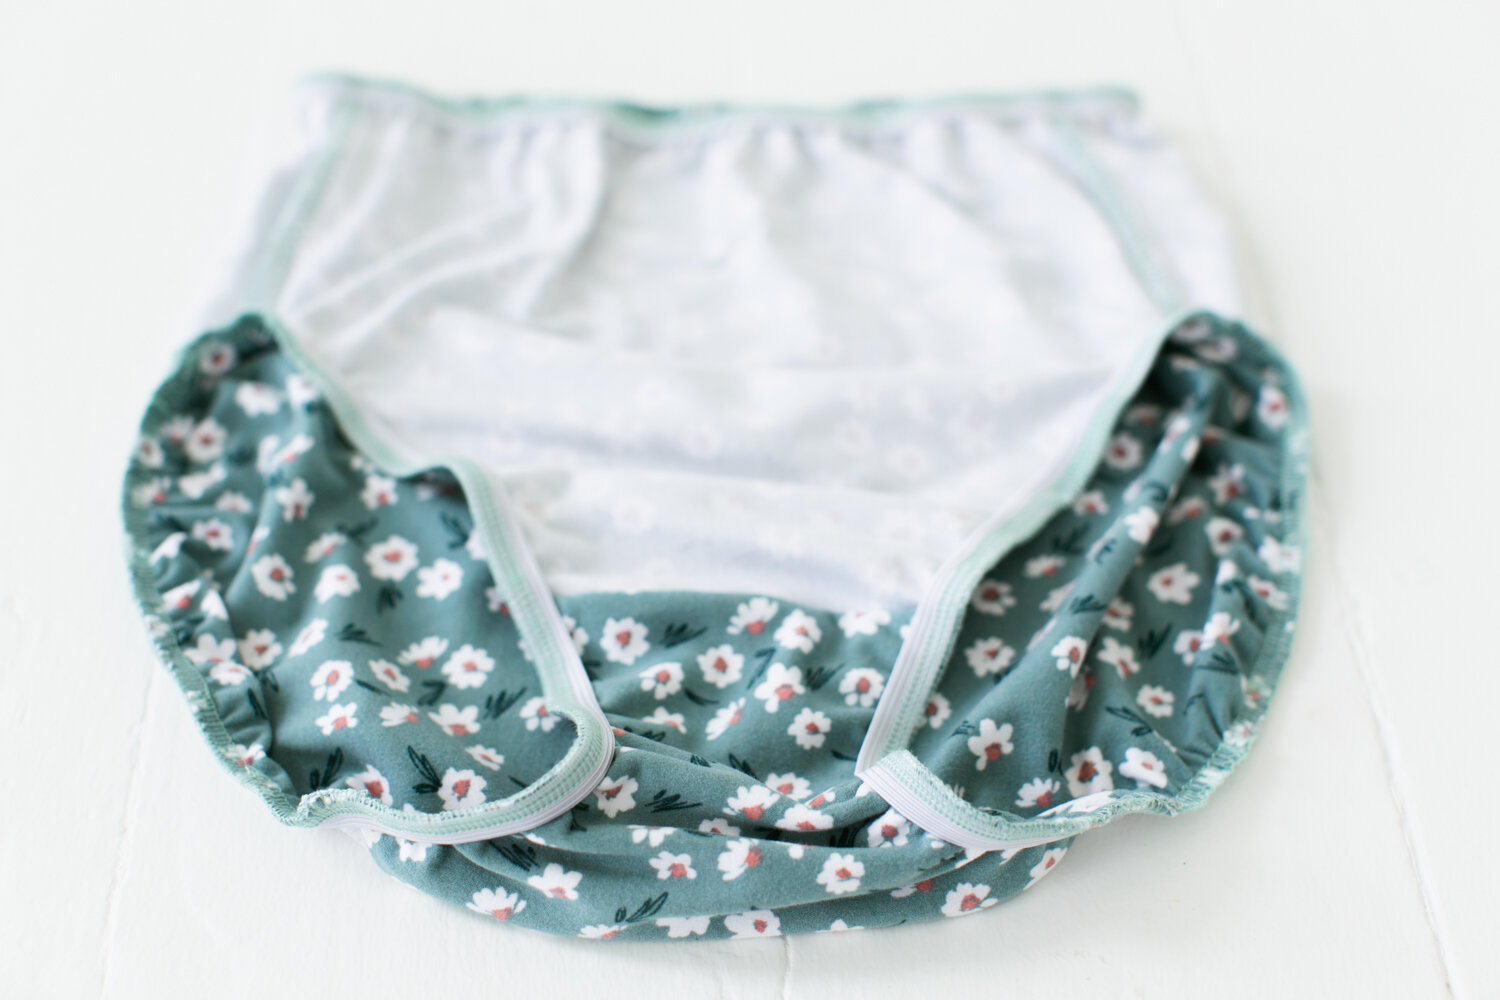
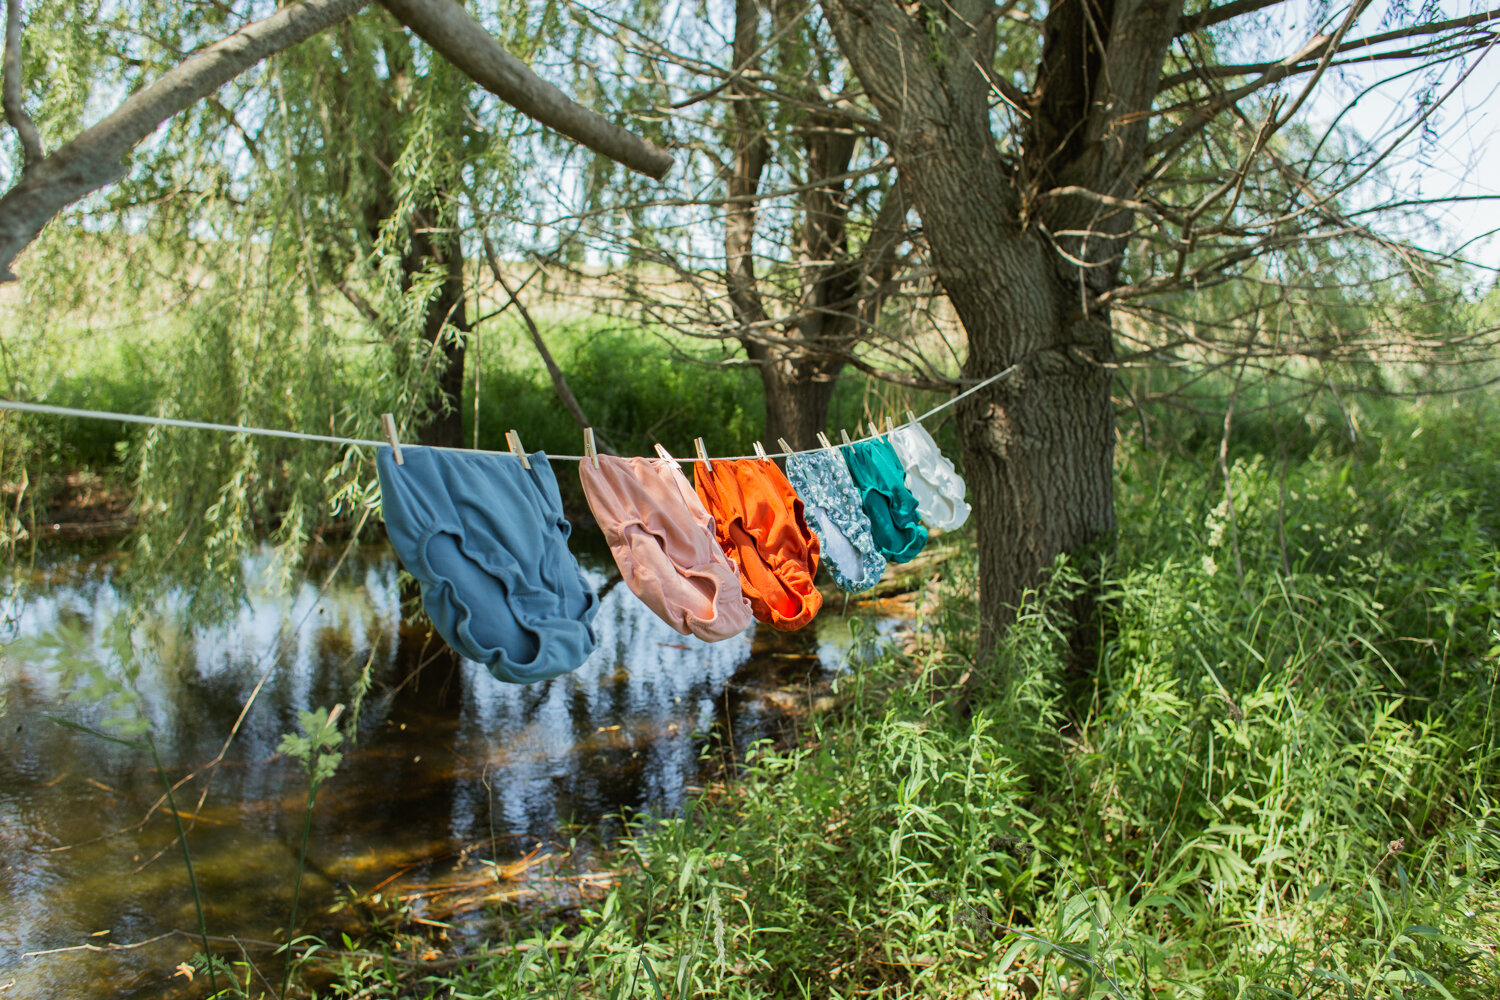
Oh the warm feeling of having a drawer full of underwear that make you happy. The Olive Undies sewing pattern is out now!

Check out the Olive Undies Sew Along for detailed instructions and photos of each step.

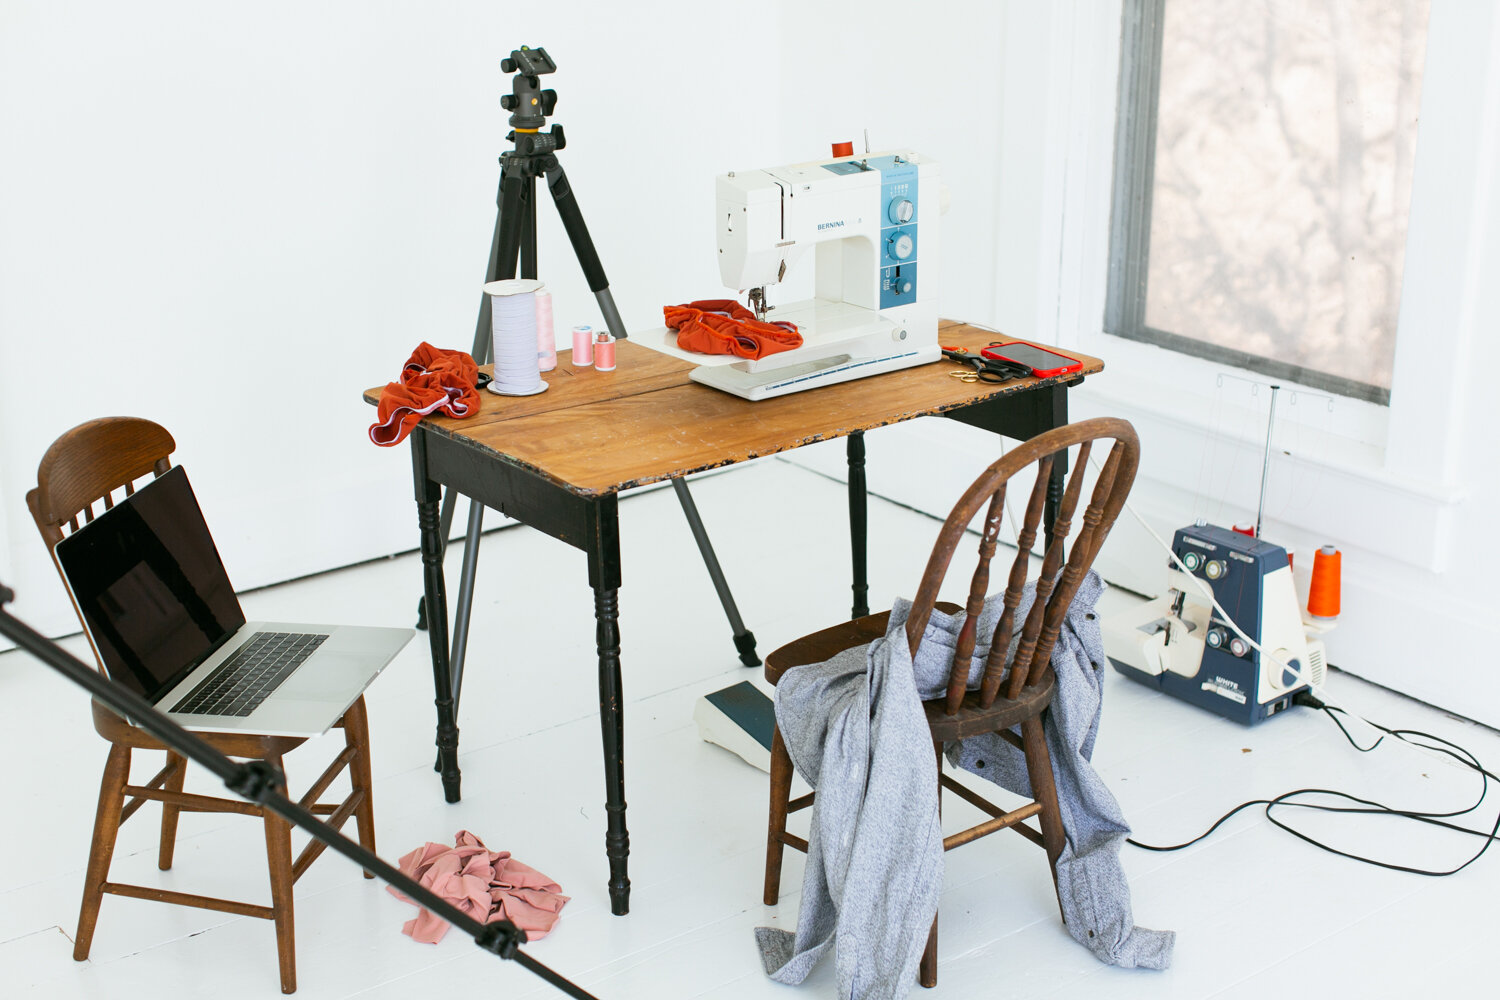
Here’s how to batch sew the Olive Undies

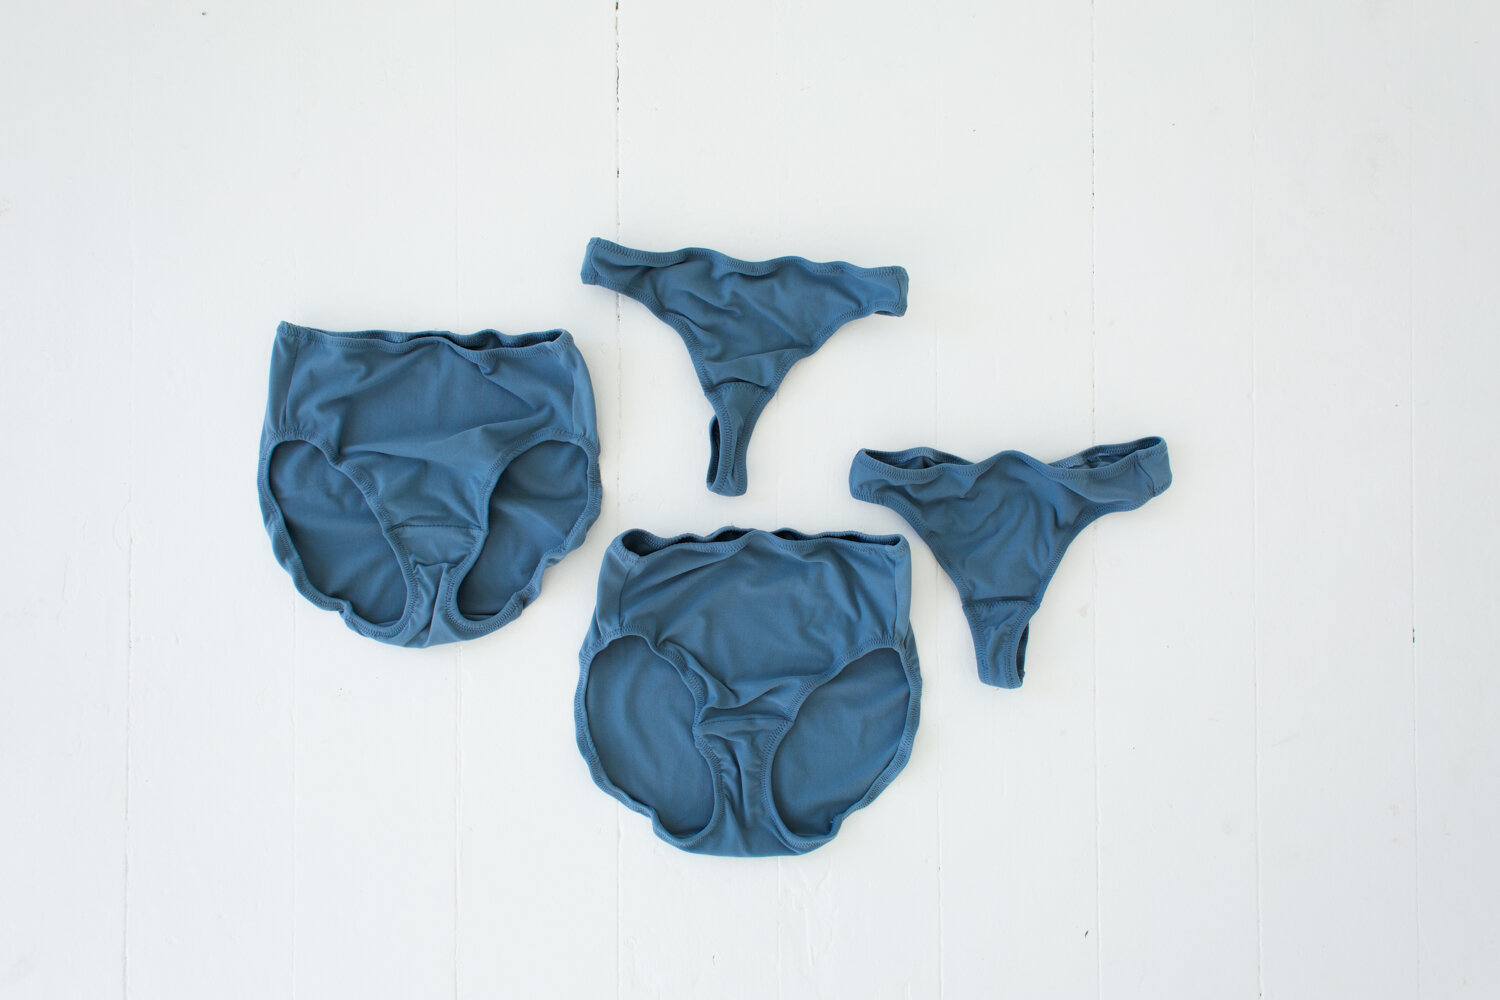
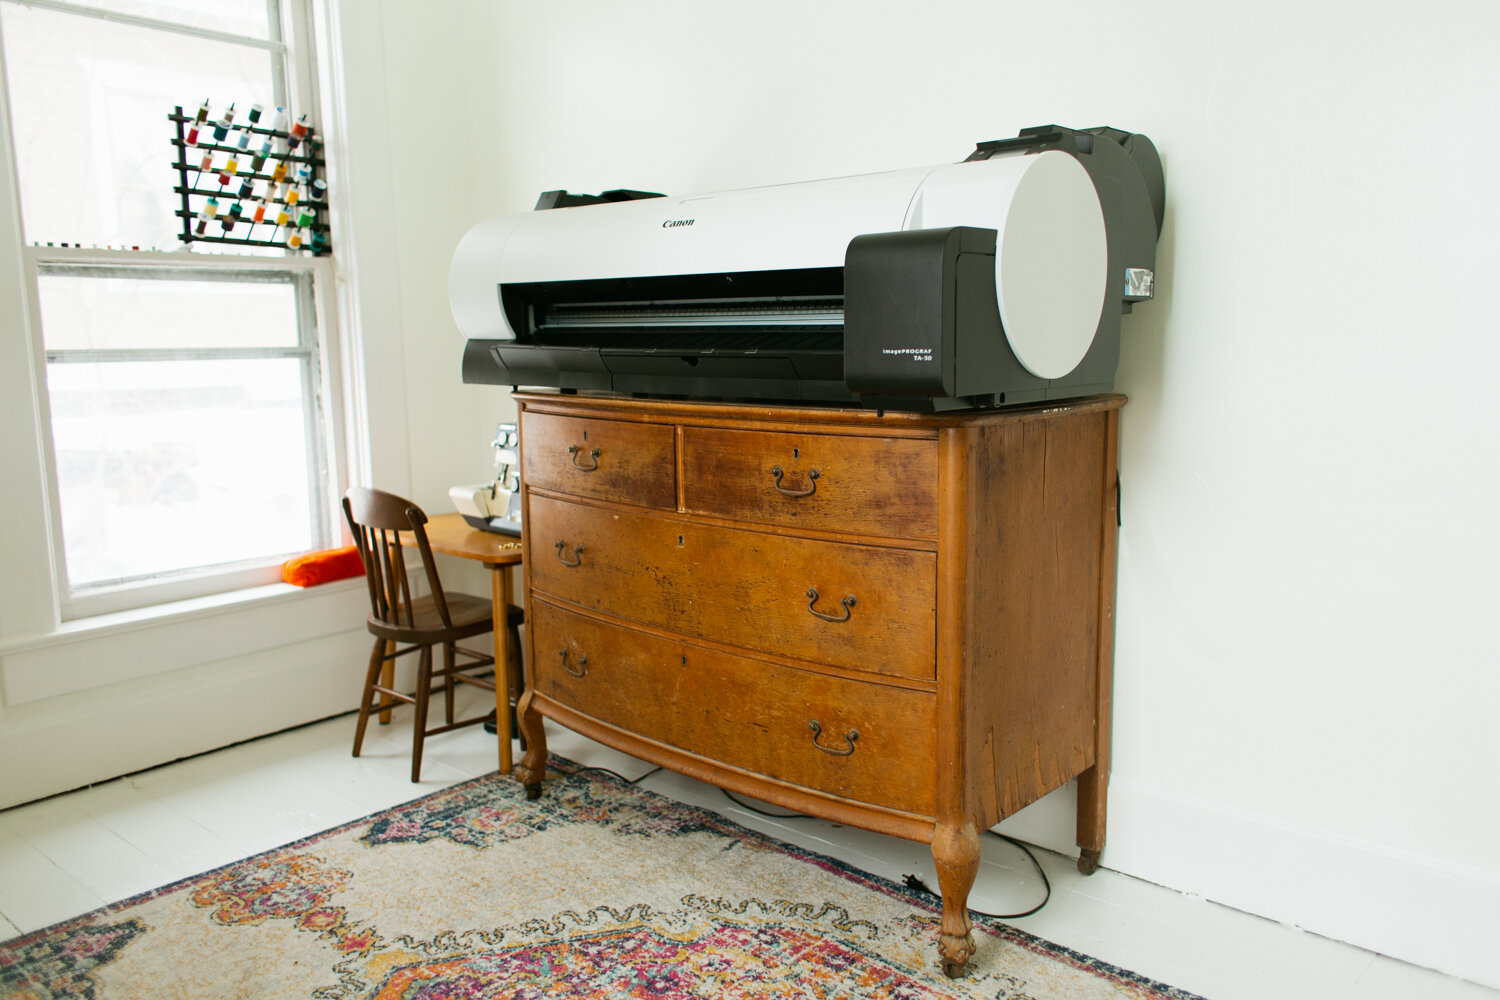
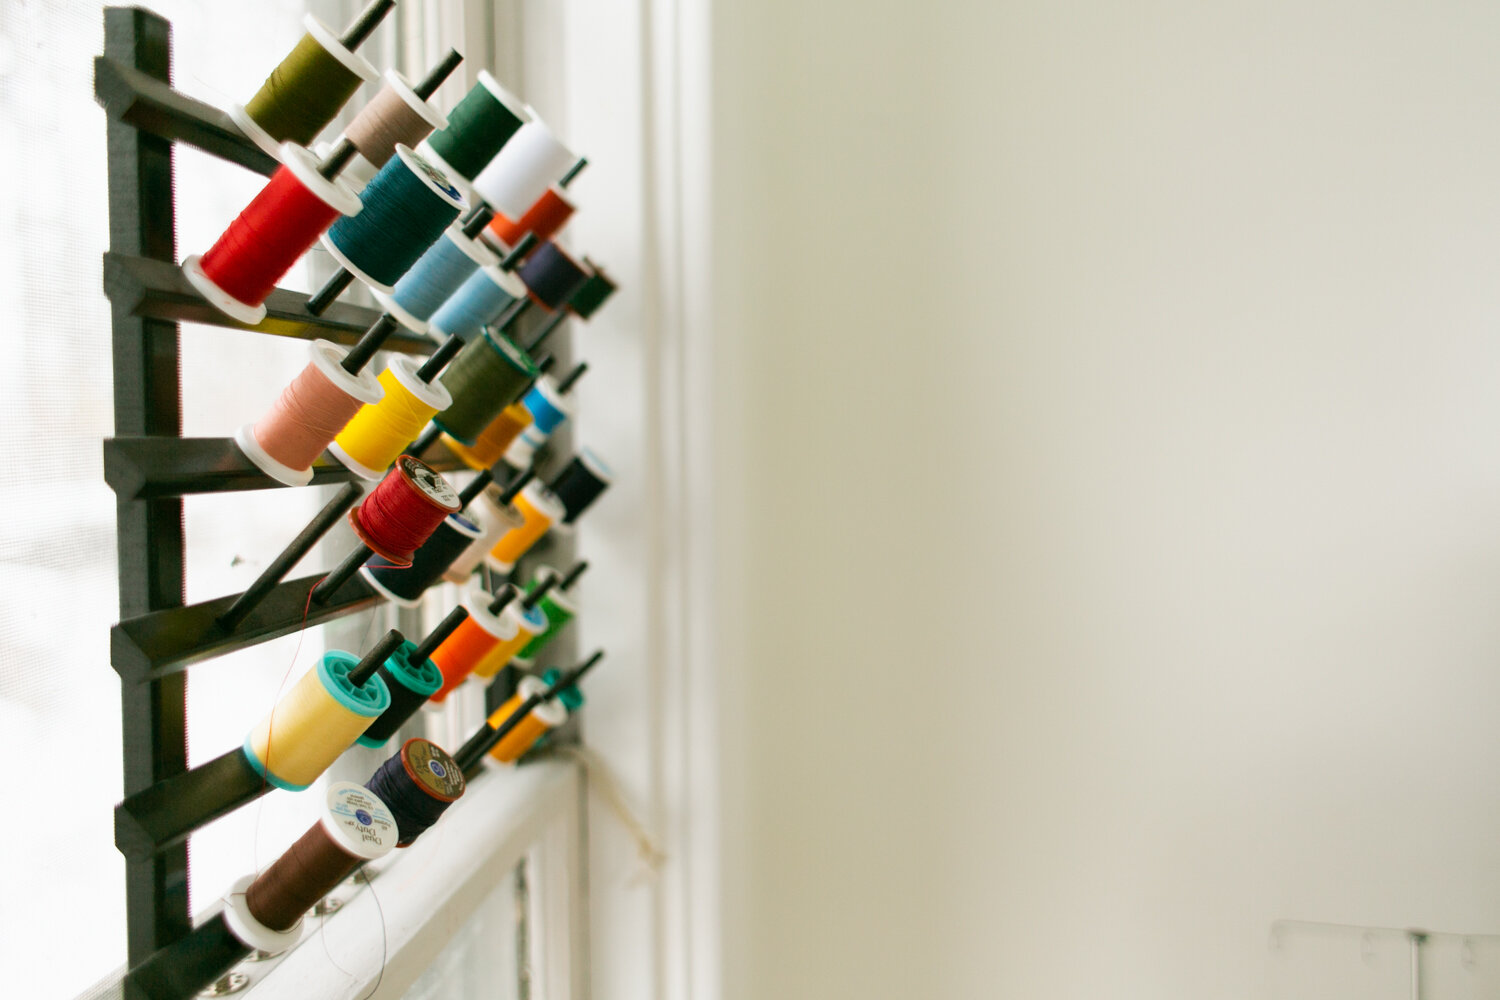
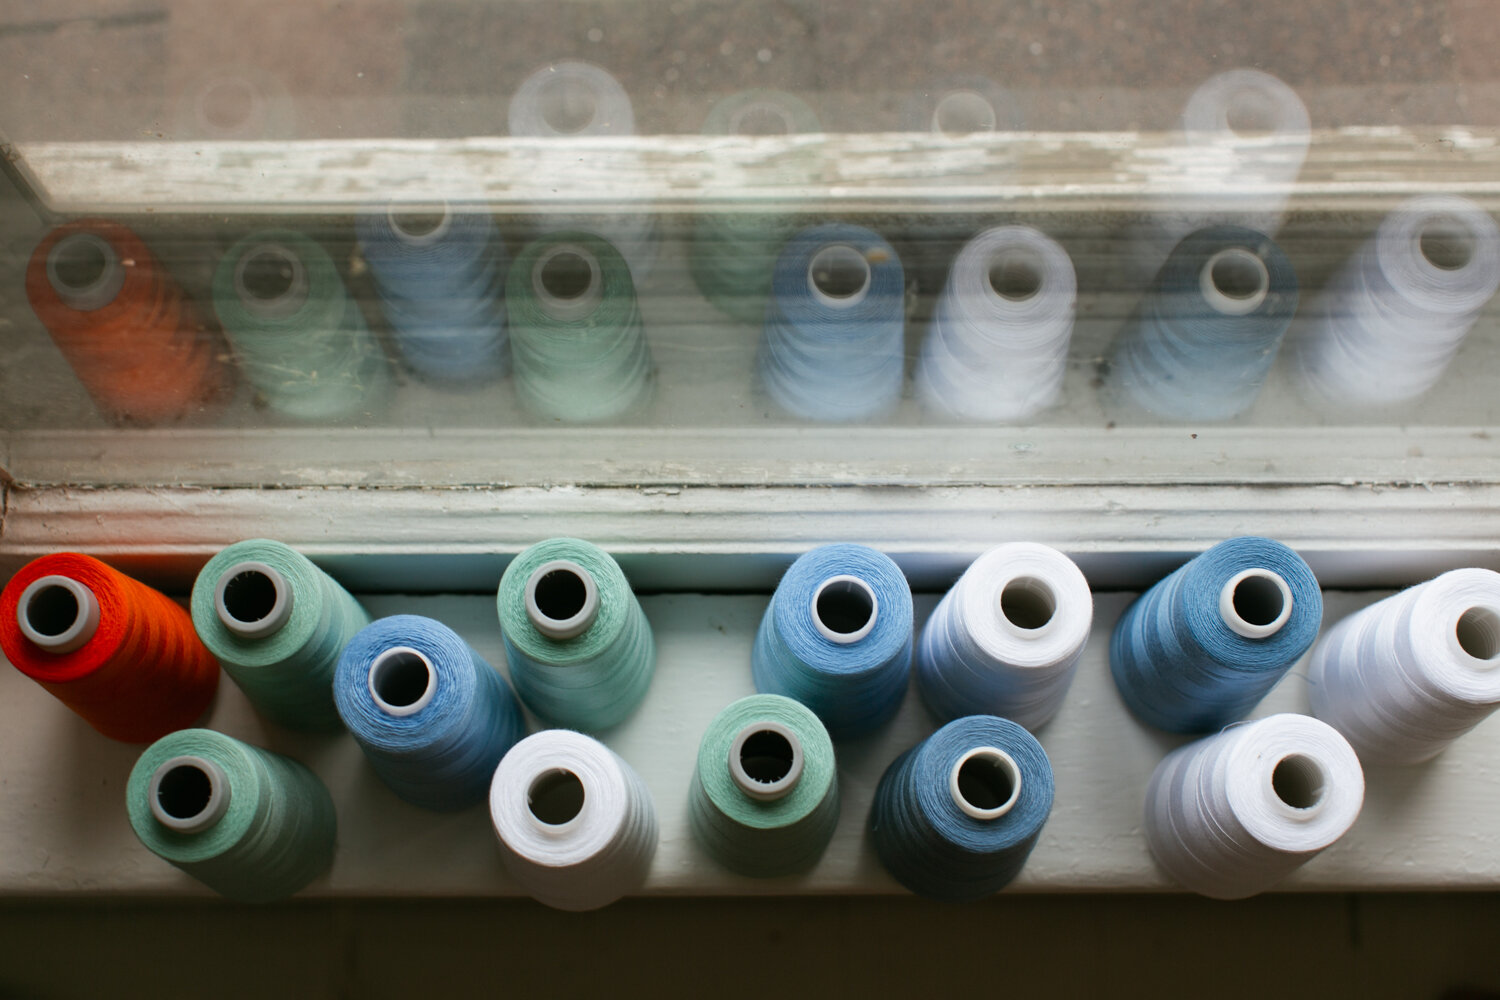
I recommend batch sewing in one color at a time so you don’t have to switch thread throughout the process. I went with this beautiful dusty blue. Apparently I’m into this color right meow because I just painted my laundry room and bathroom this color and have matching bedsheets and duvet cover on my bed. Blue yeah!

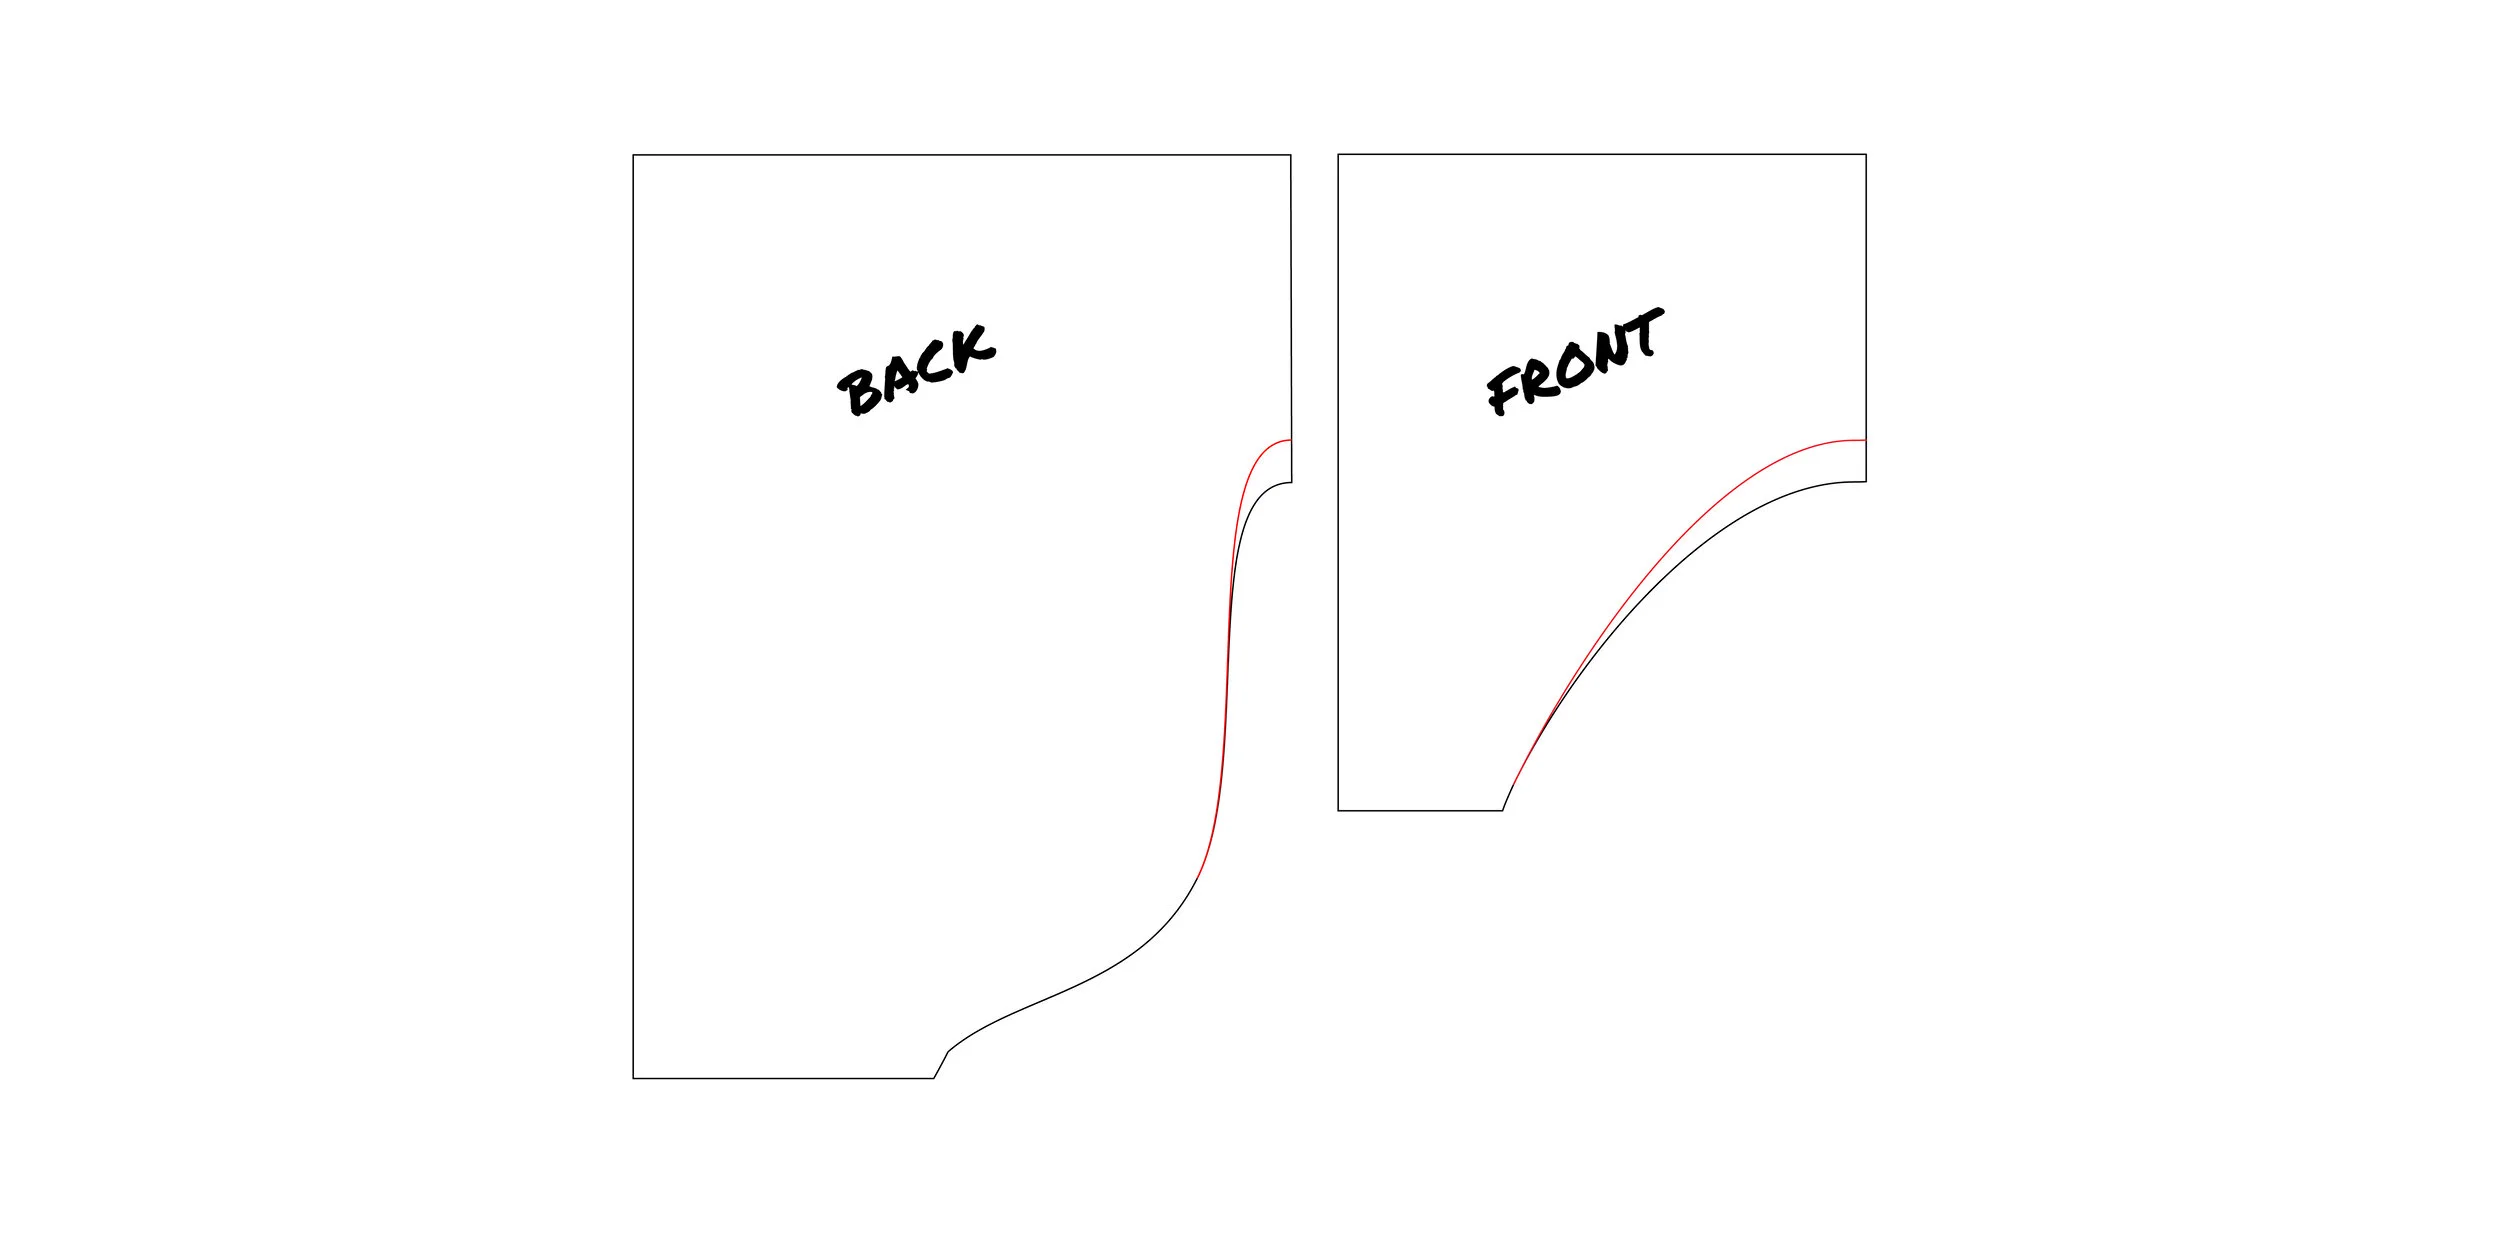
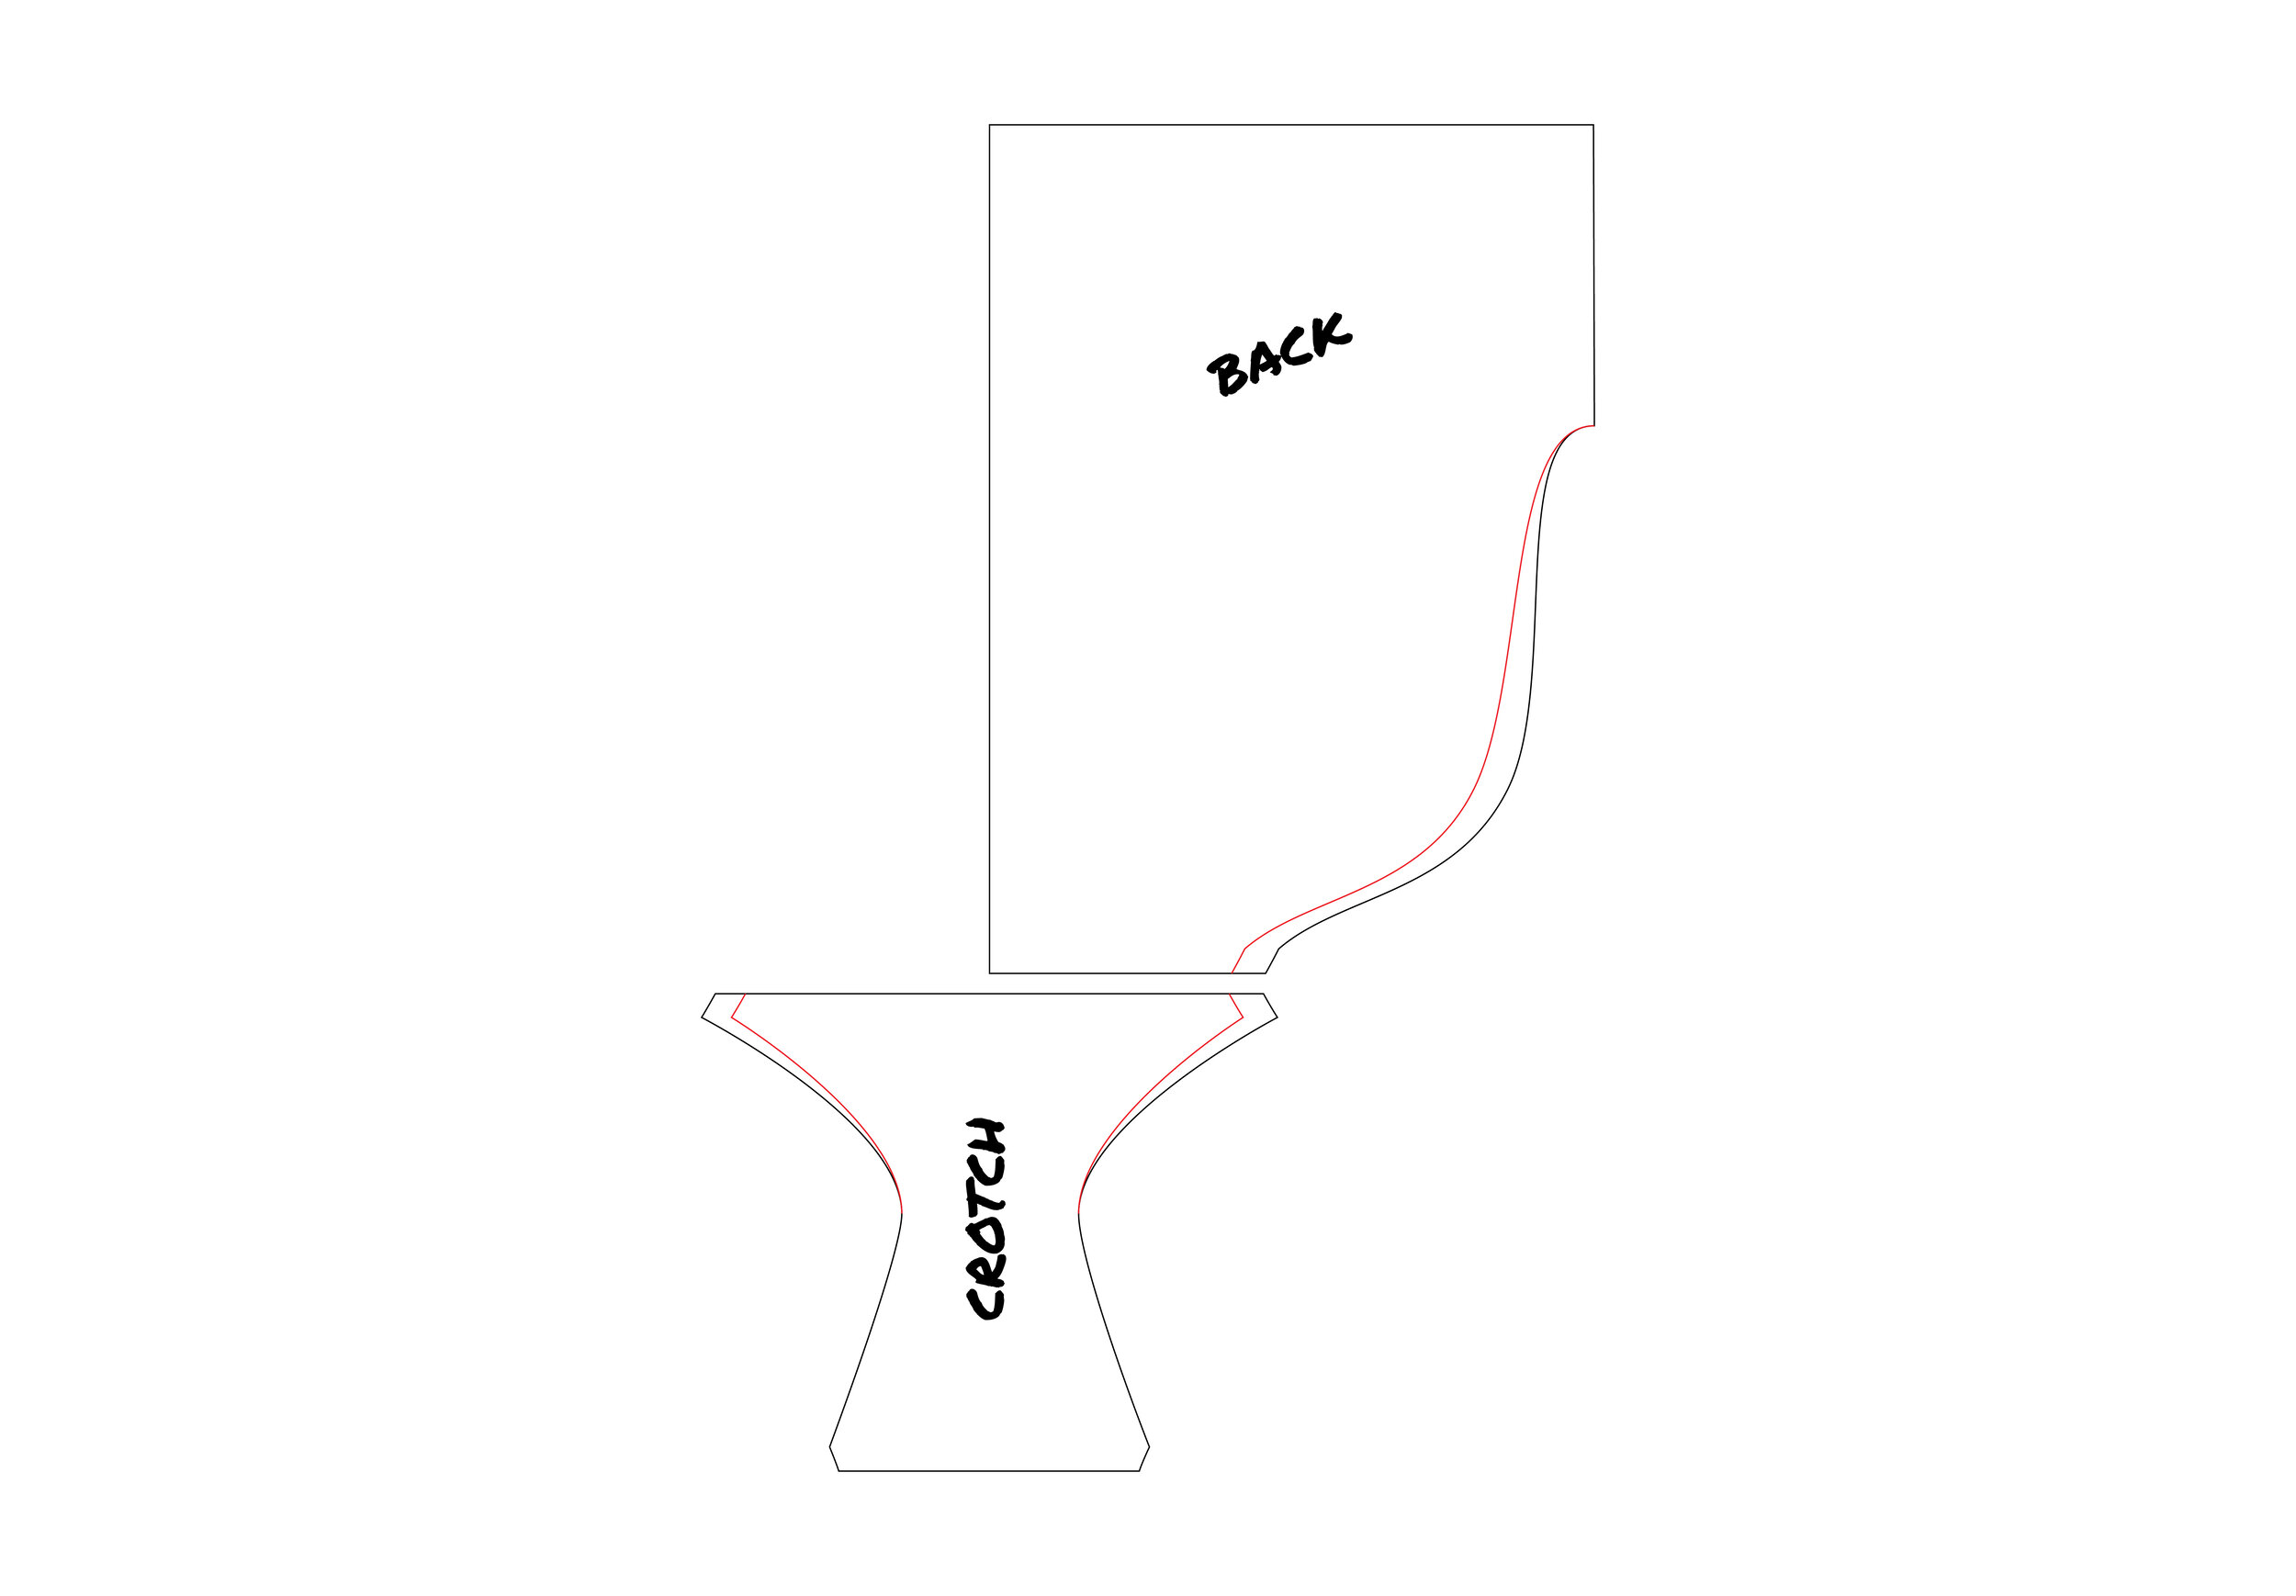
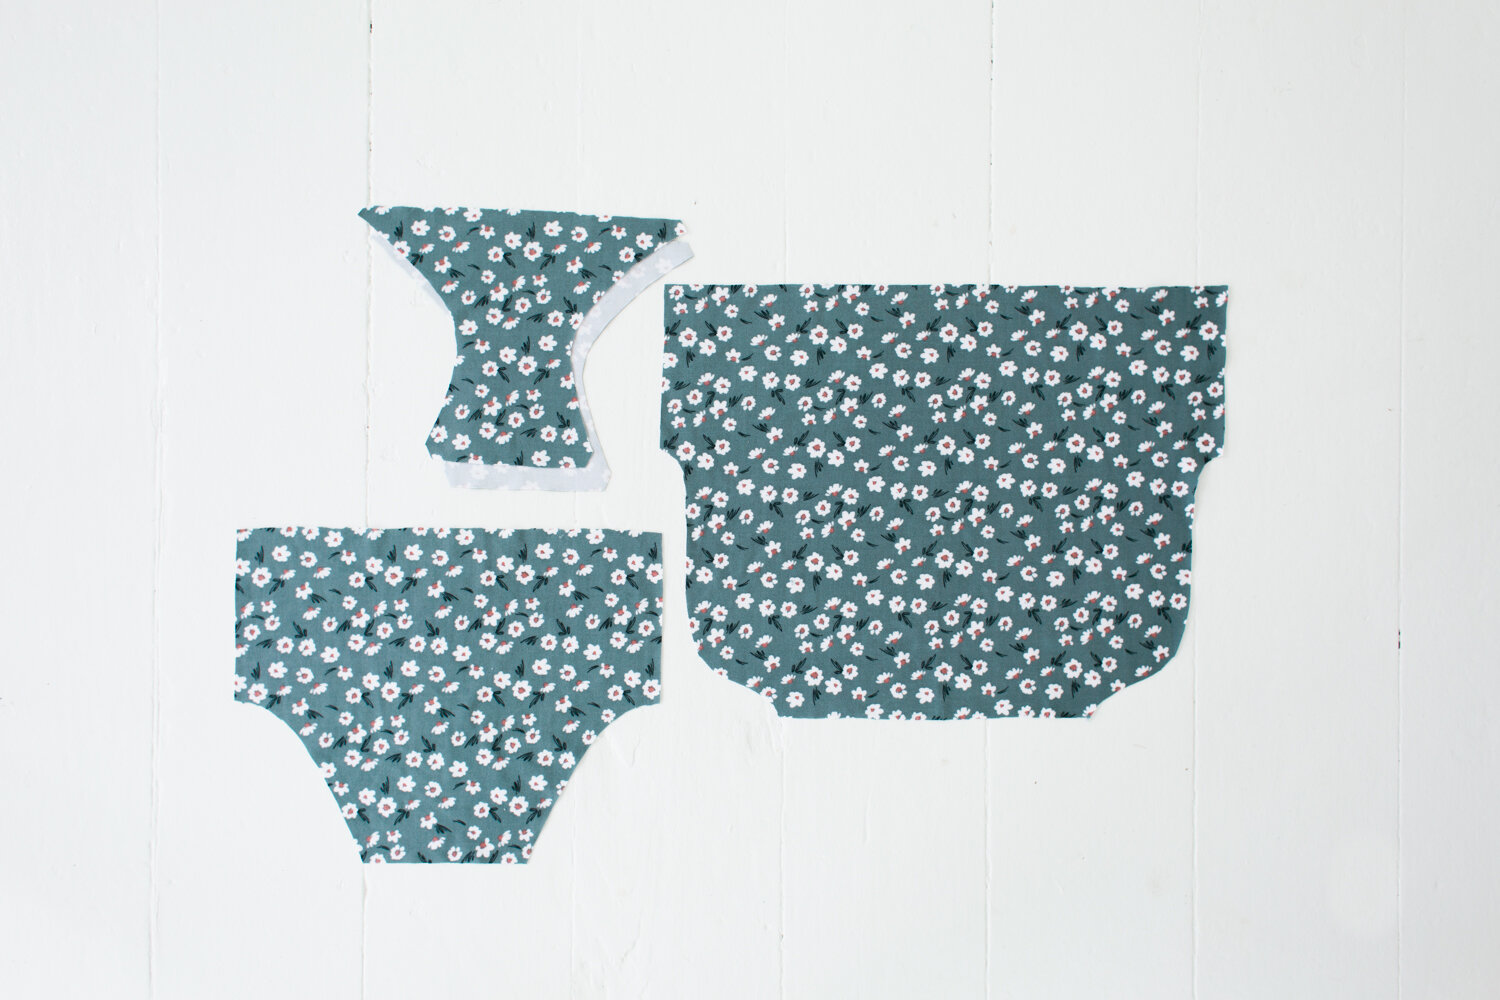
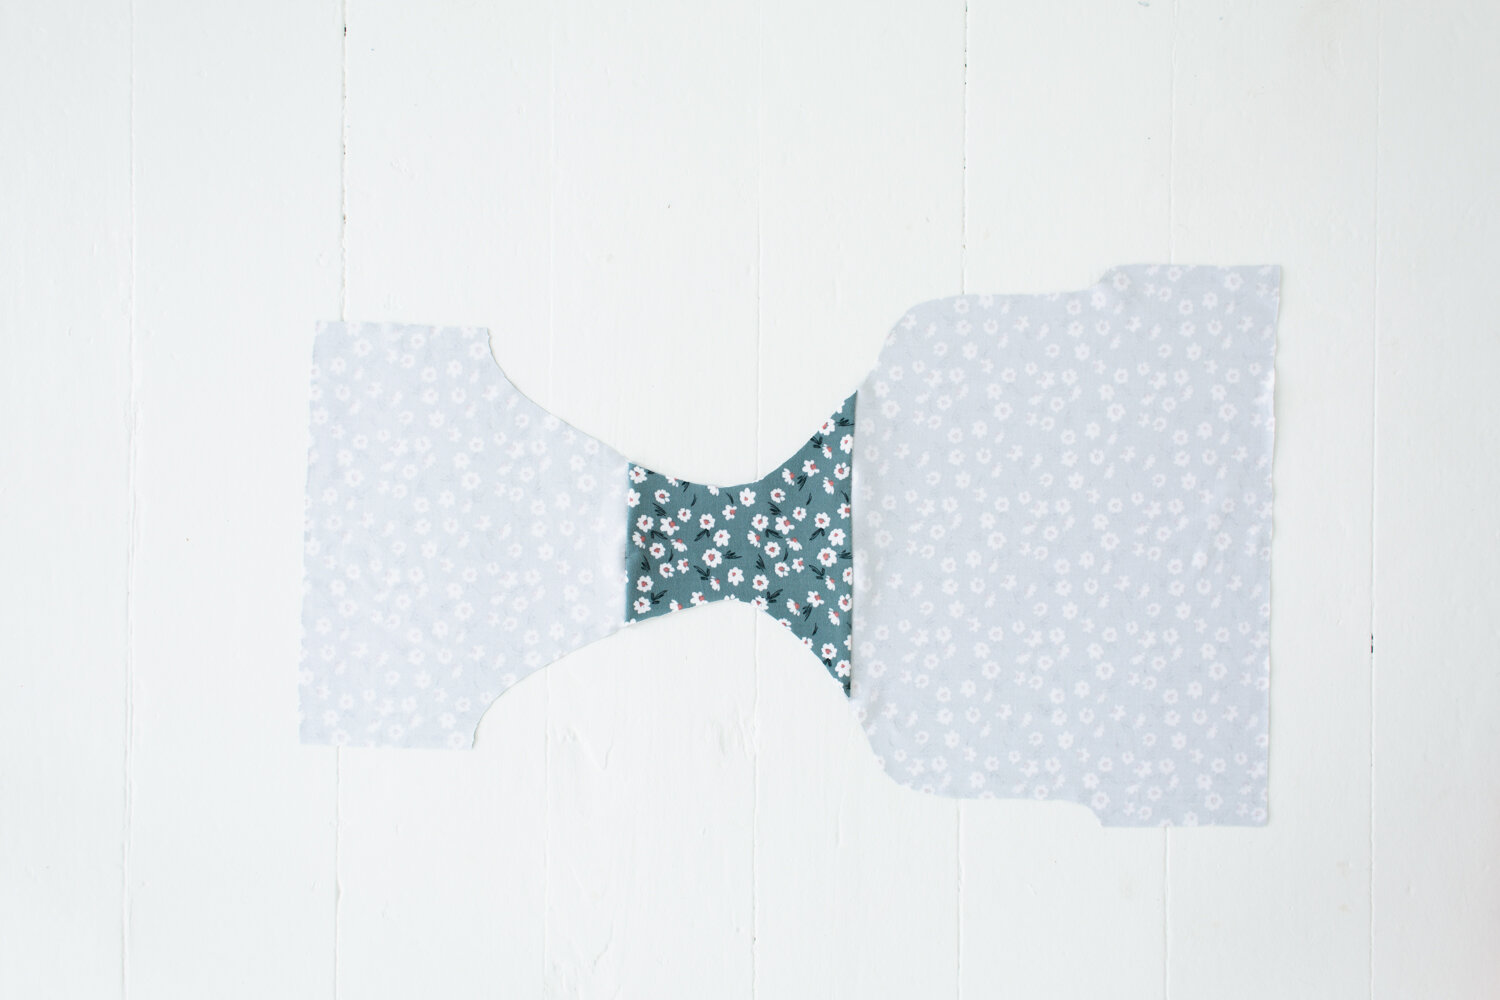
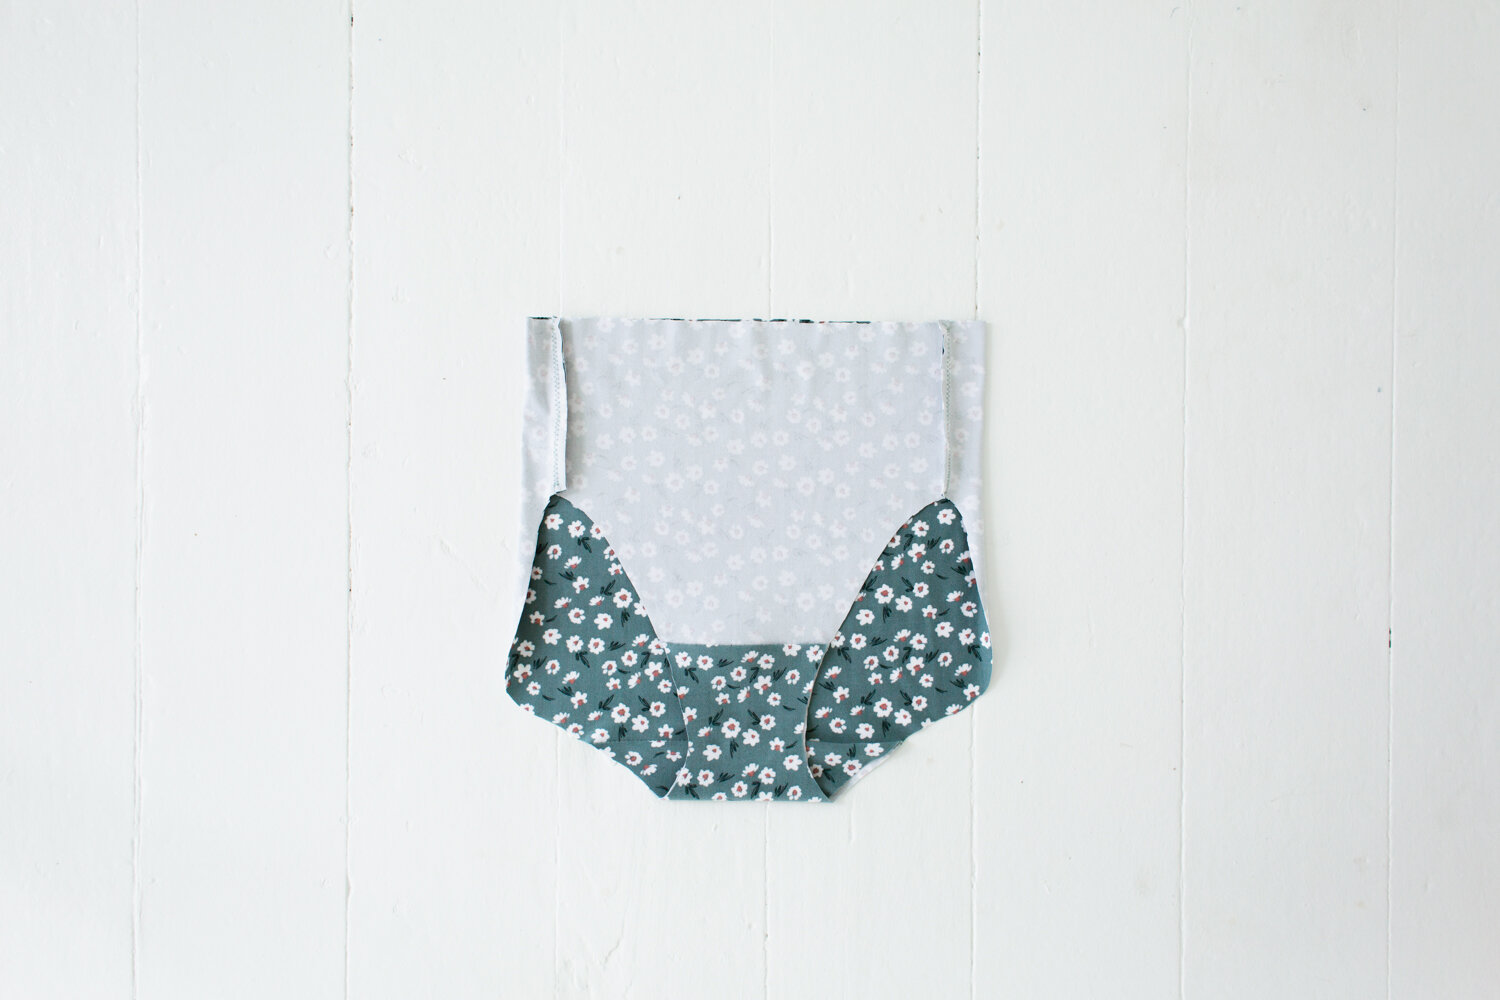
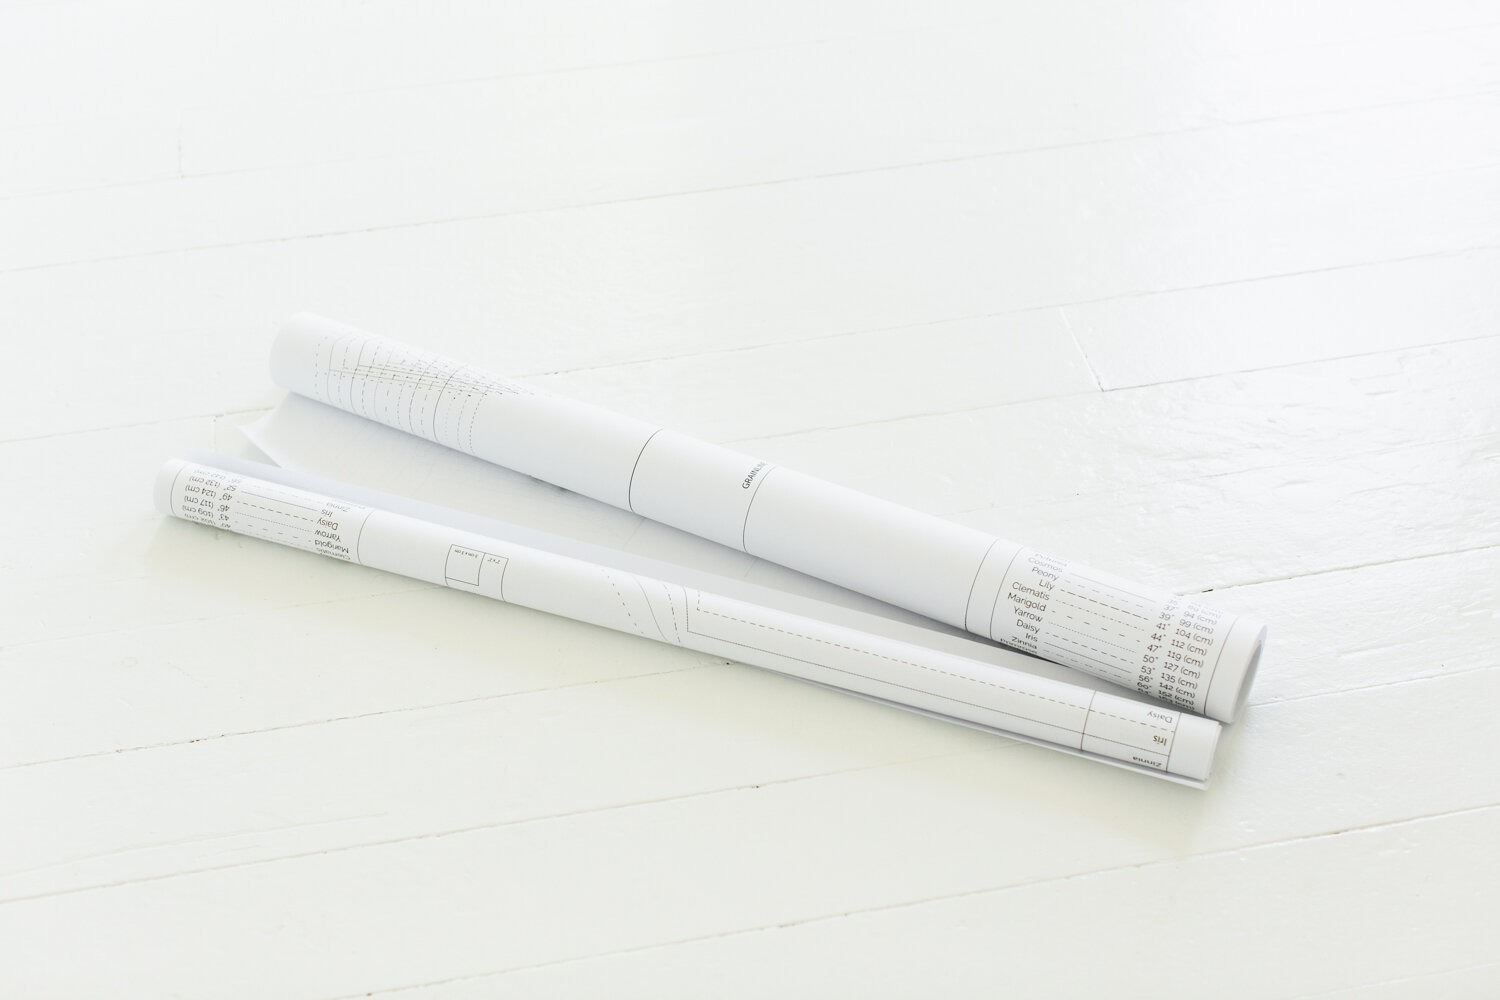
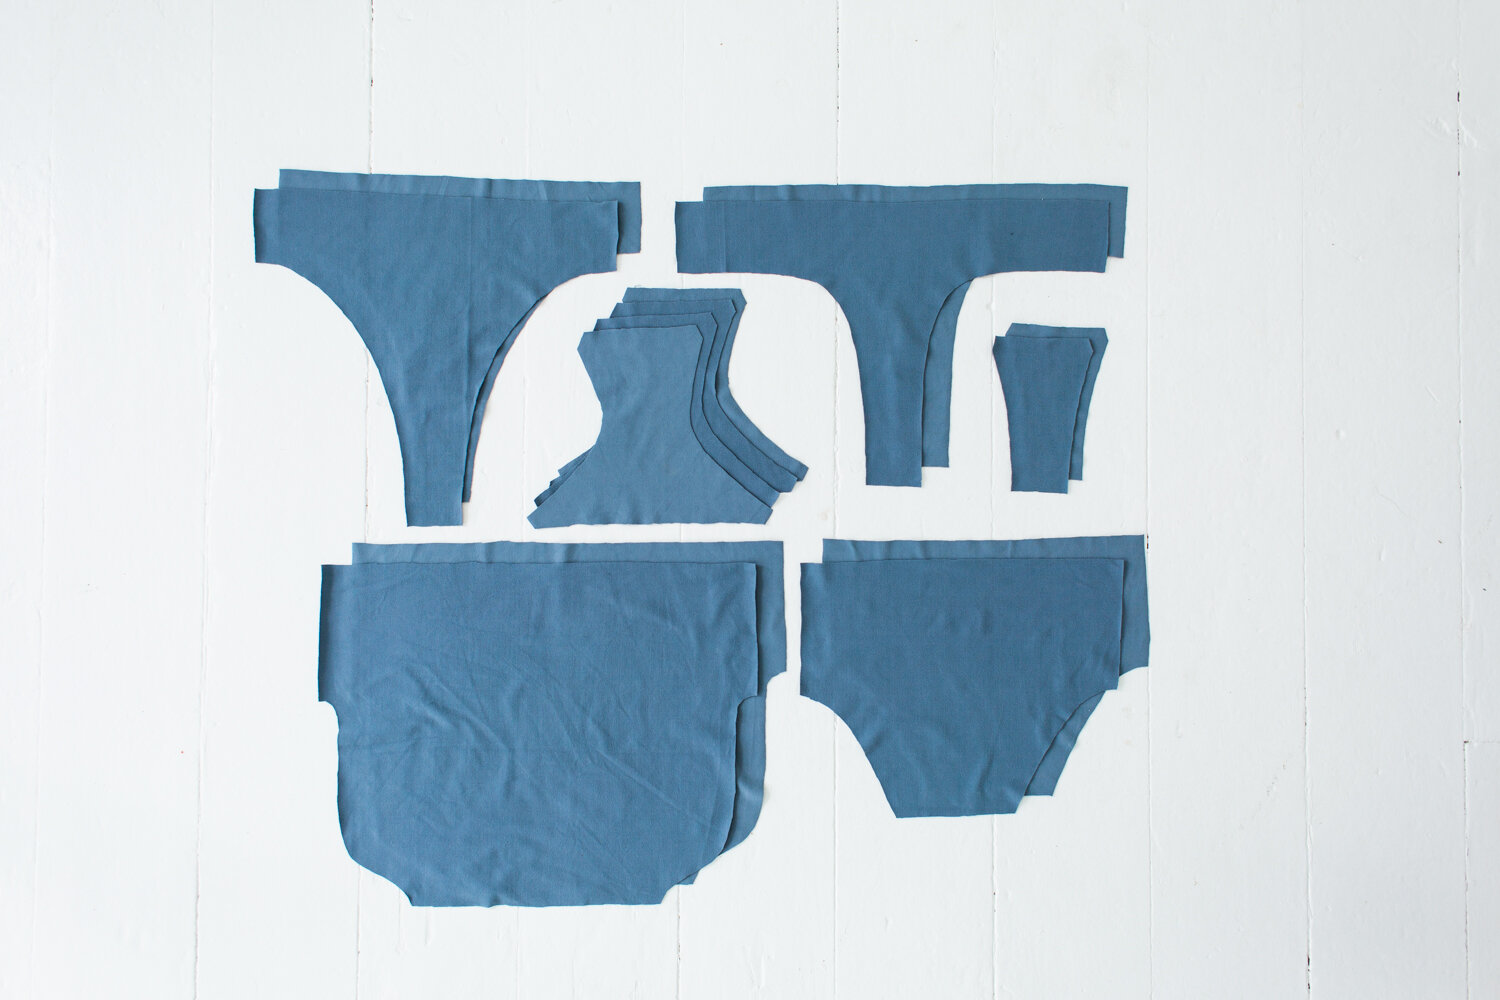
Step 1: Cut out all the pieces. In this tutorial I’m making two Full Bums and two Thongs.

How to Batch Sew Underwear

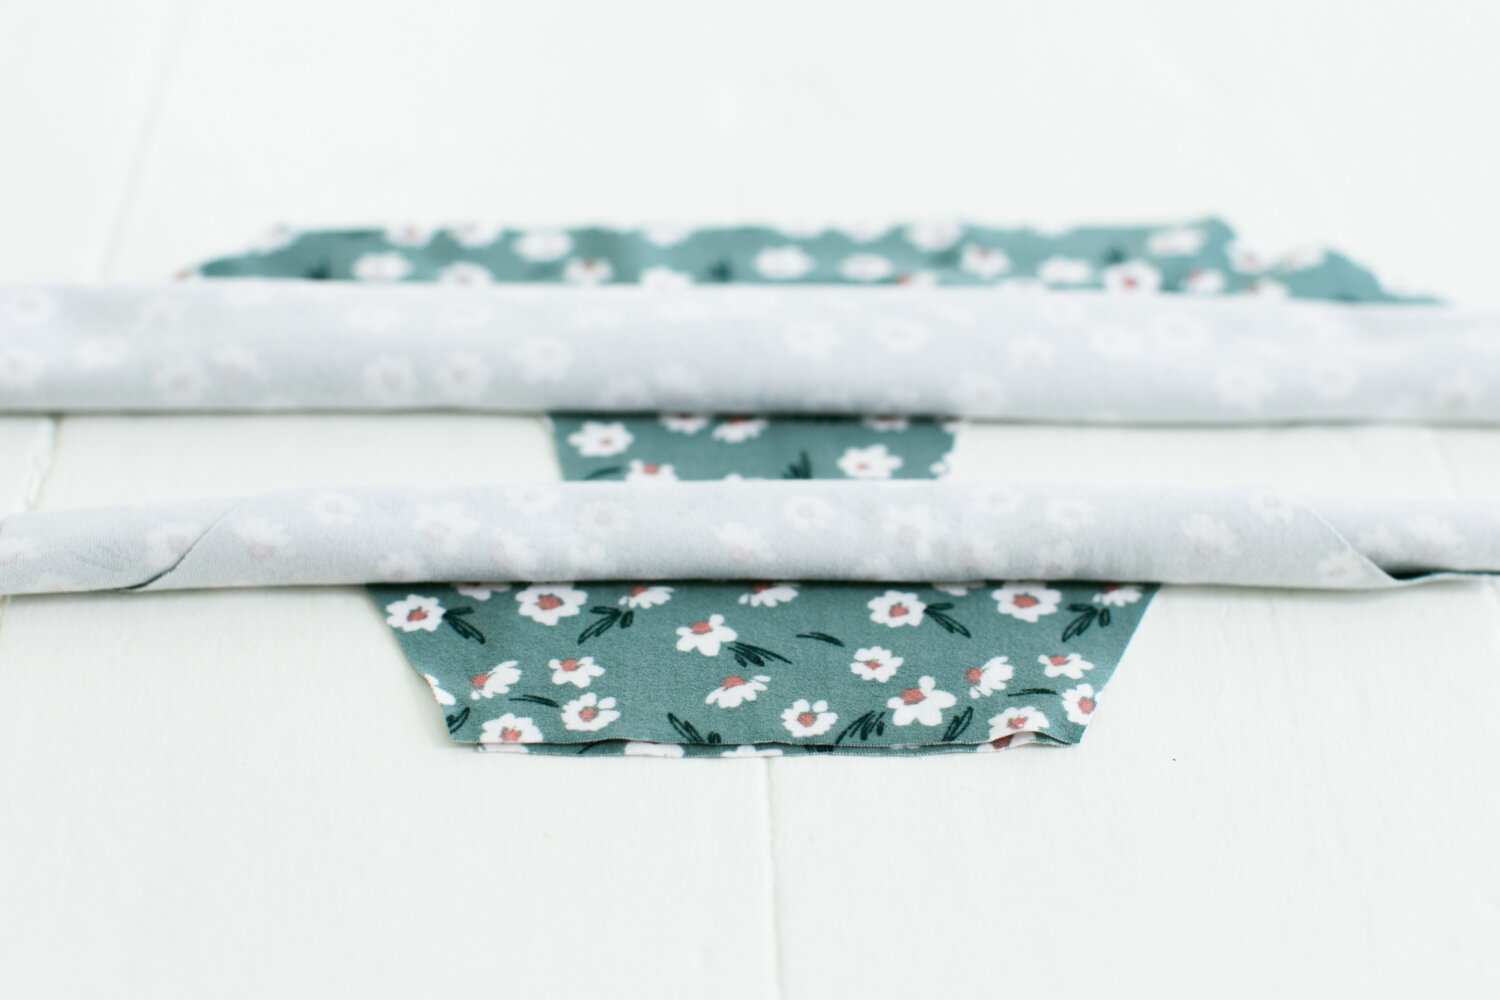
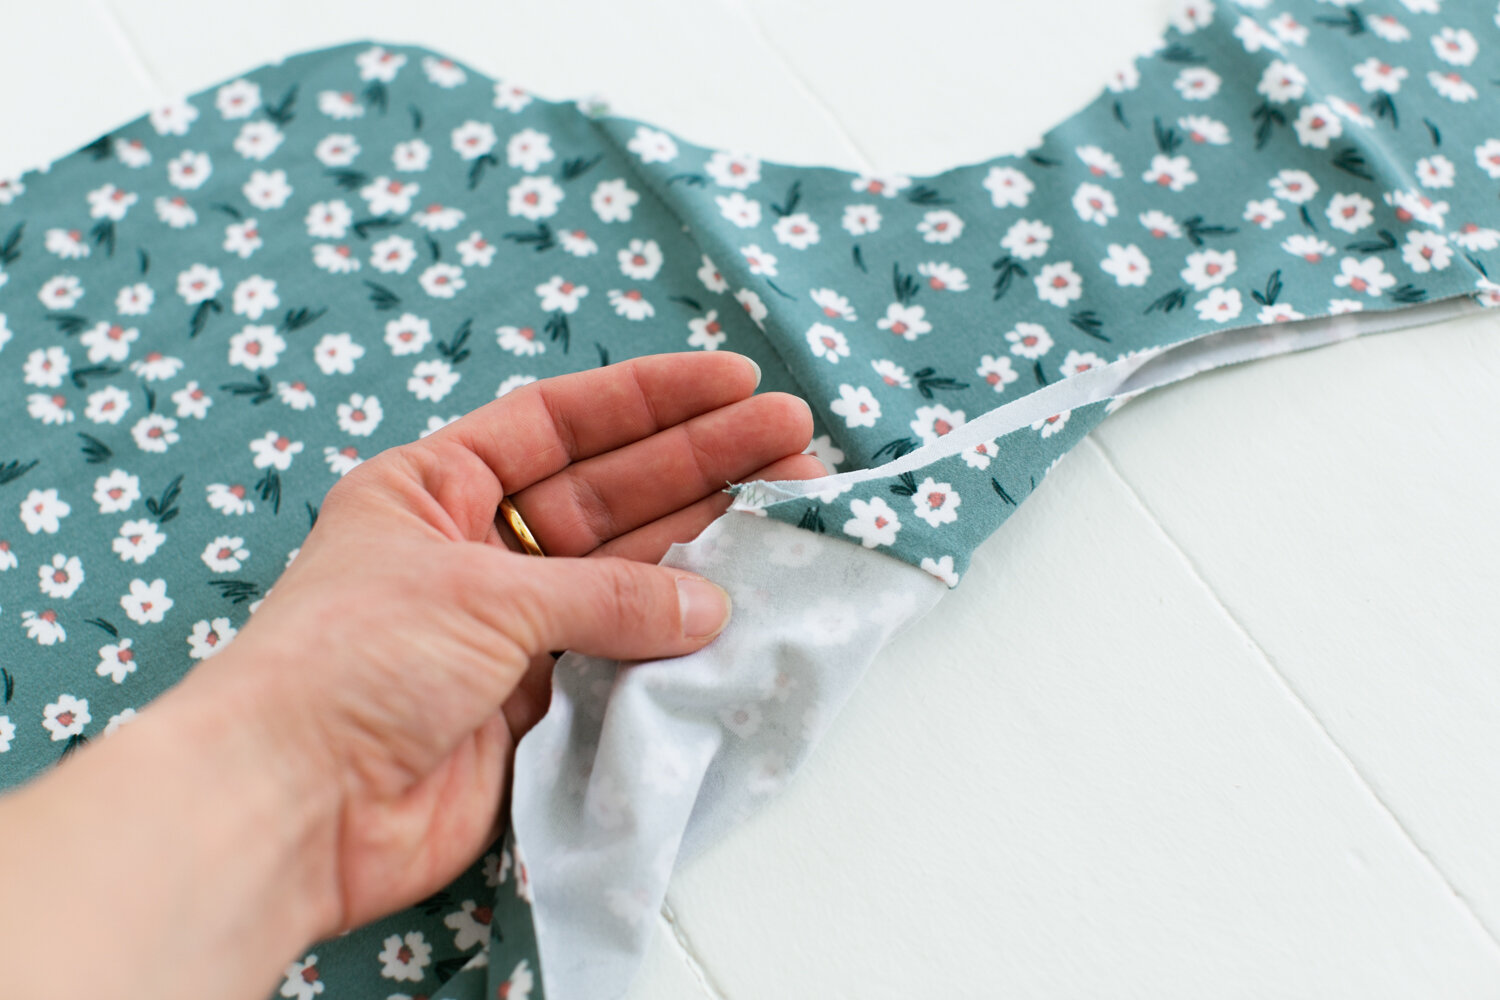
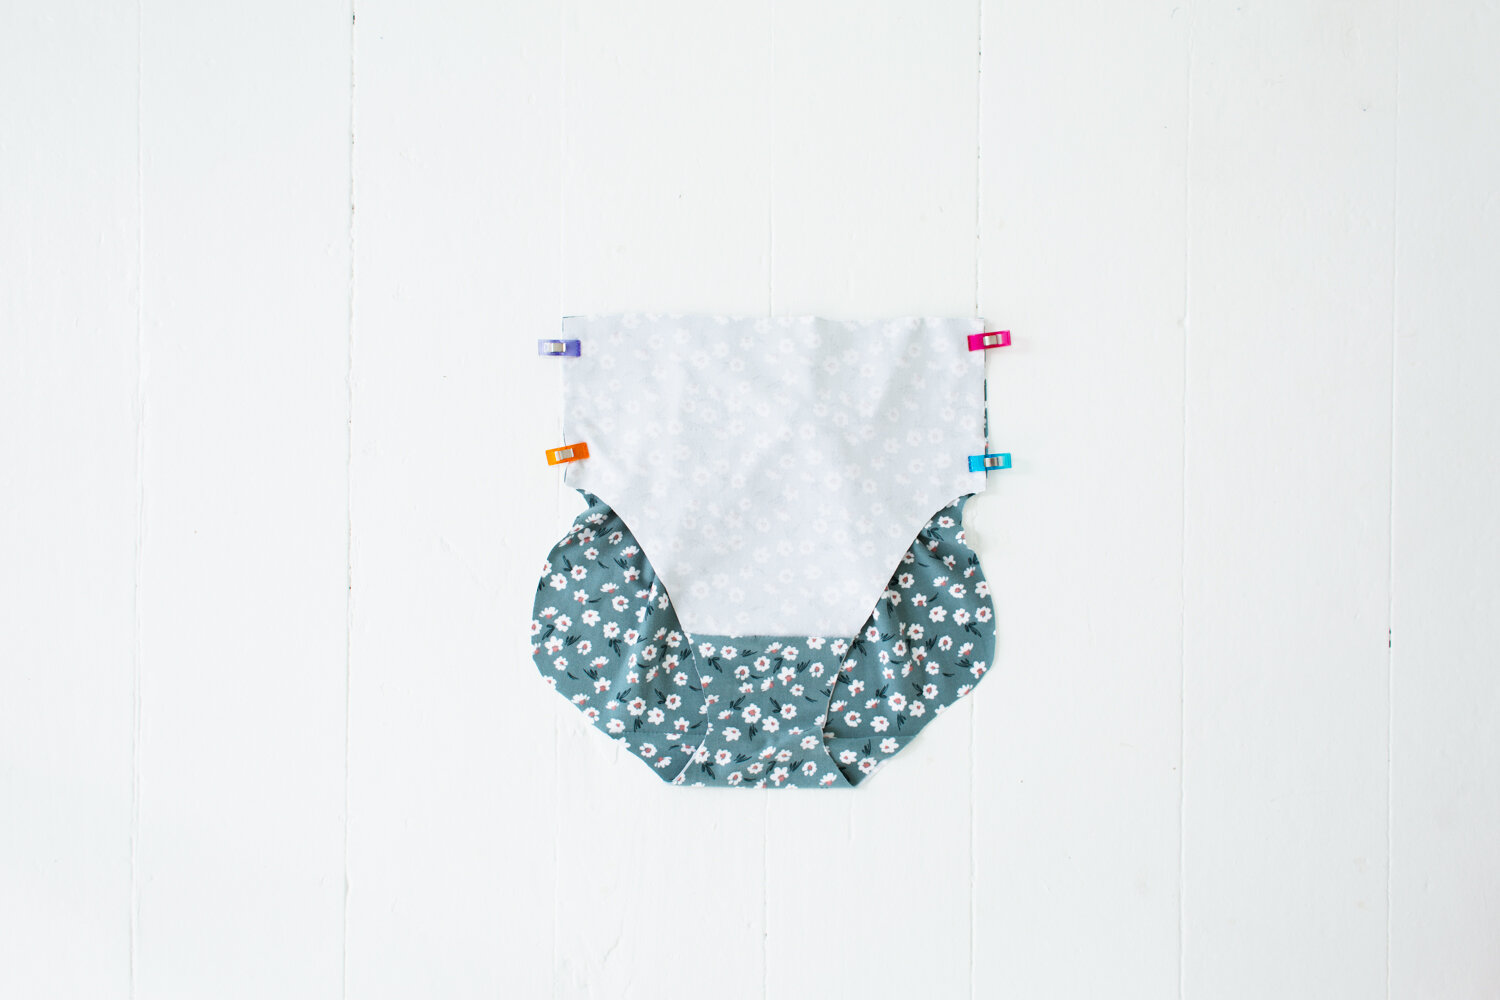
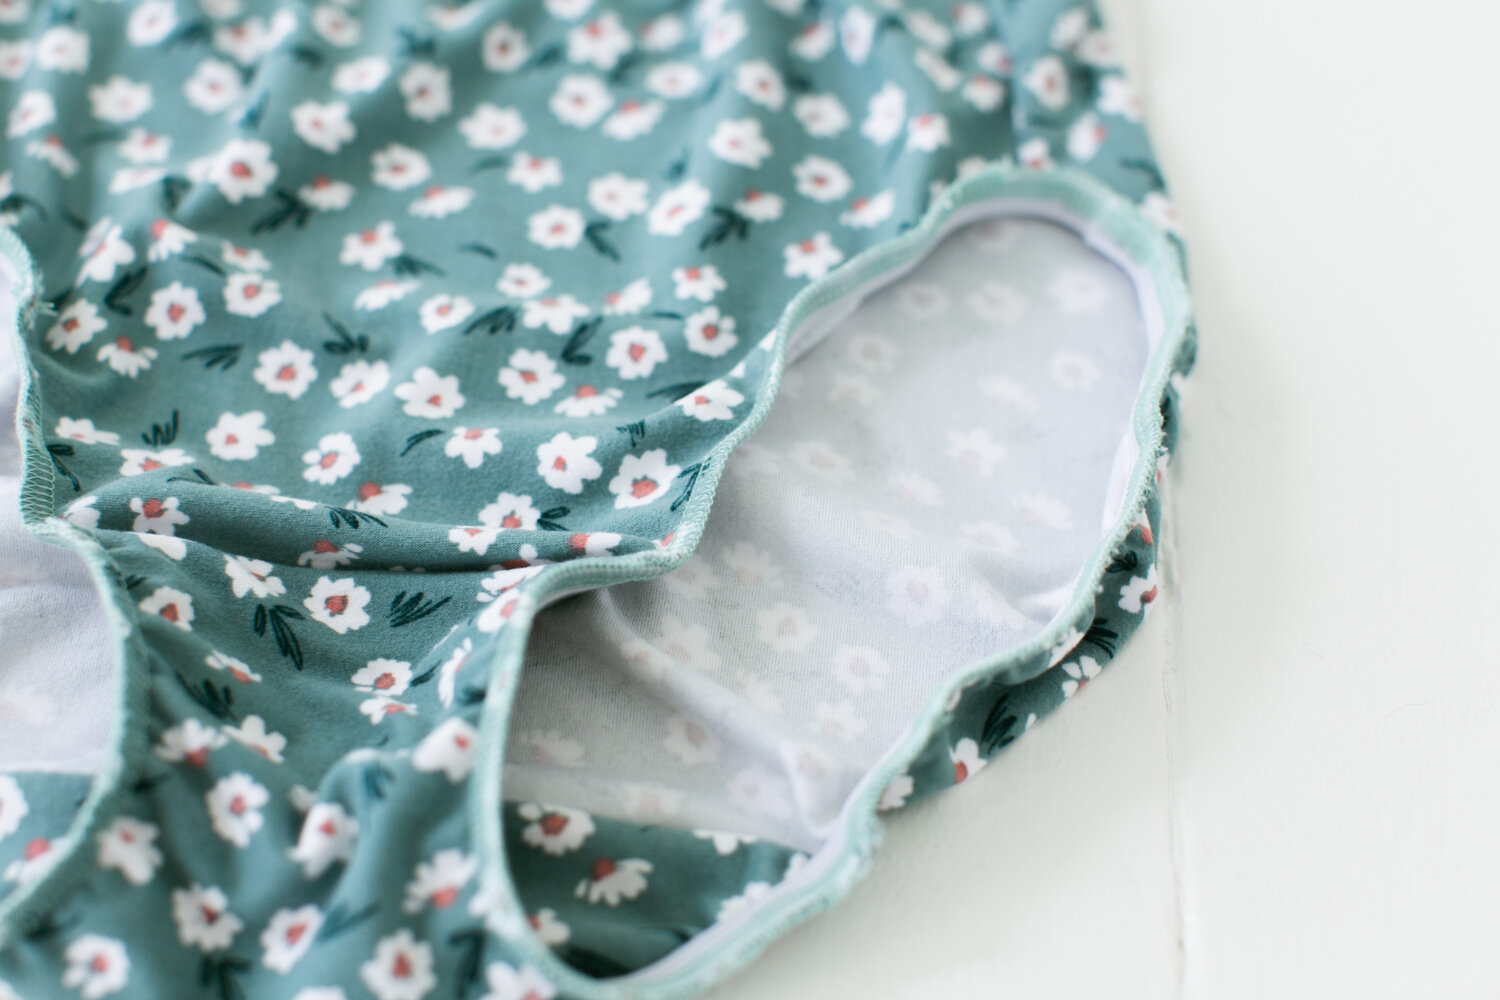
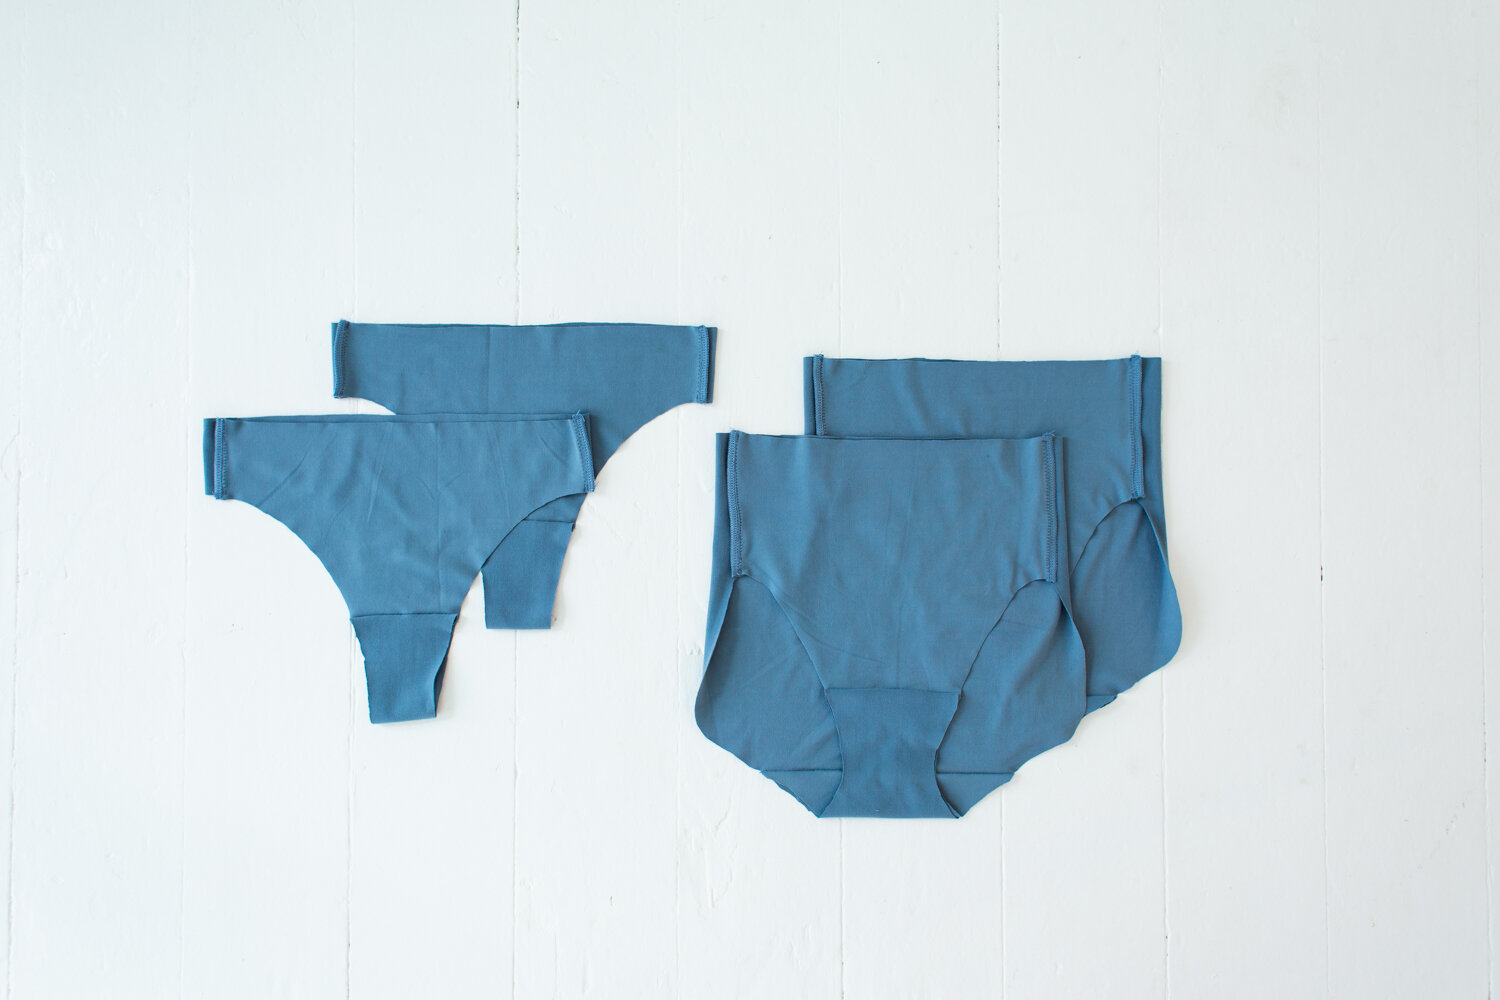
Step 2: Sew the crotch gussets and sides of each pair.

How to Batch Sew Underwear

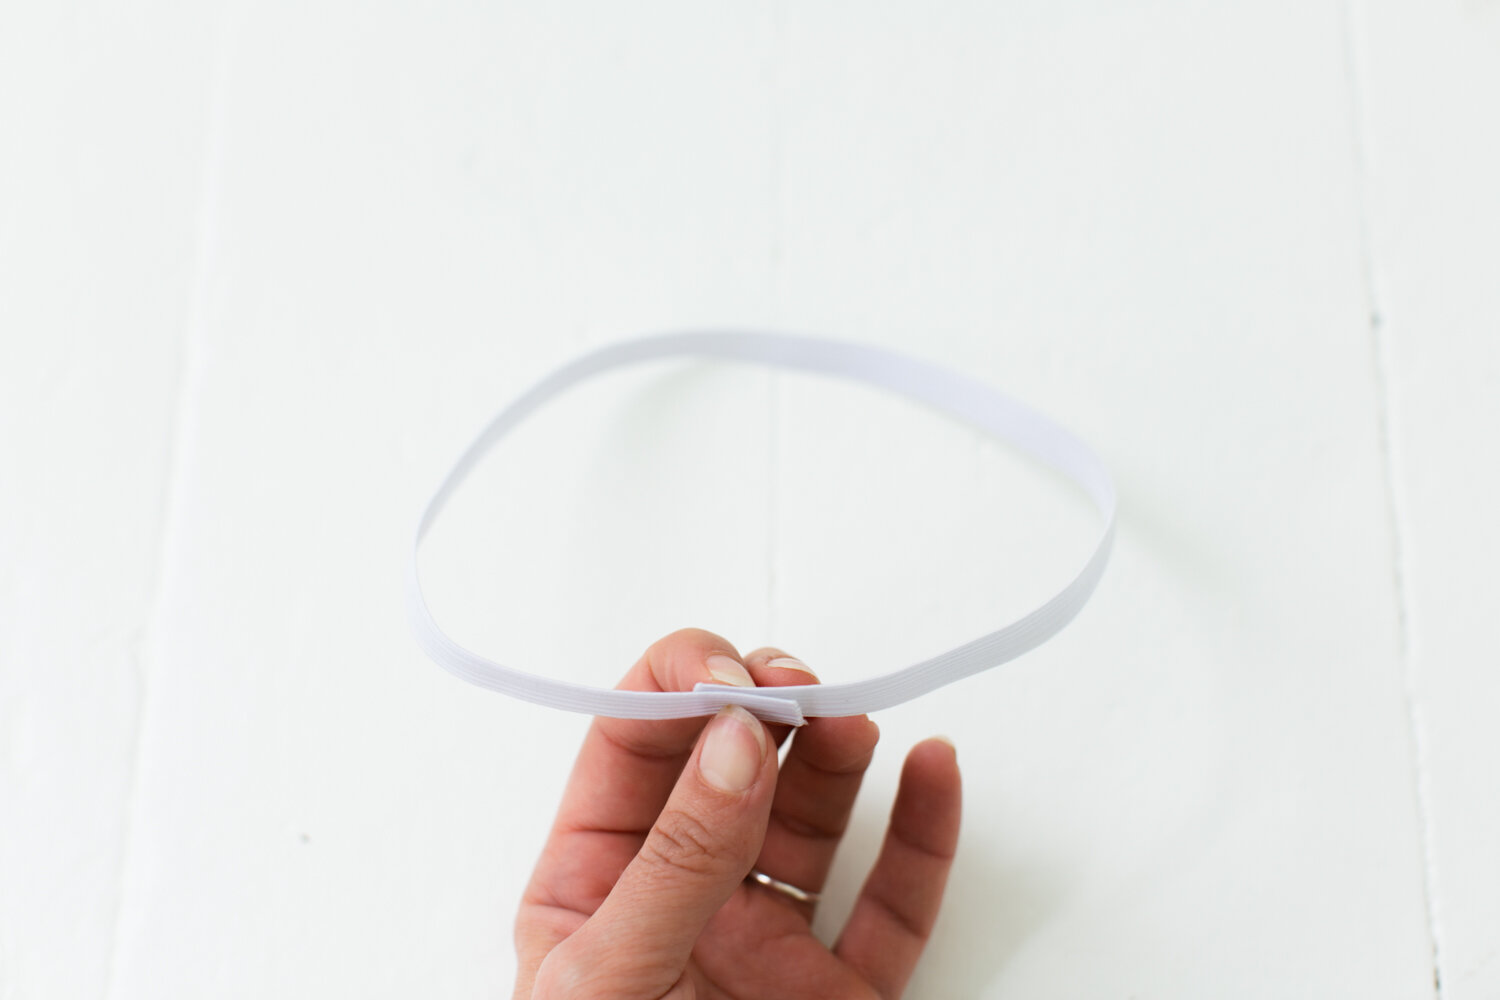
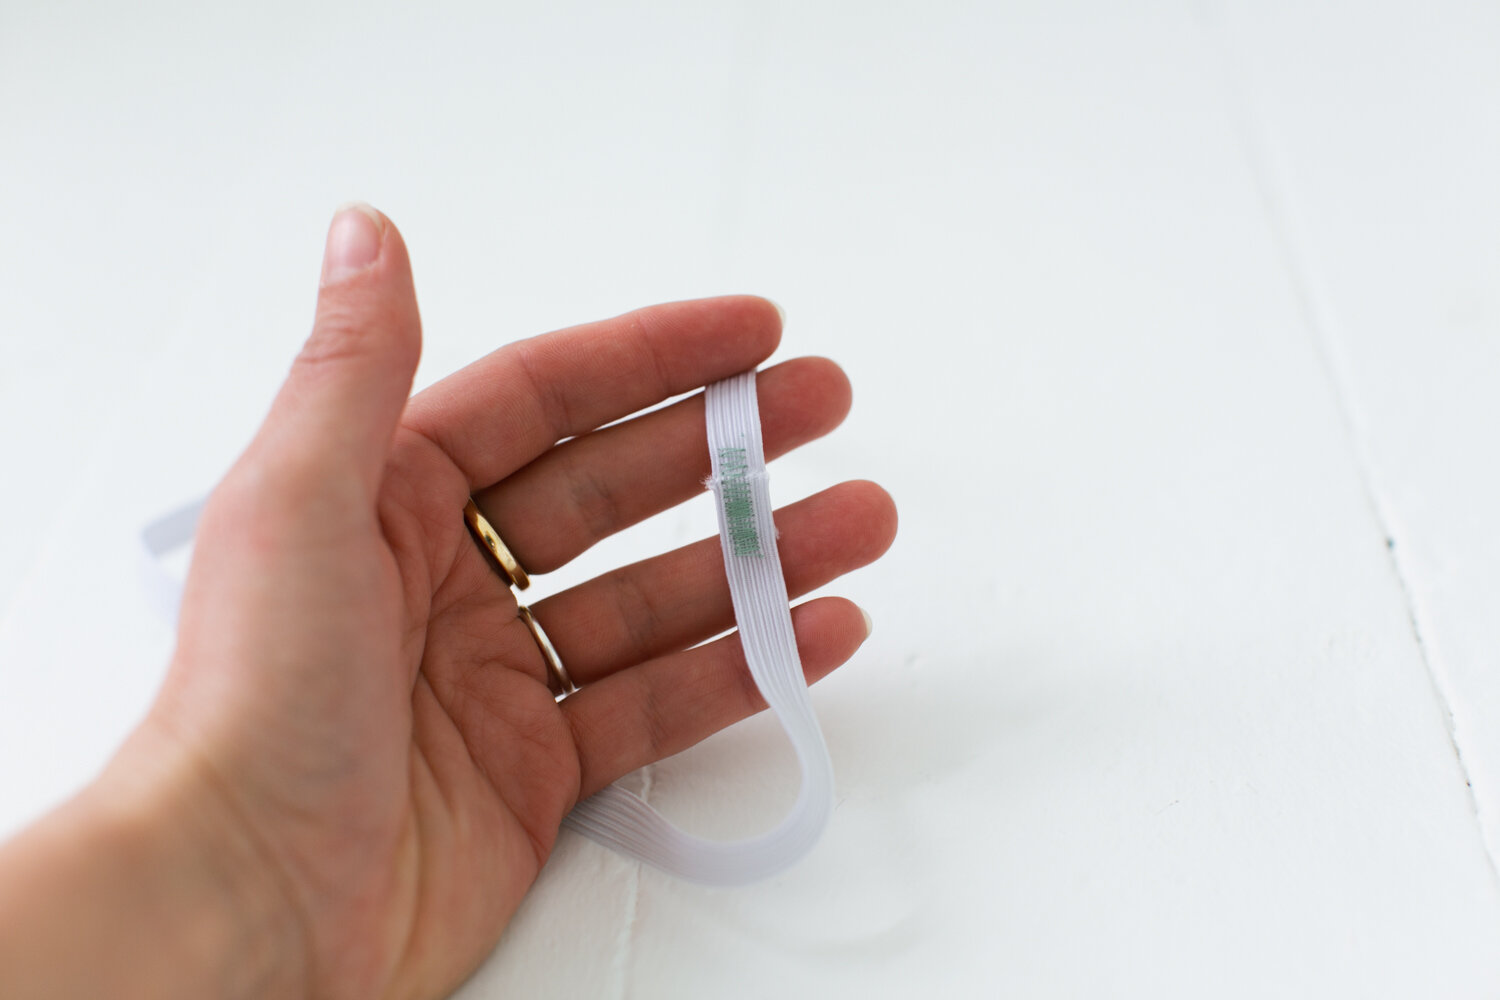
Step 3: Cut the elastic for the legs and waistband of each pair. Be sure to keep track of which lengths goes with which pairs!

How to Batch Sew Underwear

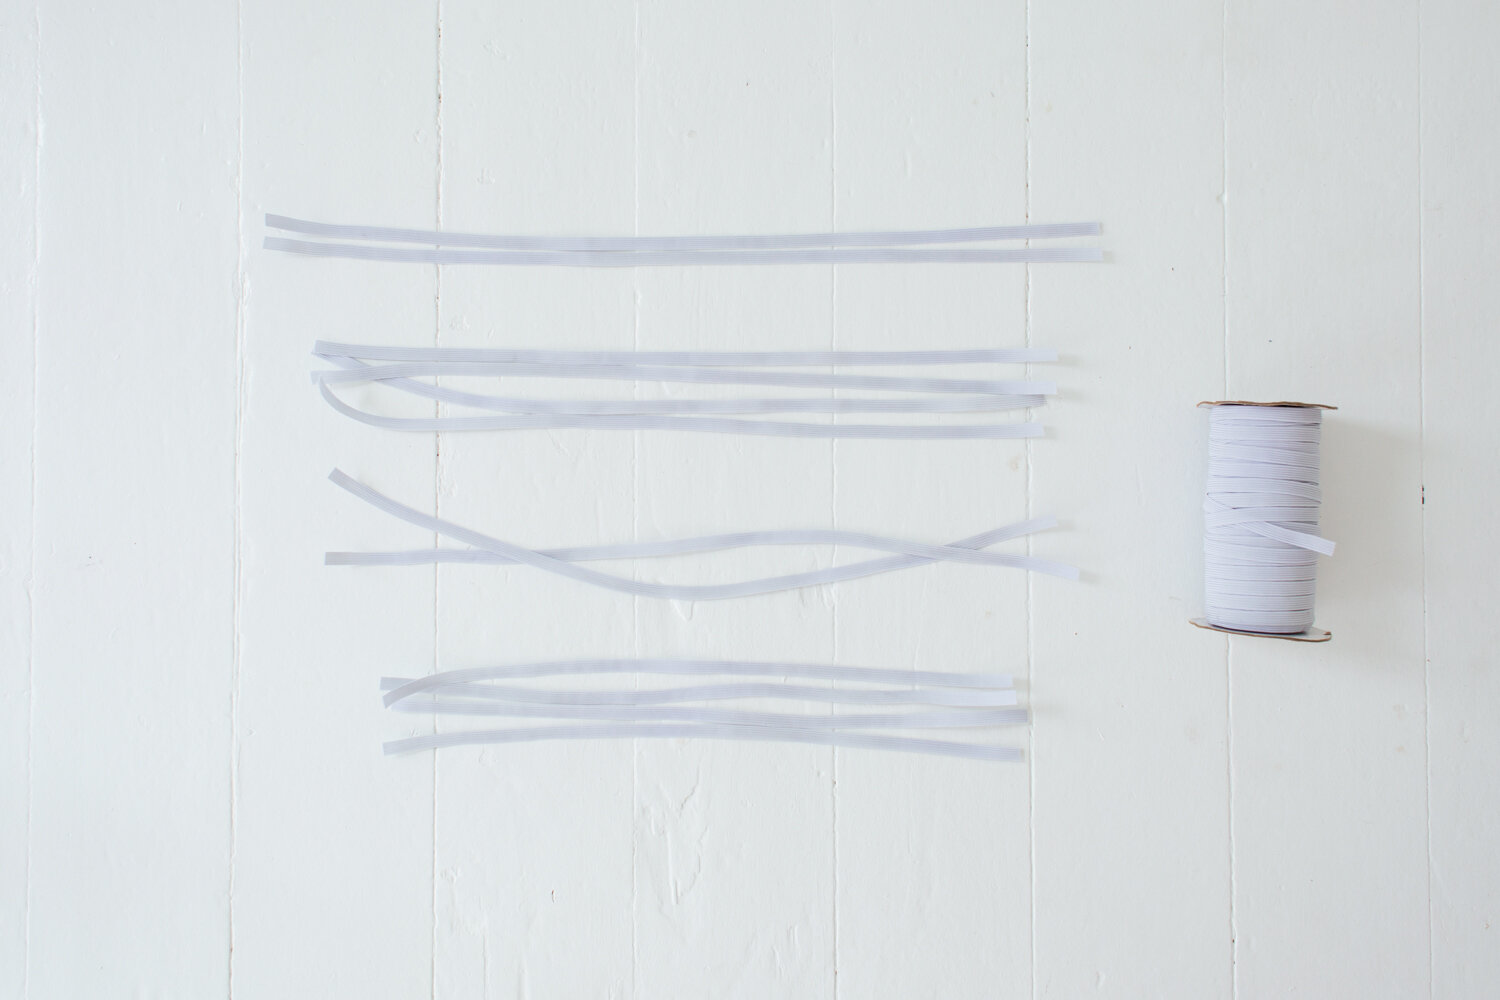
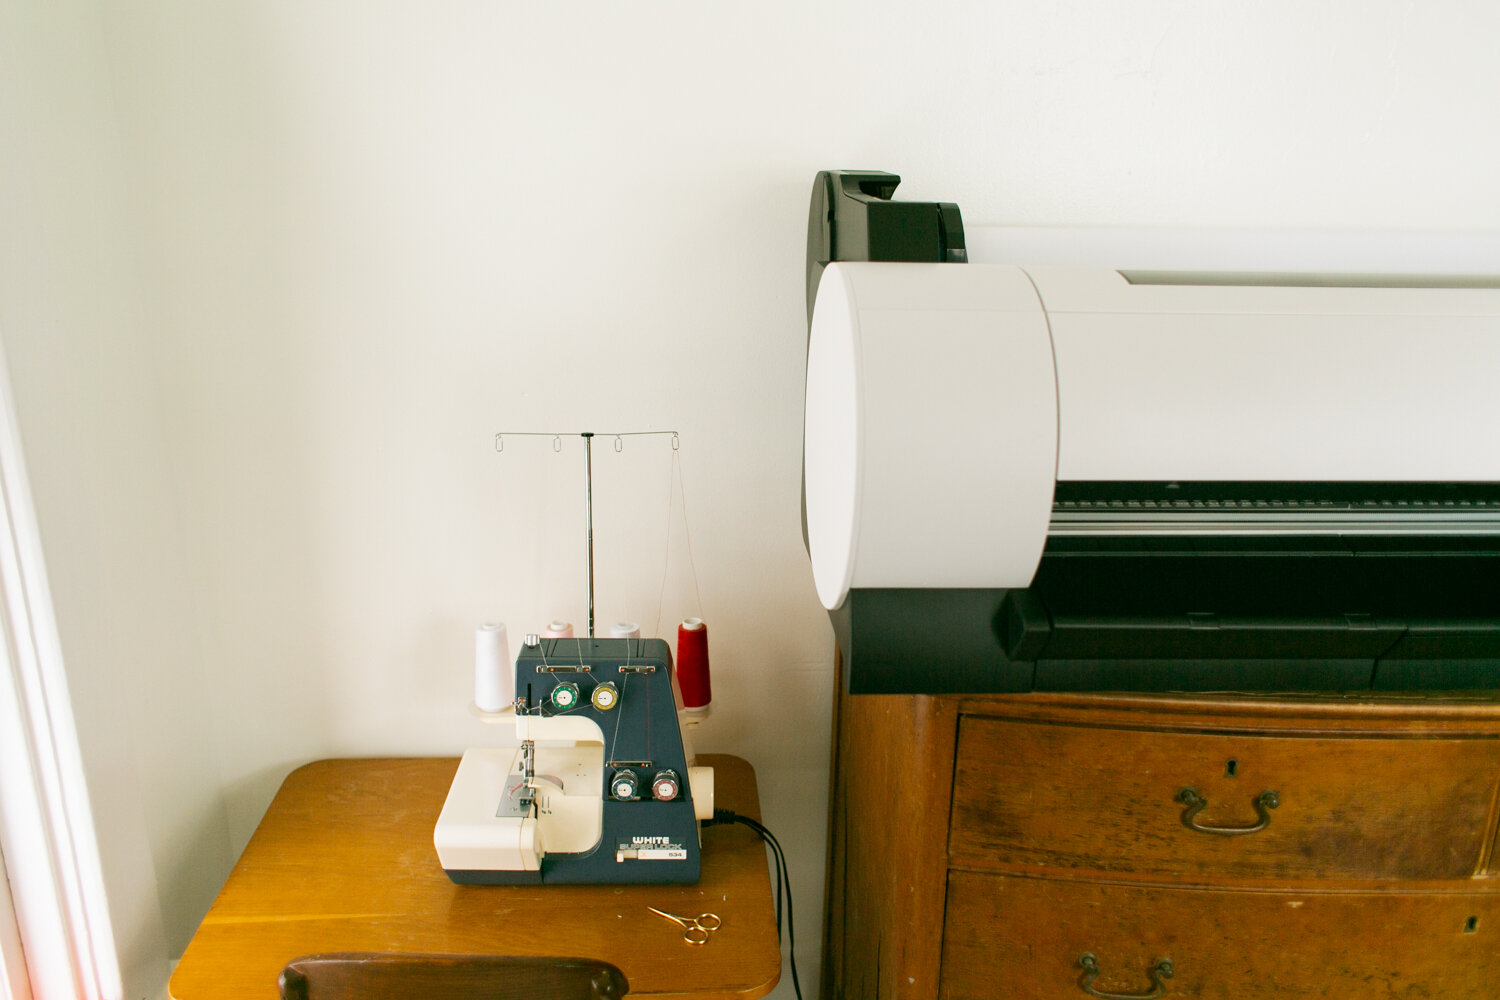
Step 4: Sew each elastic into a loop.

How to Batch Sew Underwear

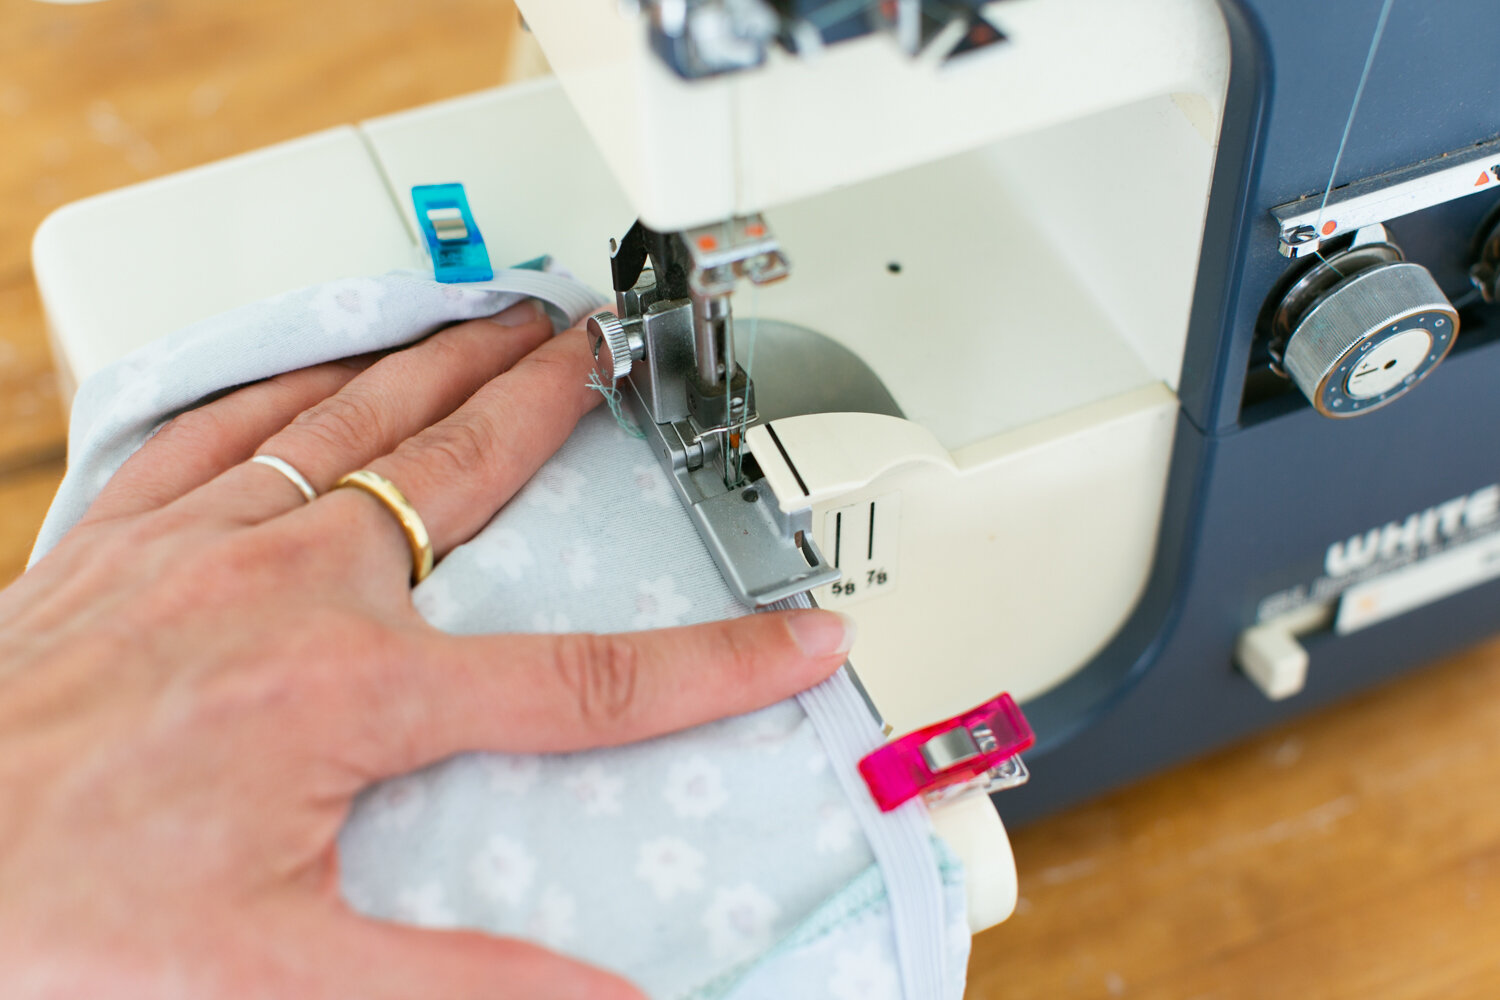
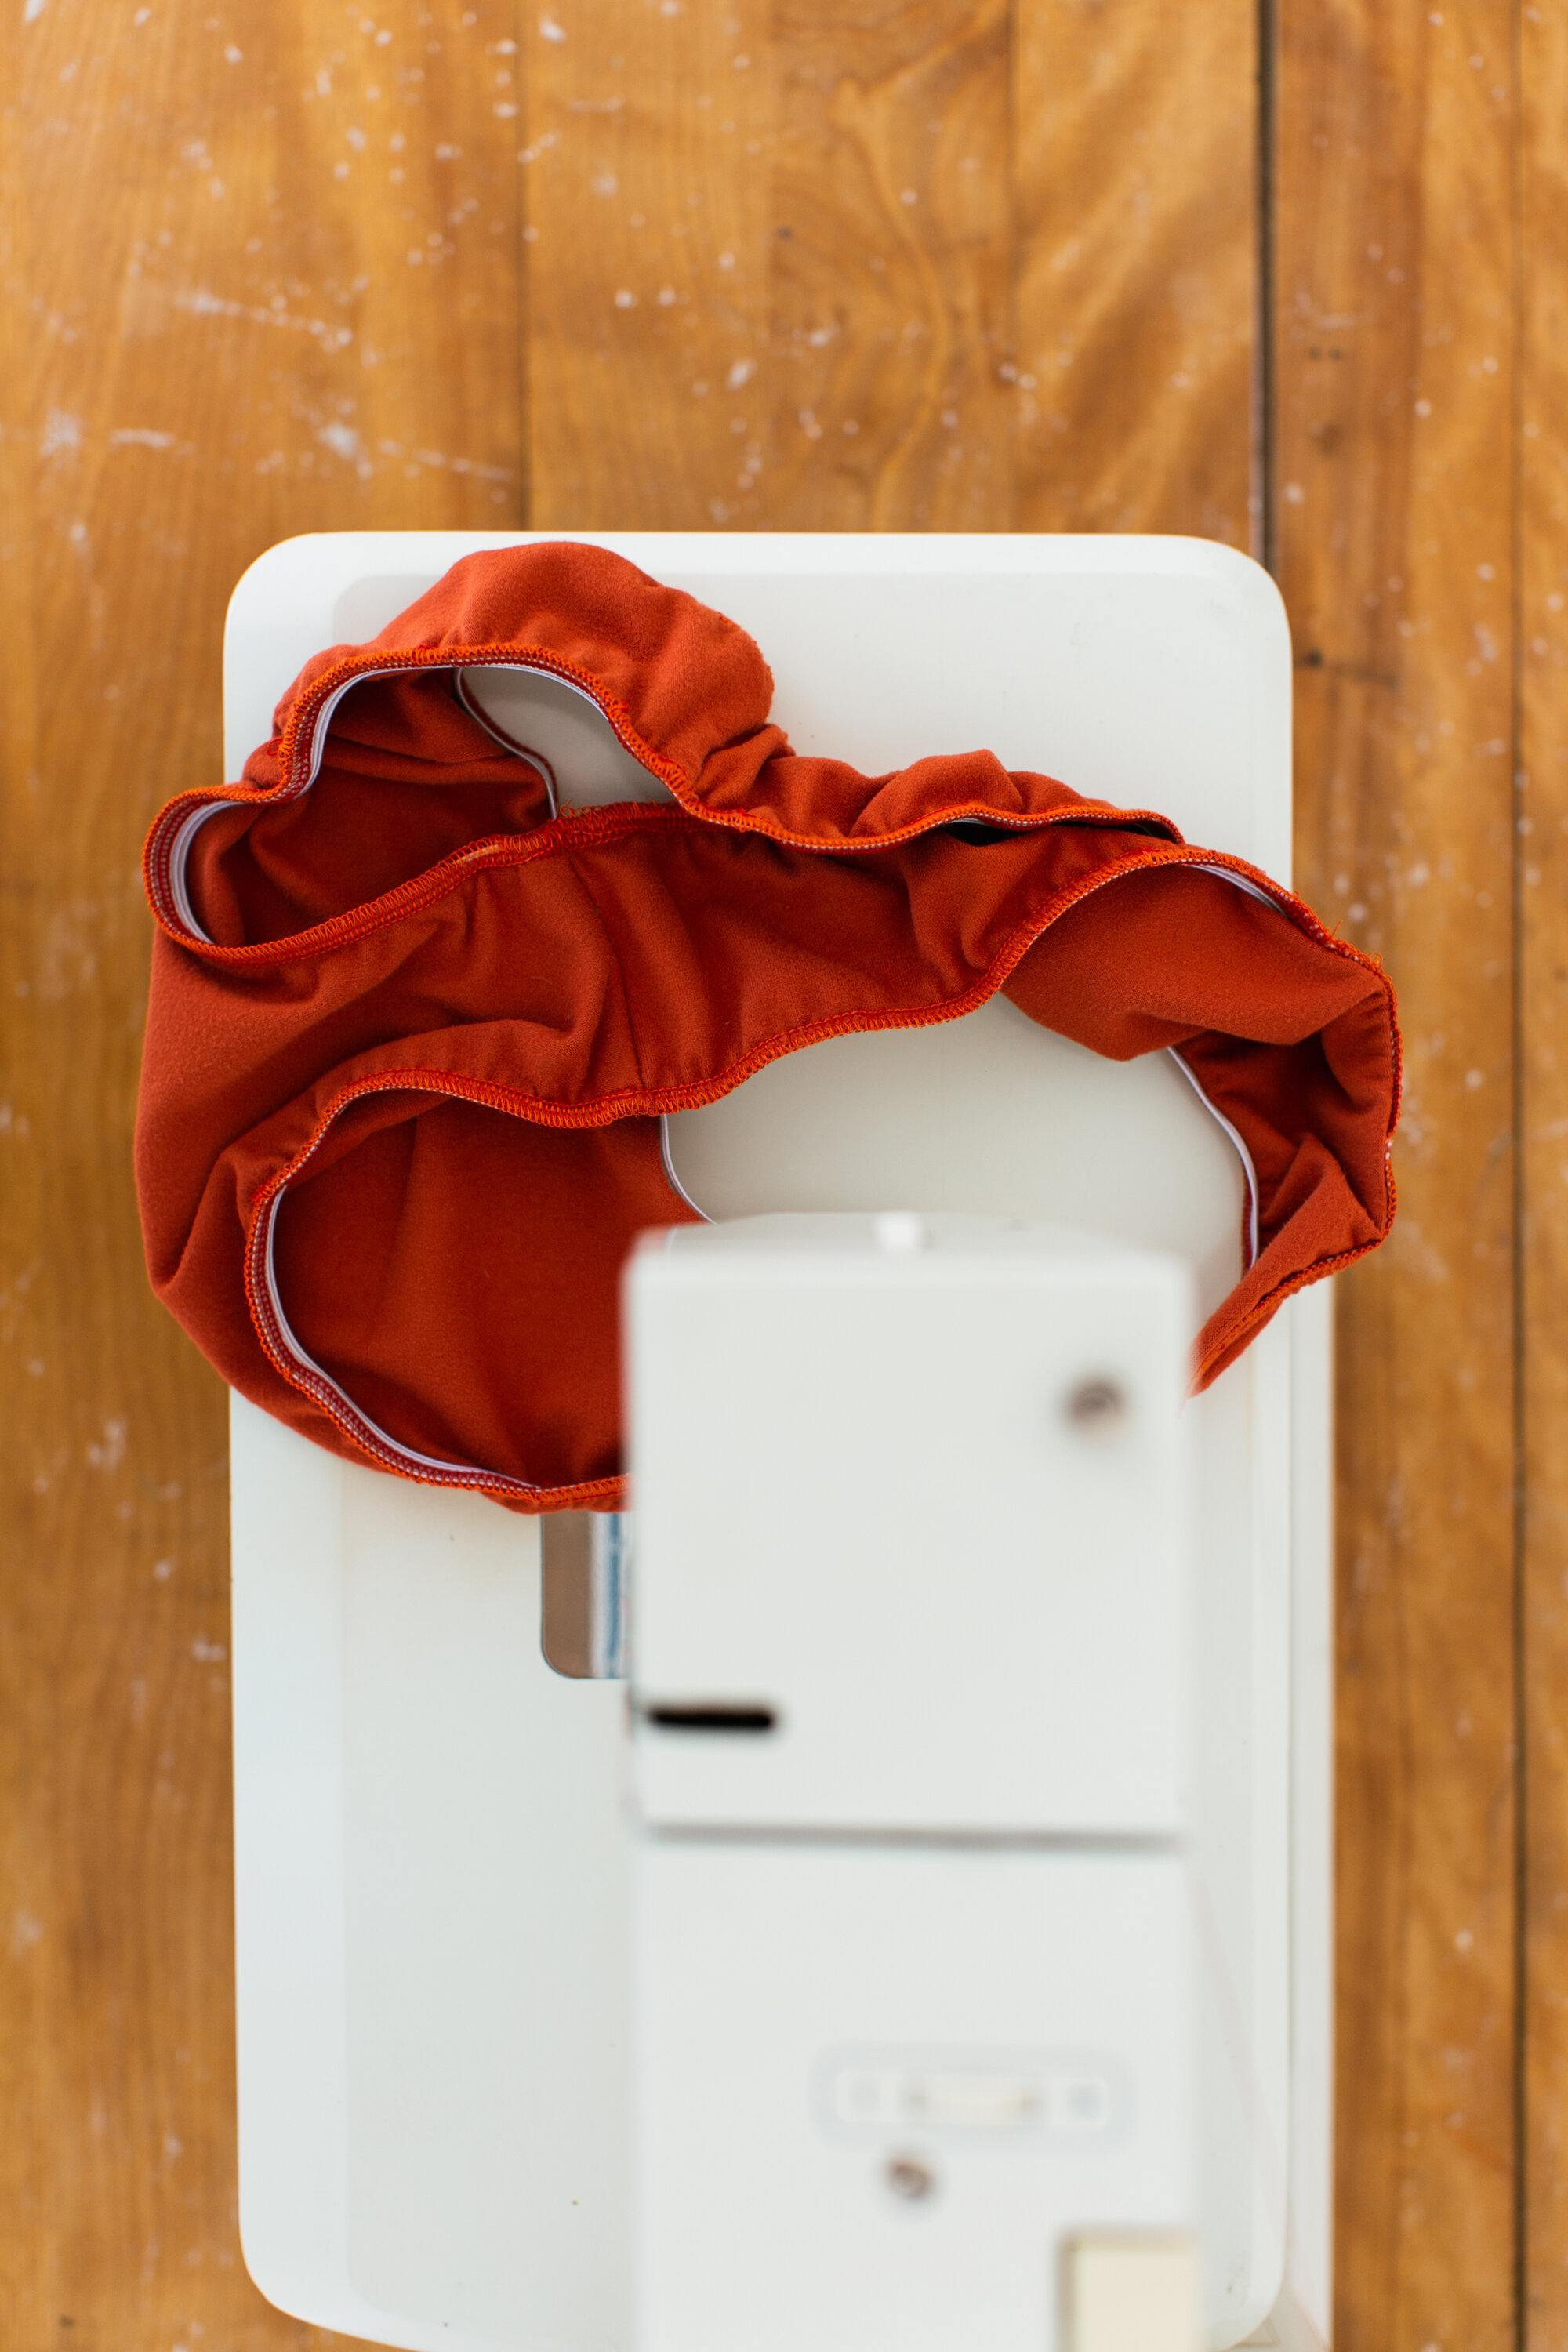
Step 5: Serge all the elastic onto the waist and legs.

How to Batch Sew Underwear

Step 6: Fold the elastic under and sew.

Woohoo! Olive Undies!

How to Batch Sew Underwear

Underwear Sewing Pattern Fit Adjustments - The Olive Undies

Bodies are like sculptures — works of art to be celebrated. Sewing allows you to celebrate the uniqueness of your body in a powerful way by providing the opportunity to tweak the shape of your clothing. One fun way to honor your body is to adorn it with clothing that is made especially for your contours.

Here’s how to make adjustments to the Olive Undies.

Let’s jump in and play!

If you need to increase or decrease the amount of room in the bum zone, you can adjust the leg opening of the Back pattern piece. Move it in if you need less room, move it out if you need more room.

If you aren’t sure how much you need to add or decrease, try 3/8 - 1/2” (1 cm - 1.3 cm) to get started.

Underwear sewing adjustments - Sarah Kirsten Olive Undies

If you need the biggest part of the bum to be a little higher or lower than the original pattern, you can shift the curve up or down along the Back piece of the pattern.

Underwear sewing adjustments - Sarah Kirsten Olive Undies

If you would like to make the rise of the leg higher, you can increase the height of the leg opening by equal amounts on both the Front and Back pattern pieces.

Underwear sewing adjustments - Sarah Kirsten Olive Undies

If you would like to lower the rise of the leg, you can decrease the height of the leg opening by equal amounts on both the Front and Back pattern pieces.

Underwear sewing adjustments - Sarah Kirsten Olive Undies

If the width of the bum is too wide near the crotch, you can decrease the width of the bottom of the Back piece and the top of the Crotch piece in equal amounts.

Underwear sewing adjustments - Sarah Kirsten Olive Undies

If the width of the bum is too narrow by the crotch, you can increase the width of the bottom of the Back piece and the top of the Crotch piece in equal amounts.

Underwear sewing adjustments - Sarah Kirsten Olive Undies

If you haven’t grabbed the pattern yet, you can get the Olive Undies here!

Olive Undies Full Bum Sew Along

Oh the joy of undies!

The Olive Undies sewing pattern comes with a Thong version and a Full Bum version.

These Full Bum undies are designed to be one of the most well covering and most comfortable pairs of underwear you own.

Although this tutorial is for the Olive Undies specifically, the techniques can be applied to all your underwear and swimwear sewing adventures. Sew yeah!

This tutorial uses a serger, but fear not! A zigzag stitch substitutes seamlessly (haha punny).

Let’s jump in

Step 1: Cut out all the pieces with stretchy fabric that makes you smile.

_U5A7604.jpg

Step 2: Place the Front and Back pieces right side up. Place them so their tops are facing each other.

How to Sew Underwear - step by step tutorial with lots of photos by Sarah Kirsten

Step 3: Roll the tops of both pieces down toward the crotch.

_U5A7608.jpgHow to Sew Underwear - step by step tutorial with lots of photos by Sarah Kirsten

Step 4: Place one of the Crotch pieces right side up underneath. Match up the edges.

How to Sew Underwear - step by step tutorial with lots of photos by Sarah Kirsten.jpg
How to Sew Underwear - step by step tutorial with lots of photos by Sarah Kirsten

Step 5: Place the other Crotch piece right side down on top. Clip or pin in place.

At this point the Front and Back pieces are sandwiched in between the two Crotch pieces.

How to Sew Underwear - step by step tutorial with lots of photos by Sarah Kirsten

Step 6: Sew with 3/8” (1 cm) seam allowance using your stretch stitch of preference.

How to Sew Underwear - step by step tutorial with lots of photos by Sarah Kirsten

Step 7: Trim seam allowance.

How to Sew Underwear - step by step tutorial with lots of photos by Sarah Kirsten

Step 8: Turn the underwear right side out through the crotch.

How to Sew Underwear - step by step tutorial with lots of photos by Sarah Kirsten

Step 9: Trim off any corners sticking out from the seams.

MARK7696.jpg
How to Sew Underwear - step by step tutorial with lots of photos by Sarah Kirsten

Step 10: Line up the side seams. Clip or pin in place.

How to Sew Underwear - step by step tutorial with lots of photos by Sarah Kirsten

Step 11: Sew side seams with 3/8” (1 cm) seam allowance using your preferred stitch.

How to Sew Underwear - step by step tutorial with lots of photos by Sarah Kirsten

If you have a serger, serge edges for a nice finish.

How to Sew Underwear - step by step tutorial with lots of photos by Sarah Kirsten

Step 12: Cut the leg and waistband elastic. Refer to the chart in the pattern to see what lengths to cut for your size.

Step 13: Overlap the ends 1/2” (1.3 cm) and zig zag stitch.

How to Sew Underwear - step by step tutorial with lots of photos by Sarah Kirsten

Step 14: Clip or pin the elastic in four even sections around the waistband. Fold the undies in half to find the halfway points.

How to Sew Underwear - step by step tutorial with lots of photos by Sarah Kirsten

Step 15: Line up the edge of the elastic with the edge of the fabric. Serge or zig zag stitch all the way around.

Tips for getting started with elastic

a) Make sure the foot and needle of your machine are up.

b) Spread the elastic tight between two fingers. Slide it under the foot. Put the foot and needle down to hold it in place.

c) Grab the elastic with one hand in front of the machine and the other hand in back. Stretch out the elastic to the next place it’s clipped or pinned to see how tight it is supposed to be.

d) Stretch out the elastic with your hands. Let the machine pull it through at its own speed. Don’t push or pull with your hands, just let the machine do the work while your hands keep the elastic tight for it to sew easily.

e) Sew one small section at a time. Sew. Tighten a section. Sew. Tighten a section.

How to Sew Underwear - step by step tutorial with lots of photos by Sarah Kirsten

Step : Repeat the steps to sew on the elastic evenly around the legs.

How to Sew Underwear - step by step tutorial with lots of photos by Sarah Kirsten
MARK7807.jpg
How to Sew Underwear - step by step tutorial with lots of photos by Sarah Kirsten

Step 16: Fold over the elastic once toward the wrong side. Stitch all the way around with zig zag stitch. Overlap the beginning and end of the stitching 1” (2.5 cm). No back stitching.

For the waistband, start stitching in the back or on one of the sides.

UNDIES Sew Along - How to Sew a Pair of Underwear. Tutorial with lots of photos.

For the legs, start stitching on the crotch.

UNDIES Sew Along - How to Sew a Pair of Underwear. Tutorial with lots of photos.

That’s it! Well done!

UNDIES Sew Along - How to Sew a Pair of Underwear. Tutorial with lots of photos.

If you’d like to grab the Olive Undies sewing pattern, you can get it here!

Big Printer

I’m happy to introduce an addition to my sewing room — Big Printer.

Big Printer is a 36” plotter printer that can print out patterns on one continuous sheet of paper, just like a copy shop. This is handy for my own sewing and pattern drafting.

But even more exciting is the opportunity to start offering printed patterns to online customers and to indie sewing shops.

Printed Patterns - Sarah Kirsten

My local print shop is wonderful to work with and kindly printed pattern envelopes for me.

Printed Patterns - Sarah Kirsten

These shelves from Ikea were just what I was looking for. Simple, unstained wood, adjustable, affordable, easy to put together and move. Little Printer, rolls of paper, and a mix of shipping supplies and my personal sewing tools are organized on these shelves.

Printed Patterns - Sarah Kirsten

I wasn’t sure where I was going to put Big Printer. It’s bigger than I expected. But it fits perfectly on top of my antique dresser. I’m currently using it to house fabric. Generally I prefer open shelving for fabric so I can easily see what I have. But this is what fits best in my sewing room for now, so I’m thankful to have it on hand.

MARK6804.jpg

Big Printer and Blue Serger are enjoying each other’s company.

Printed Patterns - Sarah Kirsten

Printed patterns coming next week!

Mixing Serger Thread Color

Serger thread

Clothes always look better when you have matching serger thread. If you don’t have perfectly matching thread, you can put on a mixture of colors. For this pair of undies I couldn’t find matching serger thread at the fabric store. I loaded the serger with two orange spools and two bright red spools I had on hand.

MARK8030.jpg

Zoomed out view of current sewing space. Shooting tutorials in this bright, white, empty room.

Sewing and photoing