Warm water and soap suds and soft fabric and handmade clothes. A trove of things that bring joy to the soul.
Eighteen fresh pairs of undies hot off the sewing machine getting a bath before joining my underwear basket on my shelf.
Warm water and soap suds and soft fabric and handmade clothes. A trove of things that bring joy to the soul.
Eighteen fresh pairs of undies hot off the sewing machine getting a bath before joining my underwear basket on my shelf.


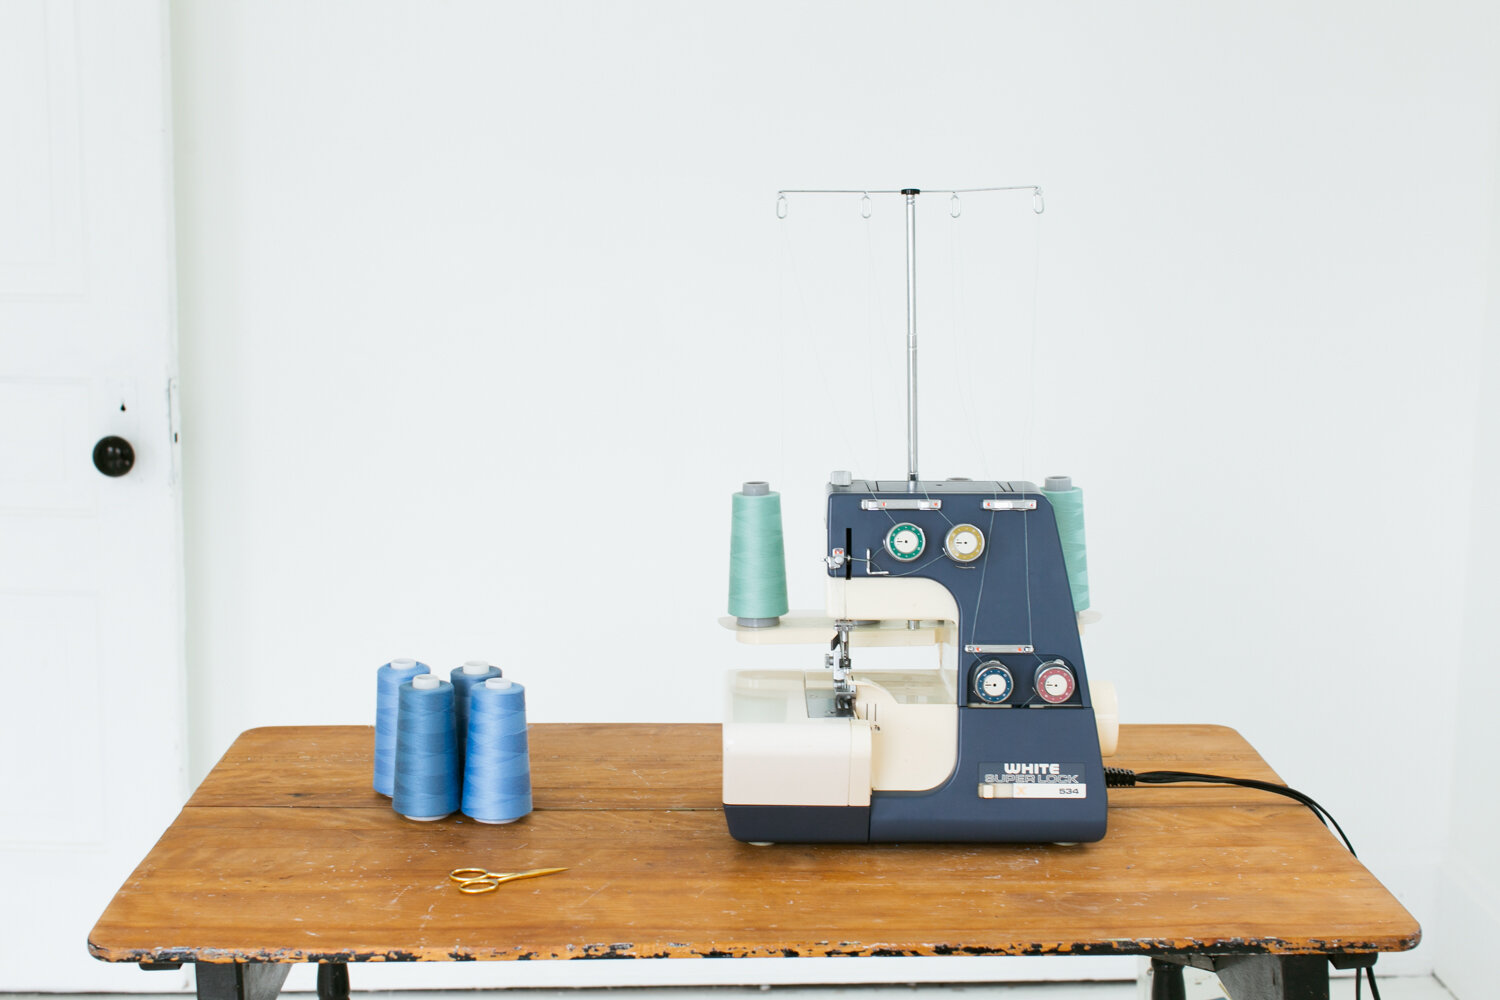
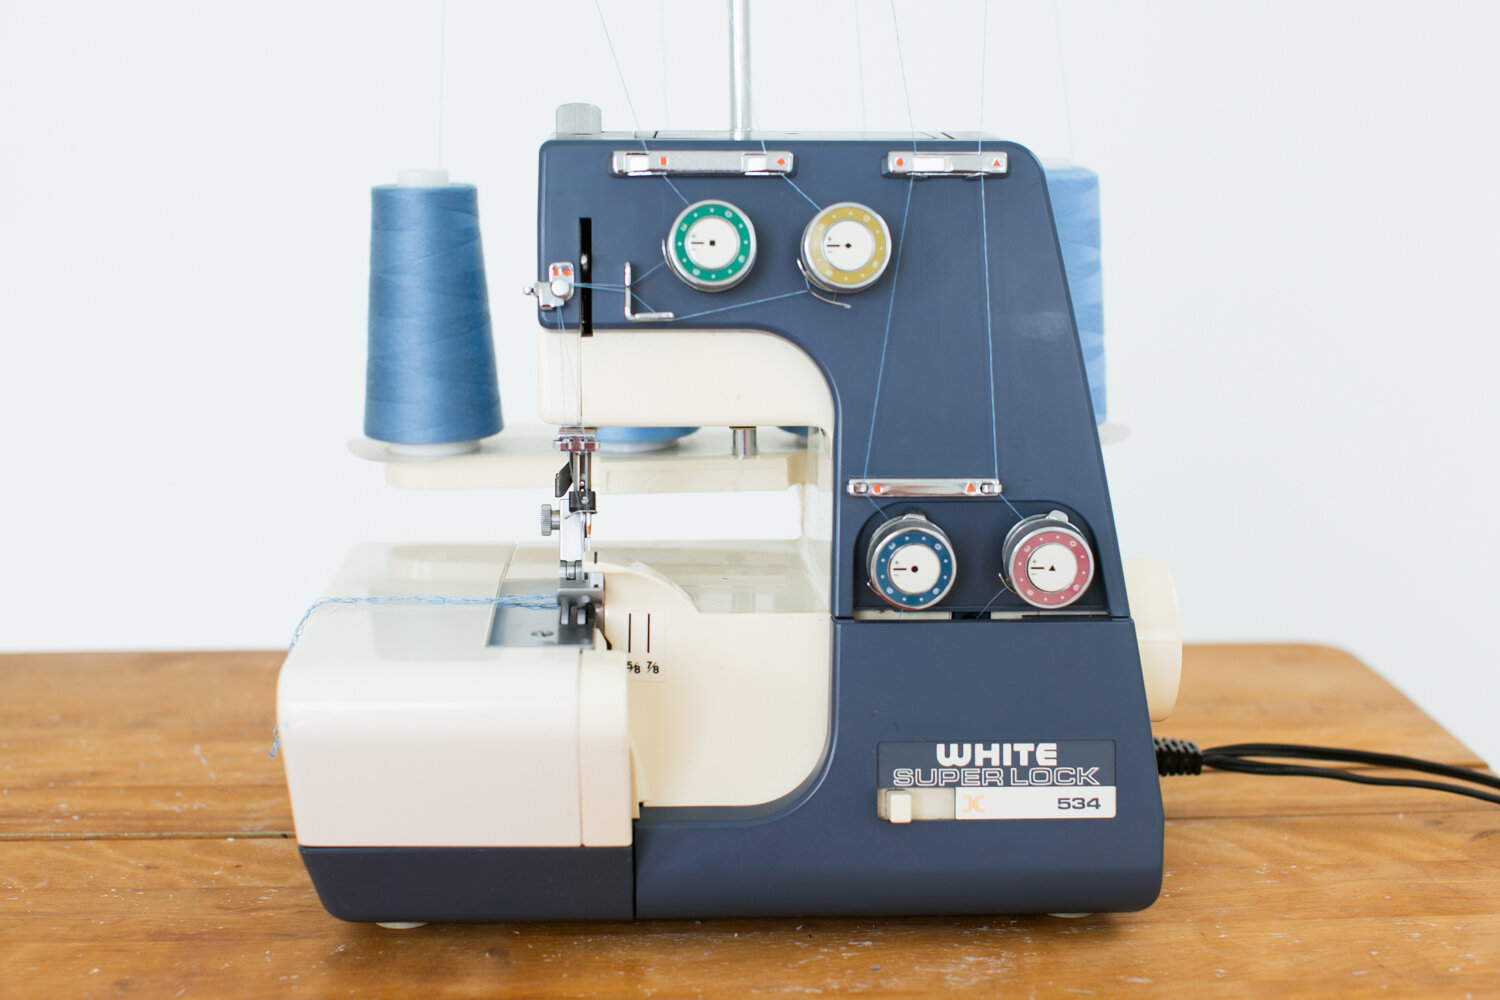
Sergers are a real joy to sew with, but not always fun to rethread.
I learned threading the hard way. My serger is on semi permanent loan from my sister who inherited it from our grandmother. No one taught me how to use it and I didn’t have the manual, so I always changed the threads manually. It took a long time, was quite frustrating, and it led me to not change the thread color very often.
But a good way to make your handmade clothes look more professional is to use matching thread, which means changing the serger thread often. Thankfully there is an easy way to do it!
I hope this can save someone else some frustration.
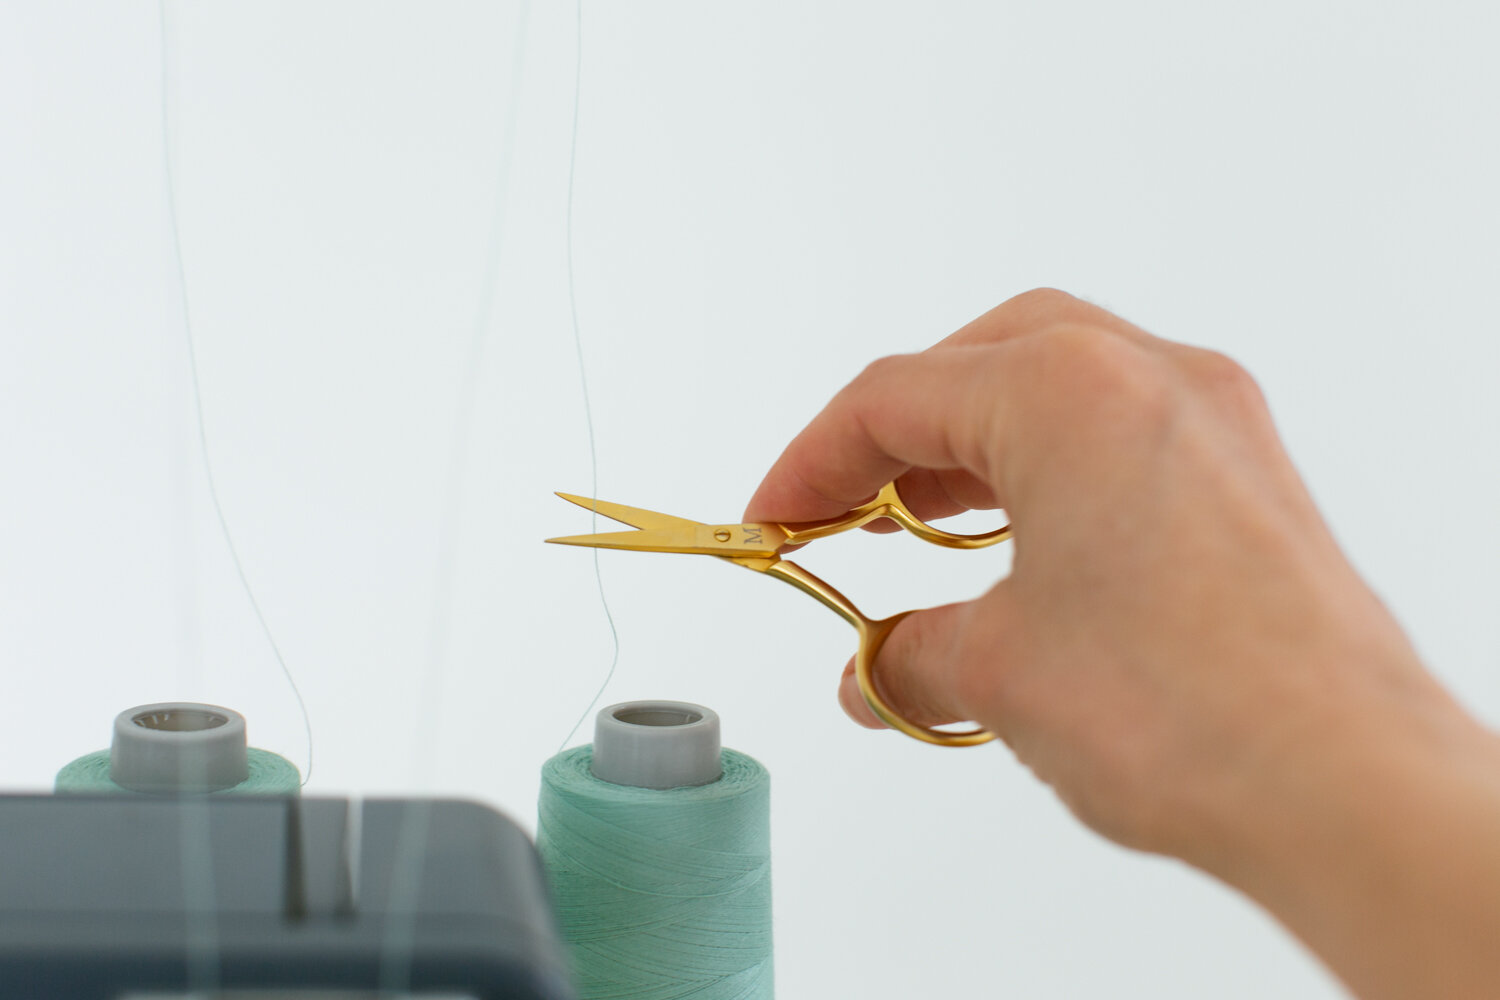
1) Snip all the threads that are currently threaded through the serger near their spool.
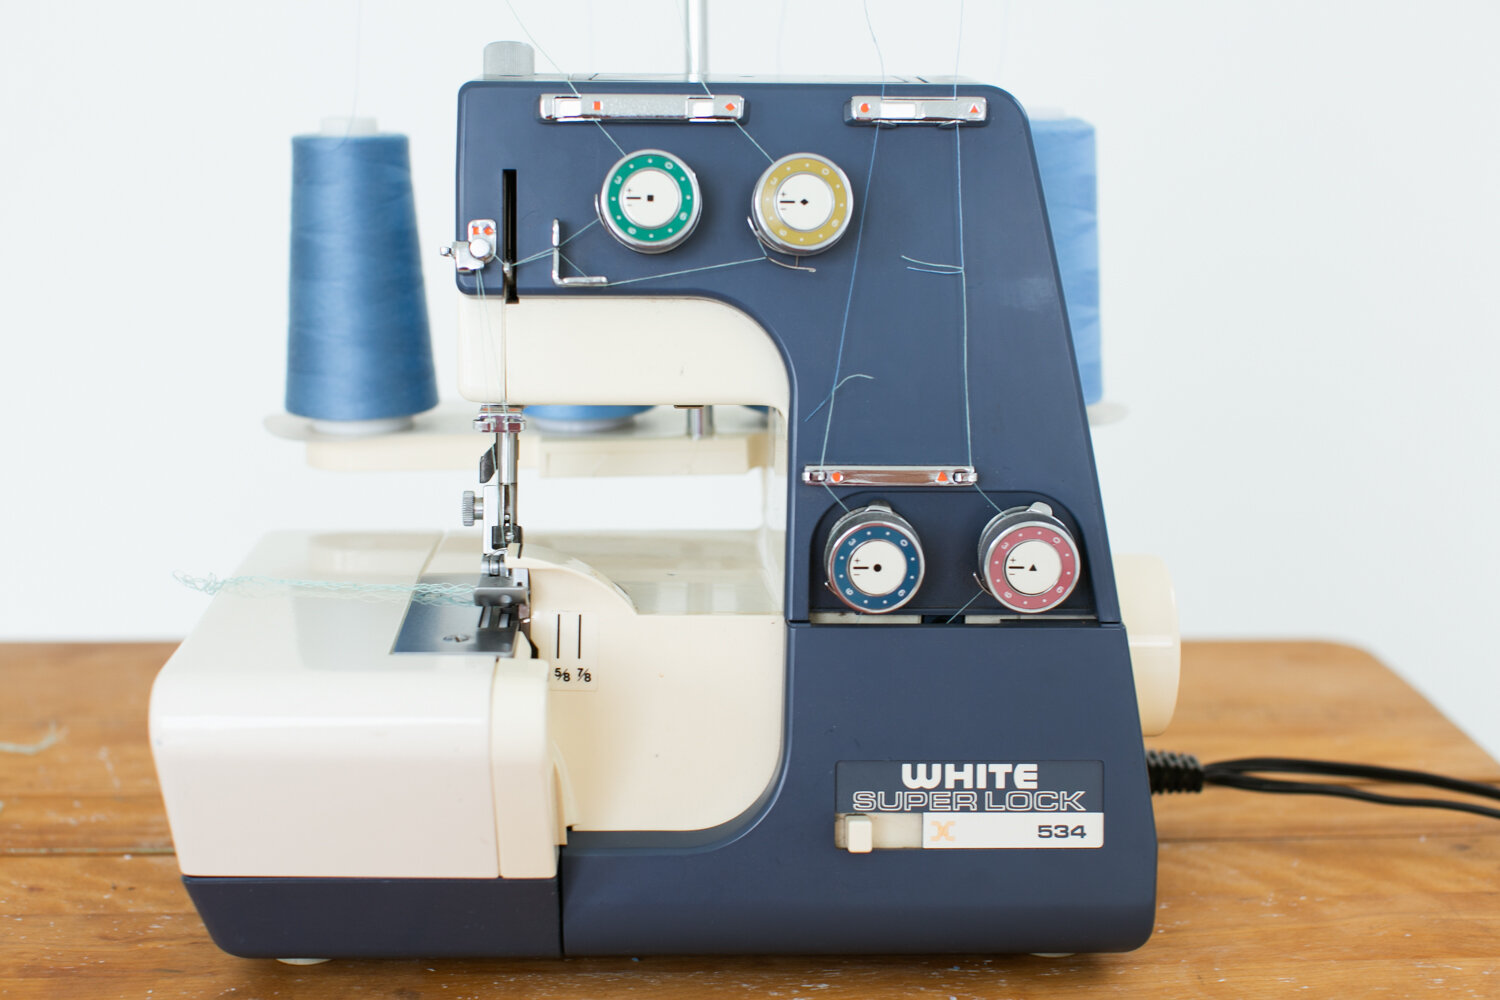
2) Put on the new spools. Tie each new spool to the old thread with a square knot.


3) Press the pedal and carefully let the new threads wind their way to the needles.
Often the thread goes smoothly through the needles with no problem. But sometimes you have to help a knot through a needle or to cut a knot and thread a needle manually. Either way, it beats manually threading the whole machine!
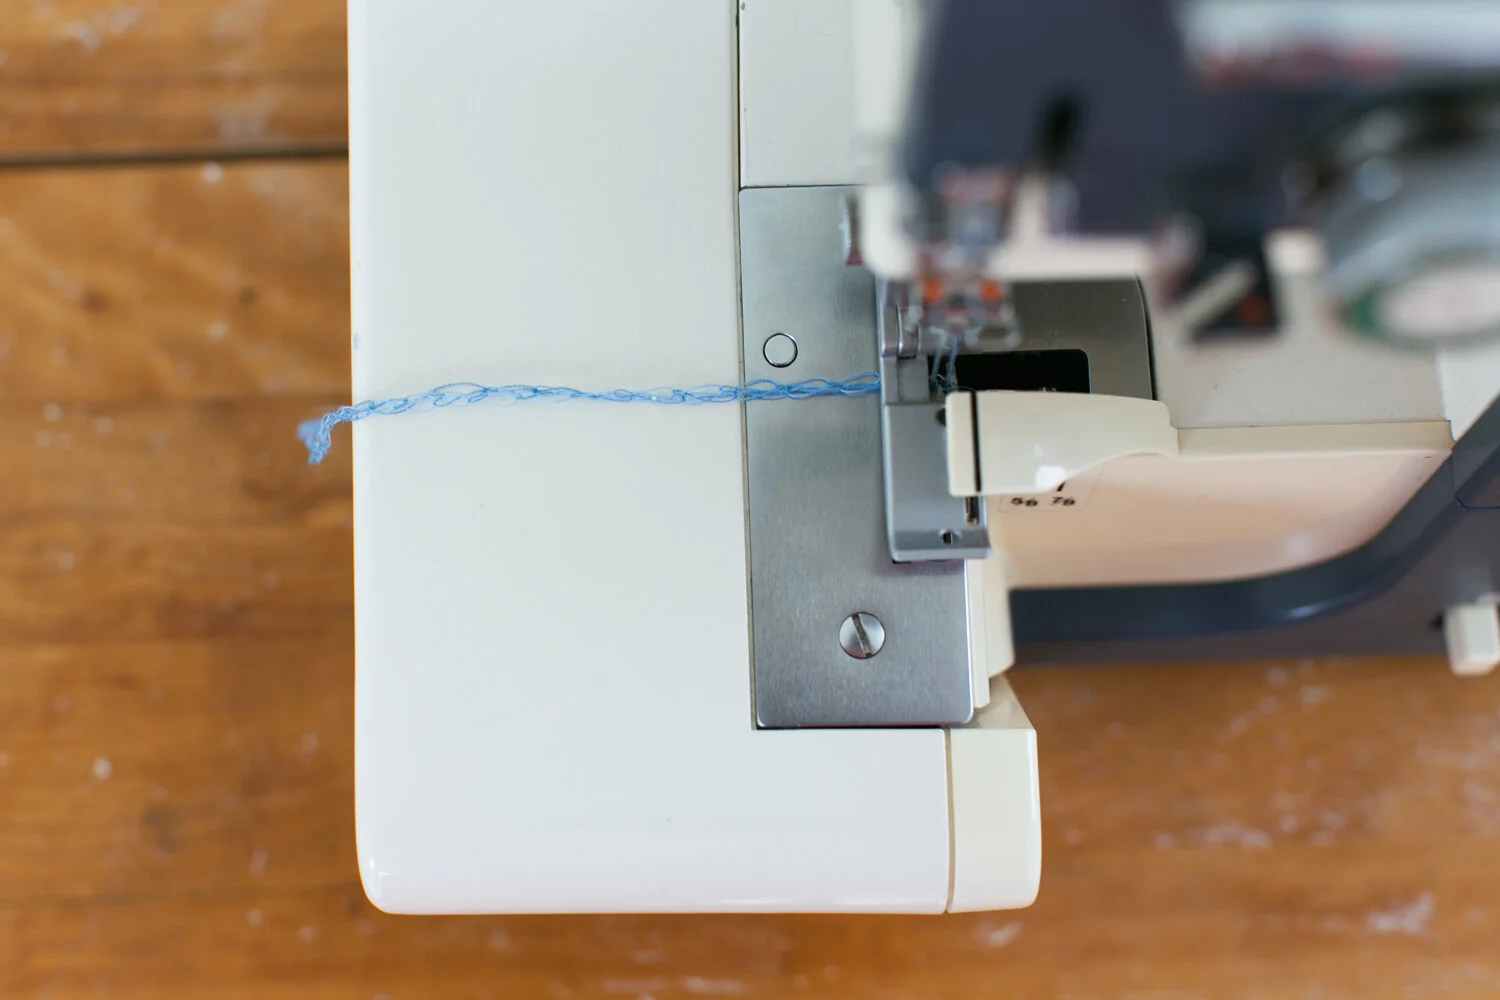
Woohoo! That’s it! This method is a big time saver (not to mention stress and frustration).

Oh the joy of sleeves. Drafting can be fun.
Step 1: Measure the length of the front and back armhole.
You can sew the shoulders together and then measure, or measure the pattern pieces and remove the shoulder seam allowance from the measurement.
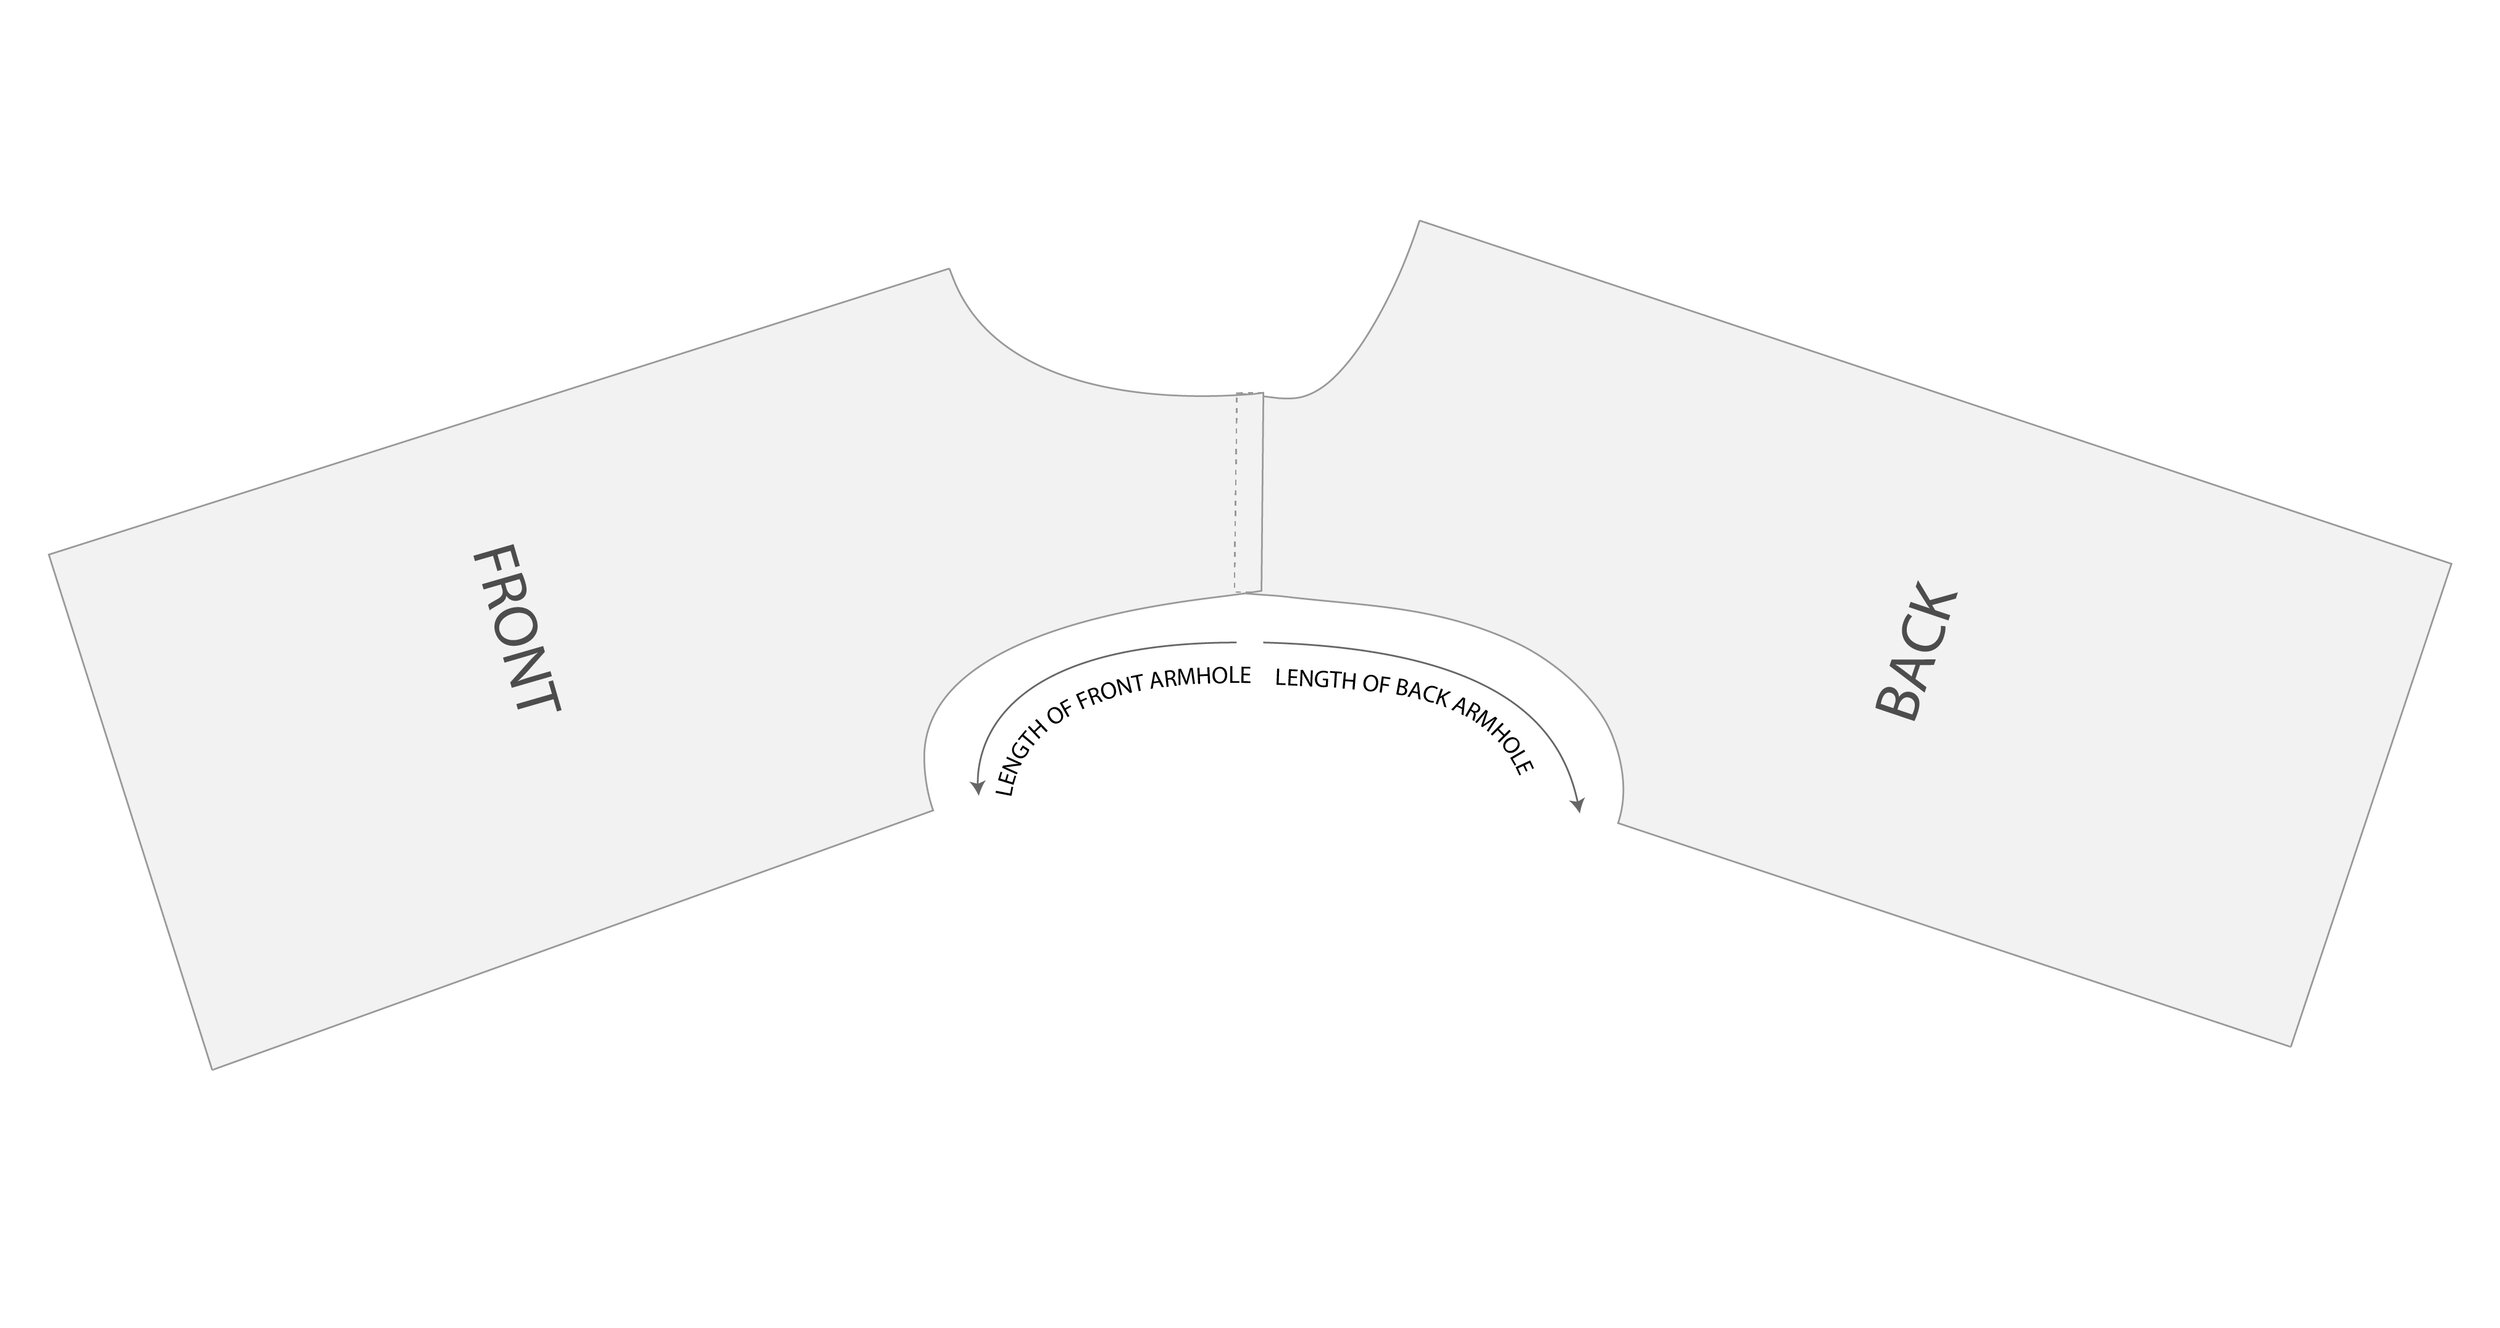
Step 2: Make a triangle using the armhole measurements where the length of the legs are equal to the length of the front and back armhole.
The steepness of the angle of the legs depends on how wide you want the sleeve to be and/or how deep you want the sleeve cap (we’ll look more deeply at pros and cons of each later in the post).

Here is an example of two different angles. Notice the shallower the angle, the wider the sleeve and the shorter the sleeve cap. The steeper the angle, the narrower the sleeve and the longer the sleeve cap.

Step 3: Draw a nice swooping curve that follows the angle of the triangle legs.
Sleeves are quite forgiving, so don’t get too hung up on the shape of the curve. But here are some things to keep in mind.
a) Many sleeve curves go under the triangle in the bottom section, and then even more over the triangle near the top section.
b) It’s normal for the total length of the sleeve curve to be about 1” (2.5 cm) longer than the total length of the armholes. A little ease is good in the sleeve curve.
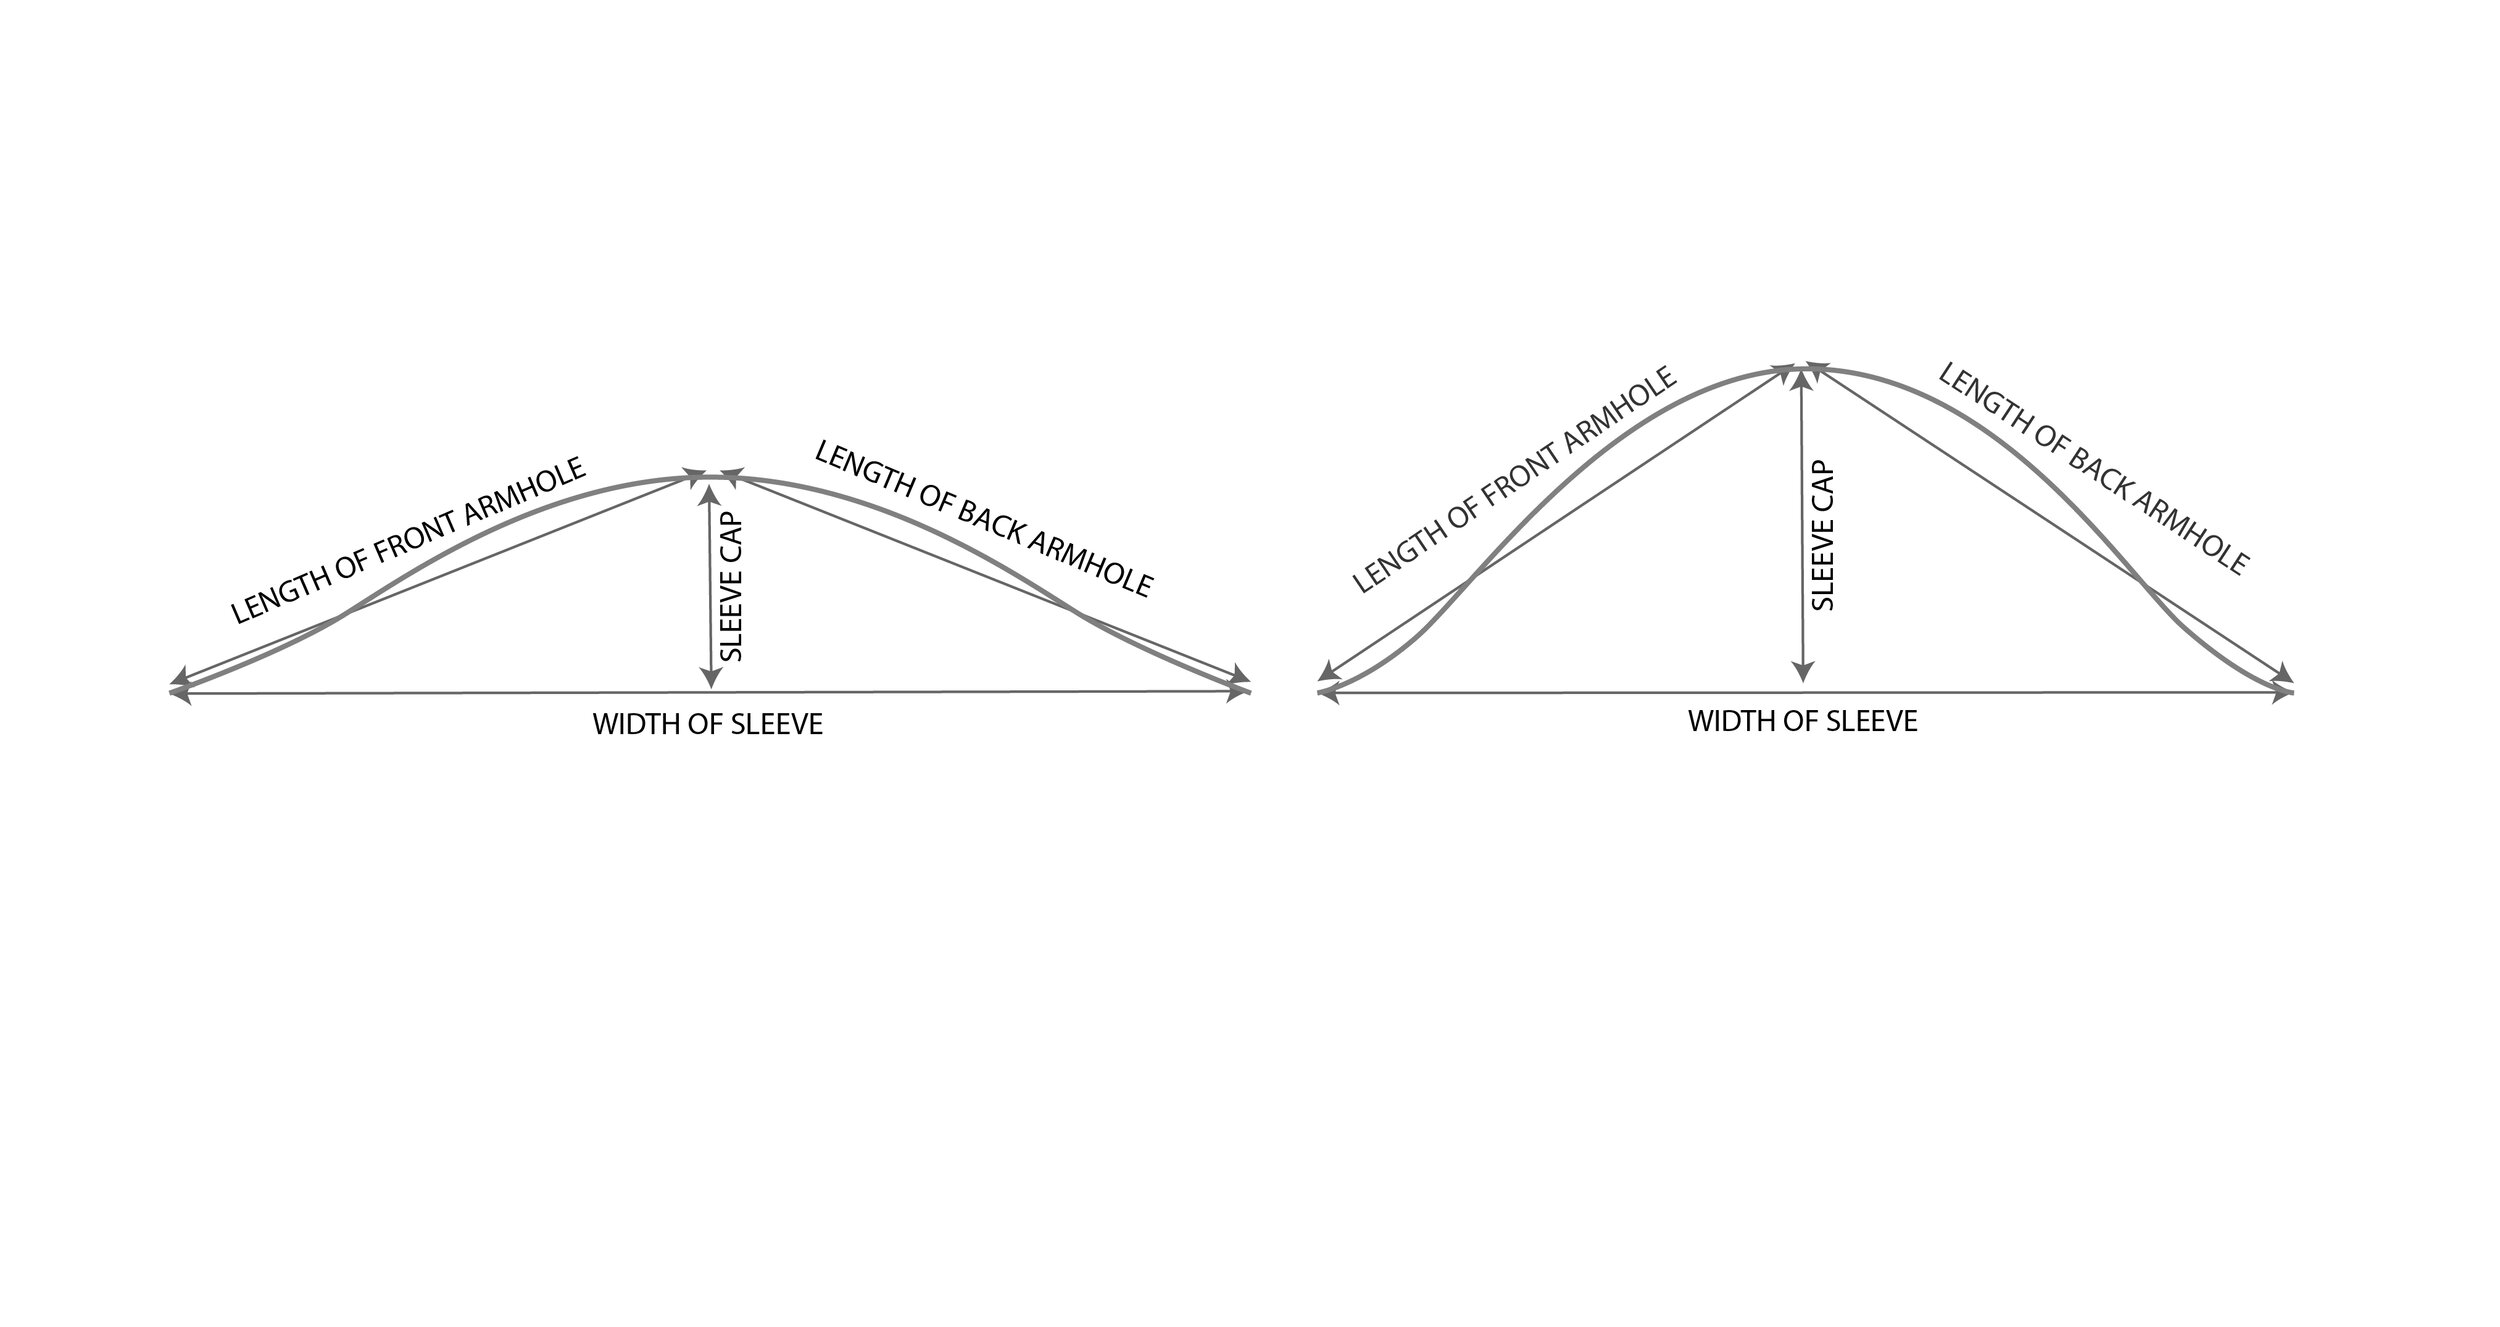
Step 4: Decide how long you want the sleeve to be and if you want the sleeve to taper in.
That’s it! You can totally do it! Just play and have fun with it.
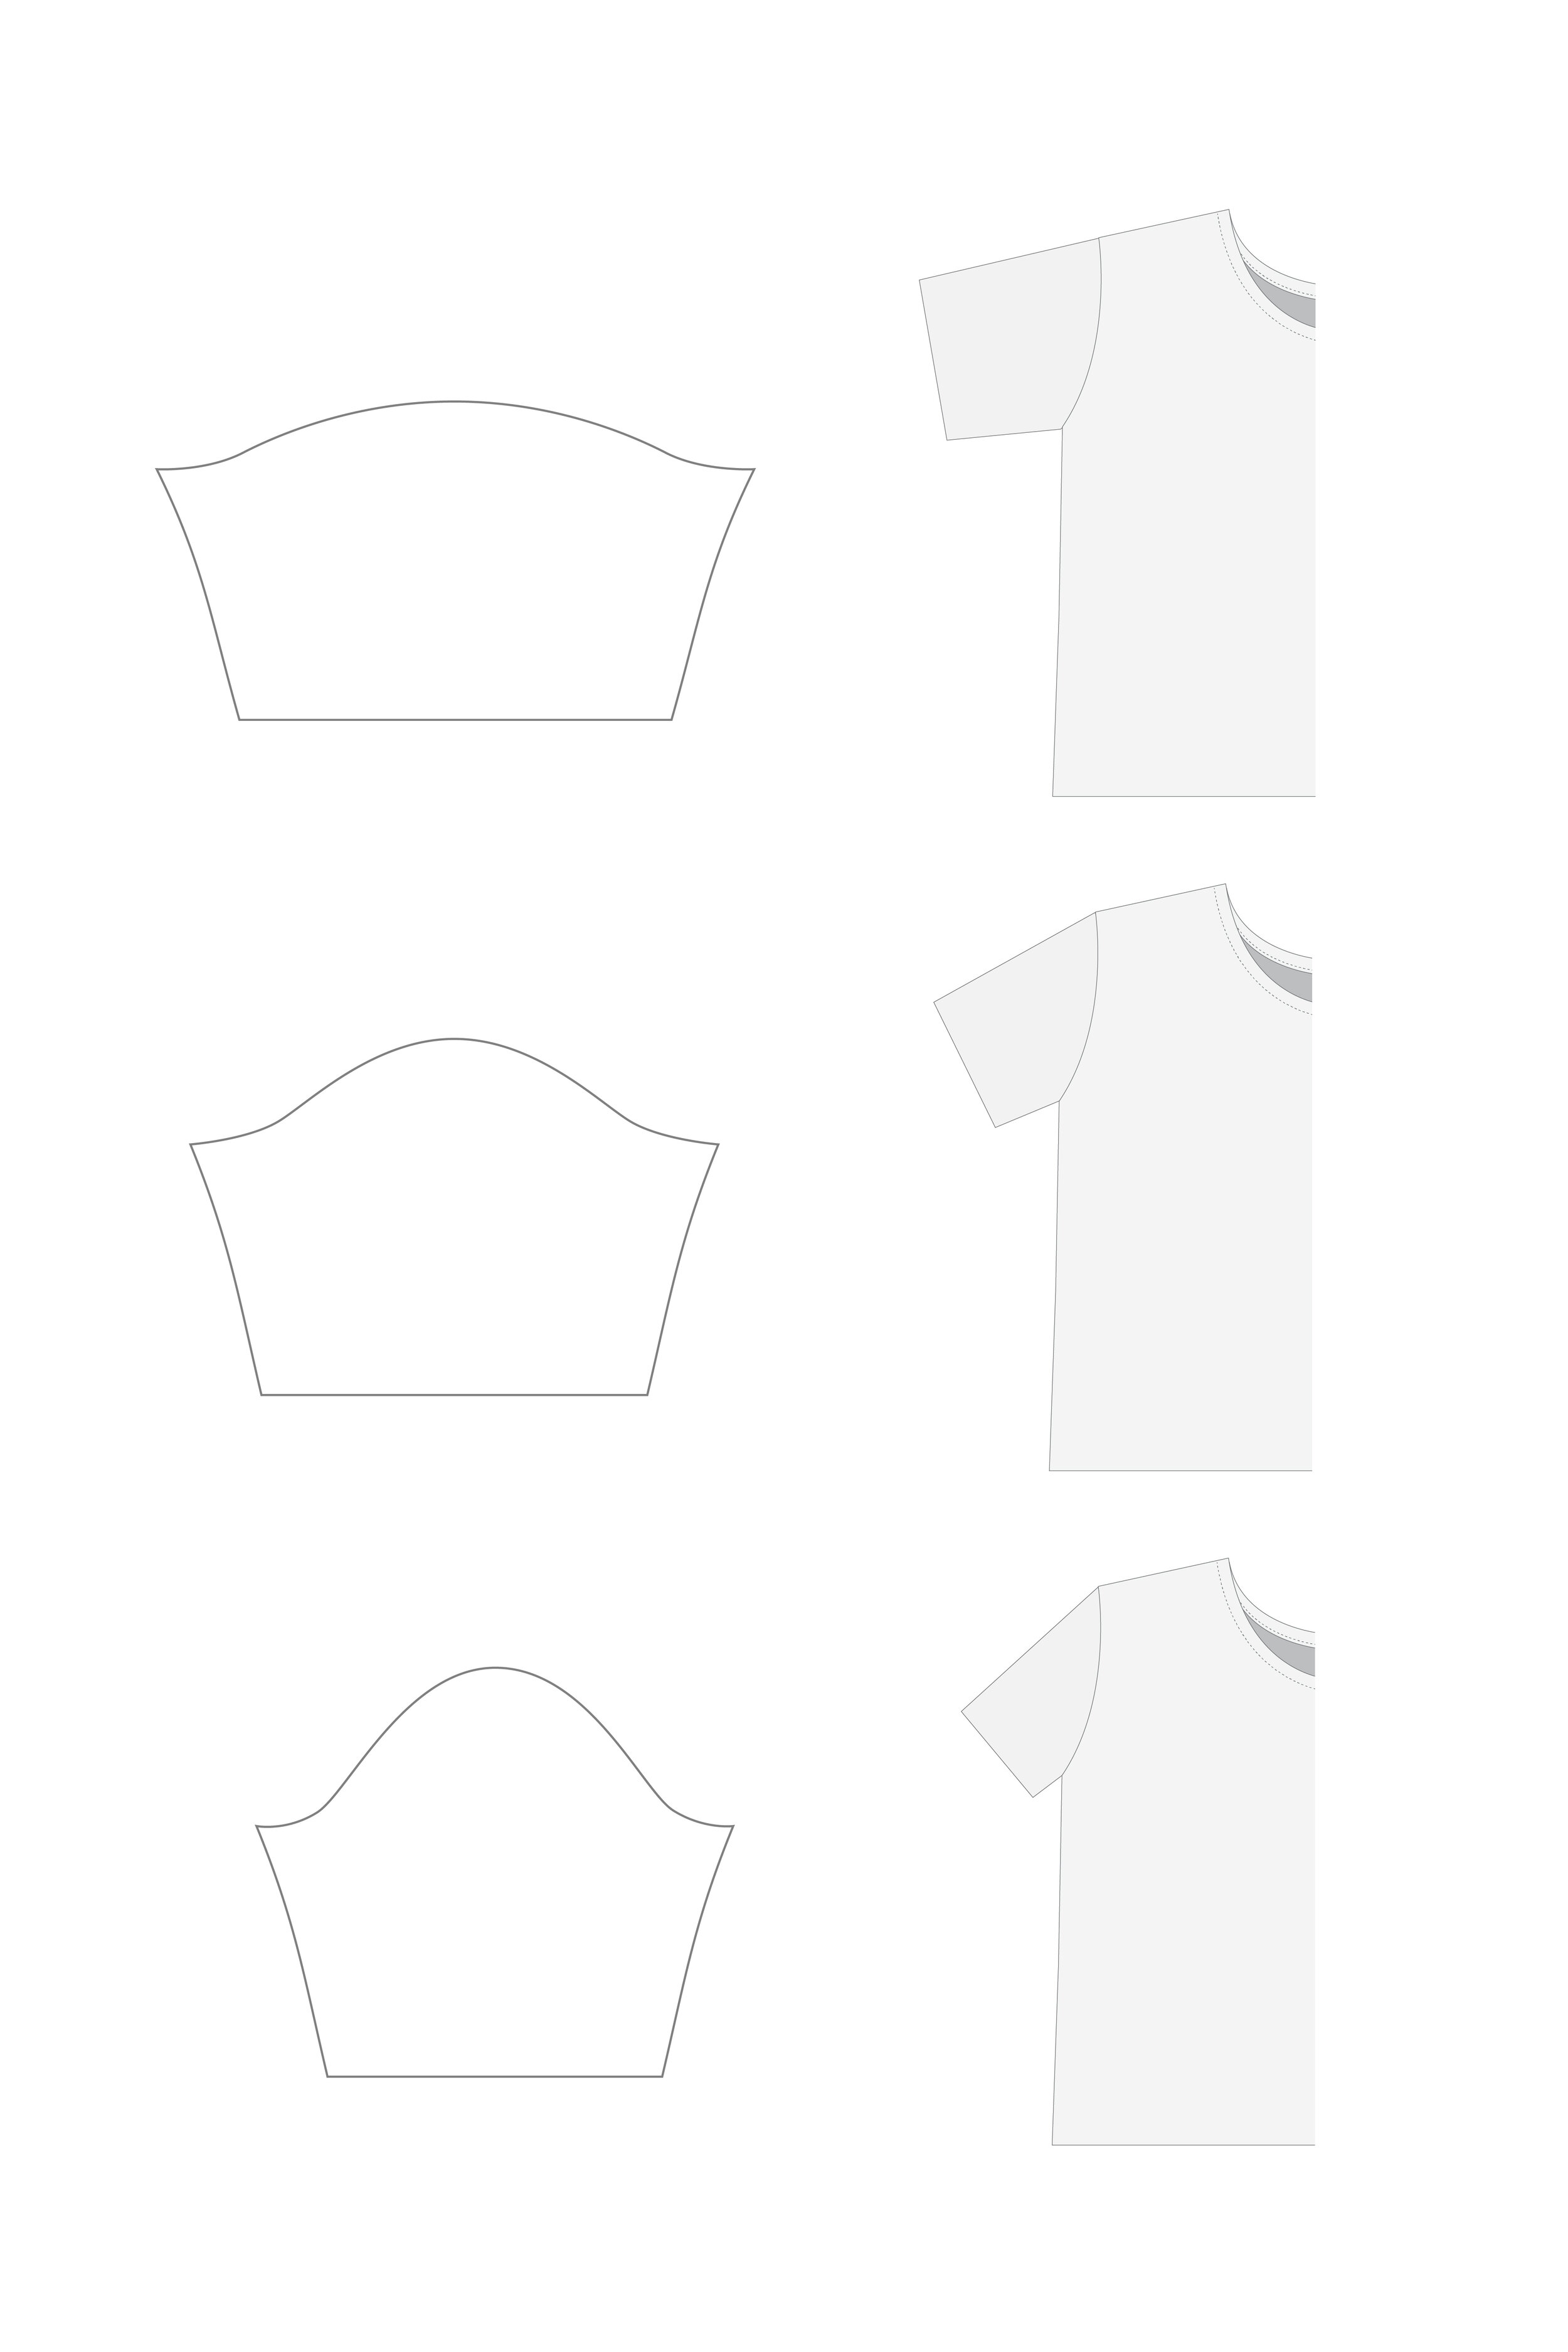
Here are examples of what different triangle angles look like on a shirt.
Wide sleeves with short sleeve caps will point out from the shirt. Lots of athletic shirts and casual sweatshirts have this angle because when you raise your arms, it doesn’t pull the whole shirt up with them. When your arms are down, there is excess fabric around your armpits.
Medium wide sleeves with medium sleeve caps are similar to a basic t-shirt. They give you room to move, but don’t have too much excess fabric around your armpits when your arms are down.
Narrow sleeves with high sleeve caps will point down sharply from the shoulder. Lots of professional clothing uses this angle for a clean profile that doesn’t have a lot of excess fabric around the armpit. It looks nice, but the downside is if you ever do have to raise your arms, your whole shirt is coming up with them!
Good question. If you want a sleeve that points out (has a short sleeve cap) but is also really narrow, here are some things to play with. You can make the armhole smaller on the front and back bodice pattern pieces by raising up the bottom of the armhole and readjusting the armhole curve. Or you can try a drop shoulder and make the shoulder angle whatever you’d like and the width of the sleeve whatever you’d like. There is something to be said for the freedom that drop shoulders offer!
If you have a sleeve pattern already that you want to adjust to fit a different shirt, here are some adjustments you can make.
If you need to add length to the curve, you can either increase the sleeve cap height, increase width, or a combination of both.

If you need to reduce the length of the curve, you can either decrease the sleeve cap height, decrease width, or a combination of both.

Sleeves can be frustrating, sleeves can be fun. Don’t let them get the best of you. Give them your best playful attitude of enjoyment.
Mid winter feels like the perfect time to make a quilted jacket.

I used a linen/cotton blend for the outer fabric and since I couldn’t wait for cotton batting to arrive, sweatshirt material acted as the insulation layer.


With all the layers lined up and sandwiched together, I pined the them together in many places with safety pins.

I marked one line going all the way up and down, one line going all the way across to act as a starting stitching guide. I sewed along the up and down line first, then picked an approximate equal distance from the first line of stitching to sew all the other lines.


Once all the pieces were quilted, I trimmed up the edges and sergered all the way around before sewing them together into a jacket.

I recently wrote an article on The Thread in my series of guest blog posts about winter being a wonderful impetus for pursuing your creative ideas.
Here is an excerpt:
“Spring is an invitation to plant gardens and tap maple trees for their sweet sap, summer is an invitation to collect hickory husks for dyeing linen (and picking mulberries to eat), fall is an invitation to chop down trees for firewood, and unlike the others, the dreaded winter is a special invitation for creativity.
Recently I read something my sister, Anna, wrote describing the importance of being truthful in creative nonfiction writing. She had a very interesting insight. She said that creativity doesn’t thrive in the absence of boundaries, rather, creativity flourishes within the constraints of boundaries. Limits are actually the best fuel for creation.”


