How to Make a Bunting Banner

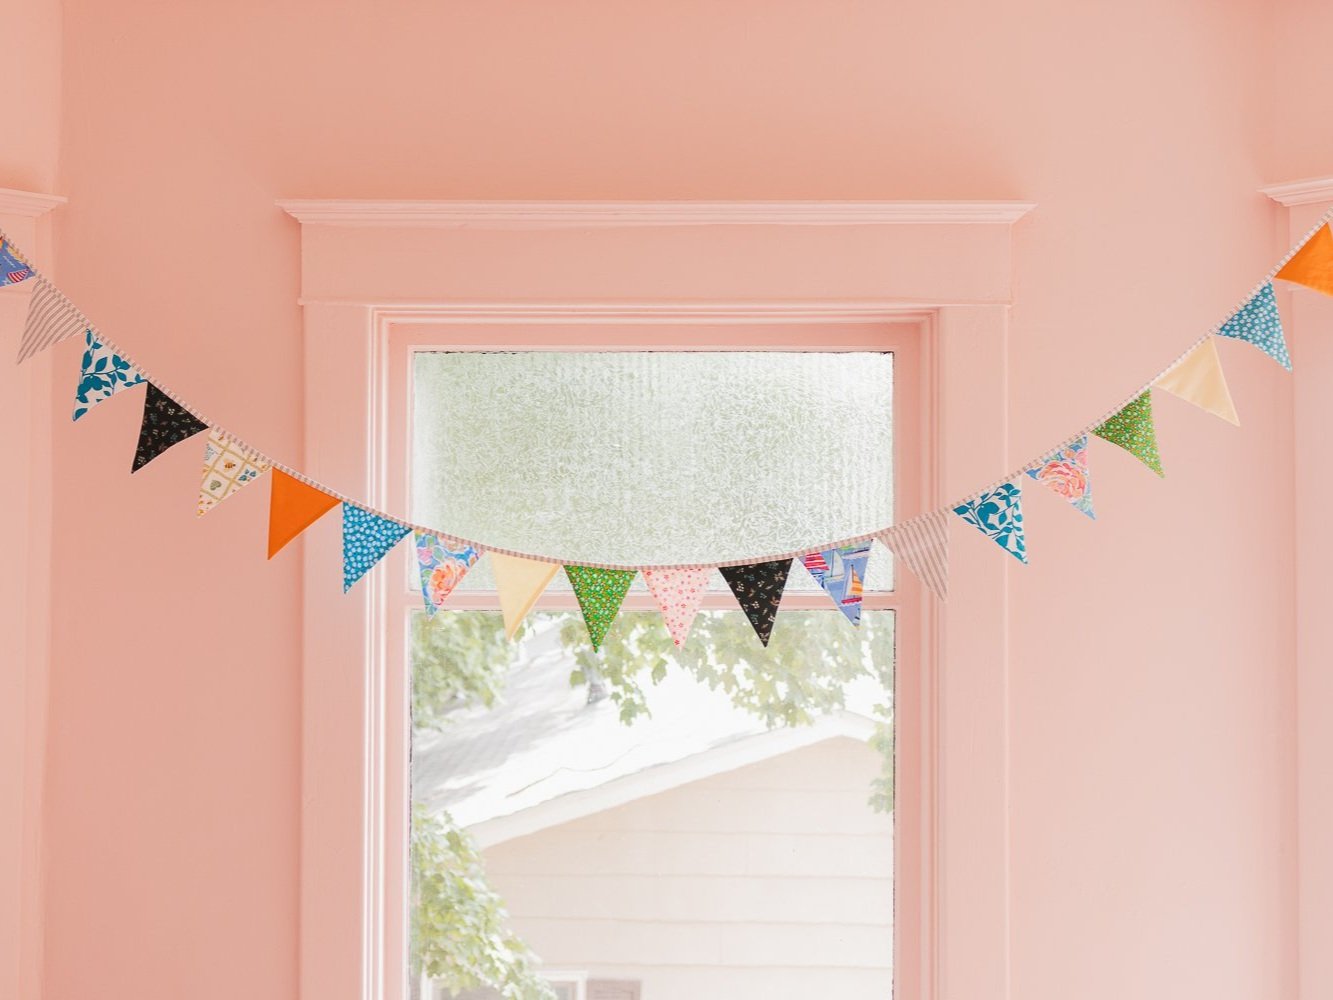
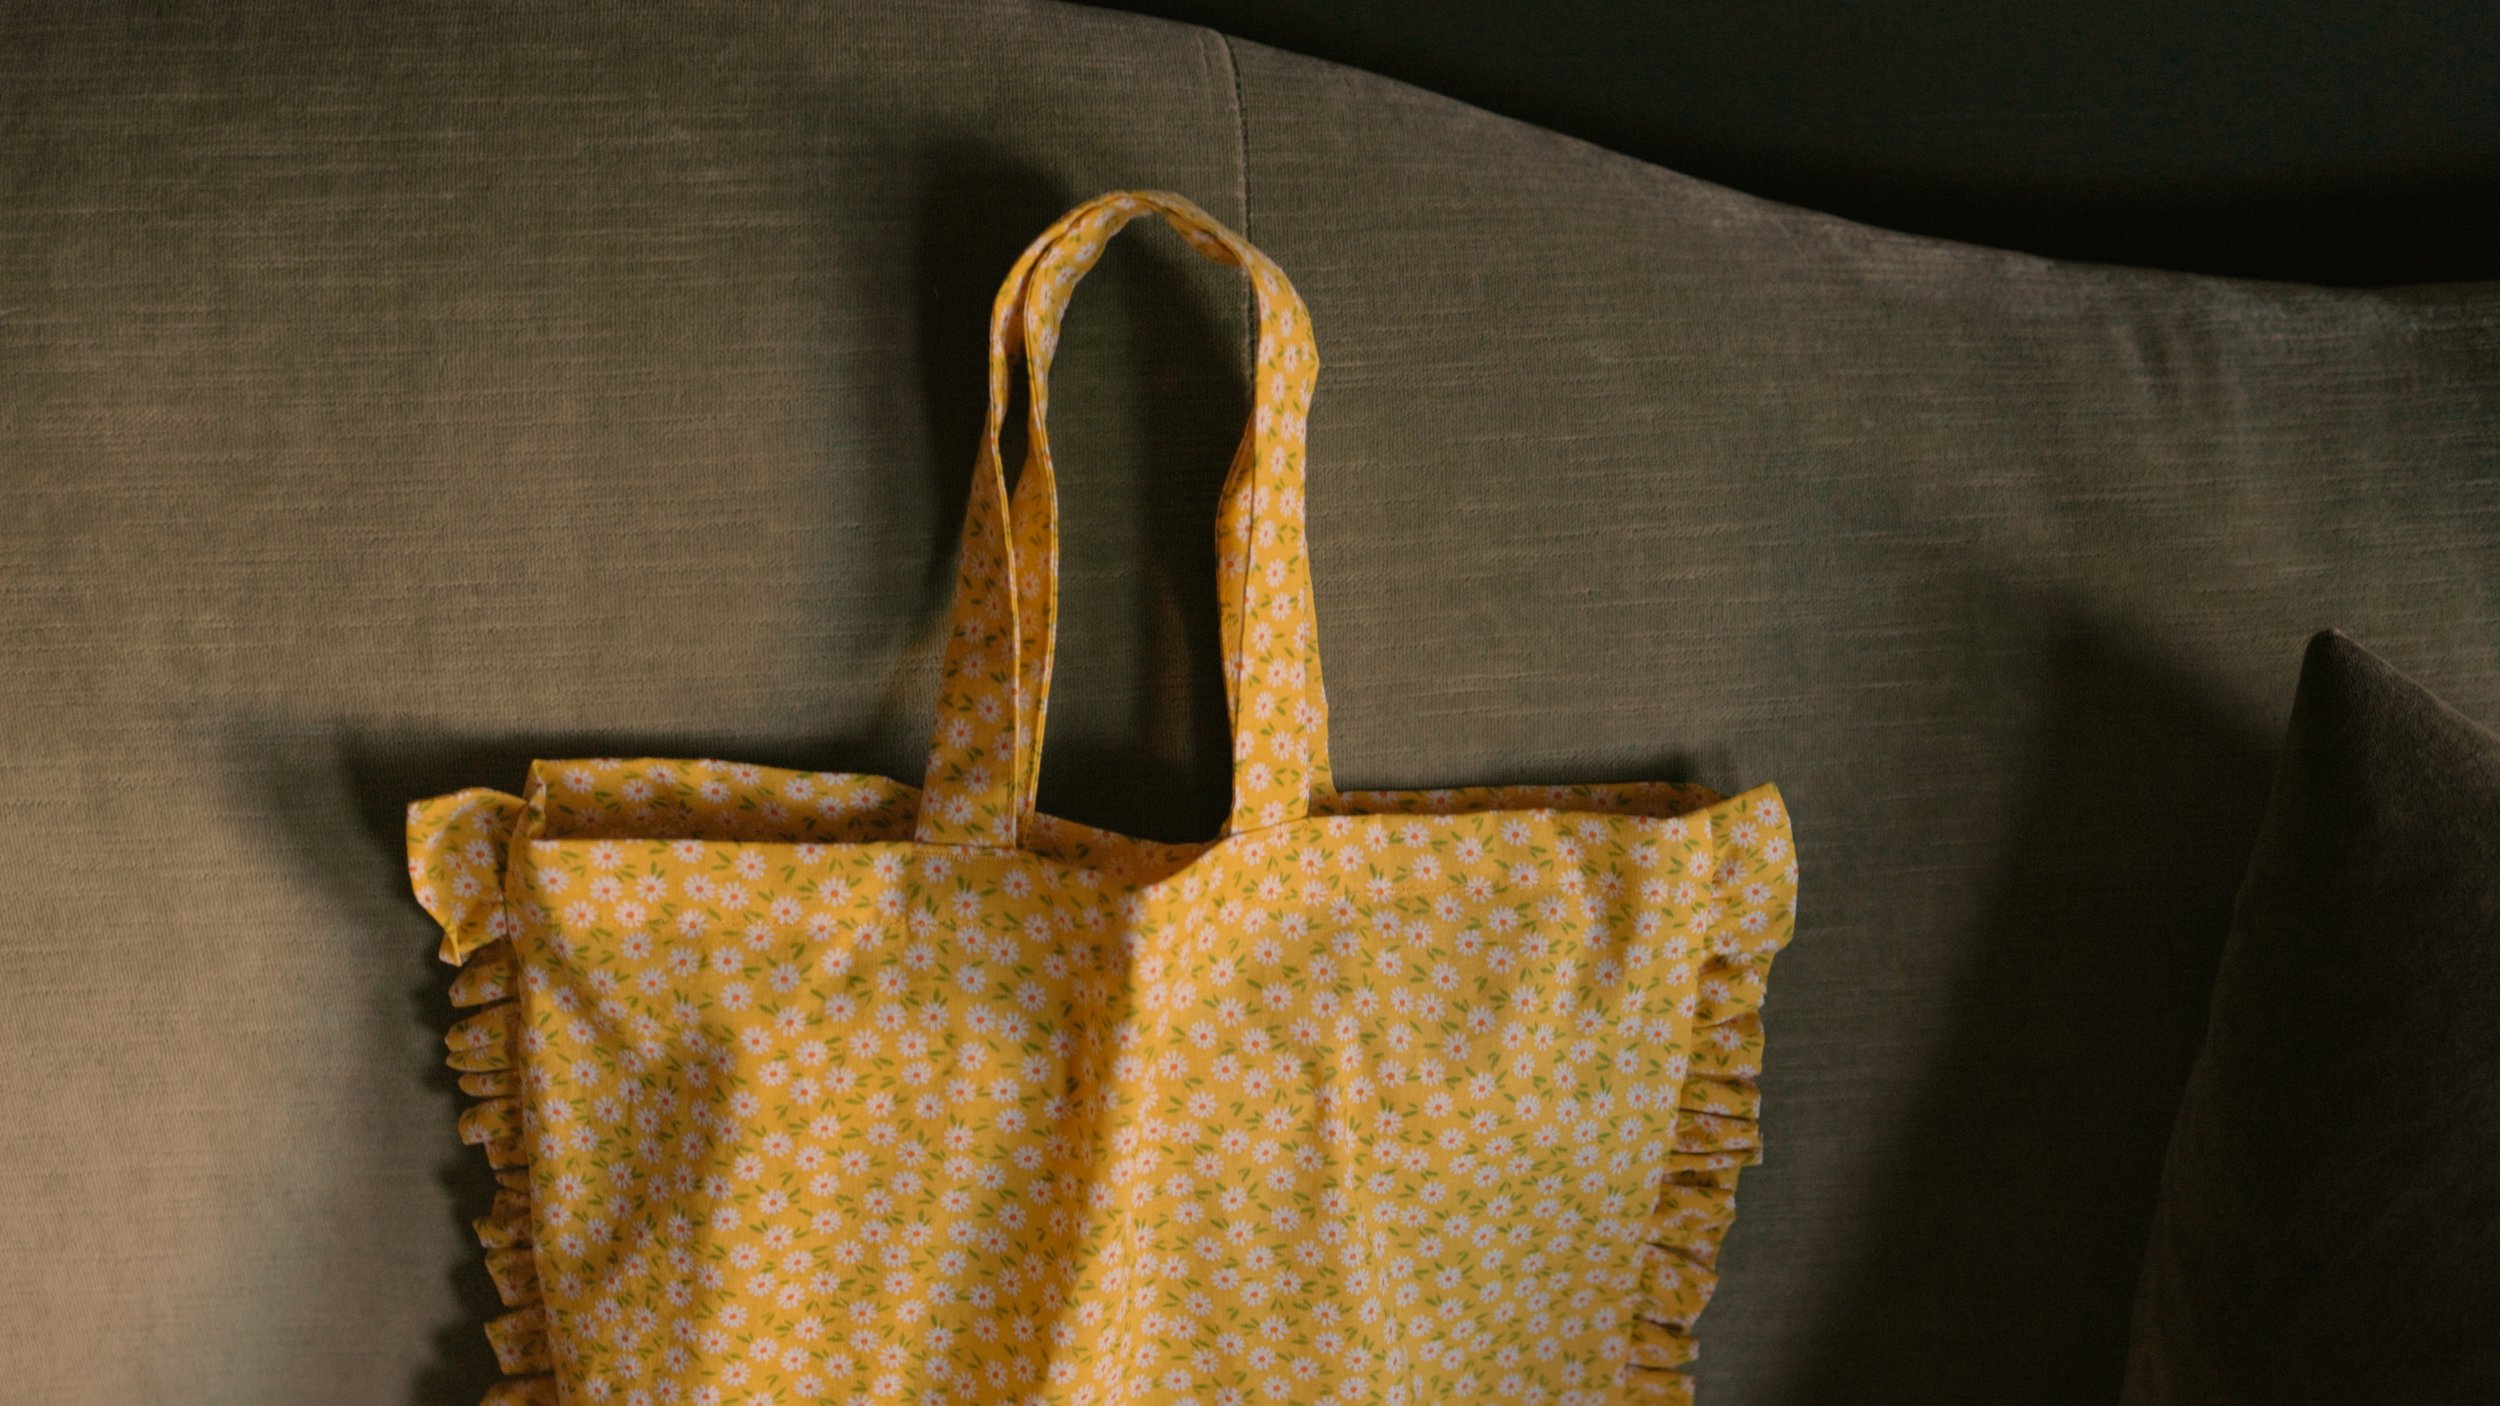
One fun thing about sewing is building up memories of what fabrics you’ve used for each project and what events happened while using or wearing those projects. With the blue floral I lined some backpacks. With the dark green I made a long quilted jacket. With the darker blue floral I made a ruffle tote bag. Each little banner is a reminder of the playful pursuit of sewing.

I hope this tutorial can serve you well as you put together your own banner of memories.

Before you get started, grab the free Bunting Banner PDF pattern here!

Free Bunting Banner PDF Pattern

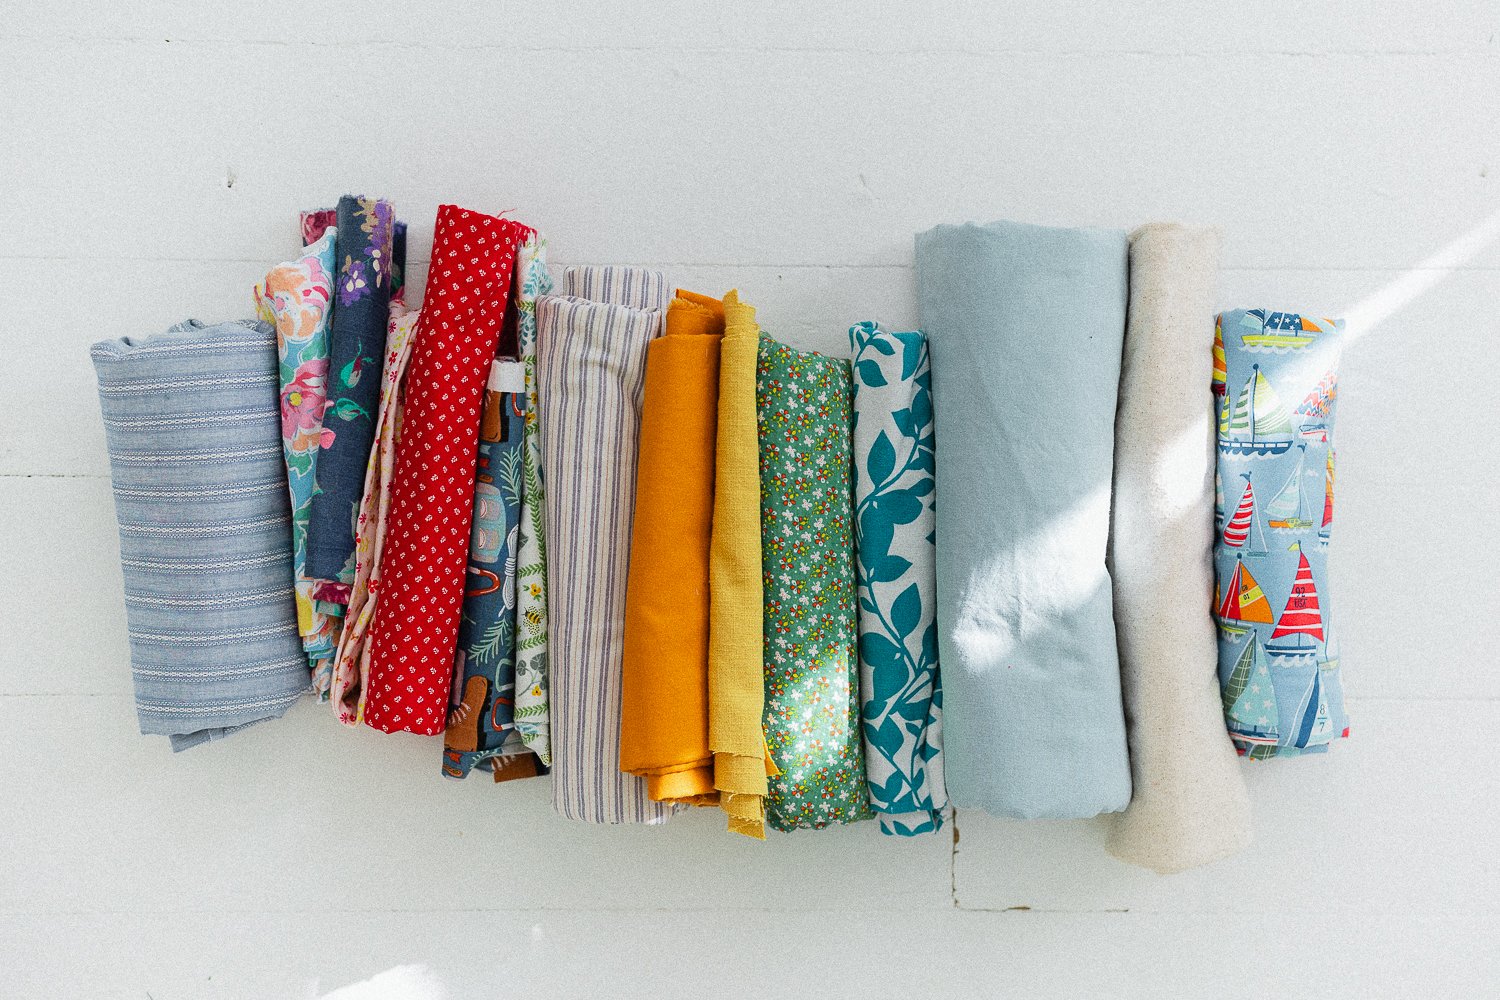
Step 1: Dig through your scrap drawer and select several fabrics. (Or splurge and go buy fun new fabrics!)

Step 2: Calculate how long you want the bunting banner to be and how many little banners you’ll need to fill the space. Each little banner is about 5 1/2” (14 cm) wide.

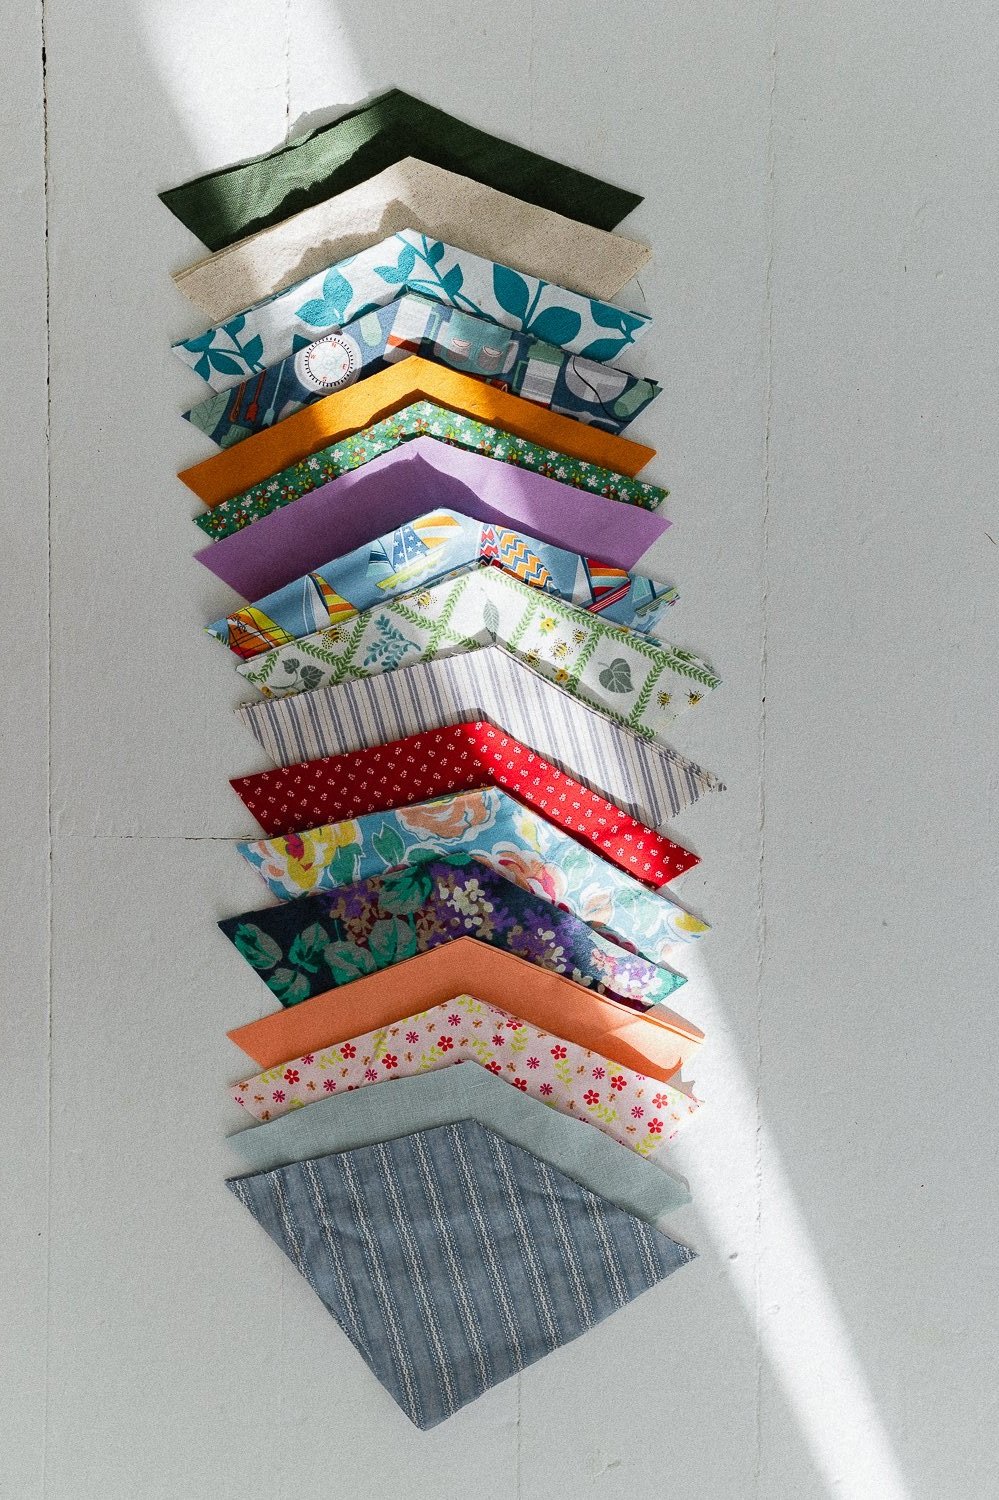
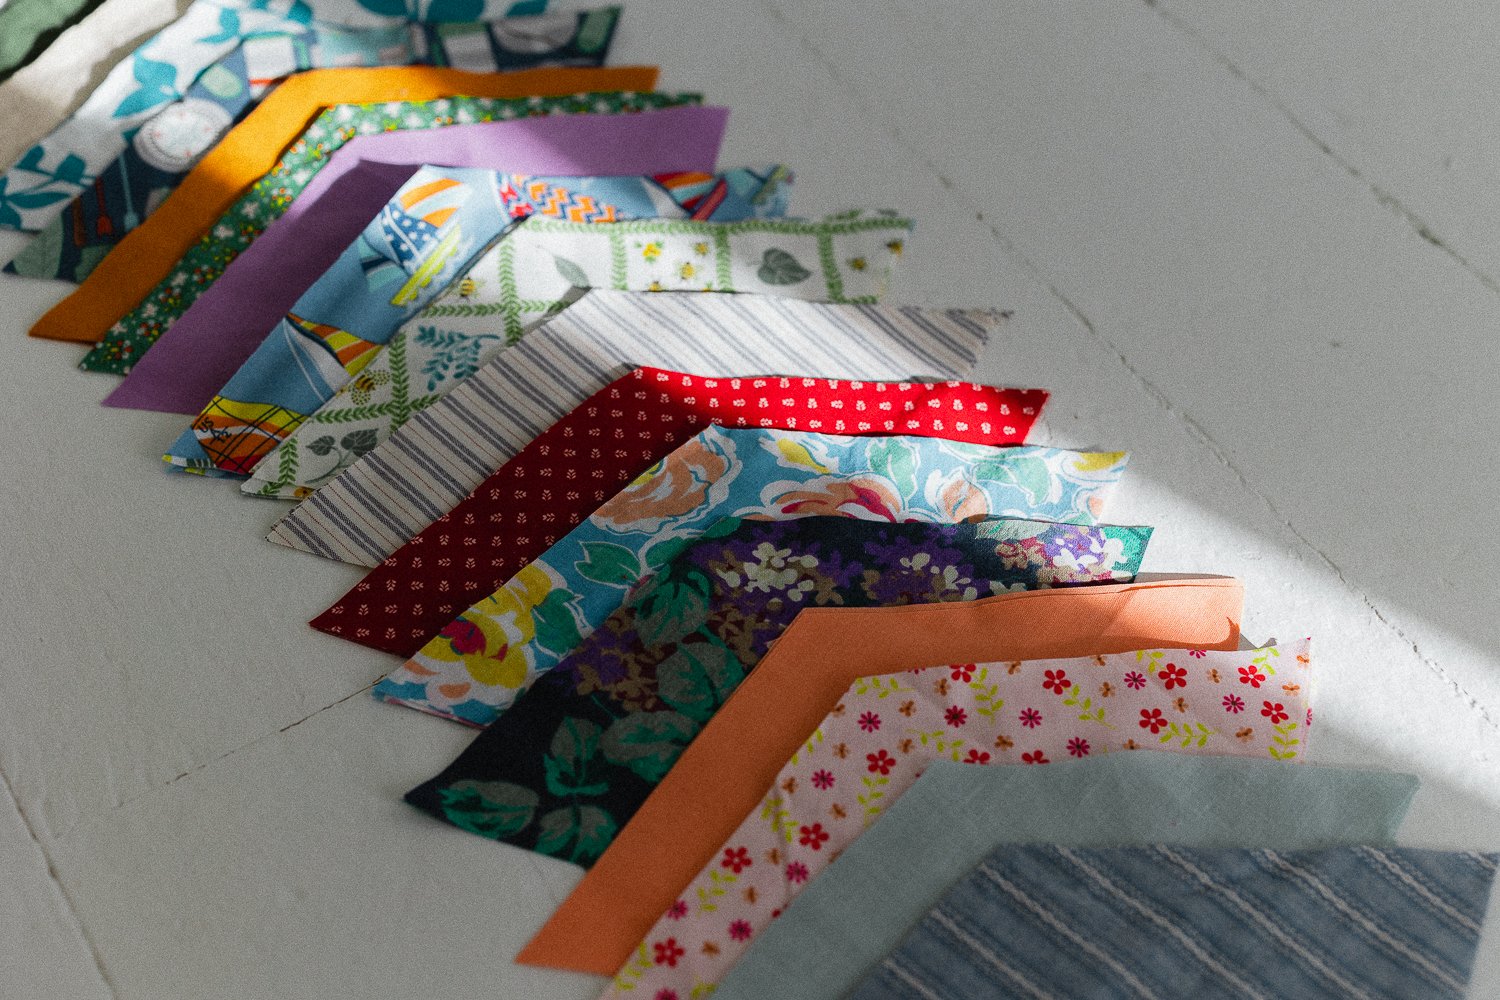
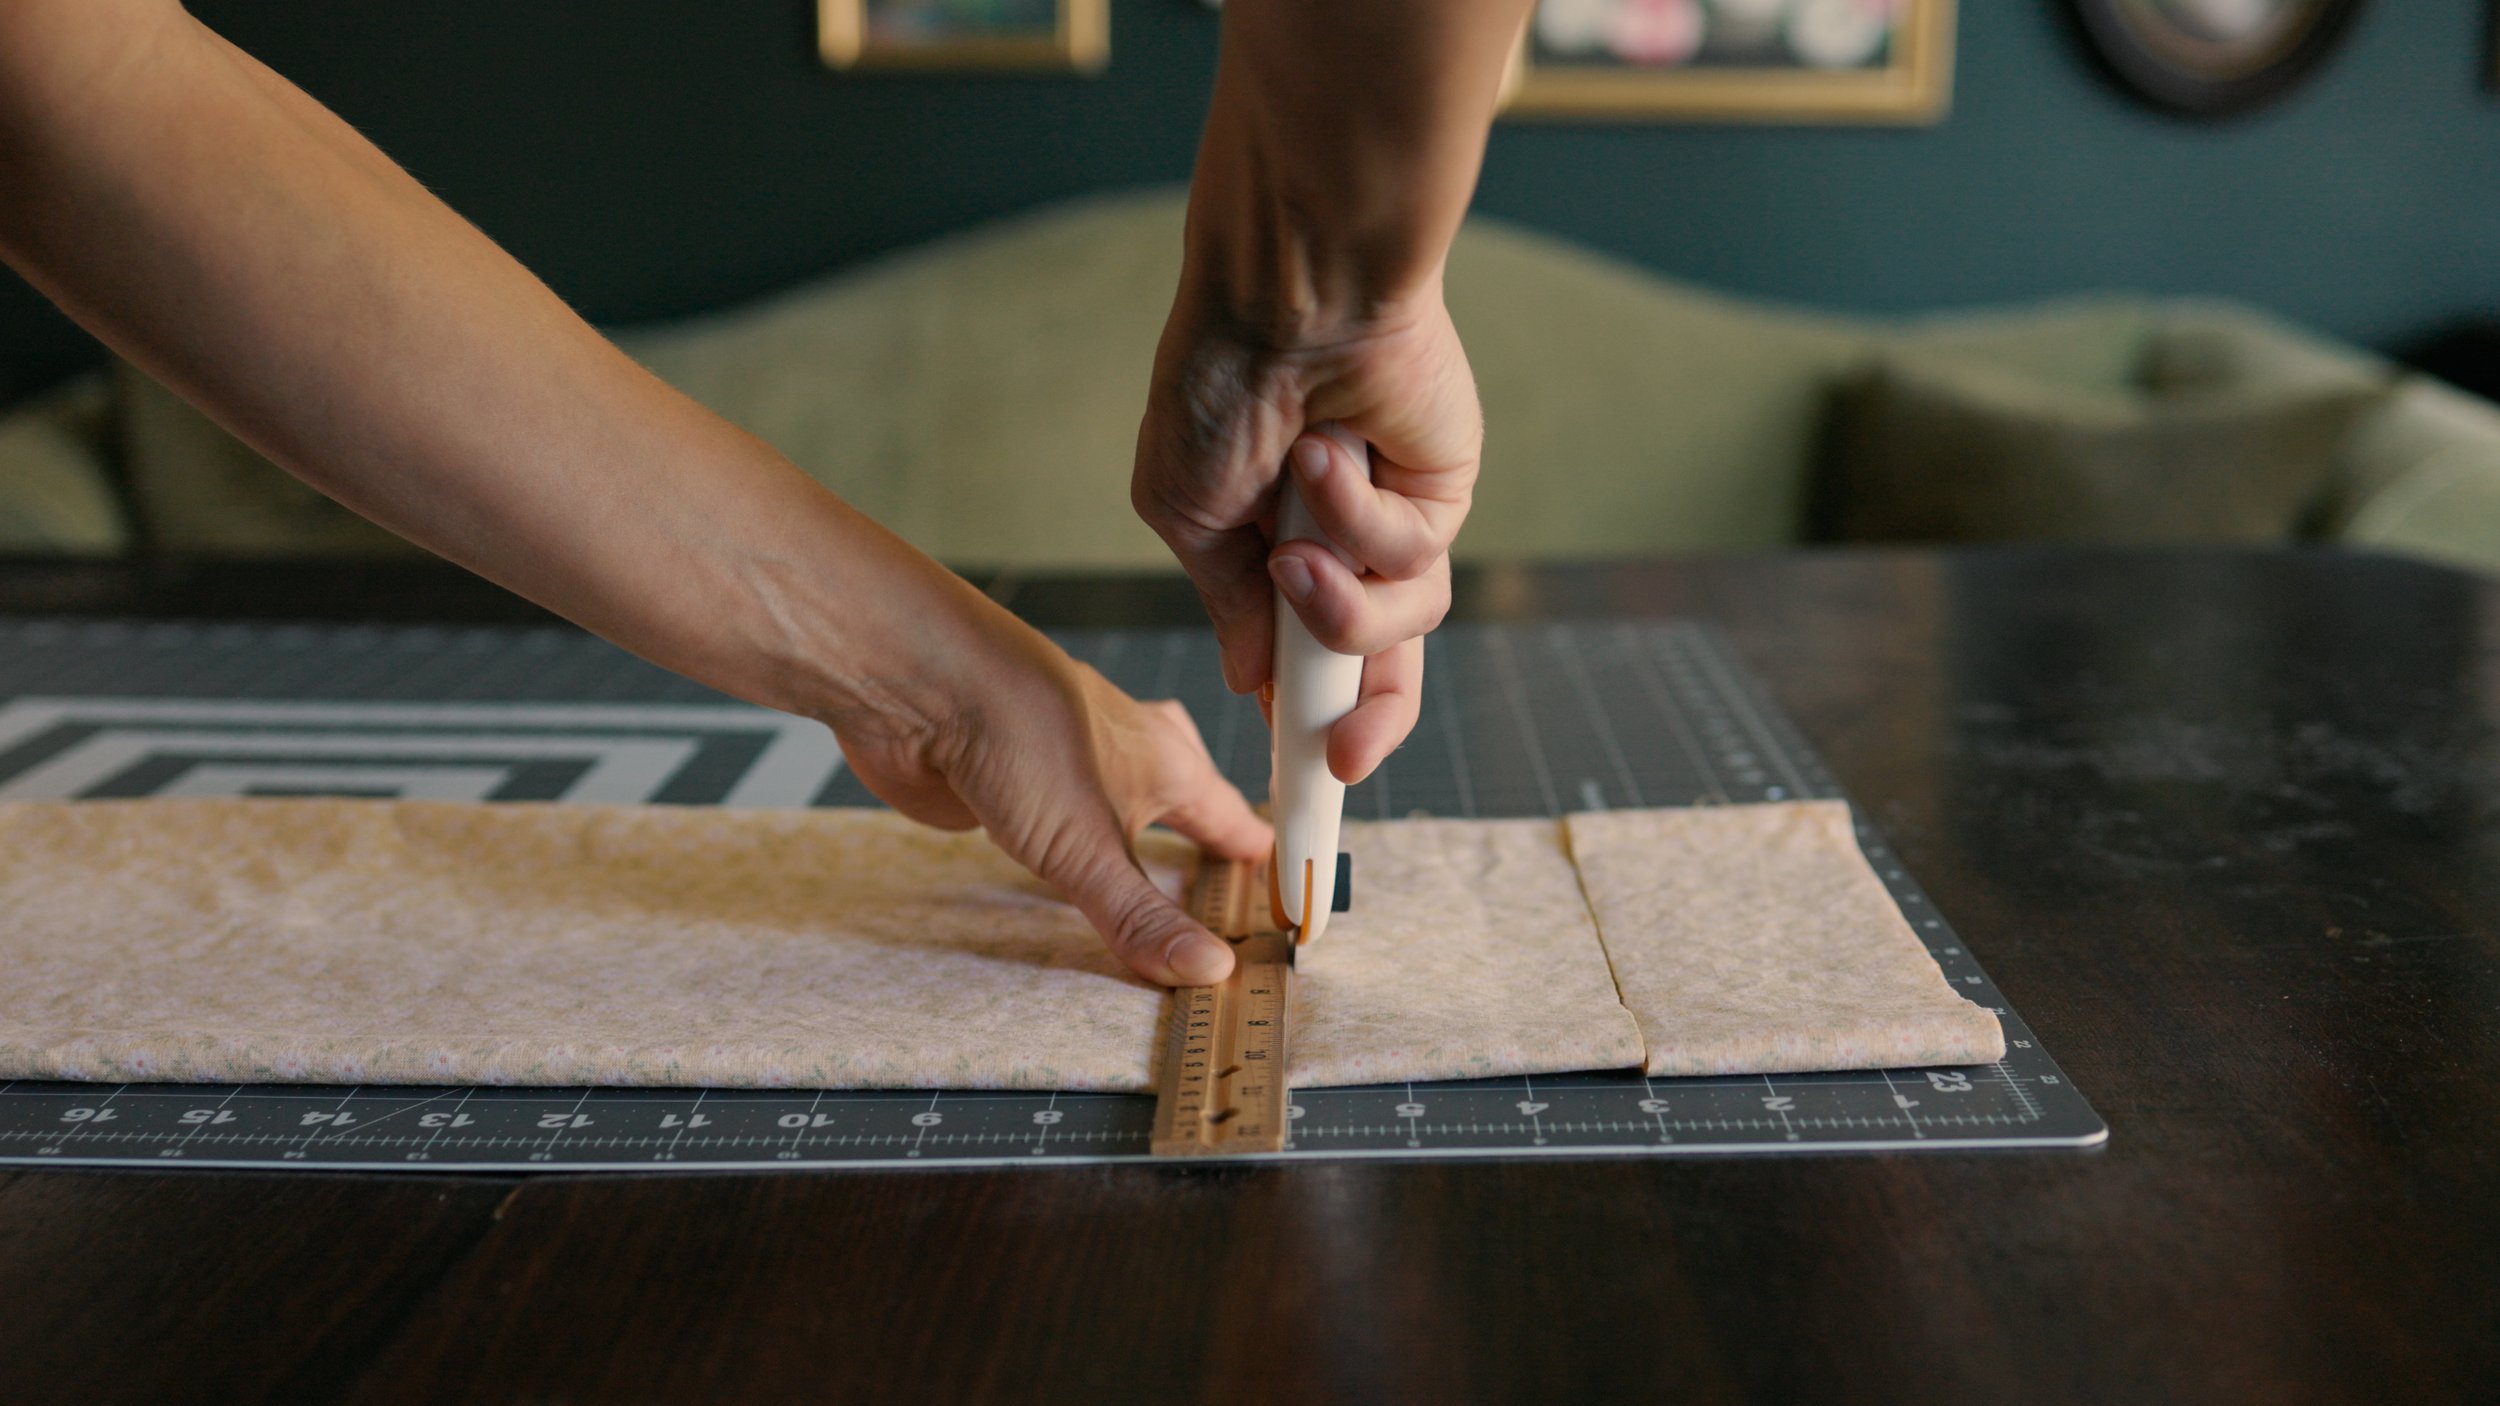
Once calculated (or happily estimated), cut out the fabric using the free bunting banner pattern piece!

Tip: Cut the pattern piece out of felt or a similar material that likes to stick to fabrics when making repetitive cuts like this. While a paper pattern can slide around while cutting or takes extra time pinning, some fabrics just stay put. It can make the cutting part of this assembly line easier. Here I’m using a loose weave 100% brushed cotton fabric scrap.

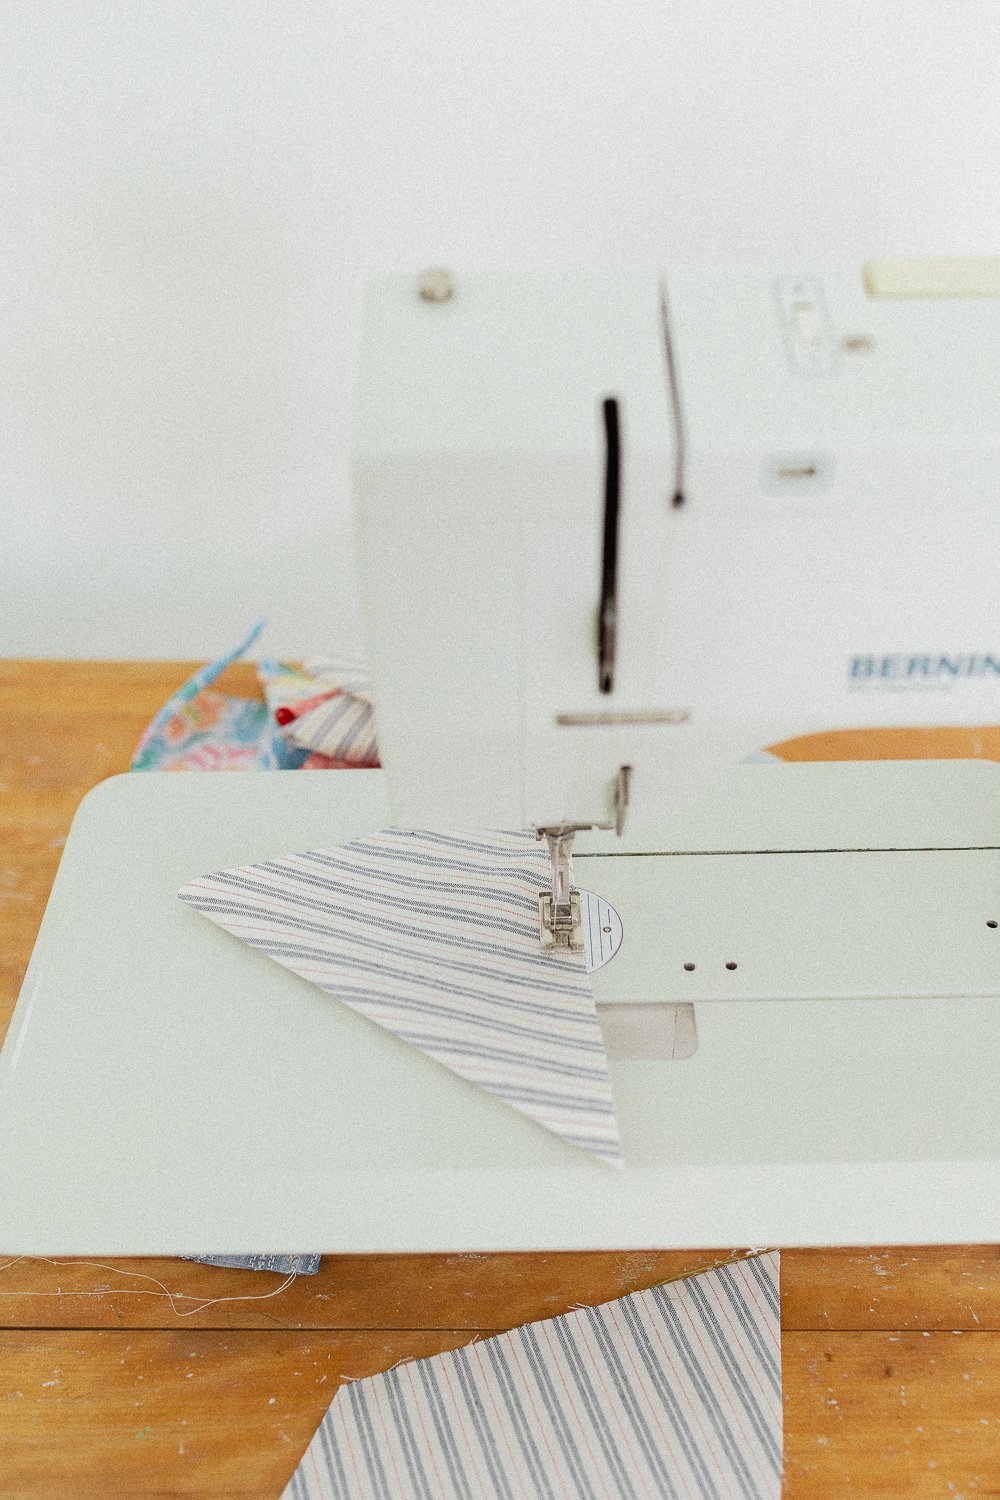
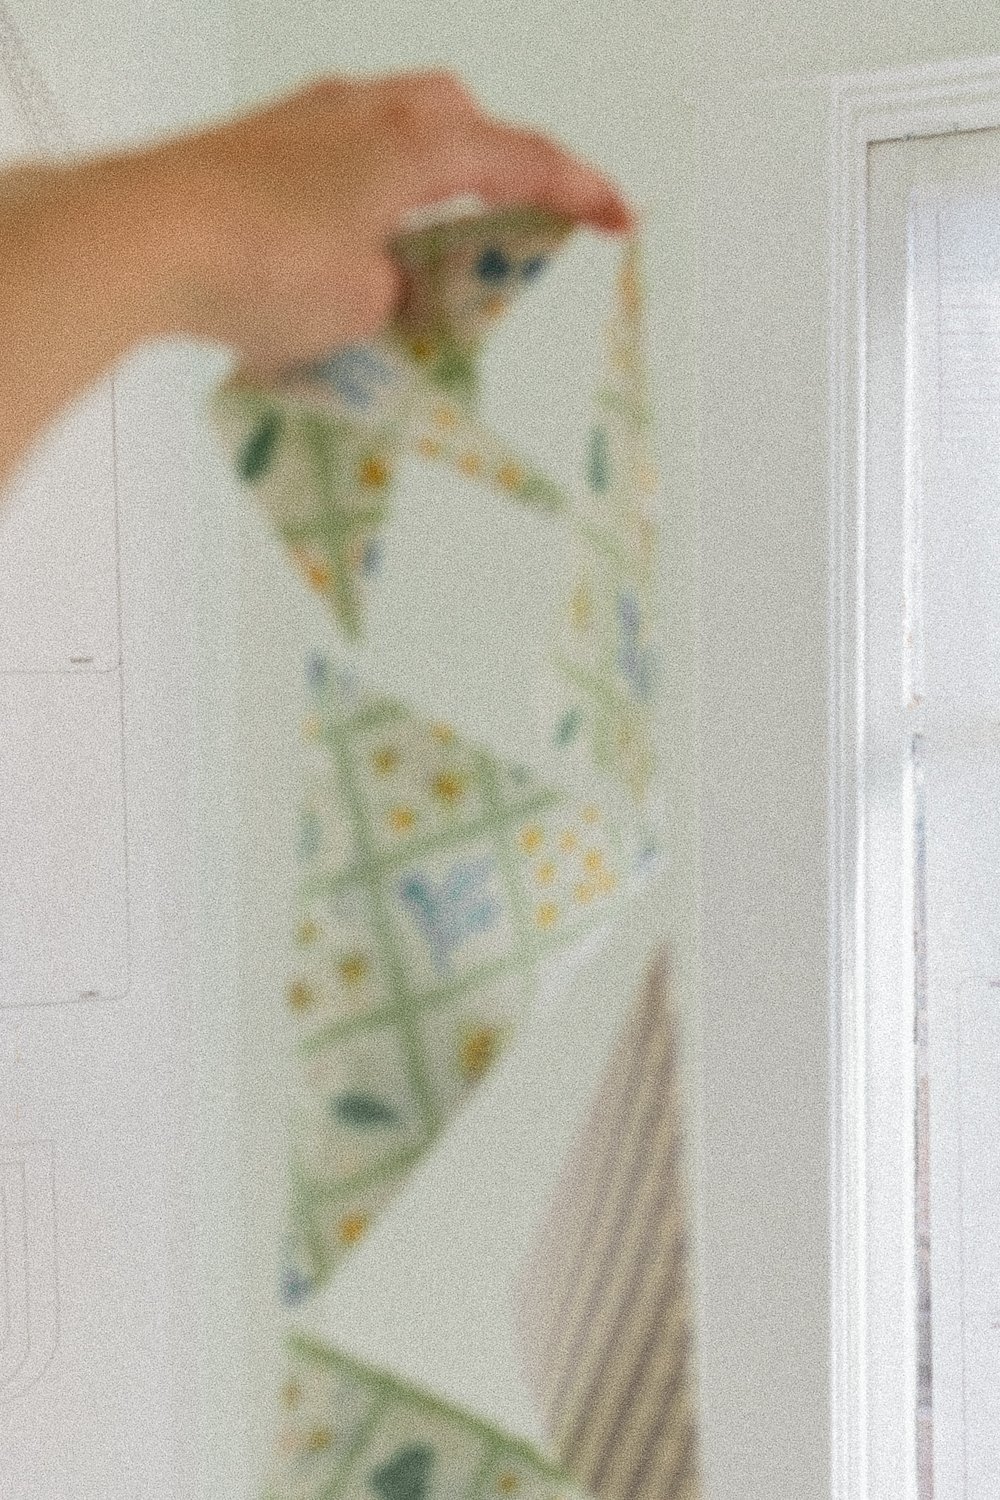
Step 4: Fold the fabric right sides together. Sew along the long side with 3/8” seam allowance.

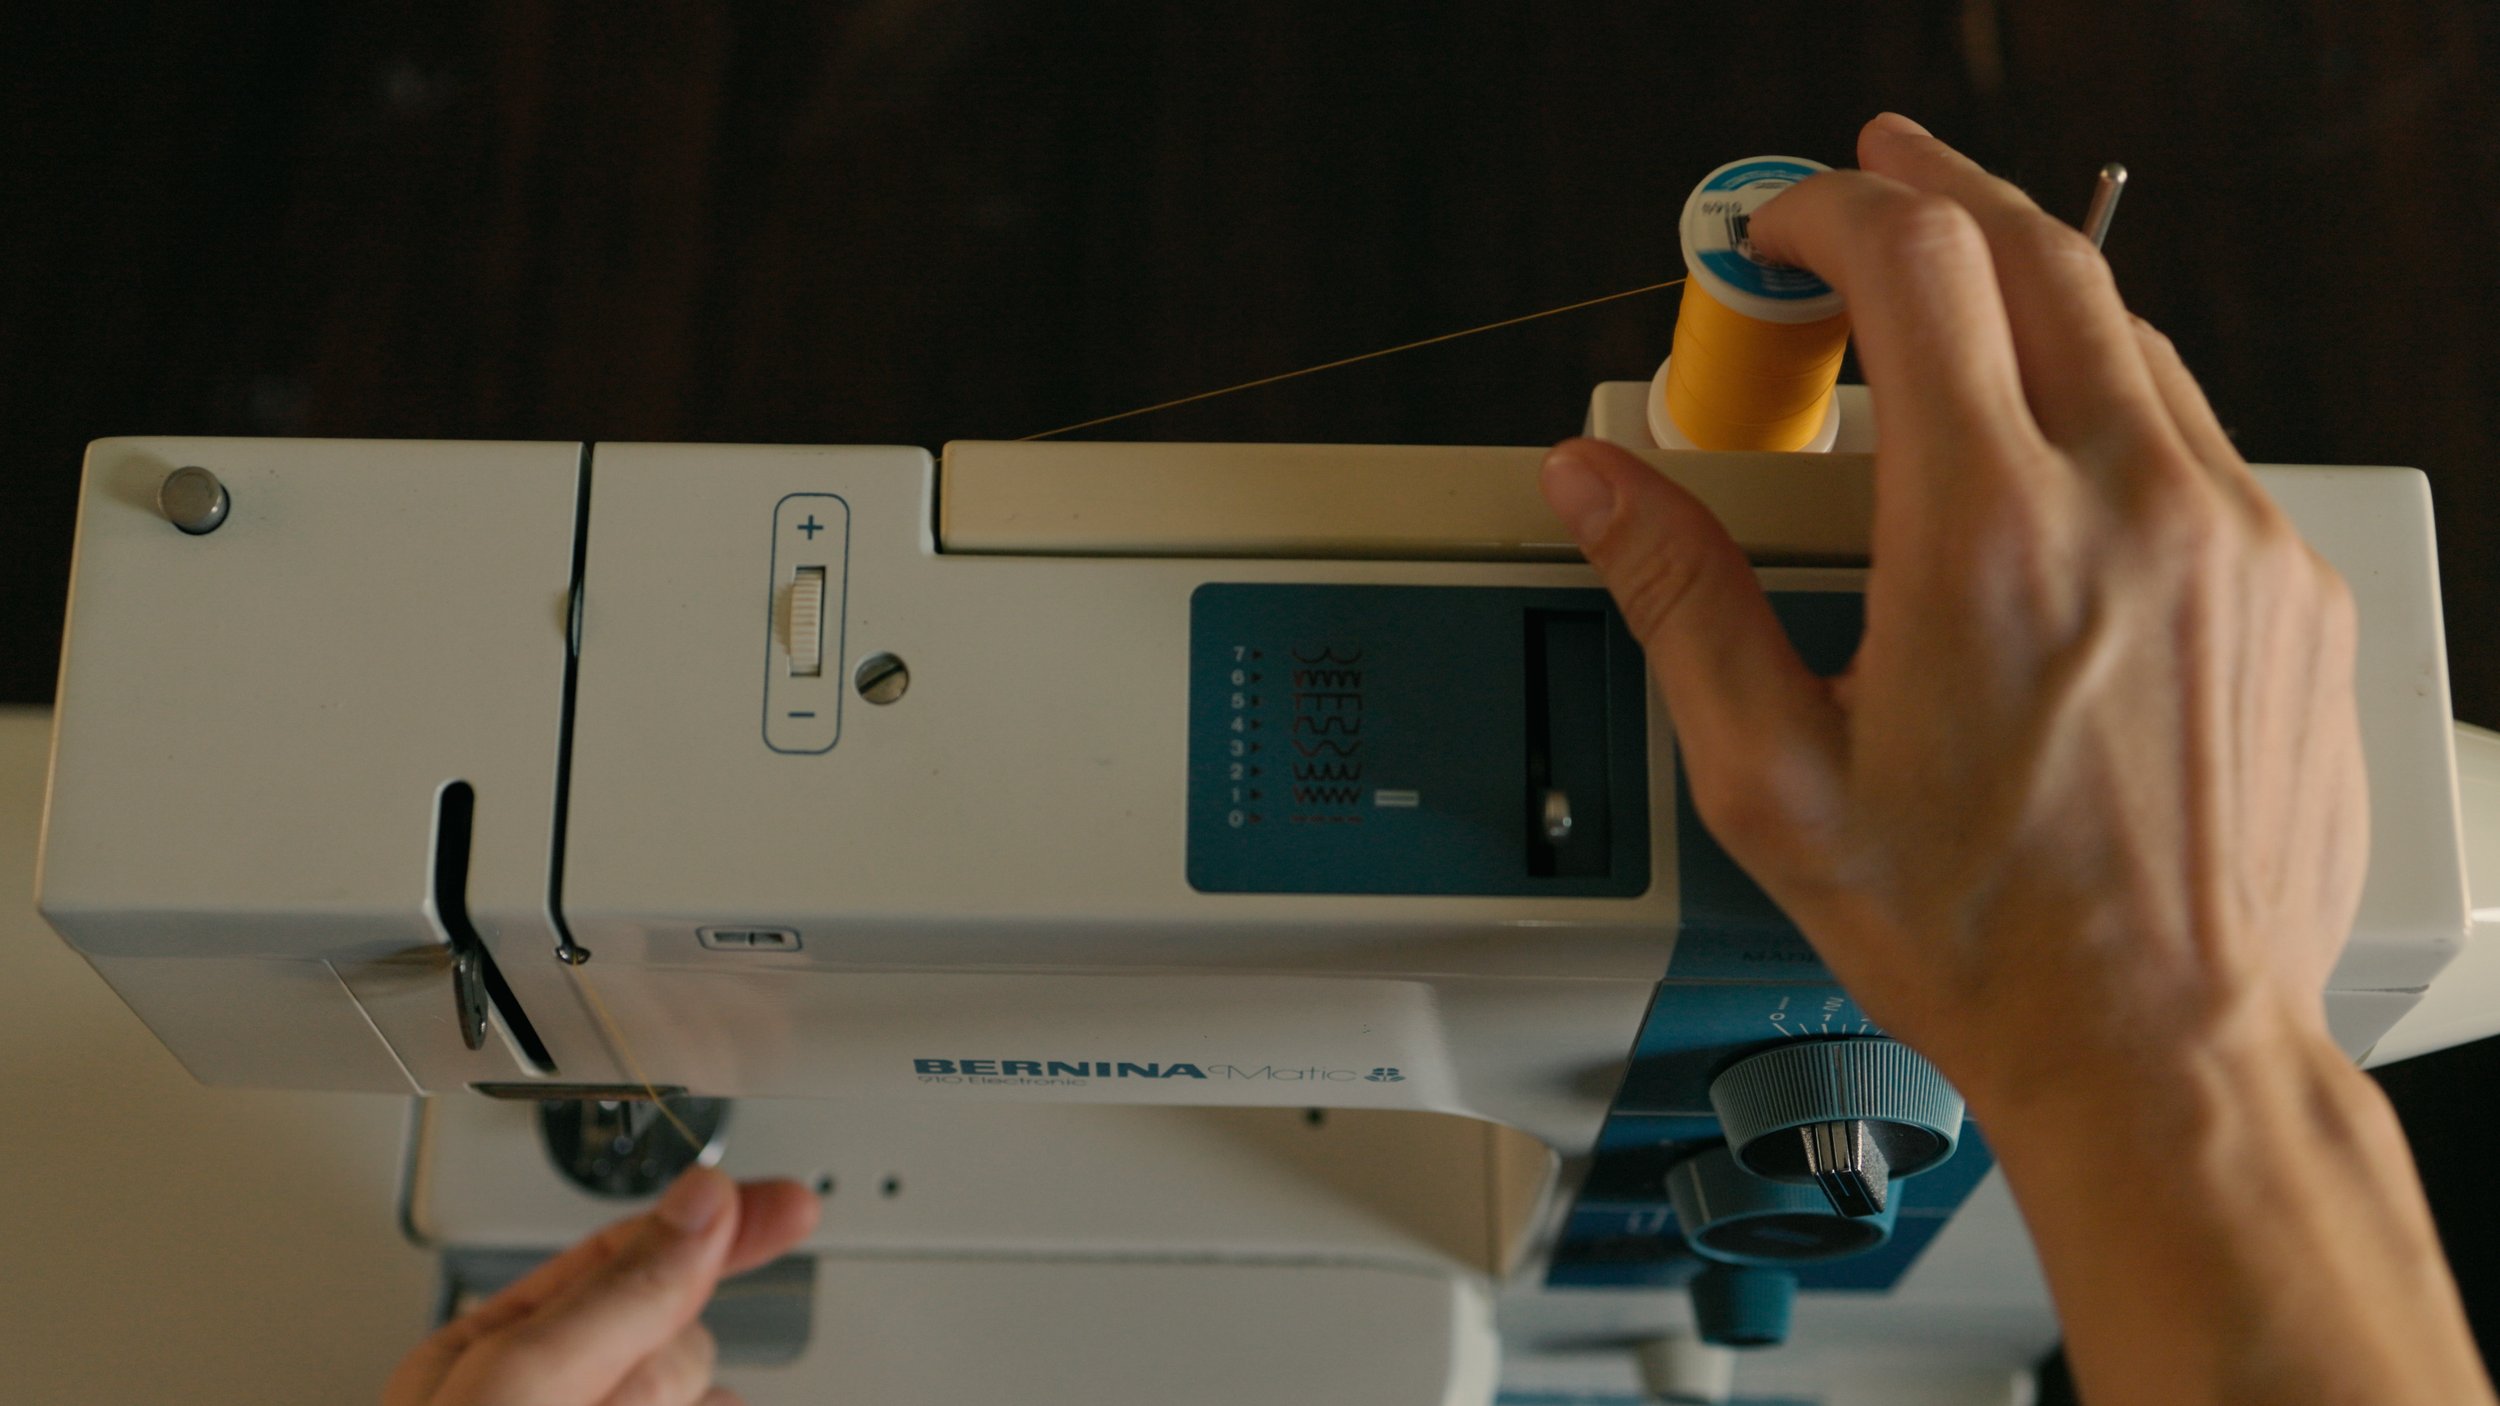
Tip: Sew a long chain from one to the next on your sewing machine and cut the threads apart in the next step.

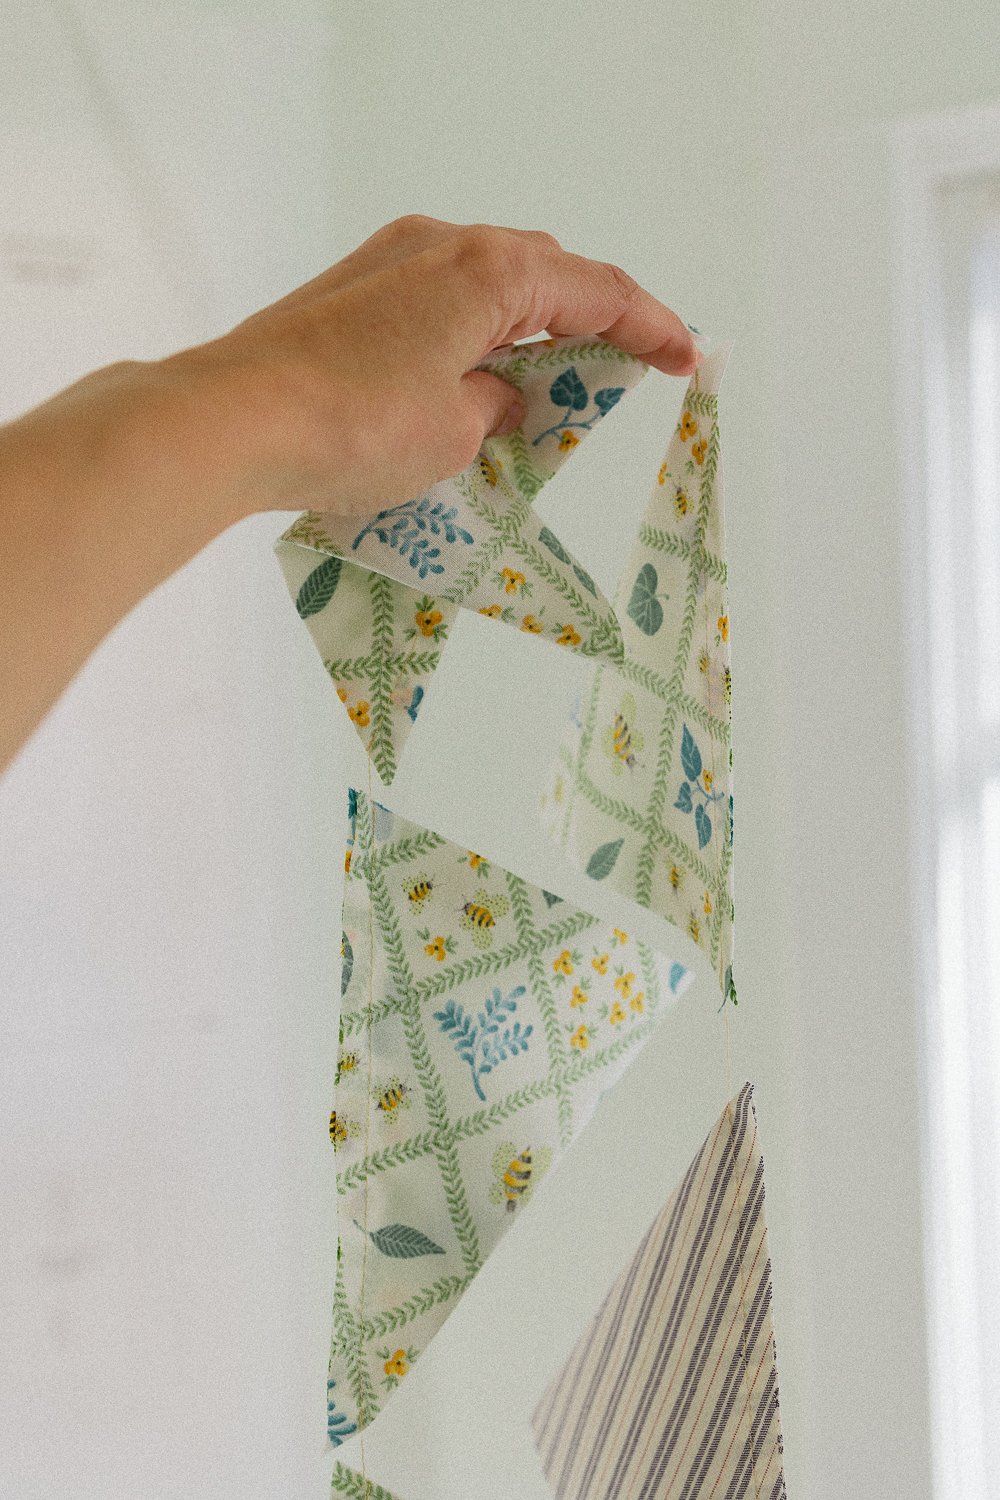
Step 5: Snip some of the seam allowance off the bottom triangle.

Step 6: Turn them right side out. Use a pencil or point turner to reach the bottom triangle. Press with a steamy iron.

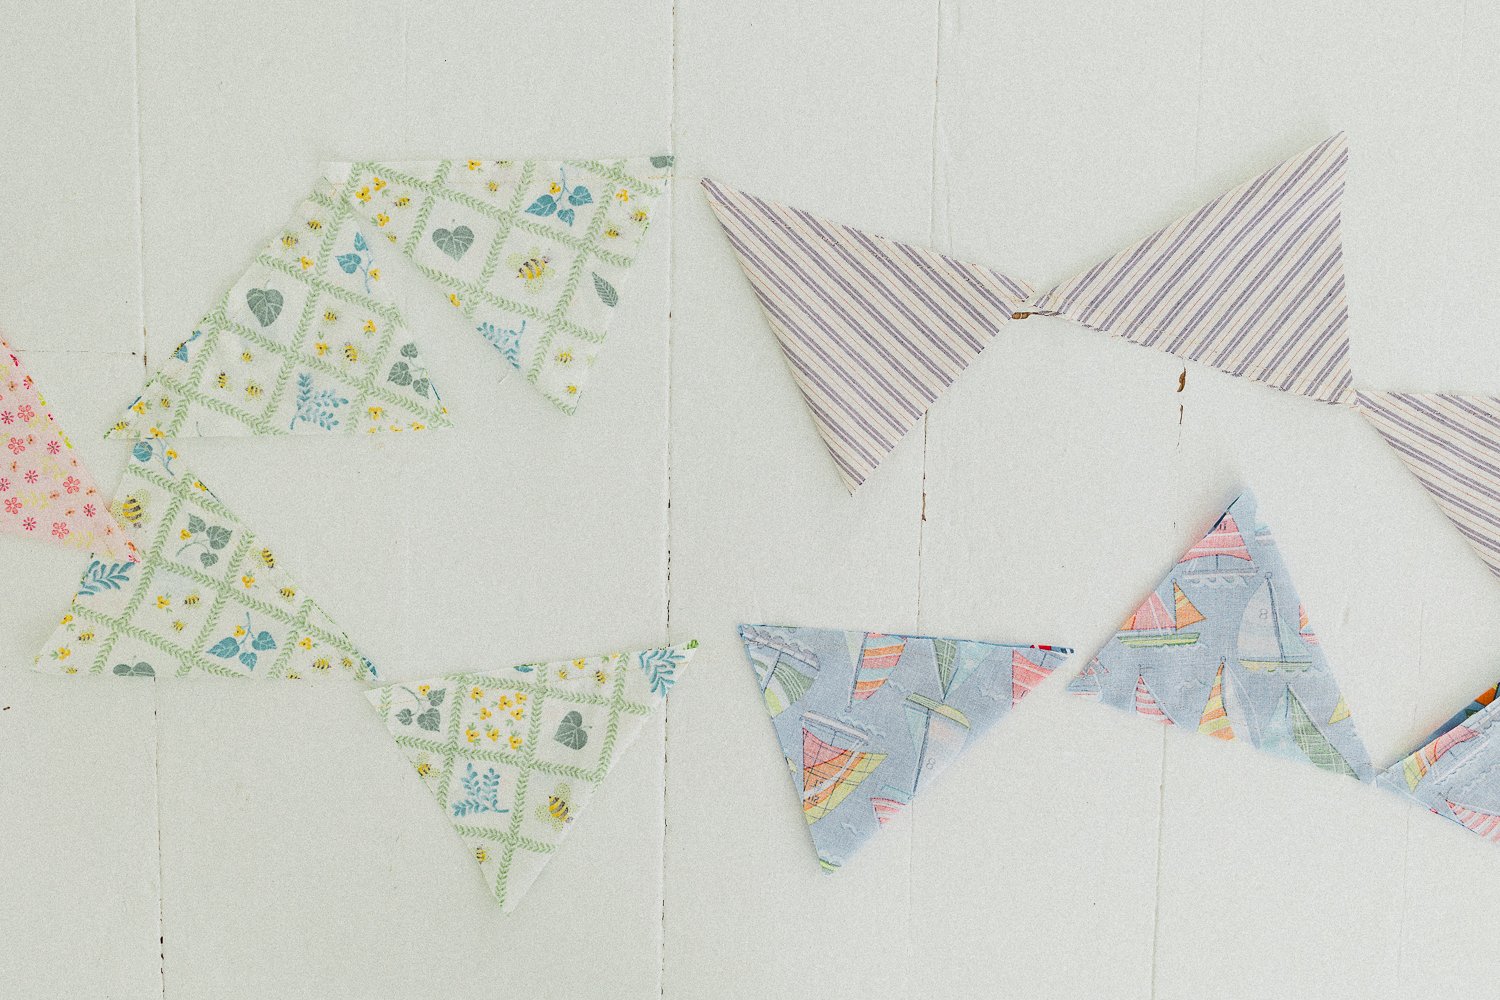
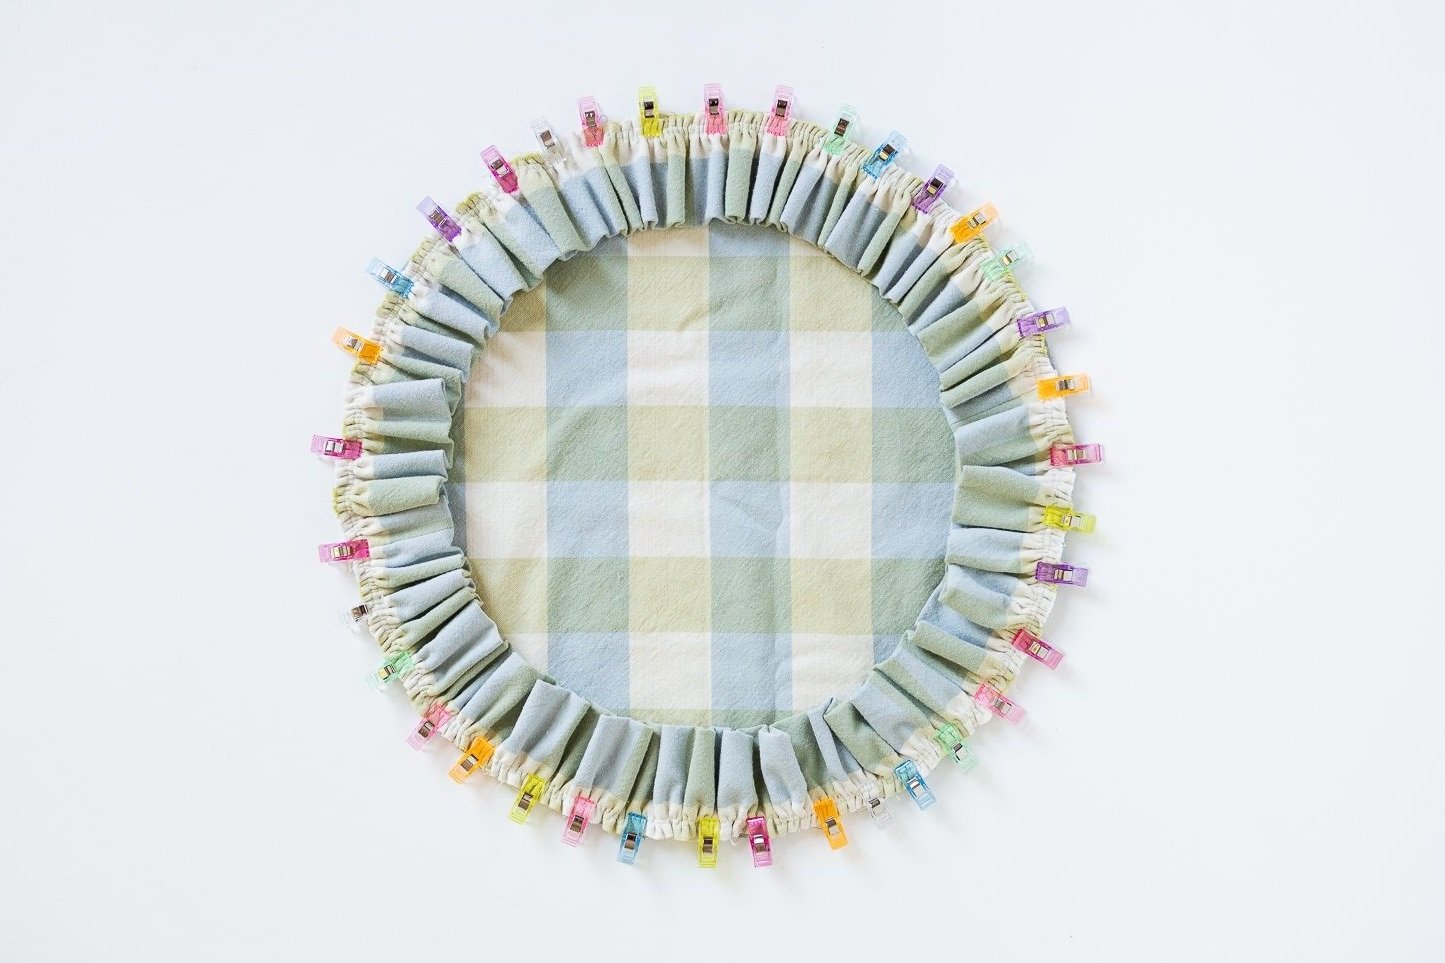
Step 7: Now comes the hard part. Lay them all out on the floor and decide what order you want them in.

Step 8: Stack them in order.

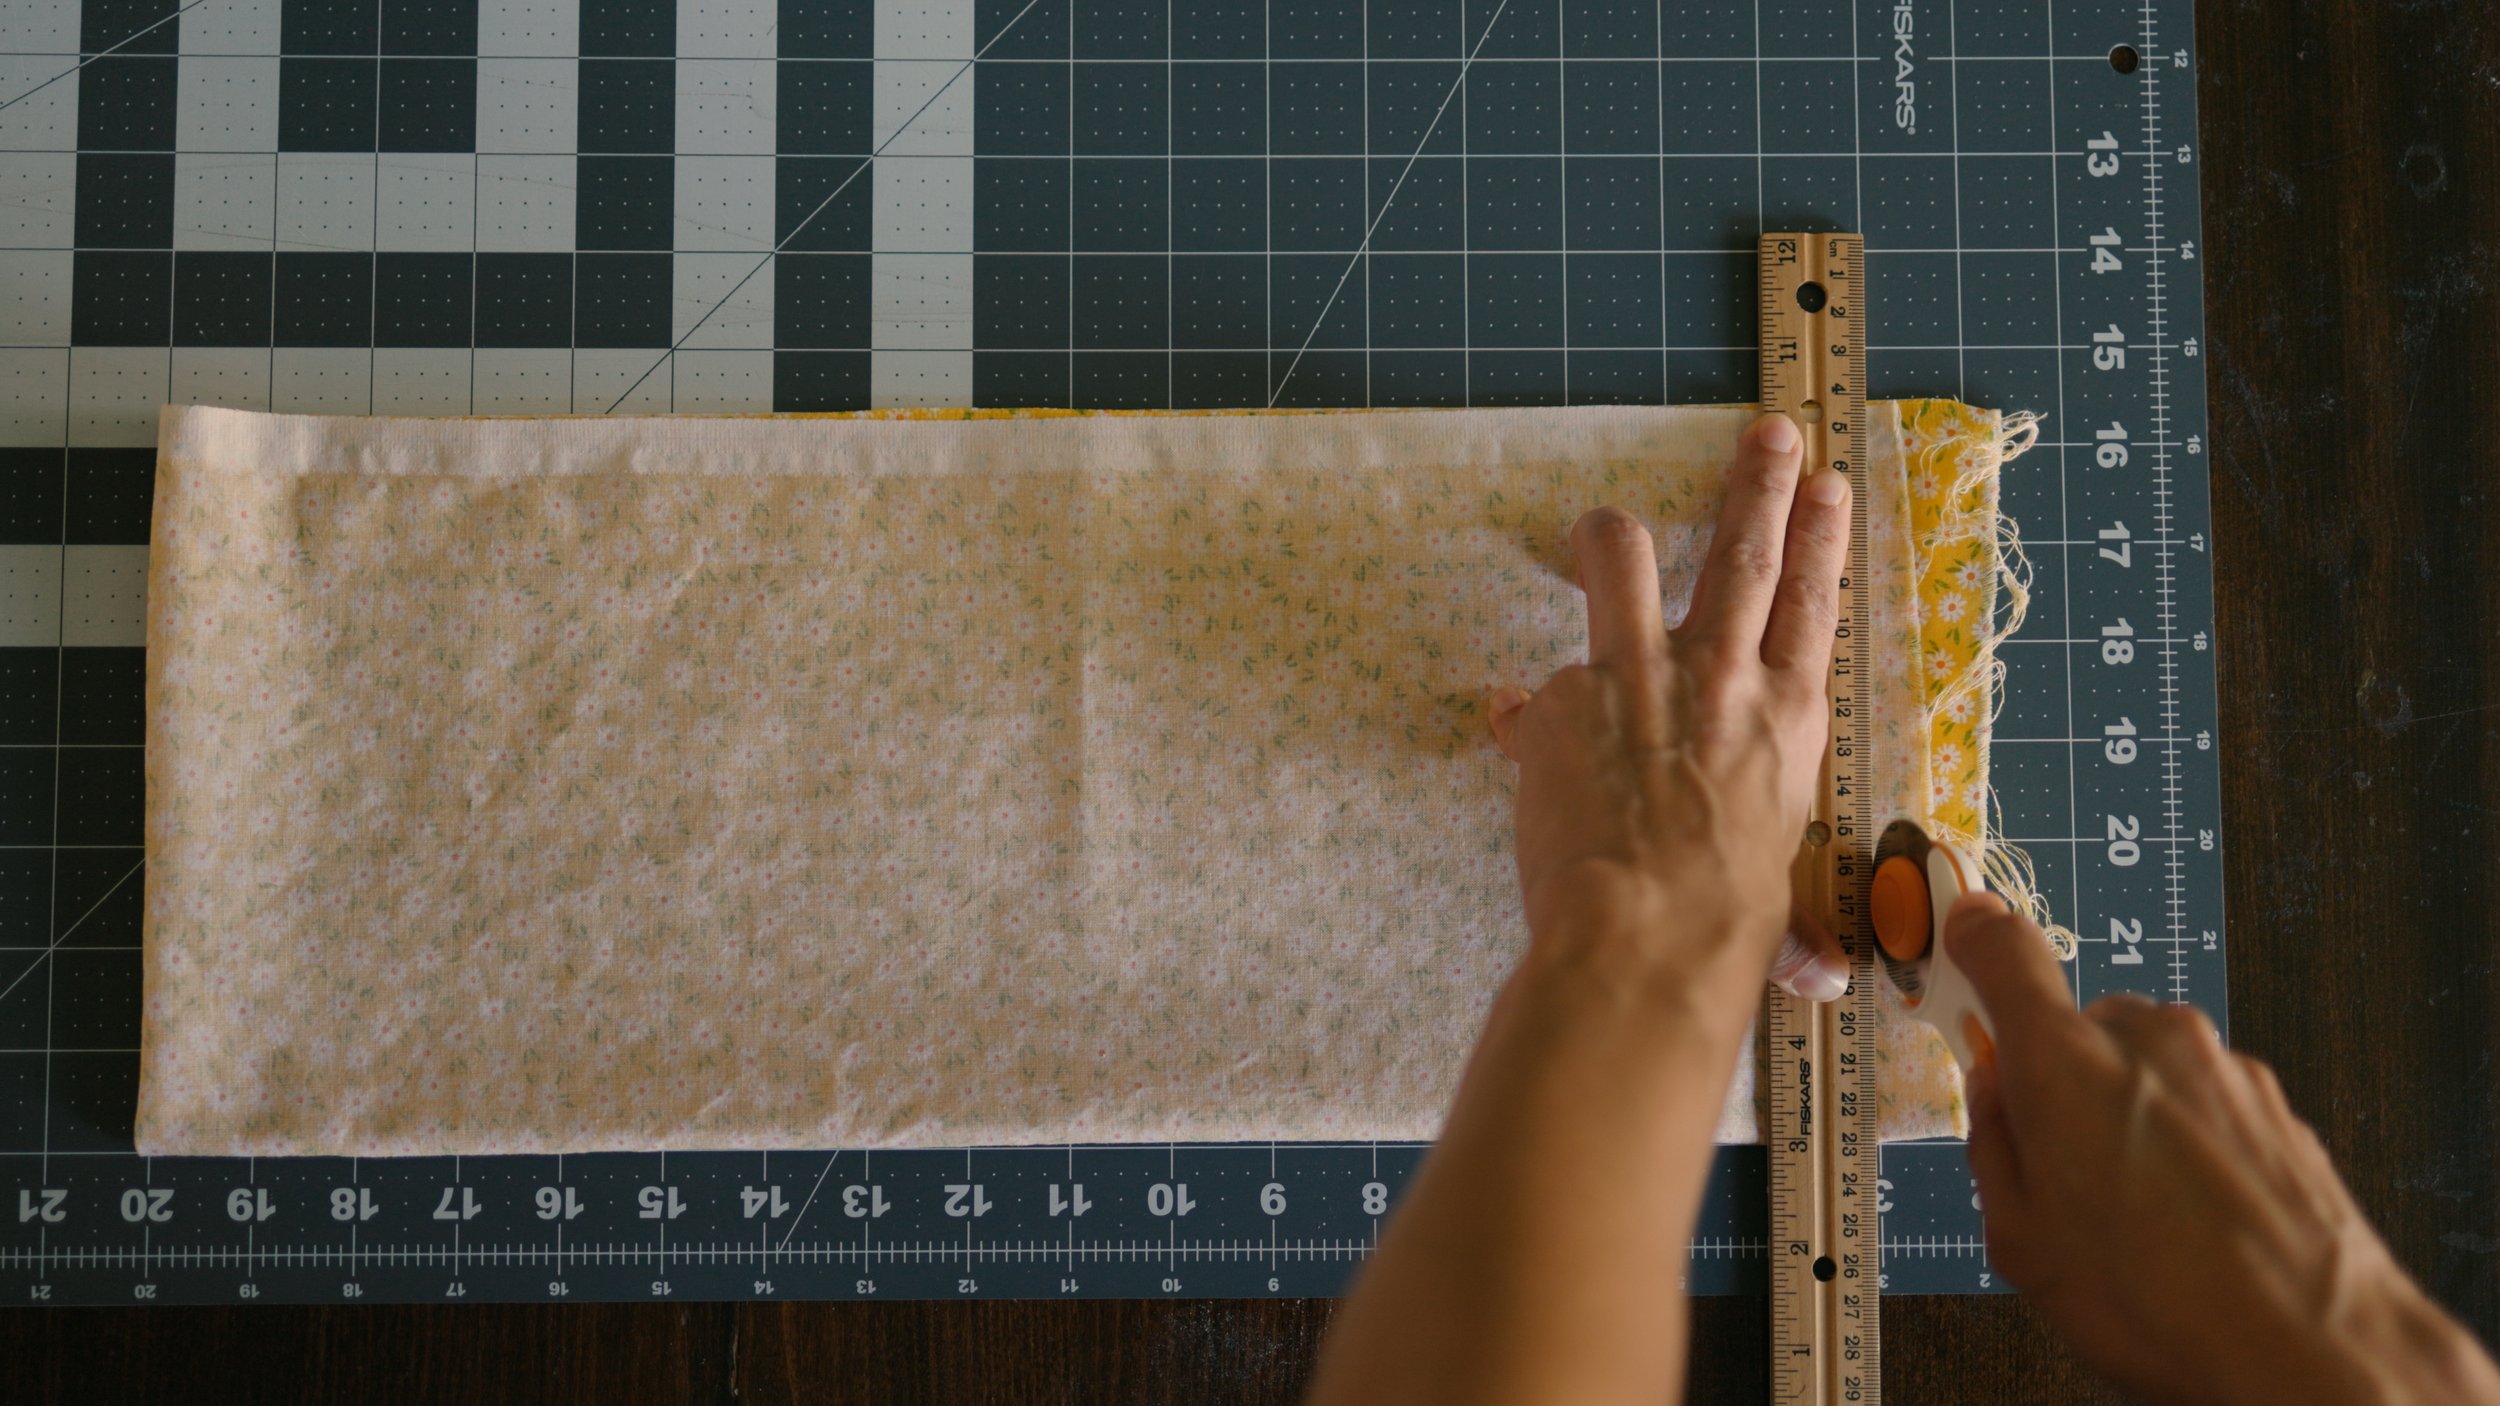
Step 9: Cut a long strip of fabric 1 3/4” (4.5 cm) wide. Long enough to sew all the little banners together and then some extra on both ends to tie it to something. You may have to cut this from multiple sections and sew the sections together.

Again, each little banner is about 5 1/2” (14 cm) wide, if that helps you calculate what you need.

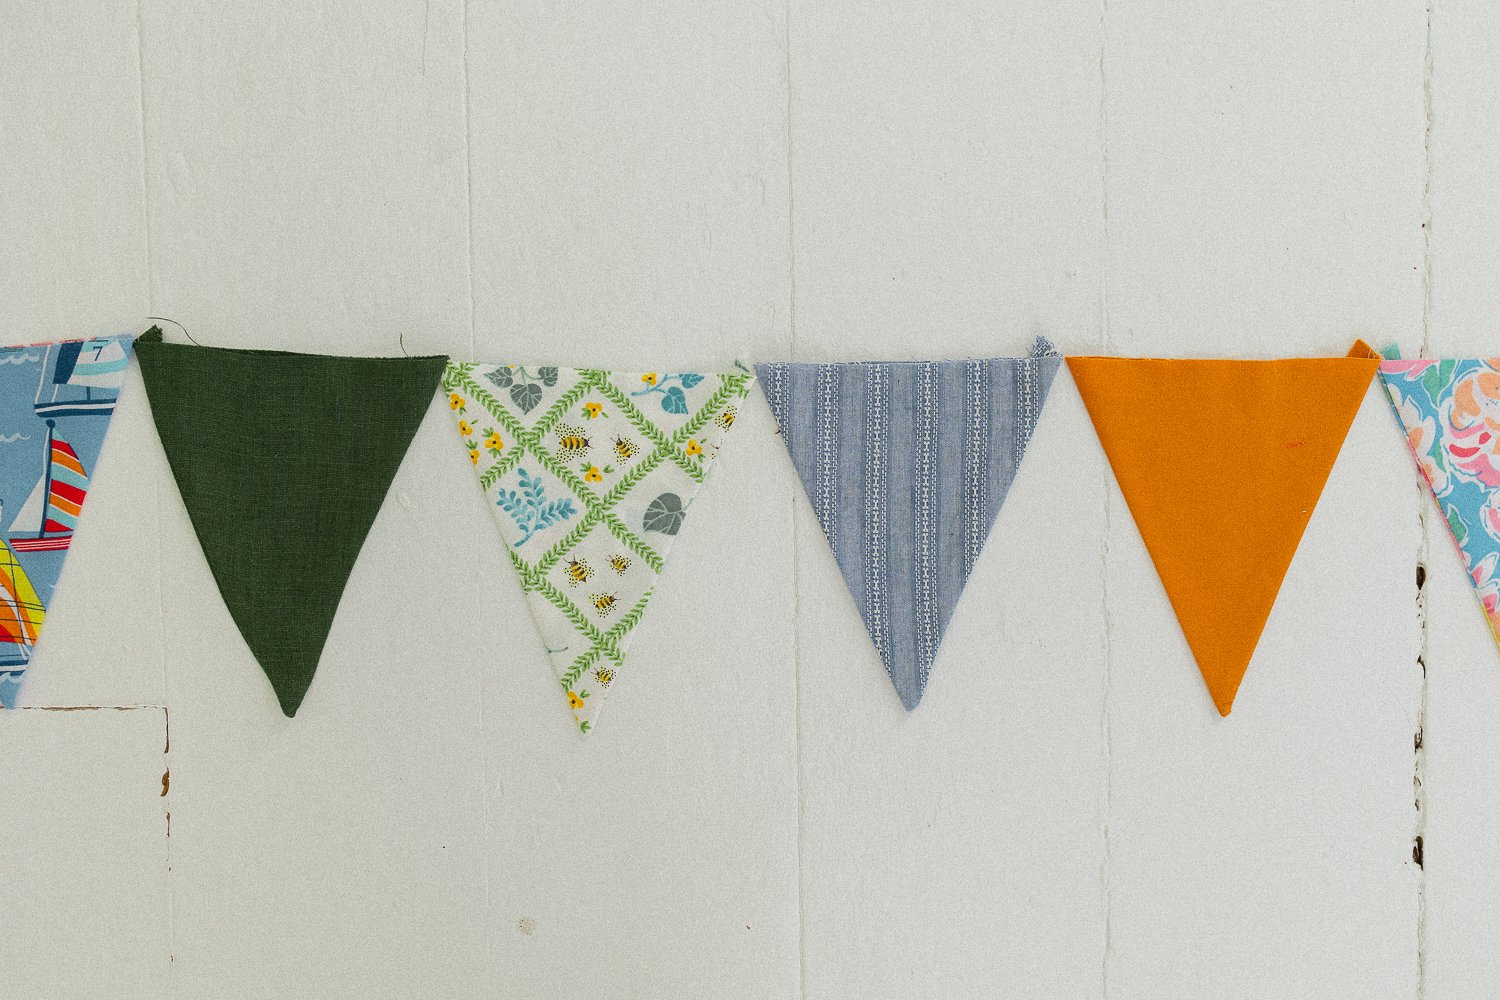
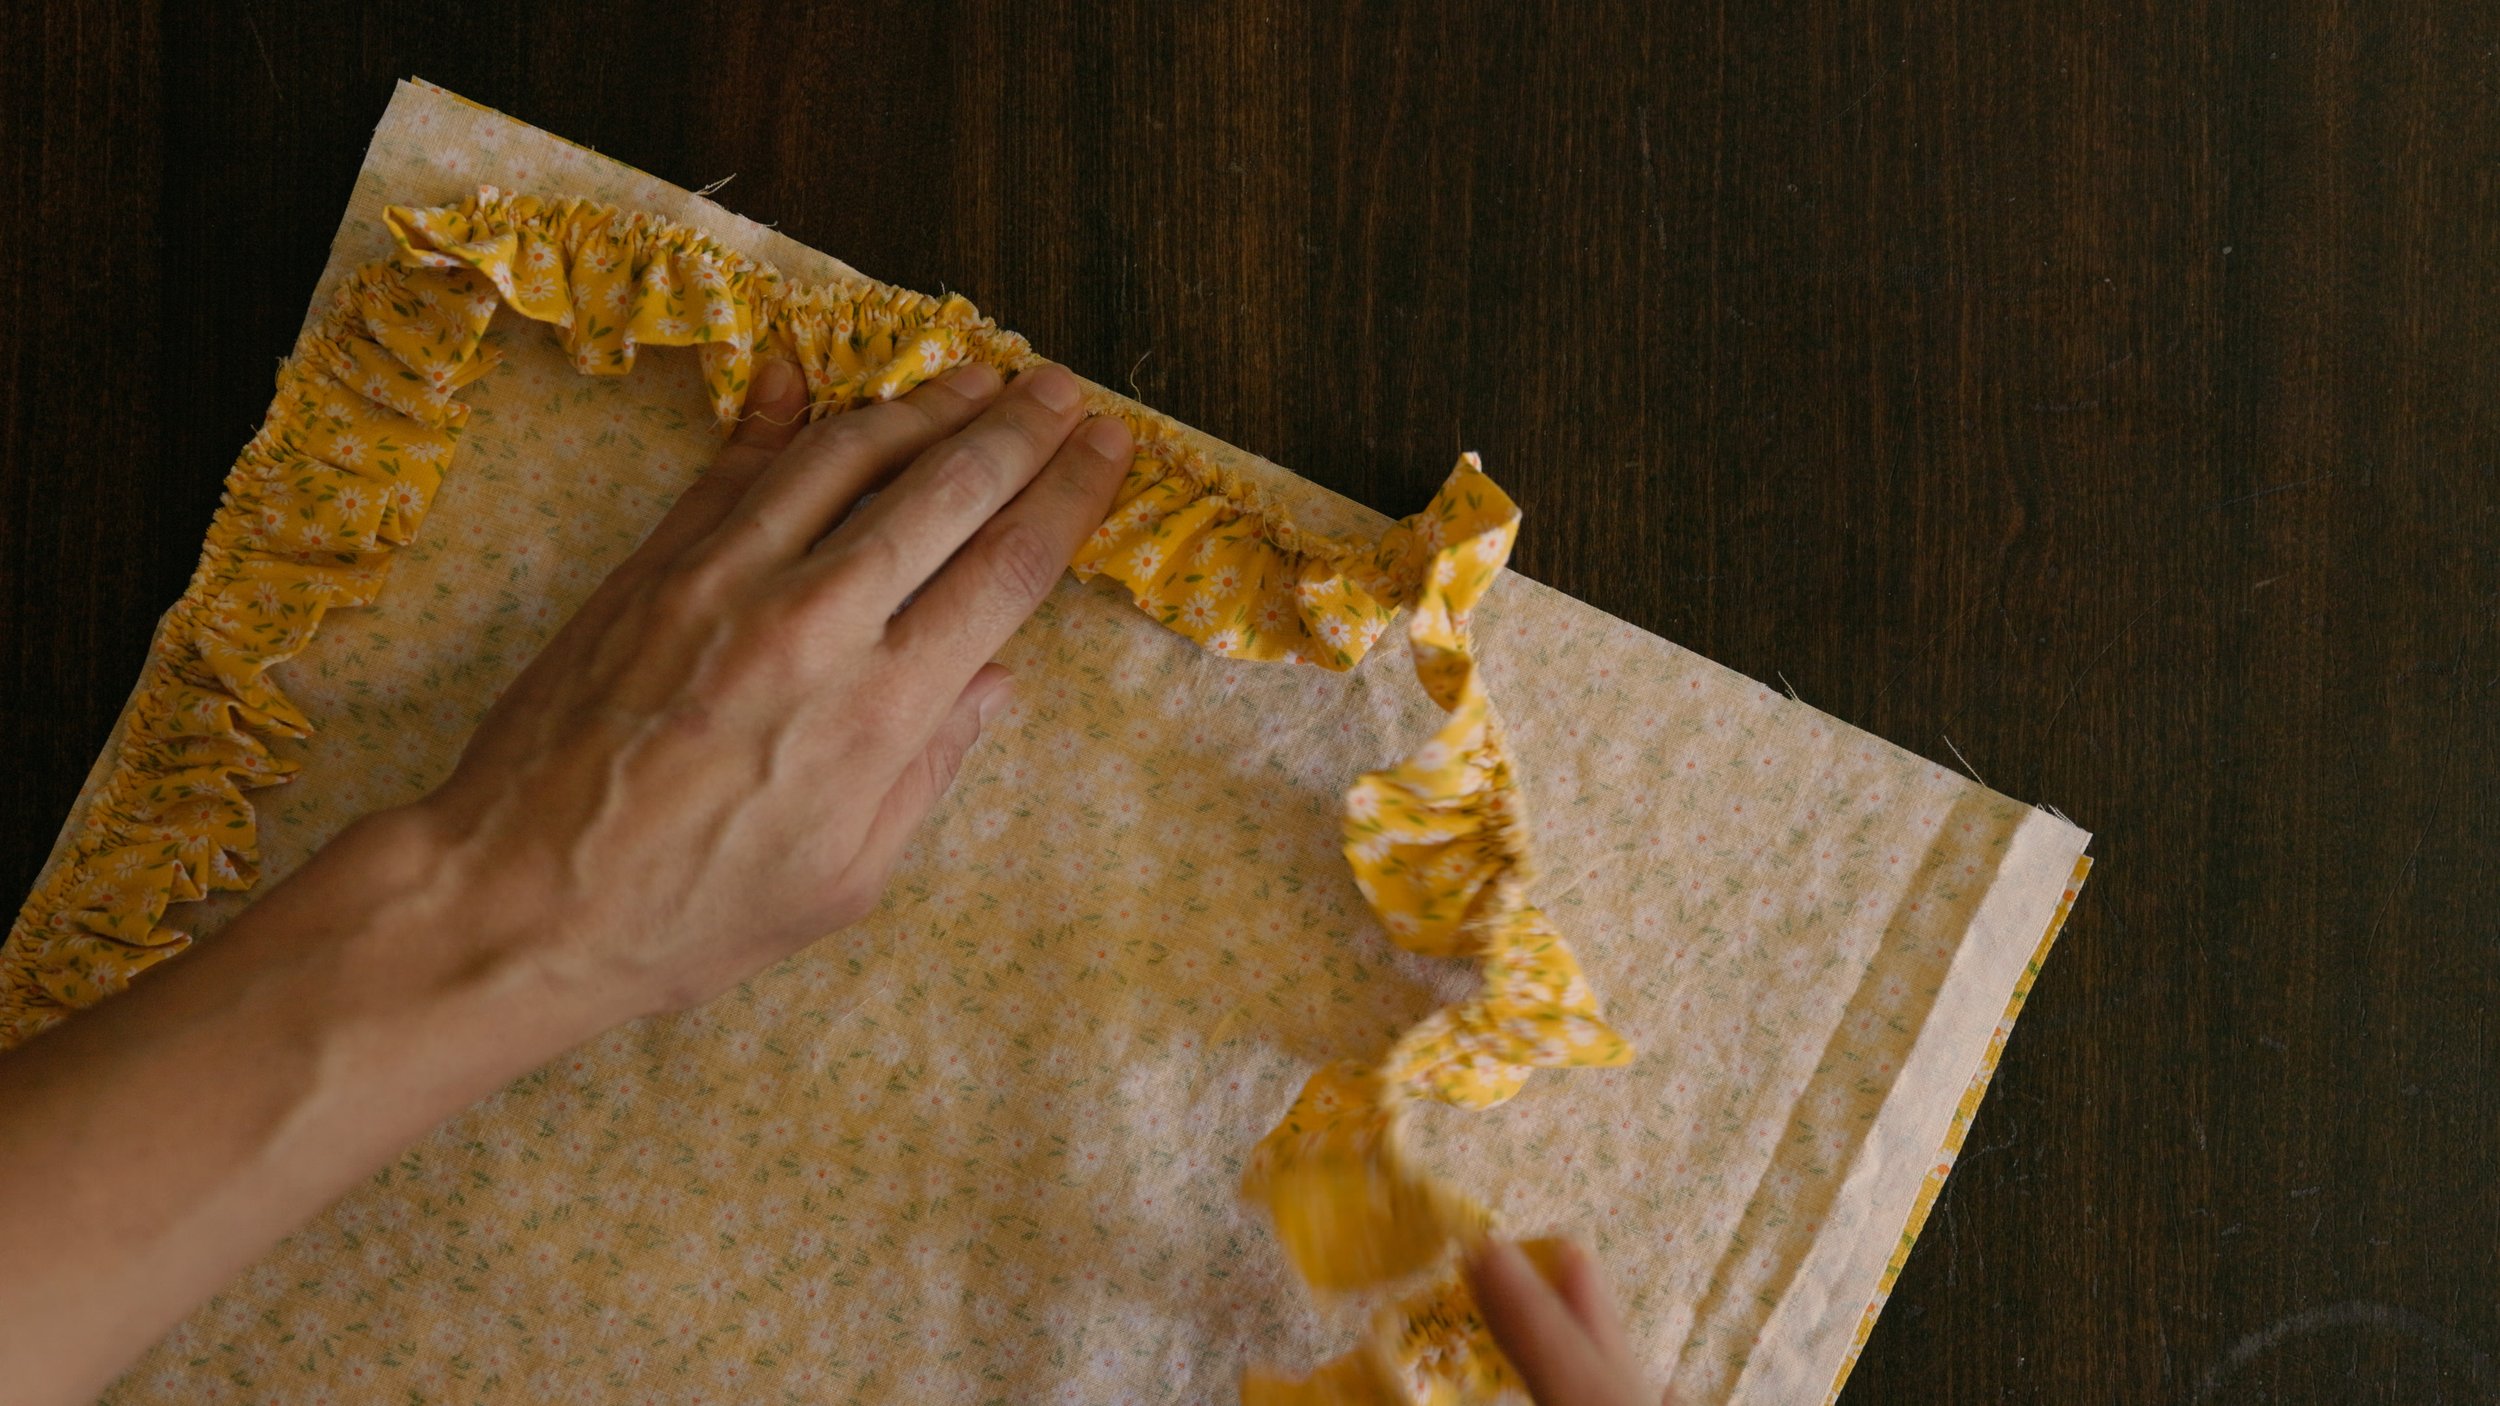
Step 10: Sew sew sew! Use 3/8” (1 cm) seam allowance to sew the little banners to the long strip. Overlap the little banners a little bit as you sew, tucking each one under the one currently being sewn.

If you know how much extra length you calculated for tying, you can start sewing the little banners there. Or if you just estimated the whole thing and have no idea, find the middle of the strip and start sewing down each side from there.

Here’s what the front and back look like.

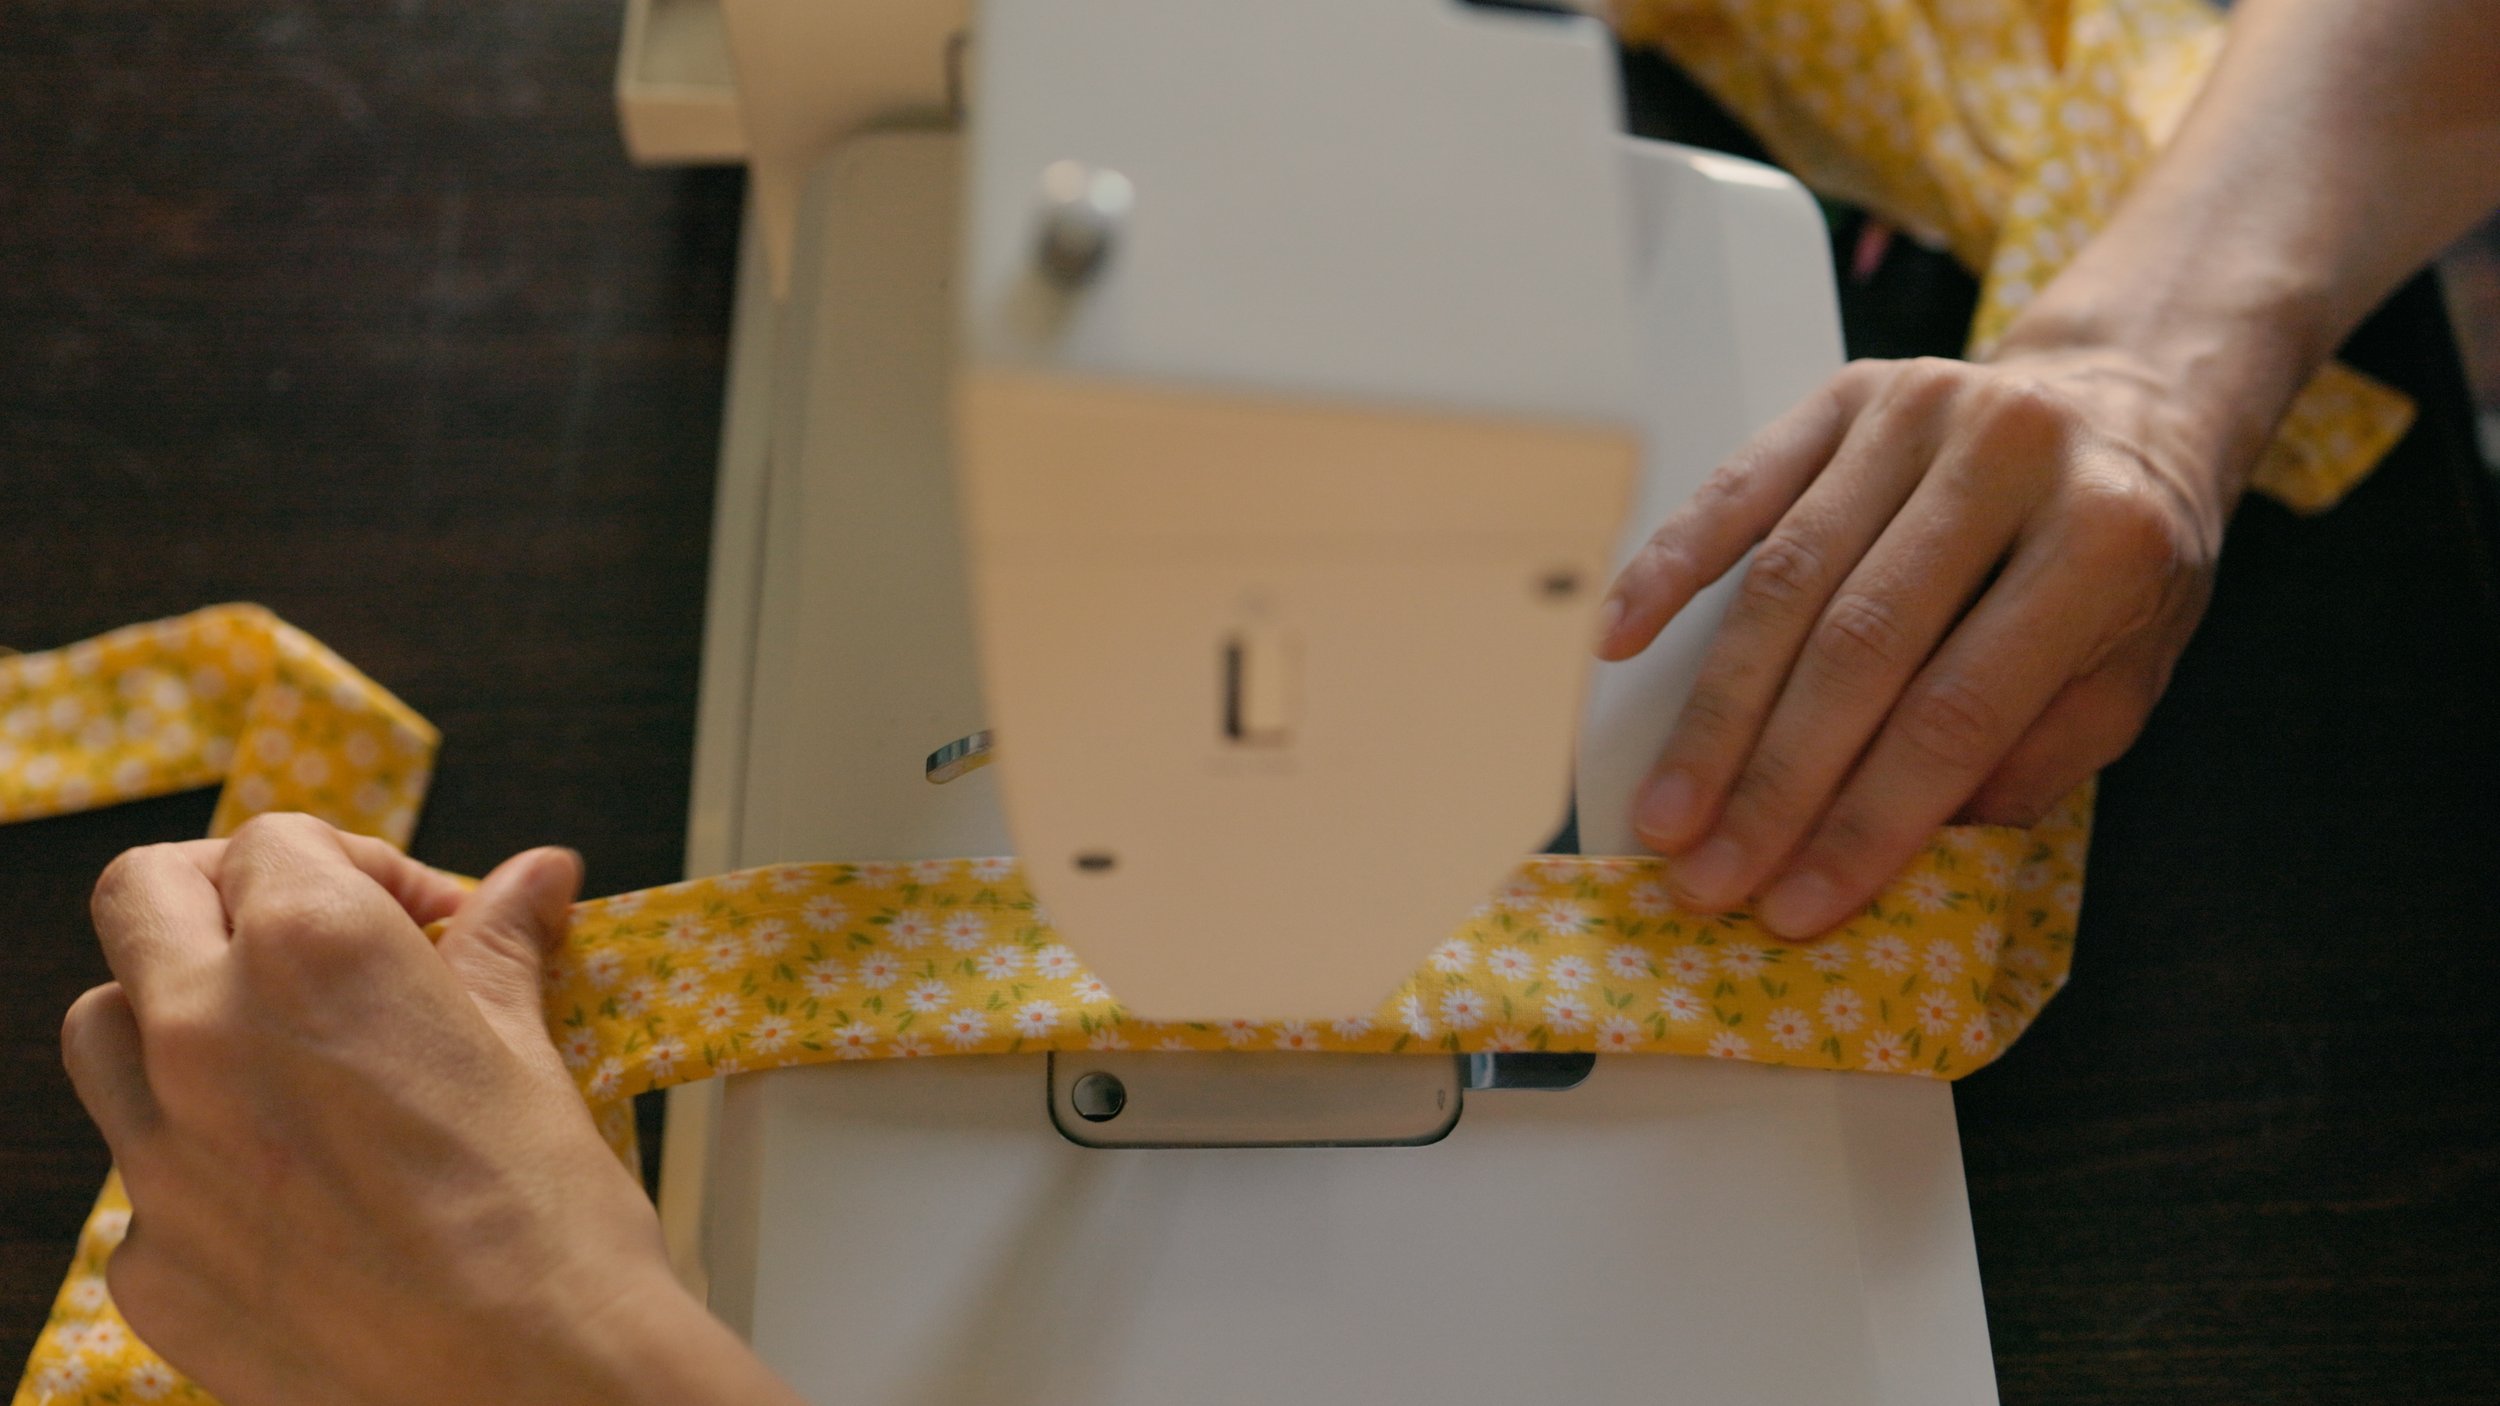
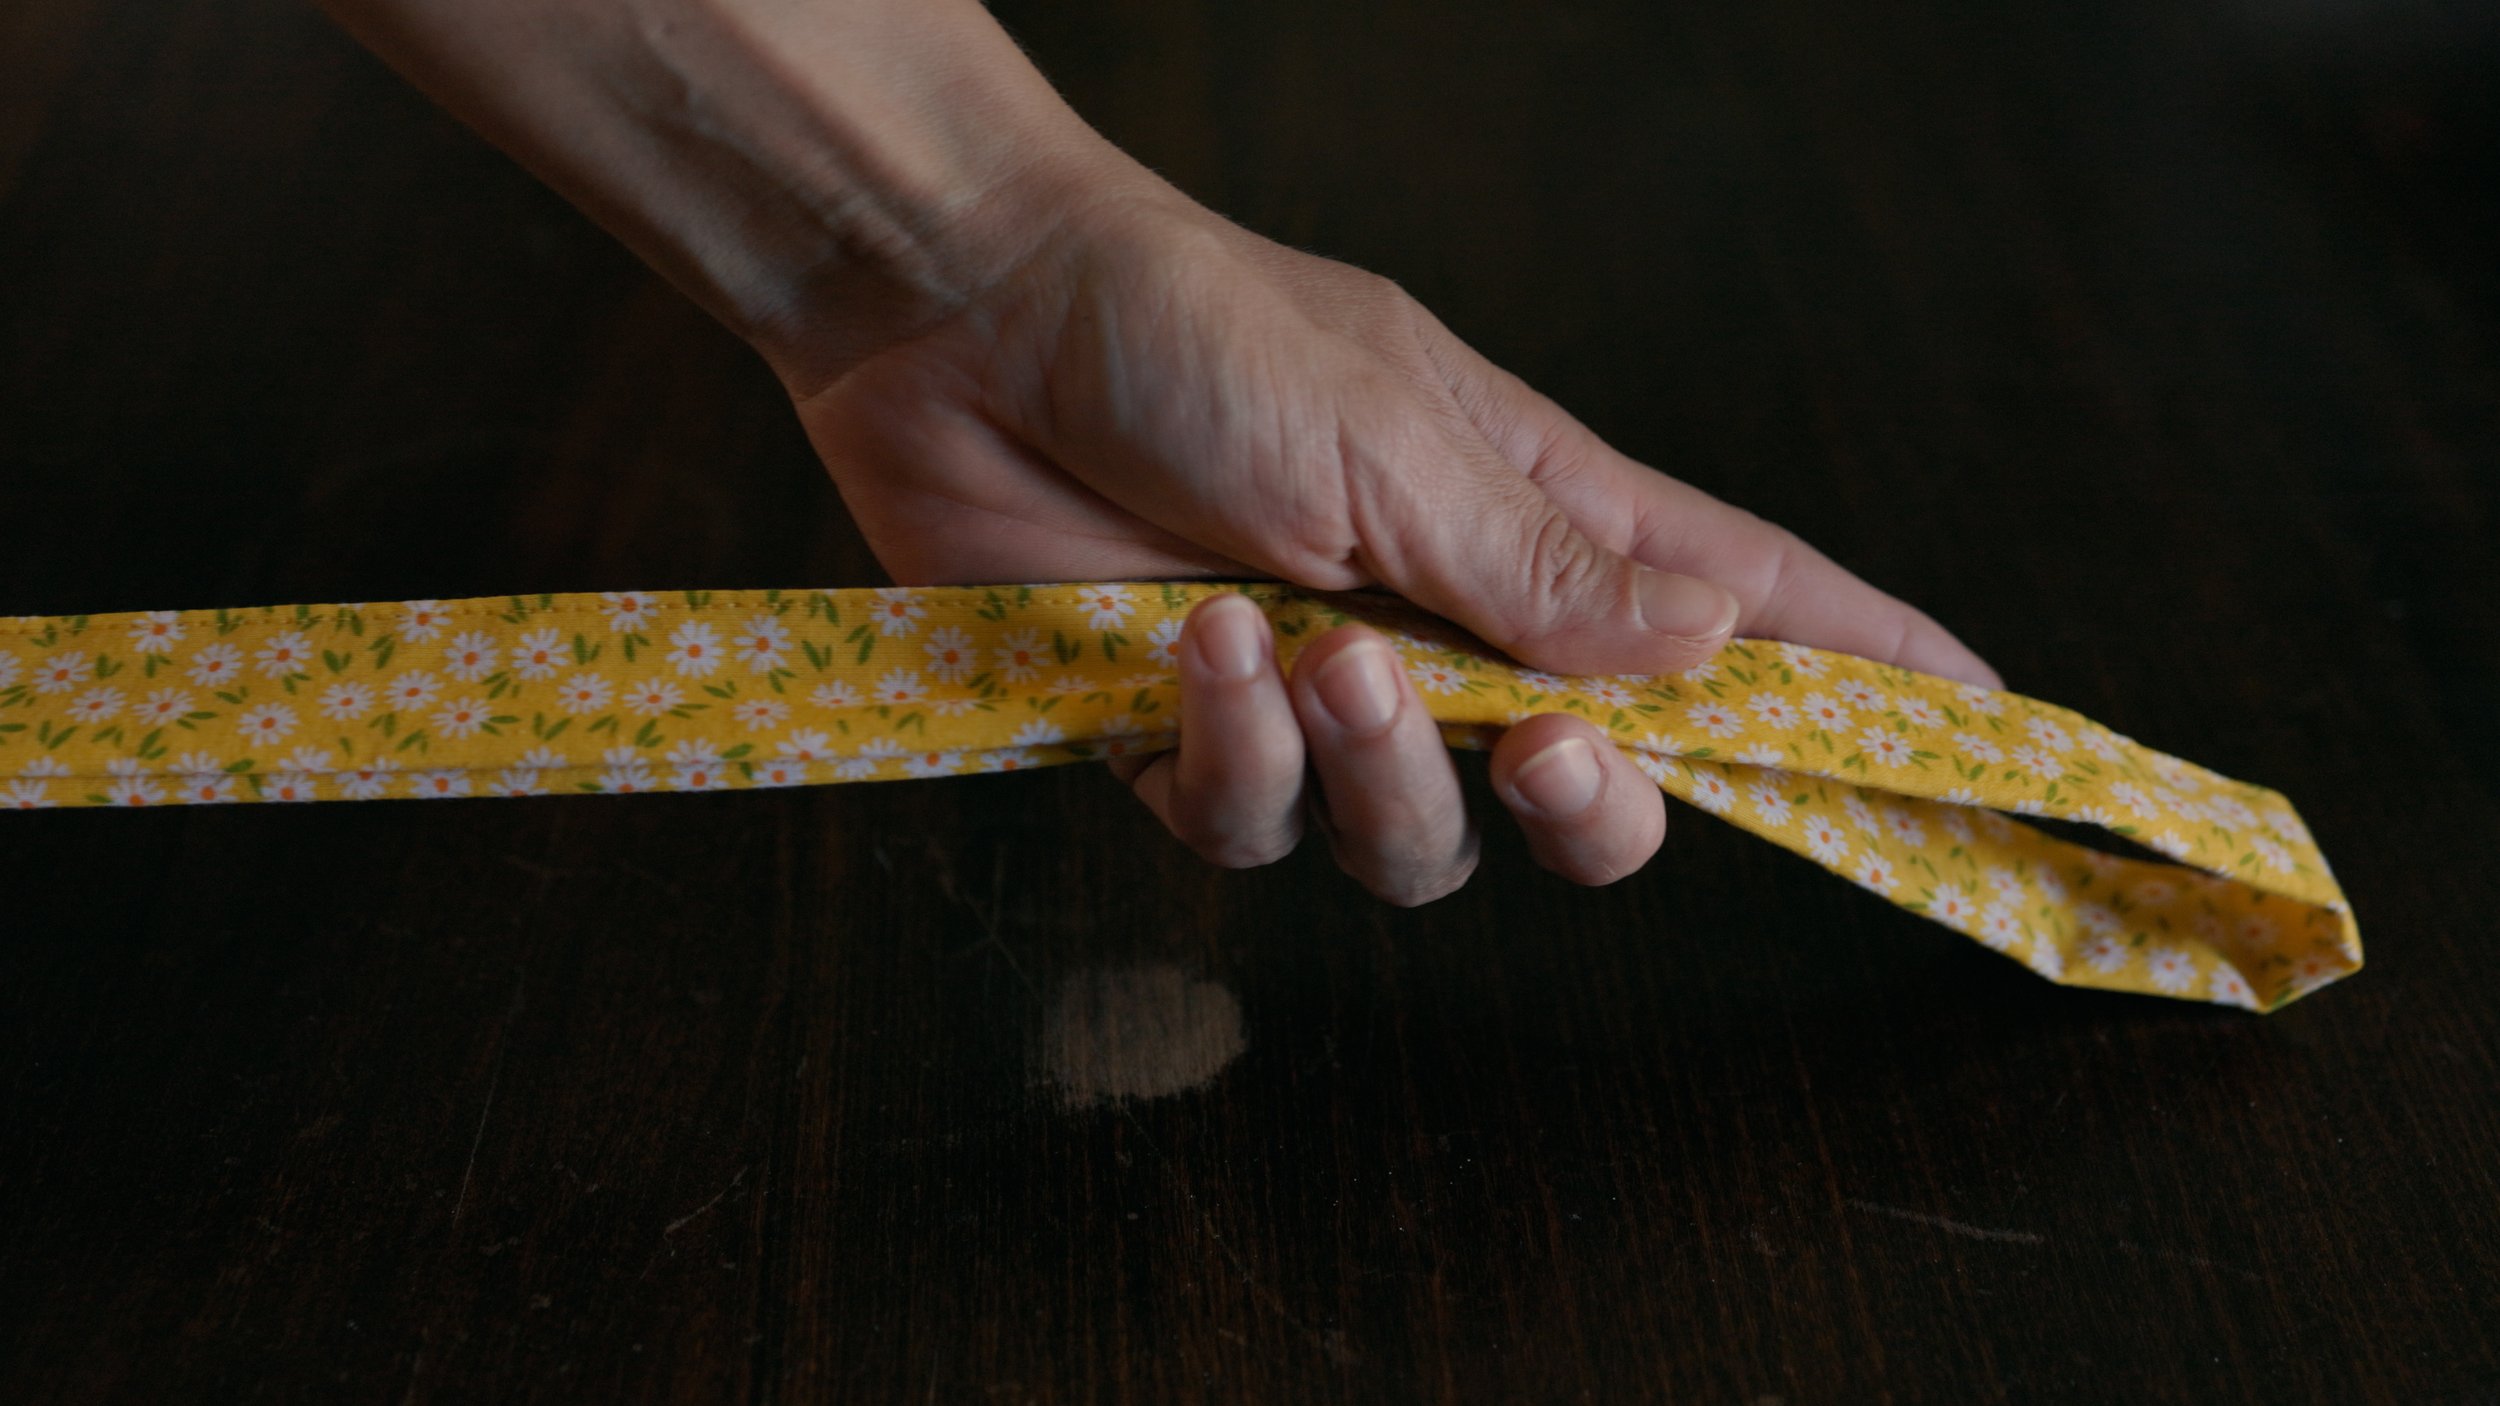
Step 11: Press the strip up. Fold the top of the strip over until it meets the raw edge of the little banner. Fold over again and sew sew sew. Press each step with steamy iron before sewing for best results.

That’s it! You have your own bunting banner!

Free Bunting Banner Pattern PDF

If you enjoyed this tutorial, you may also enjoy…

Enter the height, length, and width of your desired tote bag and this quickly tells you what size to cut the fabric. With illustrated instructions on how to sew the bag together.

This is a great pattern for a beginner bag maker. A simple, sturdy, quick to sew, waxed canvas bag.

Enter the length, width, and height of your desired boxy pouch and this tells you what size to cut the fabric and how to sew it together.

Making a Nursery Bunting Banner

My heart expands with each new niece and nephew I get to welcome to my life. For the most recent addition, I made a bunting banner for the mom’s nursery area. We were both delighted with how it turned out. Here are some photos I snapped while sewing.

Cut cut cut.

Sew sew sew.

If you enjoyed this post, you may also enjoy…

Free PDF pattern and step by step photo tutorial to make your own bunting banner.

Step by step photo tutorial to fill your kitchen drawer with mitered corner cloth napkins.

Sewing a Juniper Quilted Jacket.

Yellow Floral Ruffle Tote

Two fun things

1) Yellow ruffle tote. I just put together a full video tutorial in a blog post if you want to make one of your own!

2) I painted my sewing room pink. Floor, walls, trim. It’s making me pretty happy these days.

If you enjoyed this ruffle tote, you may also enjoy…

Step by step photo tutorial to fill your living room with ruffle pillows.

Everything you need to know to start playing with ruffles.

Use the Tote Bag Calculator and follow the step by step instructions to quickly make any size tote bag you want. Great afternoon project.

Ruffles 101 -- How to Gather Fabric

Basics of gathering

Step 1: Sew a loose line of stitching without backstitching at the beginning or end. Then hold the bobbin thread tight.

Step 2: Scrunch up the fabric, little by little, while holding the bobbin thread tight.

Lines of stitching

Ruffles with one line of stitching is sufficient, but those ruffles can be unwieldy to sew. It is more likely the ruffles will fold over each other in the sewing process because the hills and valleys are high.

With each line of stitching added, the hills and valleys of the ruffles become more manageable. They become tamed.

A happy medium for me is two lines of stitching. I usually sew the first line of stitching with 3/8” (1 cm) seam allowance and a second line with 1/4” (0.6 cm) seam allowance.

How much gathering

One of the hardest decisions when playing with gathering is deciding how much ruffle do you want. Here’s a photo to help you determine which ratio works best for your project.

There are pros and cons using less ruffle and more ruffle. Less fabric makes the process faster, sometimes much faster to gather. But it’s easier to distribute the gathers evenly if there is more fabric to work with.

A happy medium I usually land on is about 2x.

For best sewing results

Use lots of clips! Clip clip clip.

Seam allowance

To conceal the gathering threads, be sure to use a seam allowance just as wide or wider than used for the lines of stitching to make the gathers.

Matching thread

Despite best efforts on seam allowance, the gathering threads sometimes peek through. Use matching thread to avoid the thread being noticed like this dark green stitching. But if any gathering threads are visible after sewing the ruffles, carefully cut and pull them out with a seam ripper.

Other tips

Some fabric gathers a lot easier than others. It can vary depending on fiber content and tightness of weave. If the thread breaks while trying to gather, try using a thicker thread like upholstery thread and loosening the stitch from the machine as much as possible.

Sometimes gathering takes a long time. Stick with it and go little by little.

The fun thing about ruffles is they are pretty forgiving. If the gathers aren’t evenly distributed, don’t sweat it. It doesn’t have to be perfect to look good. It’s fun to just play with them.

Now that you’re ready for ruffles, check out these tutorials in my ruffle series:

If you enjoyed this post, you may also enjoy…

Step by step video tutorial to fill your closet with ruffle tote bags of various colors.

Illustrated step by step guide and tips for getting started with quilting fabric.

Step by step photo tutorial to fill your living room with ruffle pillows.

How to Sew a Ruffle Tote Bag — Video Tutorial

I hope this step by step video tutorial can serve you well in your ruffle tote adventures. This tutorial is for a simple unlined tote bag with short handles.

Fabric dimensions:

  • Cut two 15” x 17” (main body)

  • Cut three 3” x 36” (ruffle)

  • Cut one 4” x 36” (handle)

Here are some photos of the process to get you inspired

Check out my other tutorials in the ruffle series:

Details

Fabric: Quilting cotton from the clearance aisle at Joanns.

Pattern: I used the nifty Tote Bag Calculator to help me quickly determine what size to cut the fabric for this tote.

If you enjoyed this tutorial, you may also enjoy…

I glued pockets in different places to see how it would change the bum look.

Step by step illustrated tutorial to add pockets.

Step by step photo tutorial to make your own bunting banner.