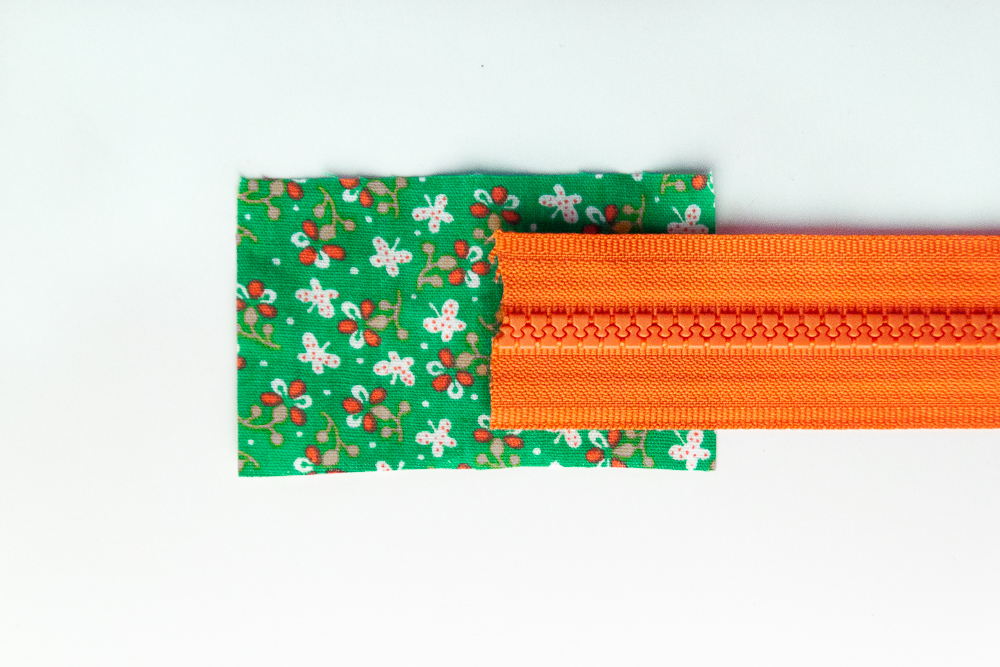
Whether you are using a cut-to-length zipper (my personal favorite) or a regular zipper, the need sometimes arises to sew a nice fabric patch on the end of the zipper. Of all the ways to do this (most are terribly frustrating), this is the best method I’ve used. It’s reliable - works every time. It’s quick - only takes about a minute total. It looks neat - no raw edges which makes it good for a variety of applications. And best of all, it’s the least fussy - it’s easy to get the fabric lined up and sewn straightly.
Here’s how to do it.
1) Cut a rectangle of fabric about 4” (10 cm) long and 1/2” (1.3 cm) wider than the width of the zipper.
2) Fold the rectangle in half with right sides together. Sew both sides with a 1/4” (0.64 cm) seam allowance.
3) Turn the fabric right side out.
4) Fold the top inside the little pouch so that the top of the fabric reaches all the way to the bottom.
5) Make sure the folded edge of the pouch is even all the way around. Insert the zipper inside. (Note: Depending on the application you’re using it for and the type of zipper, you may want to remove some zipper teeth so you don’t sew over them.)
6) Stitch near the top of the pouch through all layers.
That’s it! You’re done.
In my free Pear Pouch Pattern I use a different method, but this would be an excellent alternative. In fact, this is, simply put, a better method. More reliable and less fussy all around.


