

If you’re looking for a playful project for the coming winter and need a new pair of gloves for clearing your windshield in the mornings, these mitts are kind of fun.
A few years back I taught a year-long weekly sewing class to a small group. It was fun to come up with all the projects. My goal was to have projects that taught technical skills and resulted in fun, useful items. These mitts were an introduction to quilting fabric, and I ended up enjoying them so much that I’ve been using them for several winters.
Here’s how to make your own
Step 1: Draw a generous mitt shape around your hand.

Step 2: Cut out 8 from the fabric, 4 from the batting.
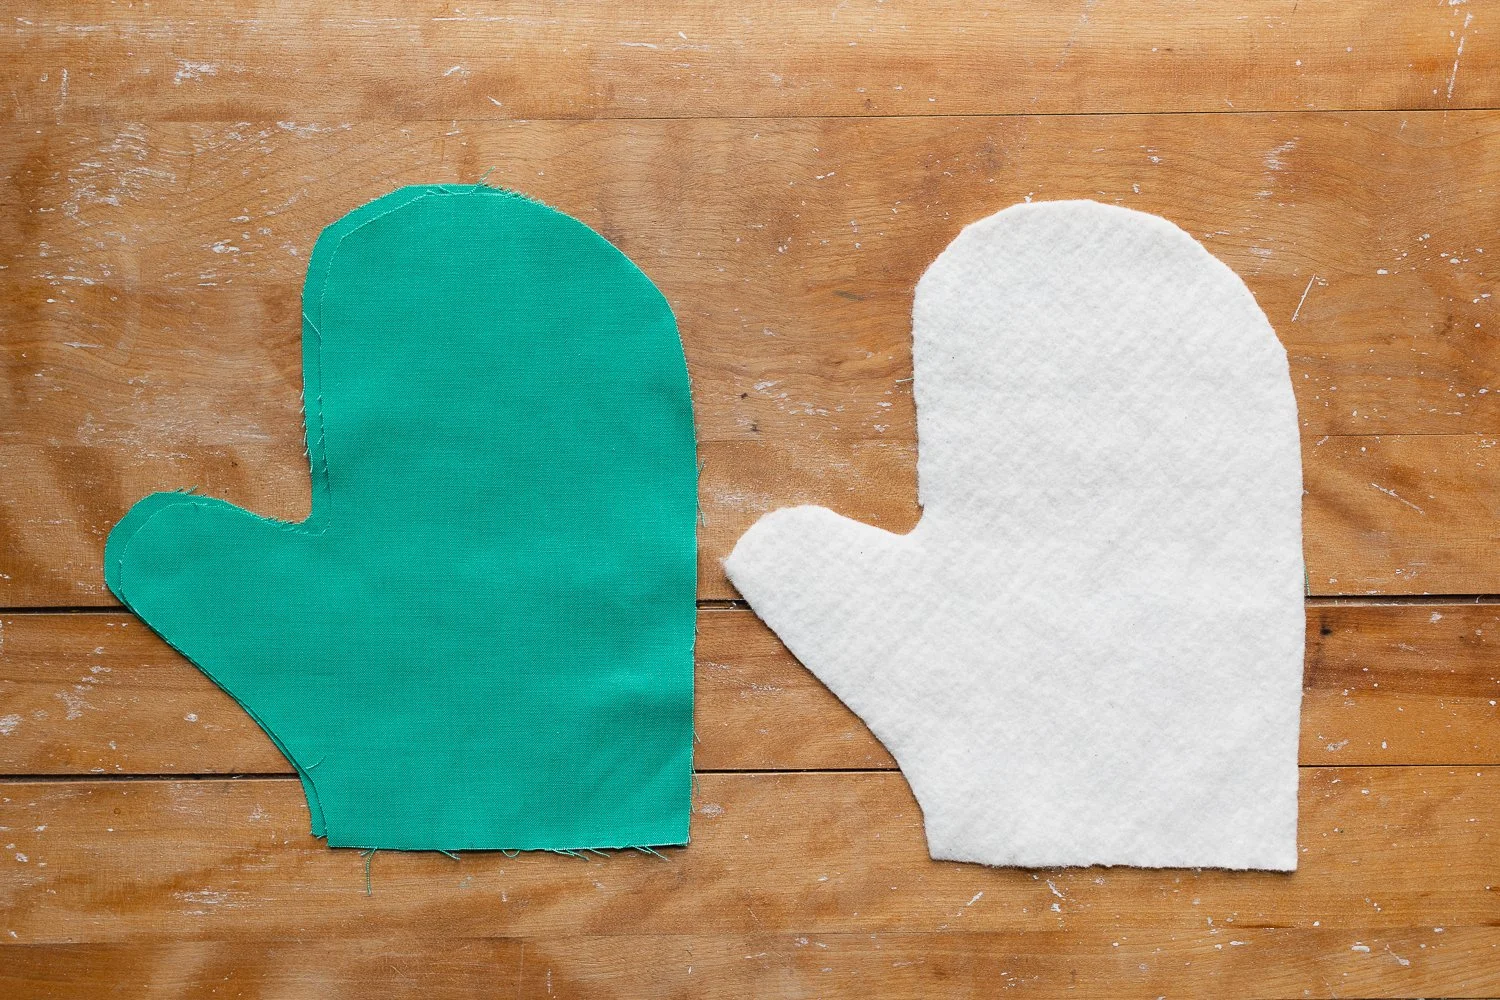
Step 3: Sandwich the batting in between the fabric.


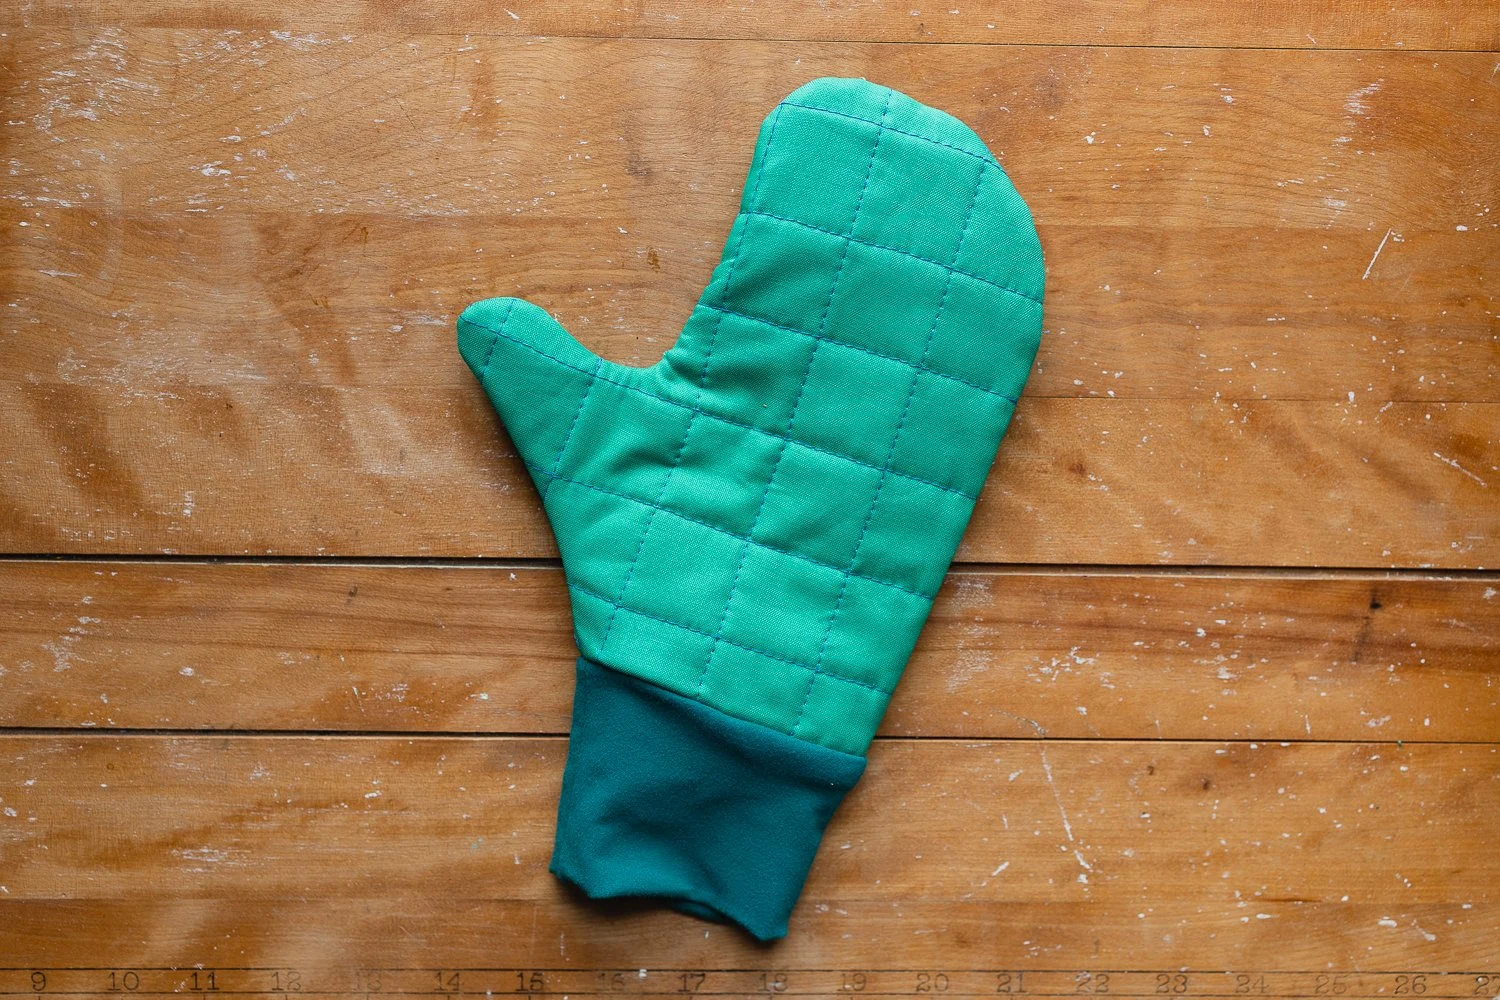
Step 4: Use a ruler and fabric pen or chalk to draw some lines for stitching.

Step 5: Starting from the middle and moving out toward the sides, stitch along all the lines.
If you want some more tips on getting started with quilting, check out Tips for Sewing a Quilted Jacket.


Step 6: After quilting, trim around all the edges.


Step 7: Place two quilted mitts together and sew with 1/4” (6 mm) seam allowance.


Step 8: Zigzag around the edge.


Step 9: Cut some stretchy knit fabric to make a cuff.


Step 10: Sew up the side and fold into a cuff.


Step 11: Place the cuff inside the mitt and sew with 3/8” (1 cm) seam allowance.

Step 12: Zigzag stitch.

Step 13: Turn right side out and get ready to clear your windshield!
If you’d like to try another quilt project, check out my Juniper Quilted Jacket Pattern!
If you enjoyed this post, you may also enjoy…

Illustrated step by step guide and tips for getting started with quilting fabric.

Sew your own quilted jacket! This pattern has a short and long version and step by step illustrated instructions.

An afternoon sewing a quilted linen jacket.


