Learning how to sew bias tape efficiently and beautifully is one of the best ways to improve your sewing. Bias tape is so useful for finishing seams that it’s worth spending lots of time playing and experimenting with it.
Here’s to bias adventures!
How to Sew Bias Tape
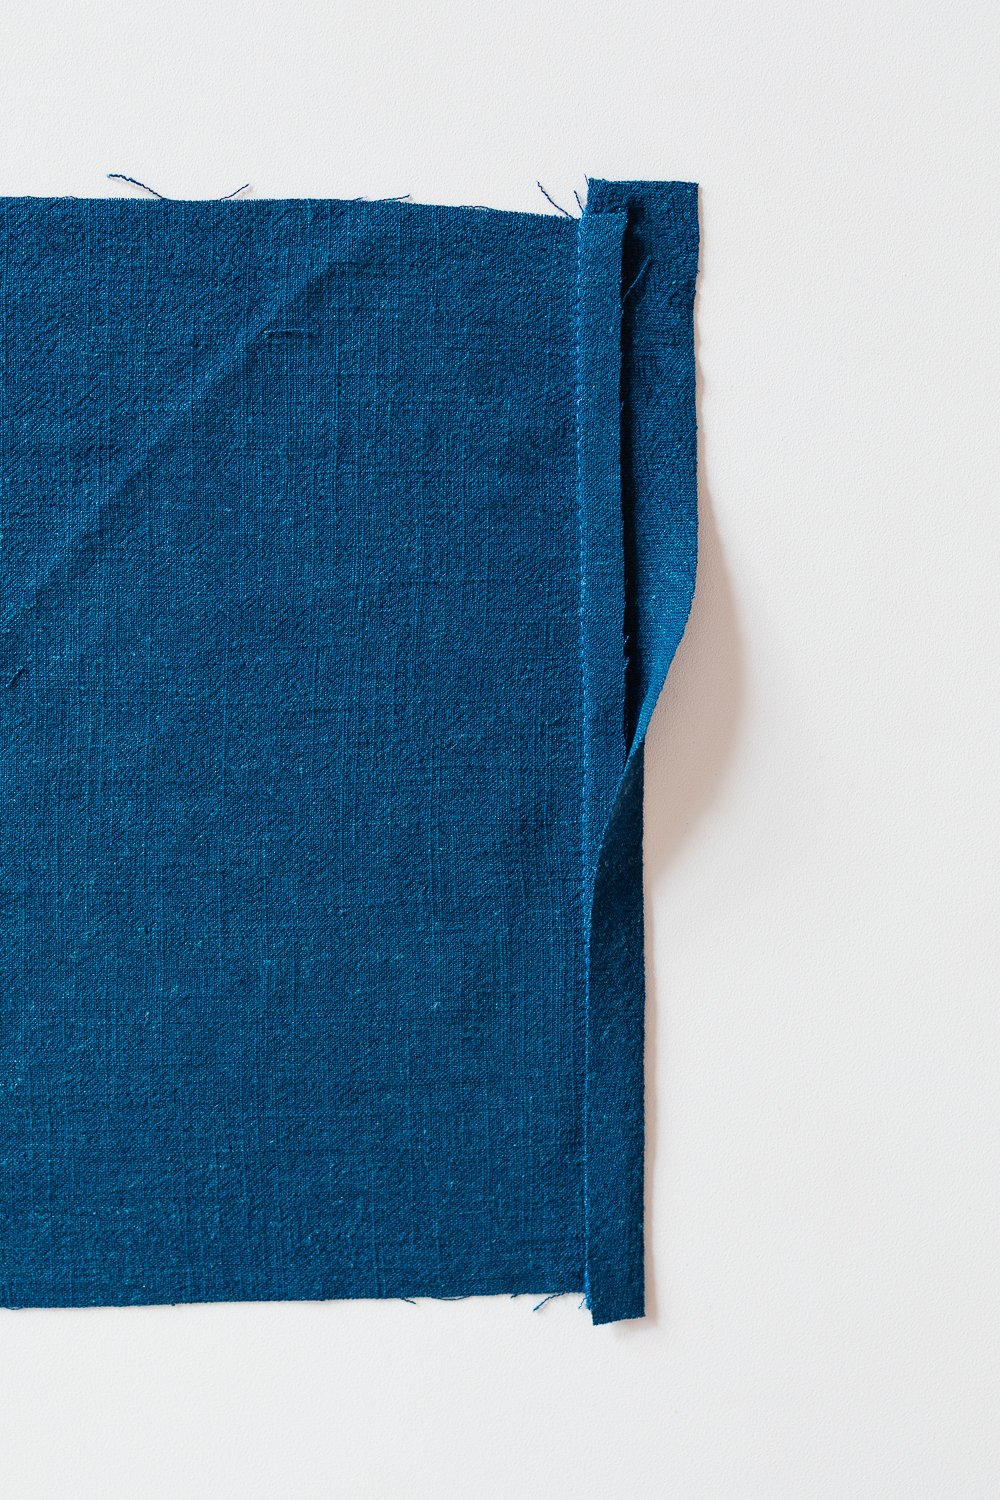
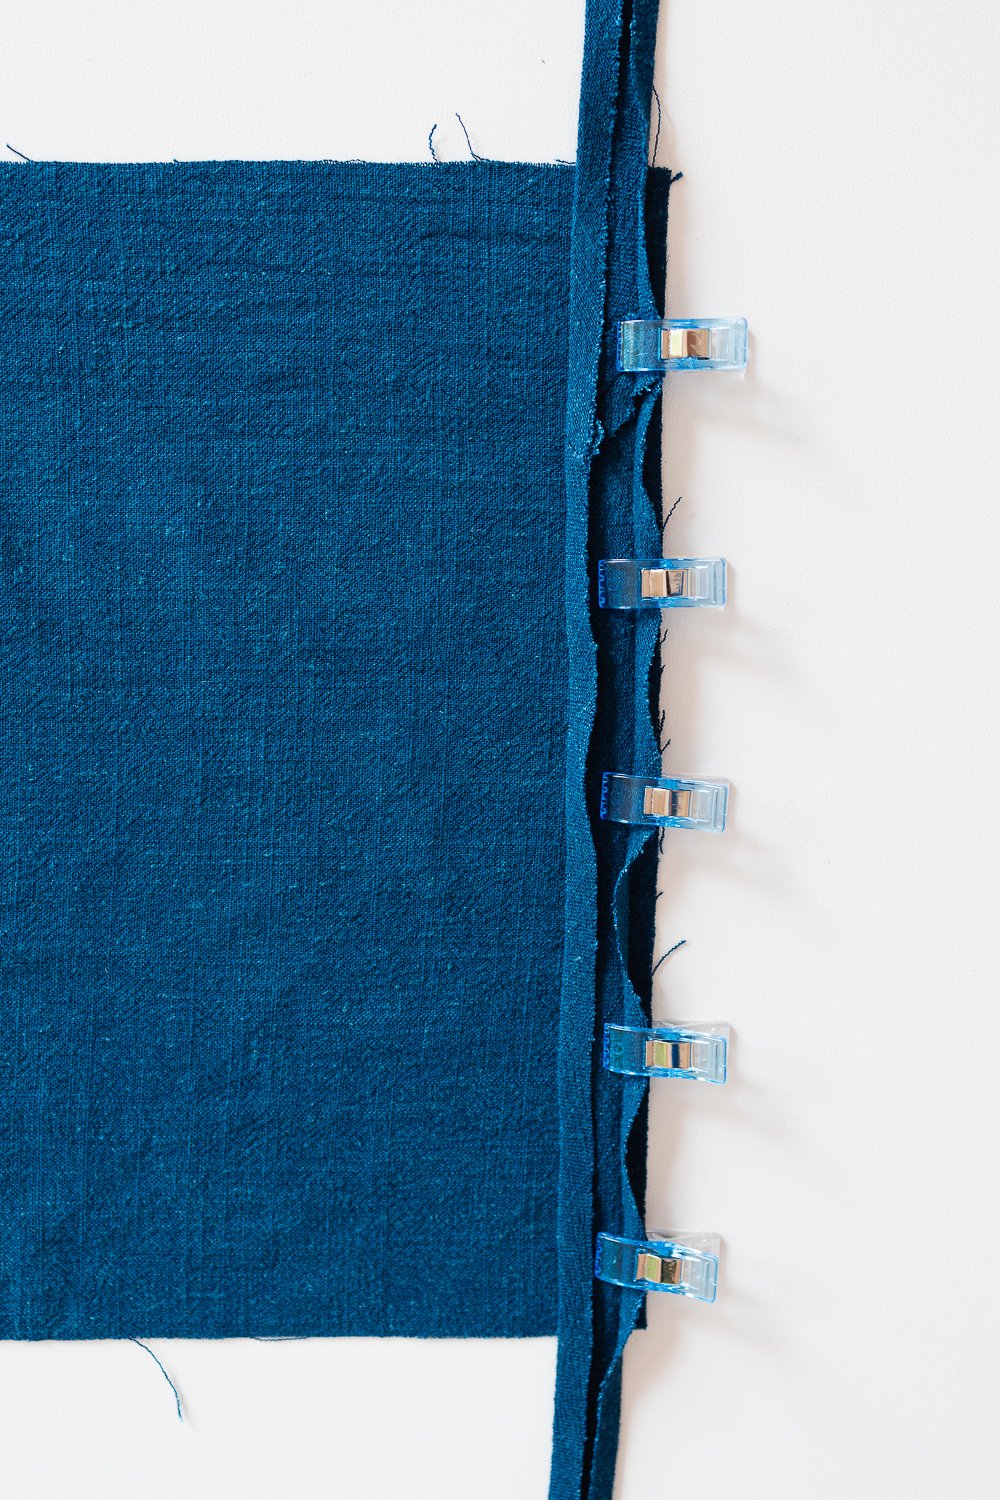
Step 1: Place the bias tape right sides together with the item you’re sewing (shirt, quilt, bag, etc.) and clip in place.

Step 2: Sew in place. Press the seam toward the bias tape.
Note: Seam allowance depends on the width of bias tape. I often like to sew with 1 1/4” (3.2 cm) wide bias tape and use a seam allowance of 3/8” (1 cm).
Step 3: Fold the edge of the bias tape over the seam allowance. Press in place with a steamy iron. Then fold over again flush with the seam. Press in place.
Note: Depending on your seam allowance, you may want to trim the seam allowance before this step.

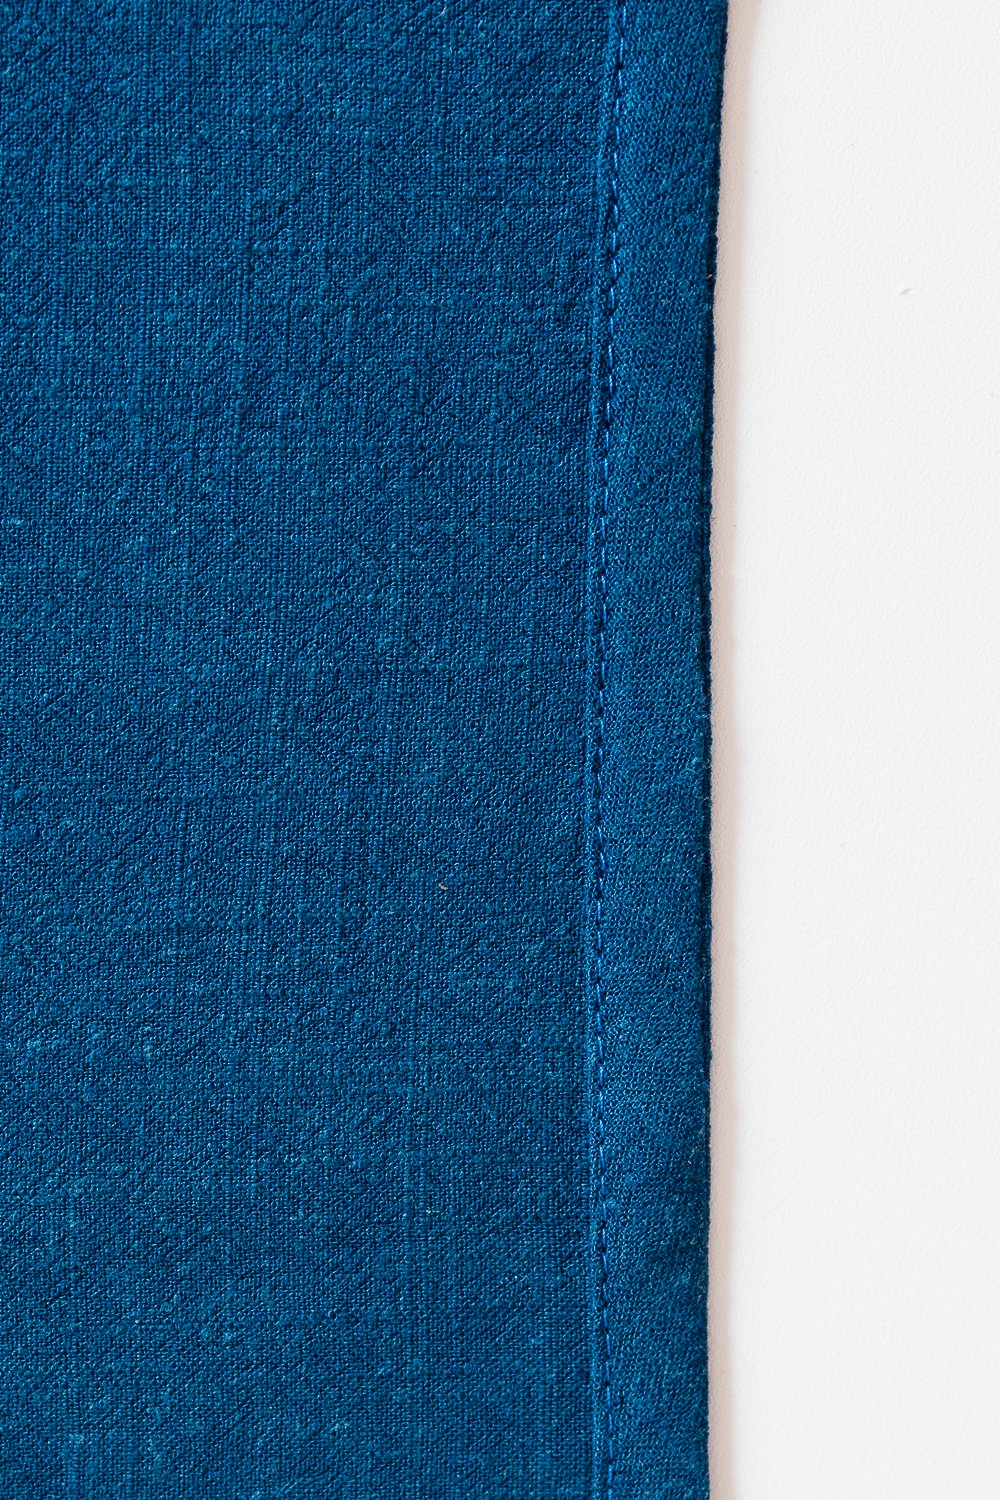
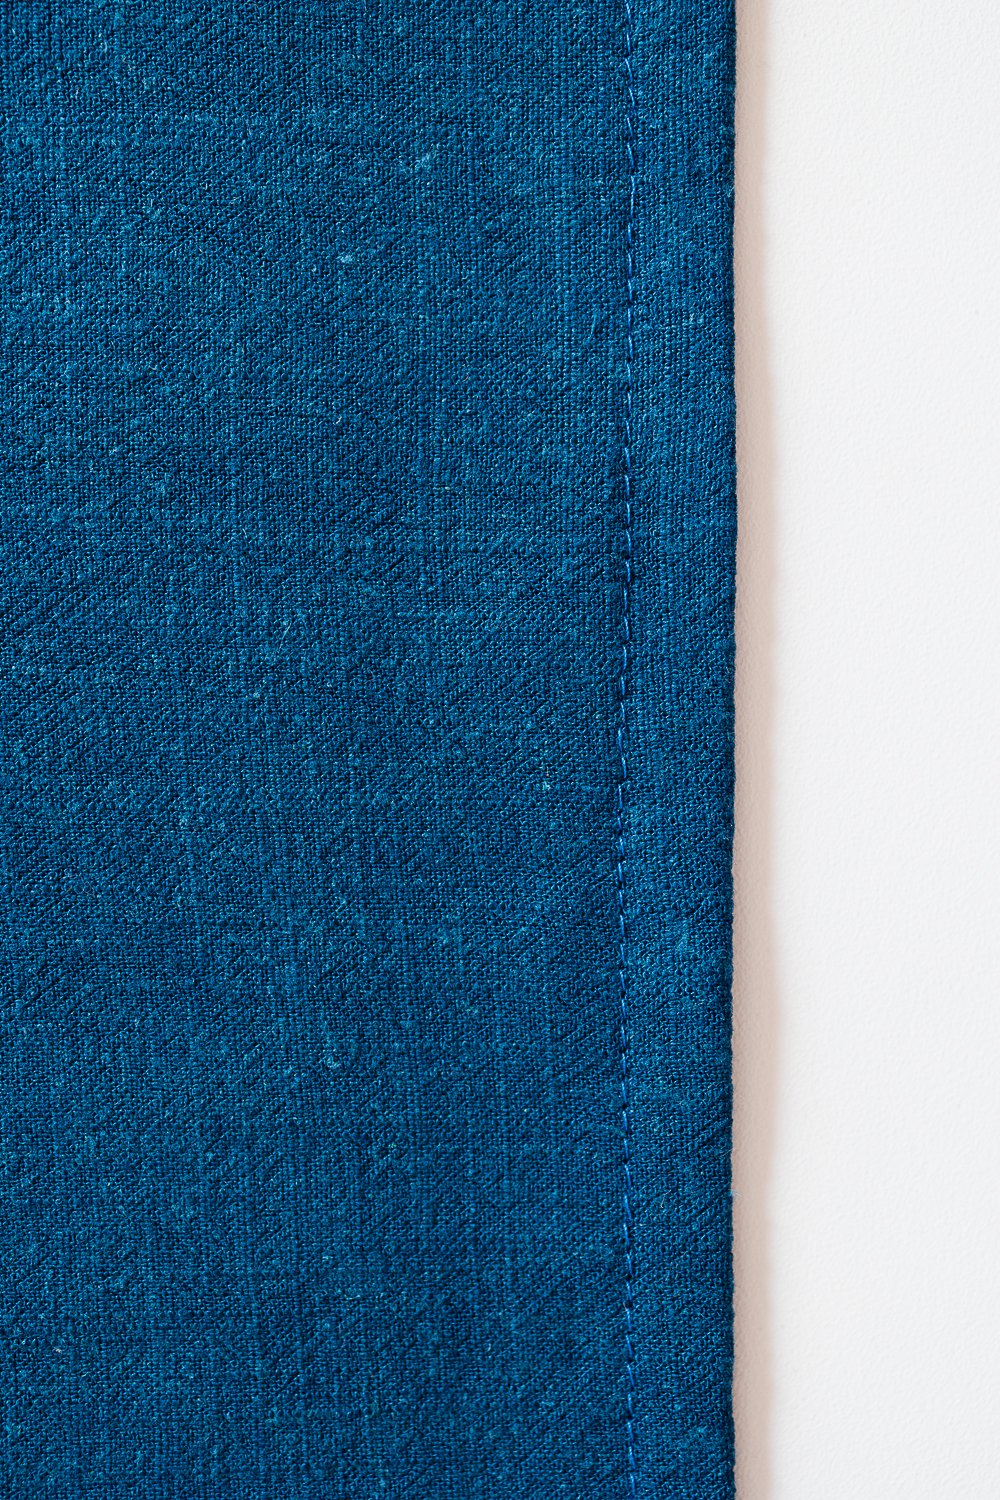
Step 4: Stitch along the folded edge of the bias tape.
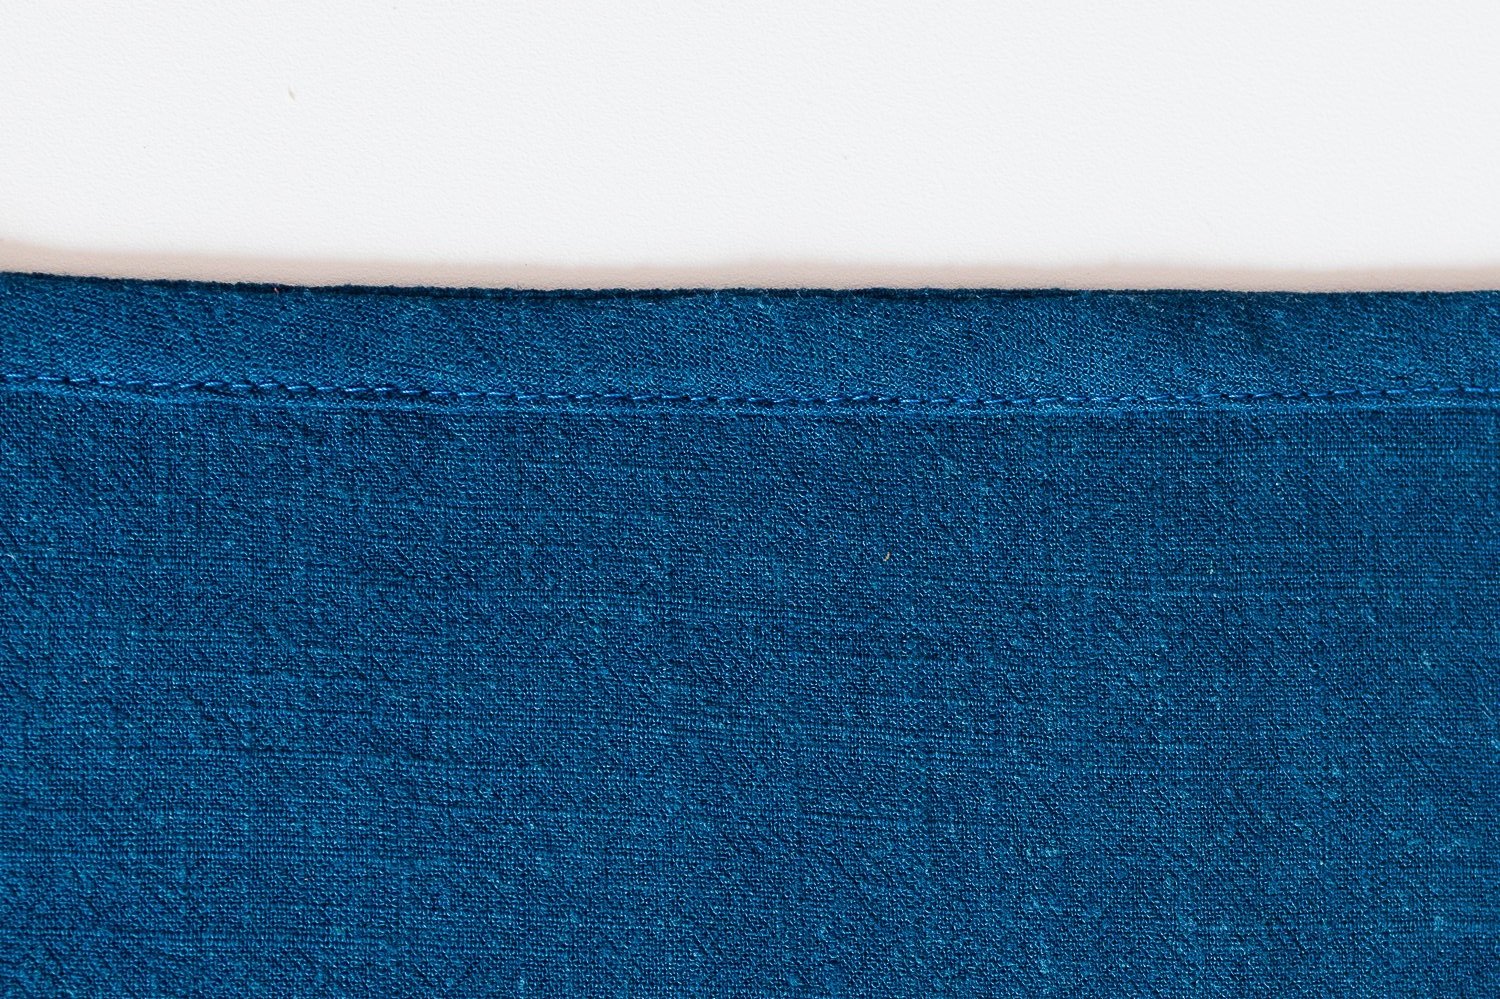
Here’s how it looks on the wrong side and right side.
What Does Bias Mean?
In sewing, if a pattern is oriented and cut at a diagonal angle, it’s referred to as being cut on the “bias.”
Bias tape is cut diagonally across fabric because it has more stretch than fabric cut straightly on the grainline or cross grain.
To test this, grab some non-stretch woven fabric and pull it every which way.

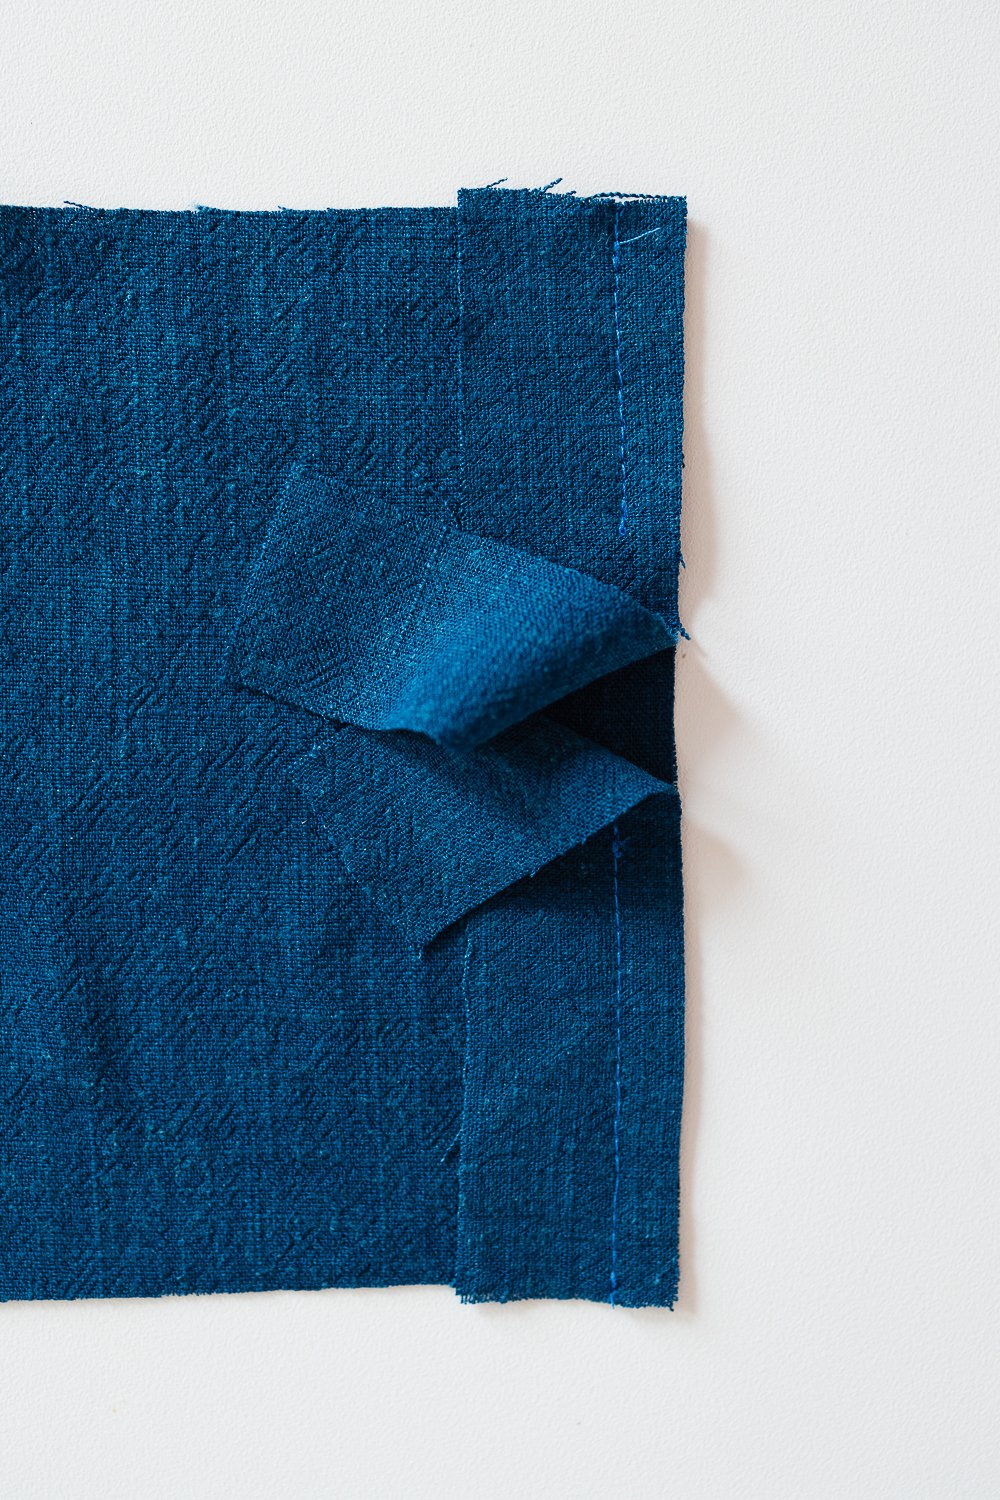
Since the diagonal pull has a bit more stretch, tape cut on the bias is nifty for sewing around curved things like armholes and neck openings.
Here you can see it being used around a tight curve of a fabric scrap. See how flatly it lays despite the outside edge being stretched and the inside edge being compressed?


Sewing Bias Tape Together
There are a few ways to sew bias tape together. Here’s how I like to do it.
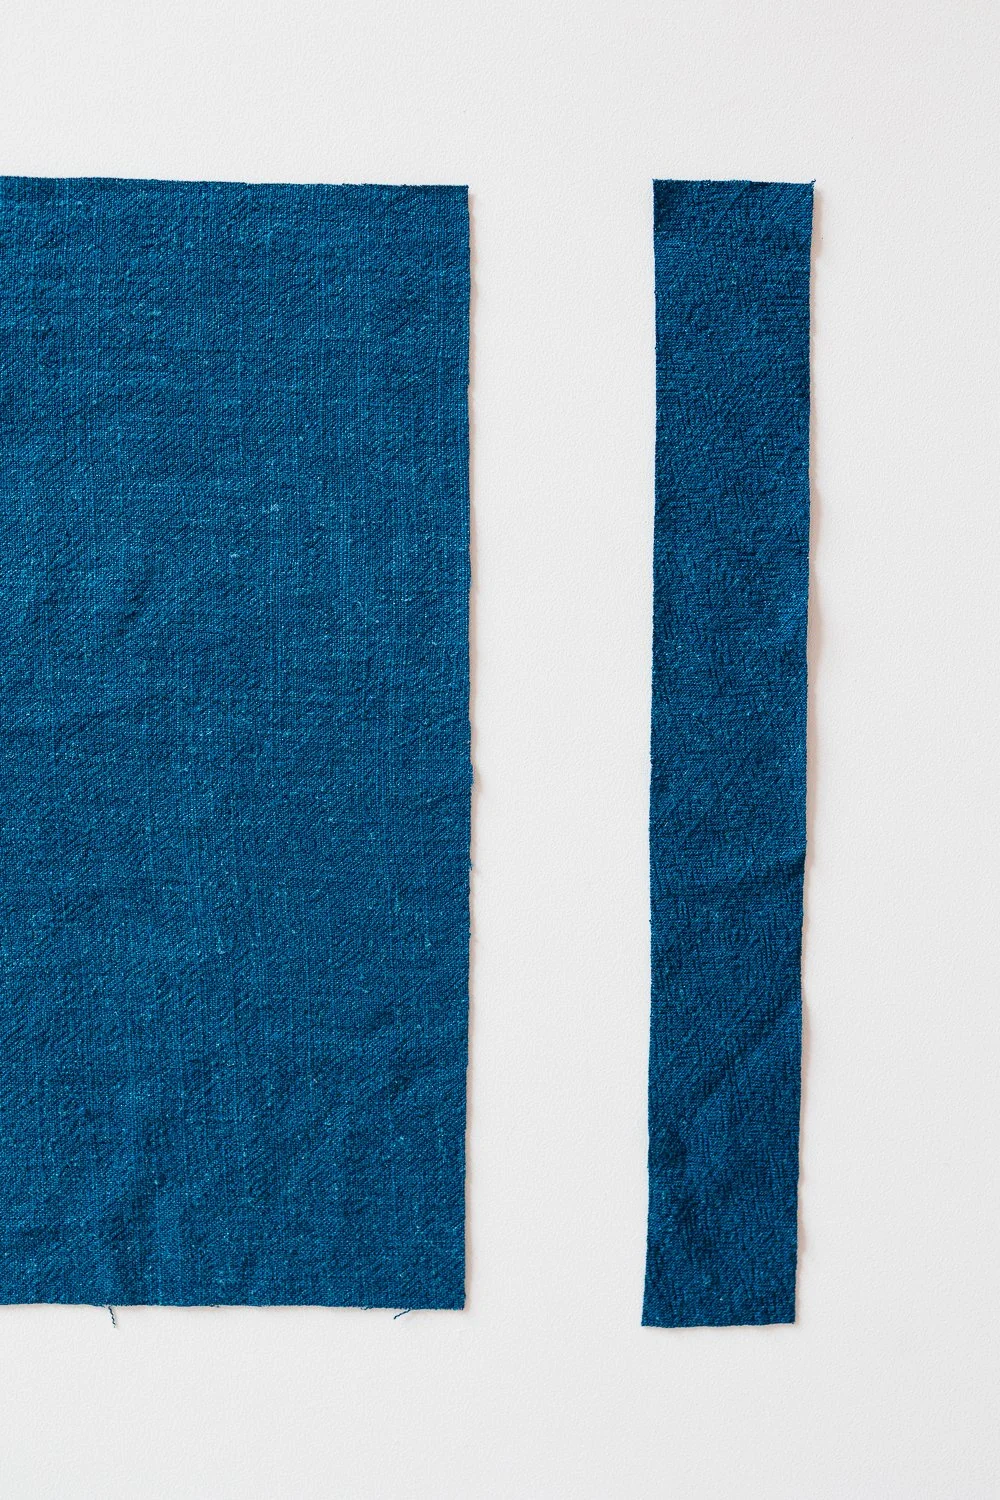
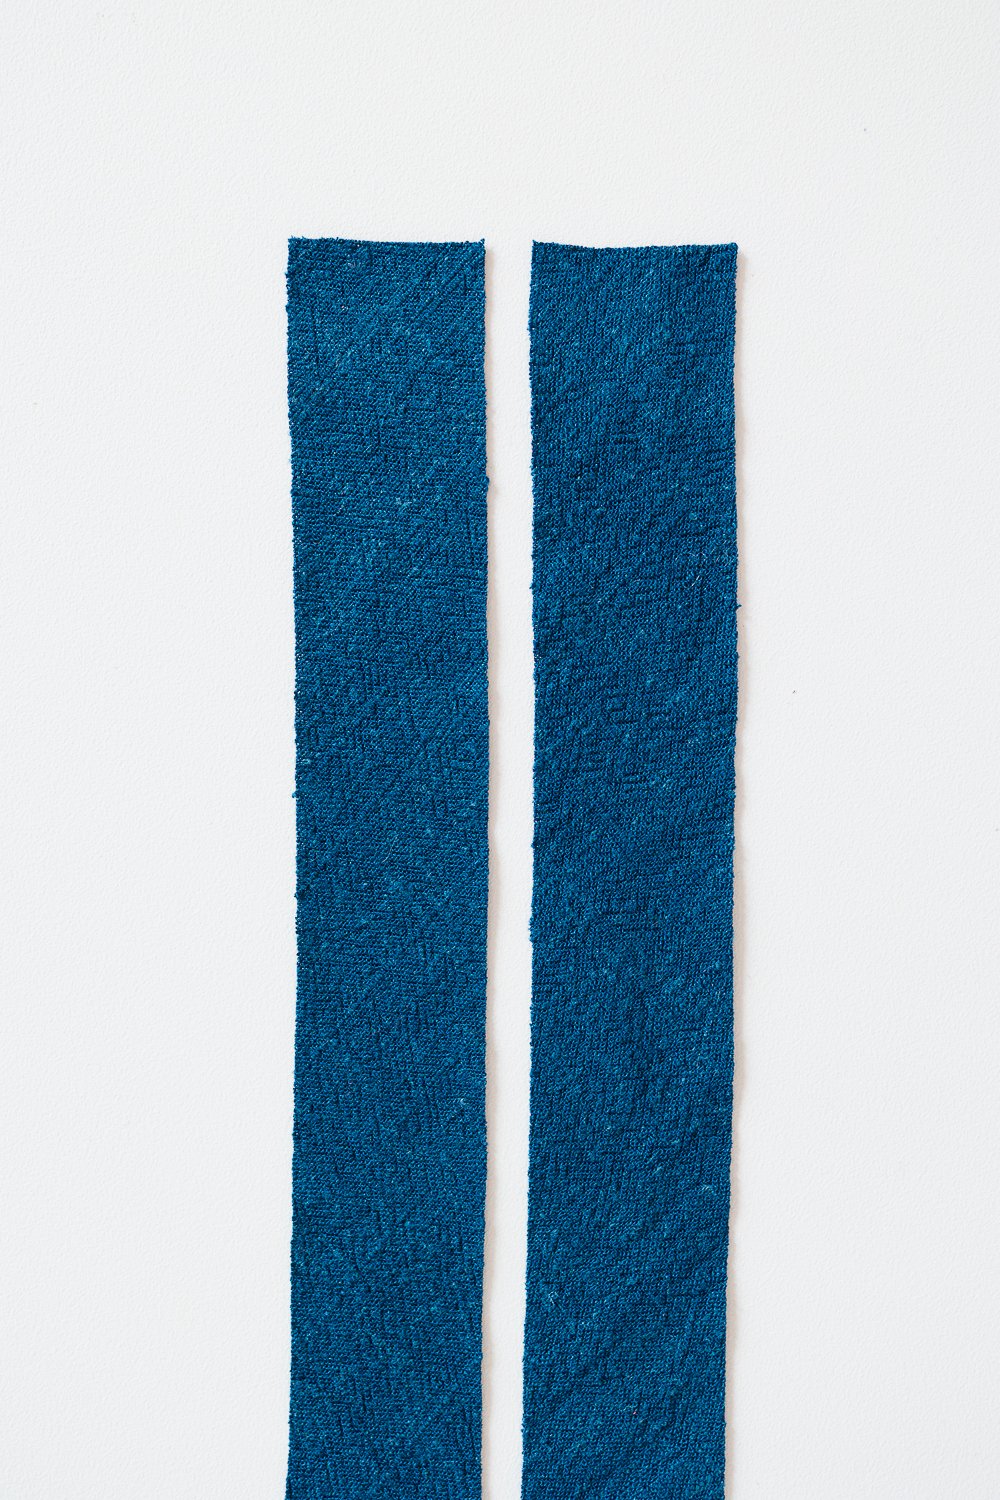
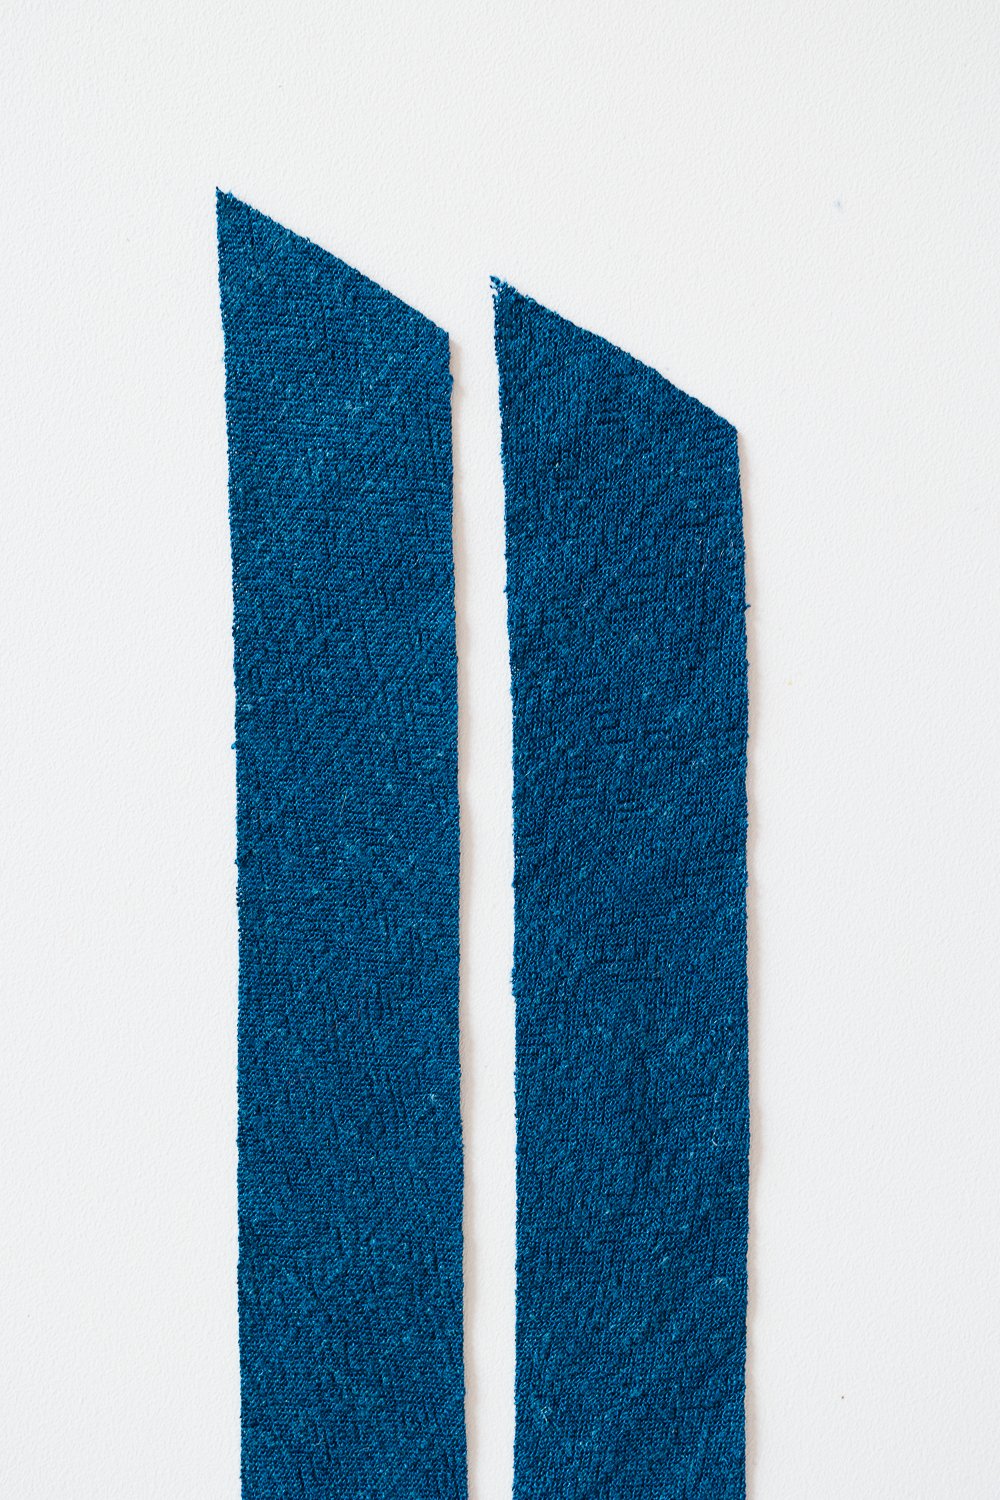
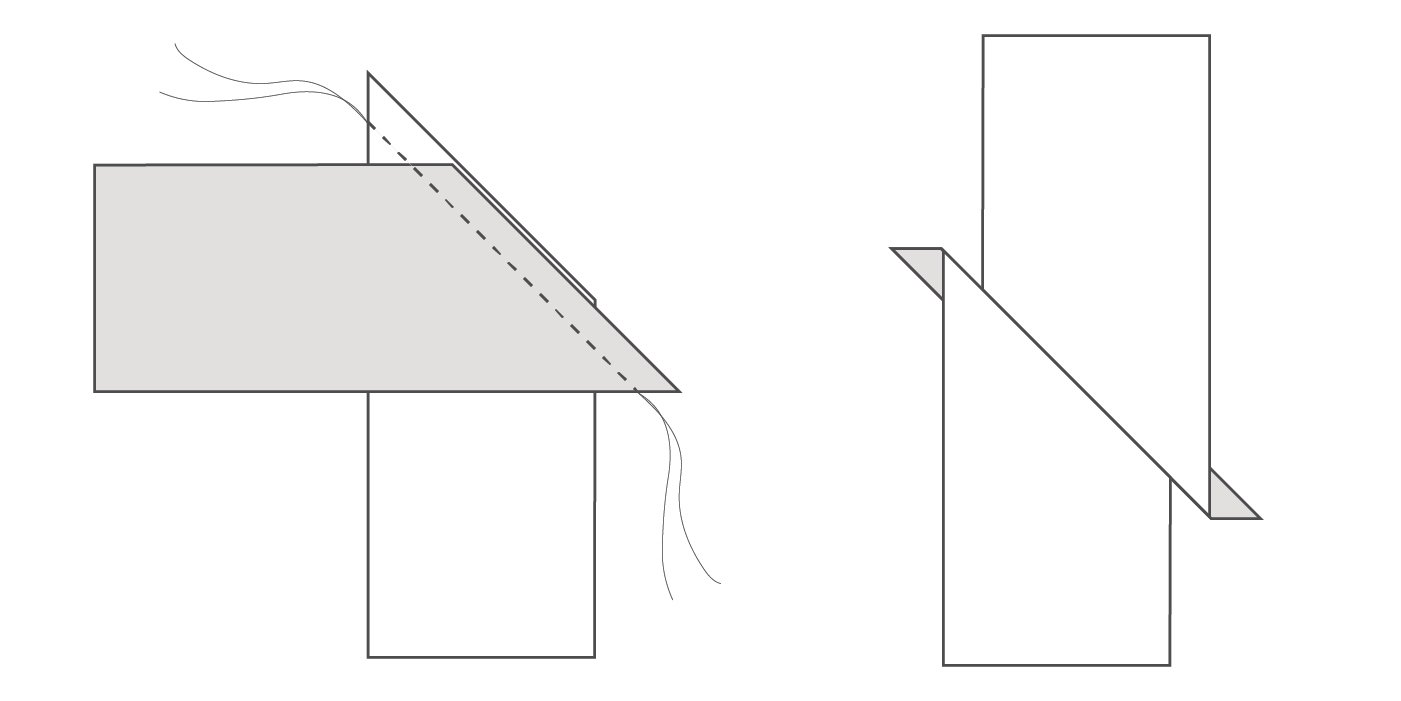
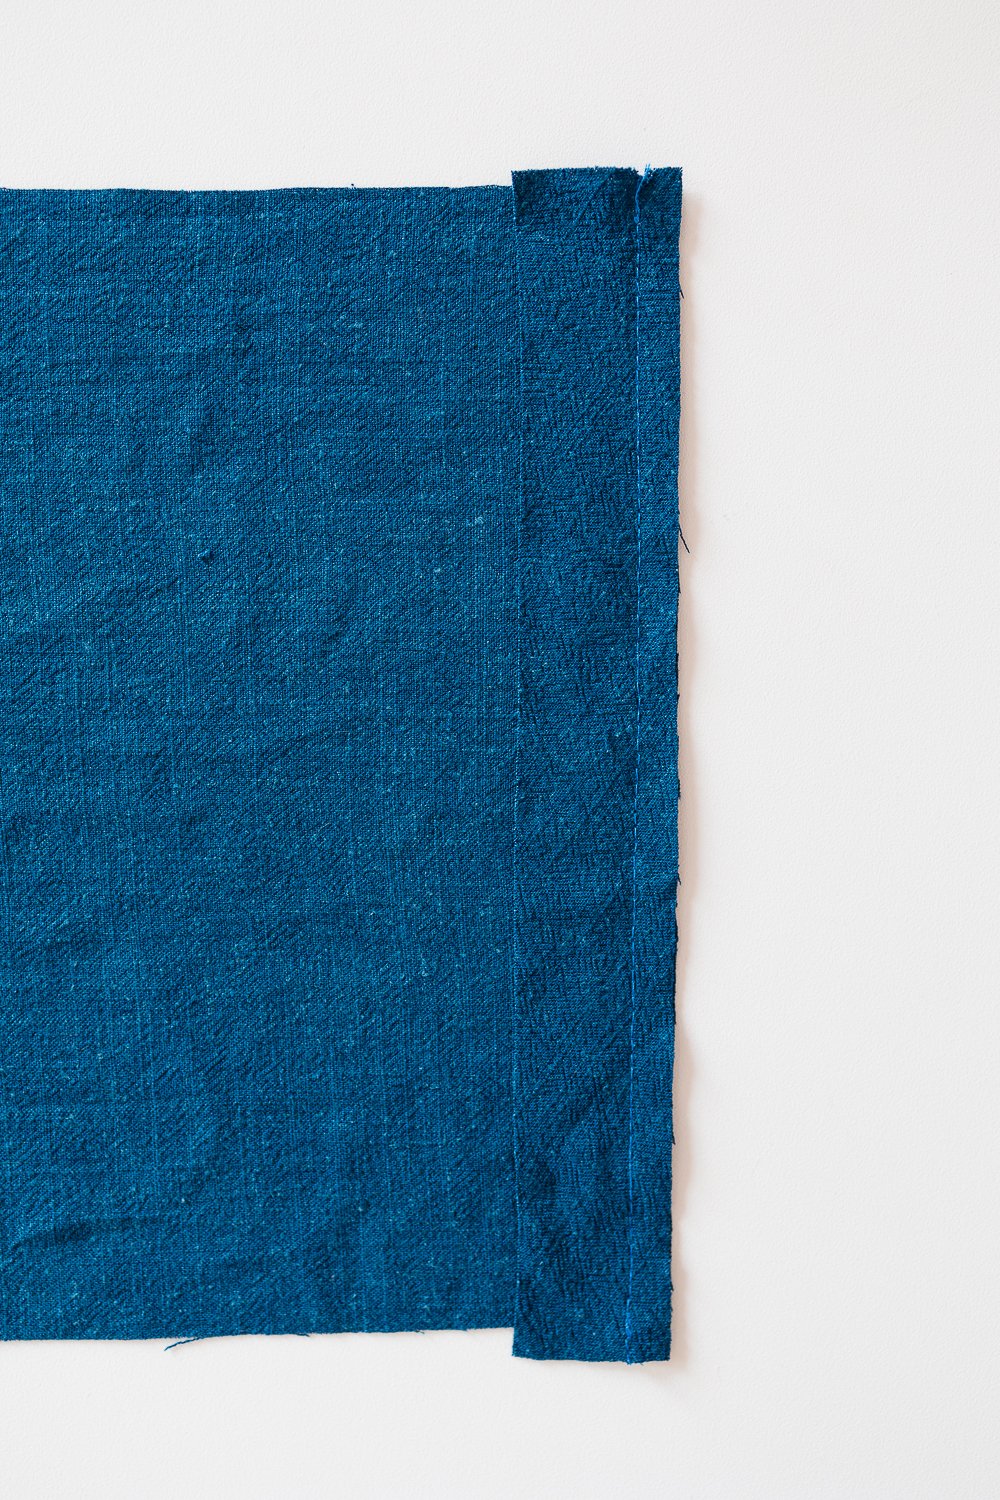
Step 1: Cut the ends of both pieces at the exact same diagonal angle.
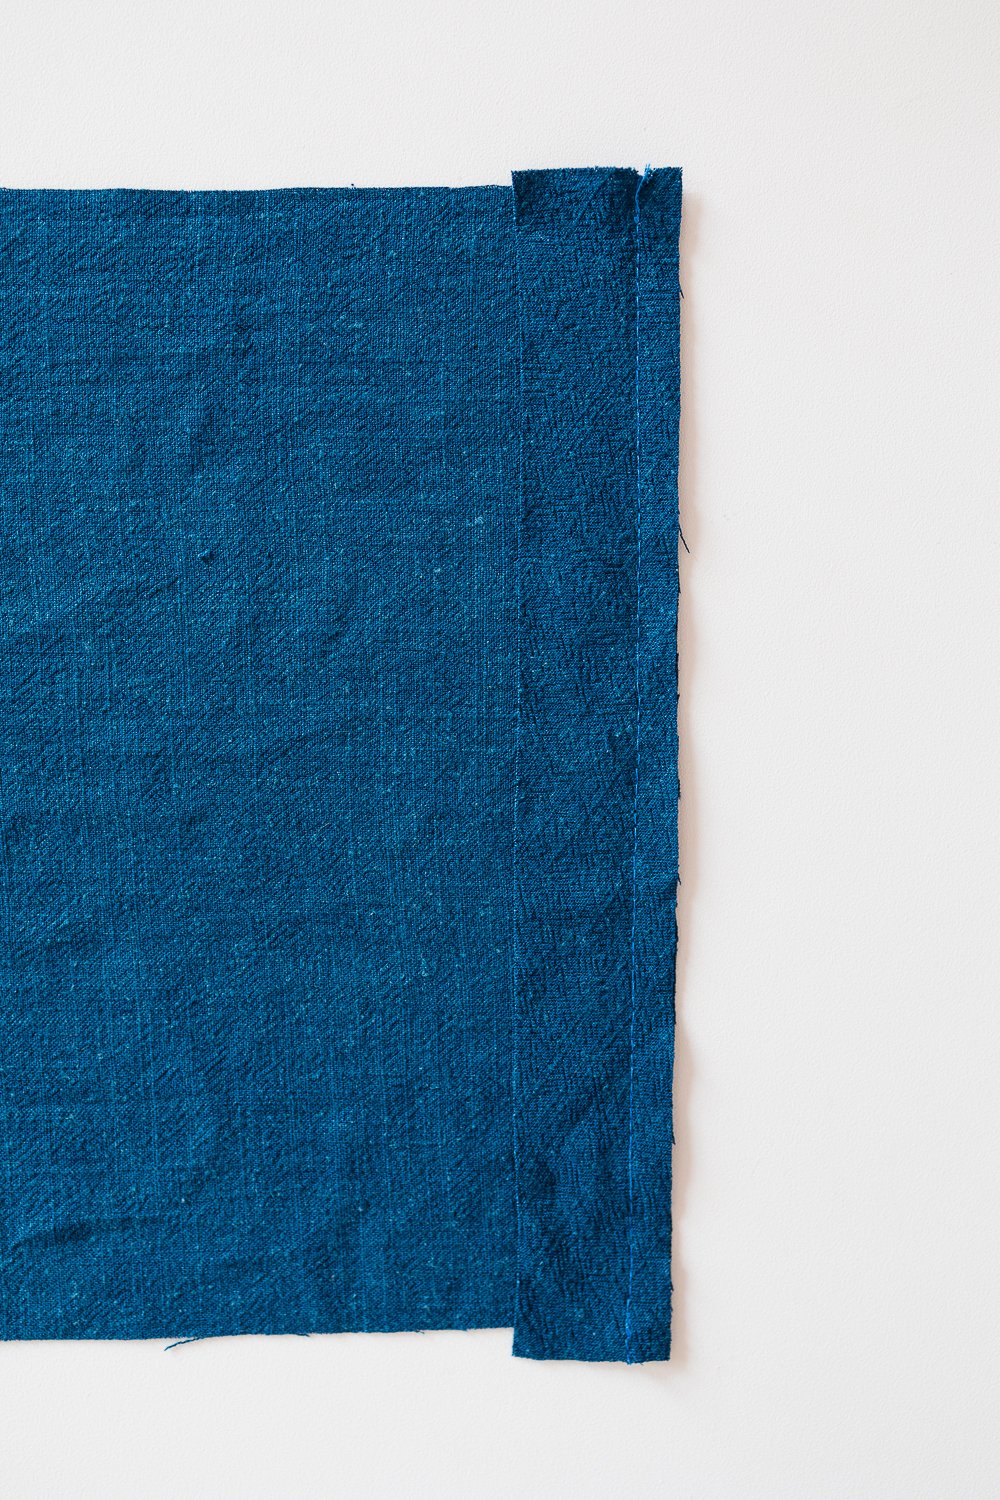
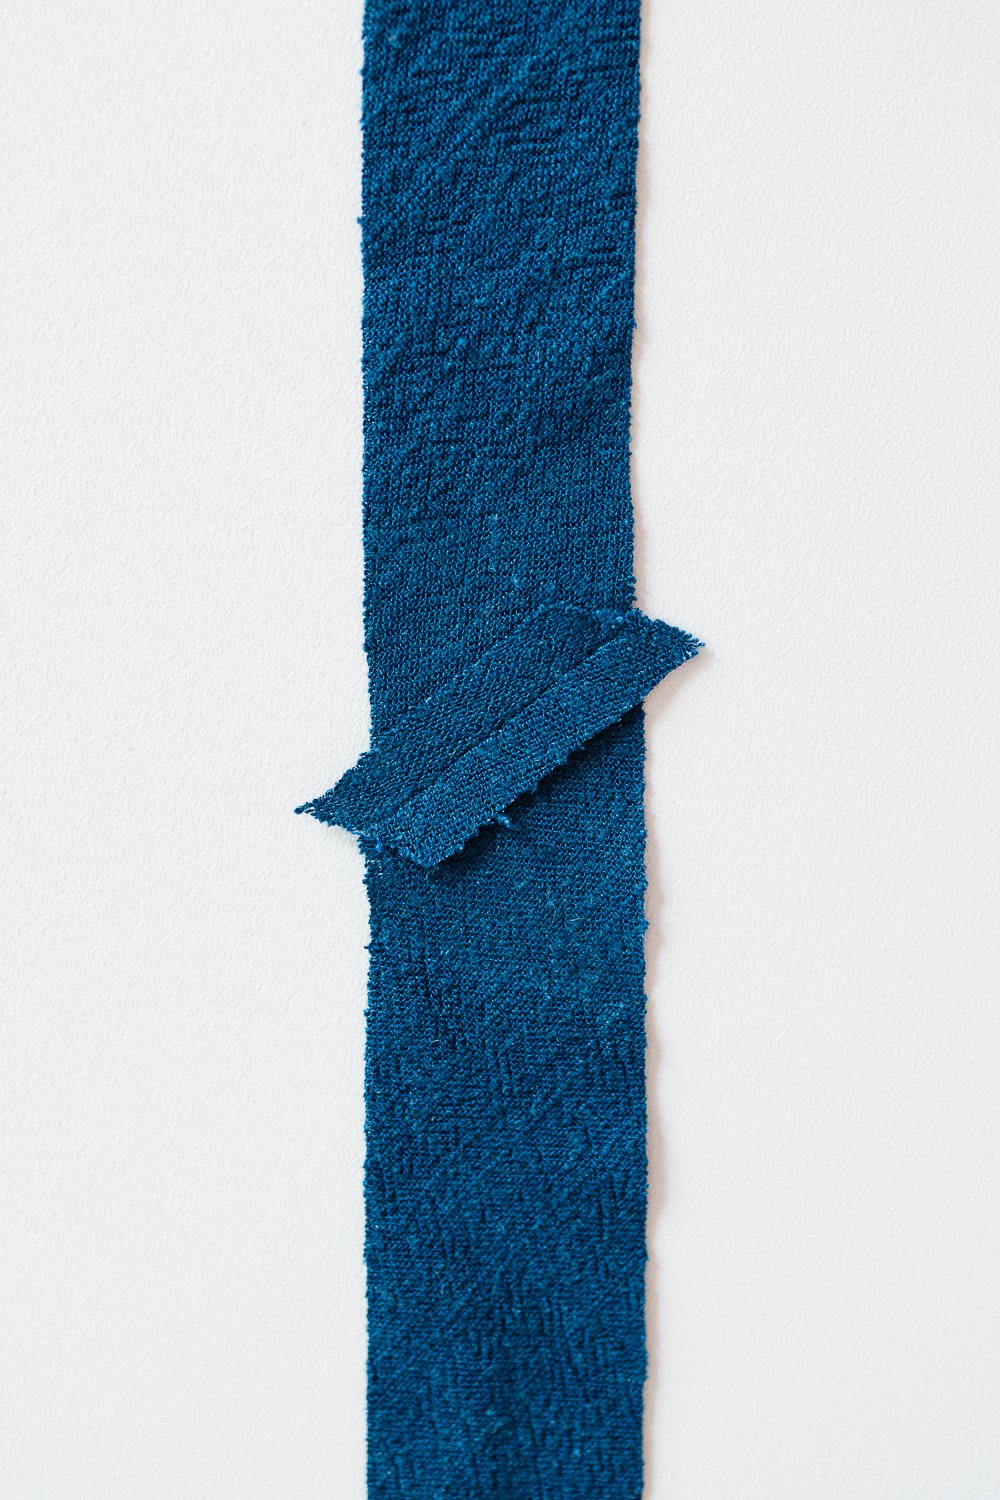
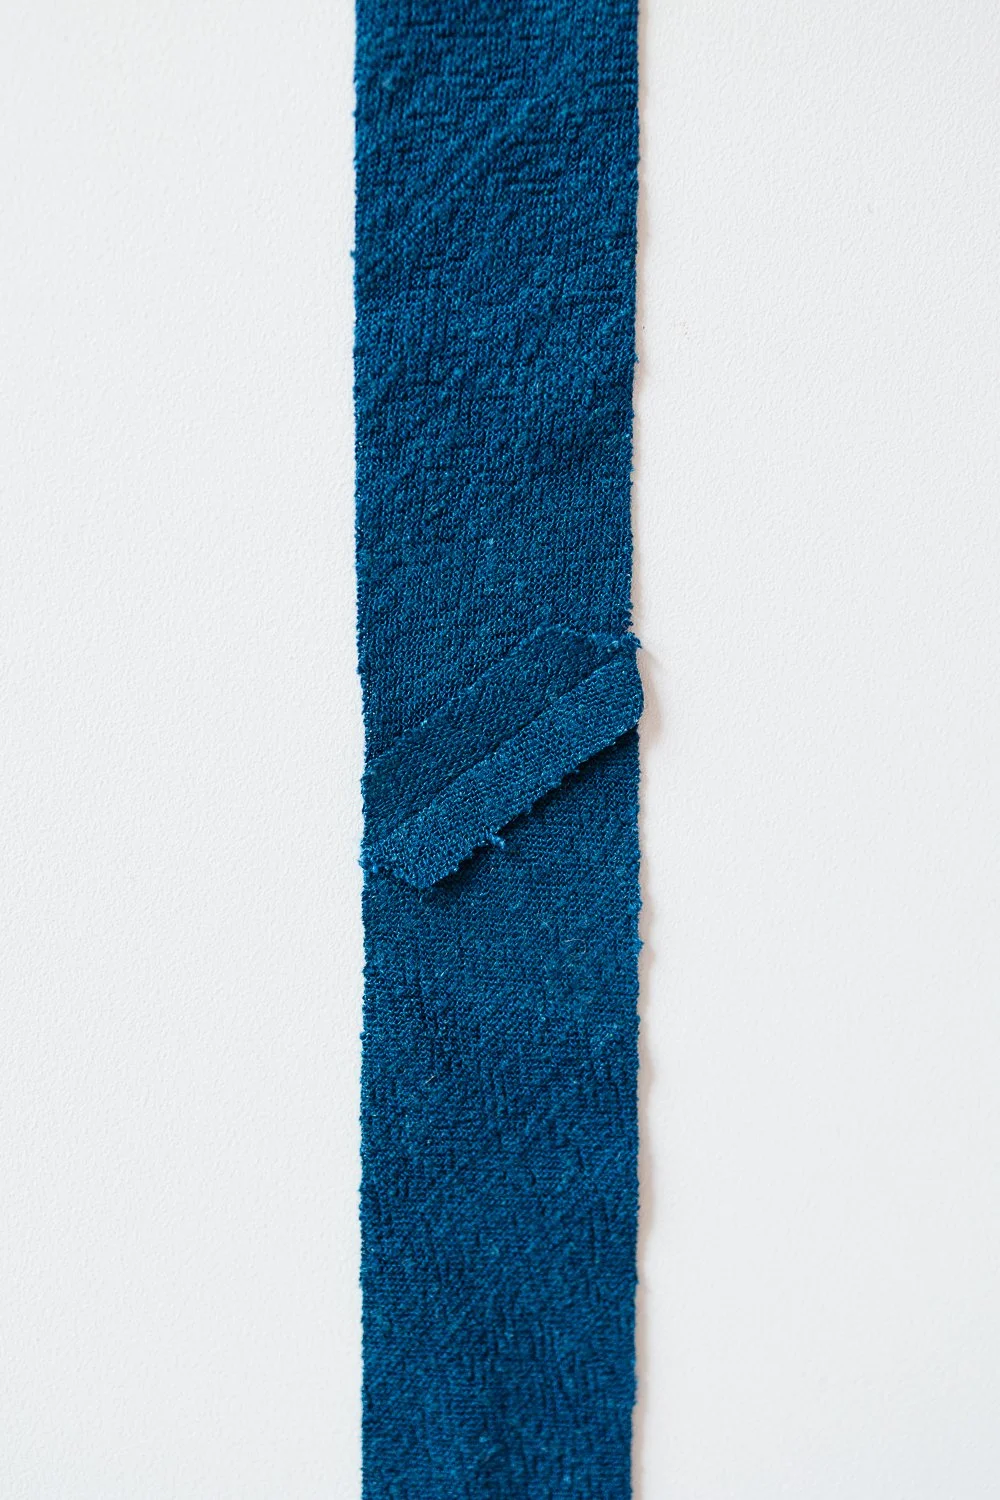
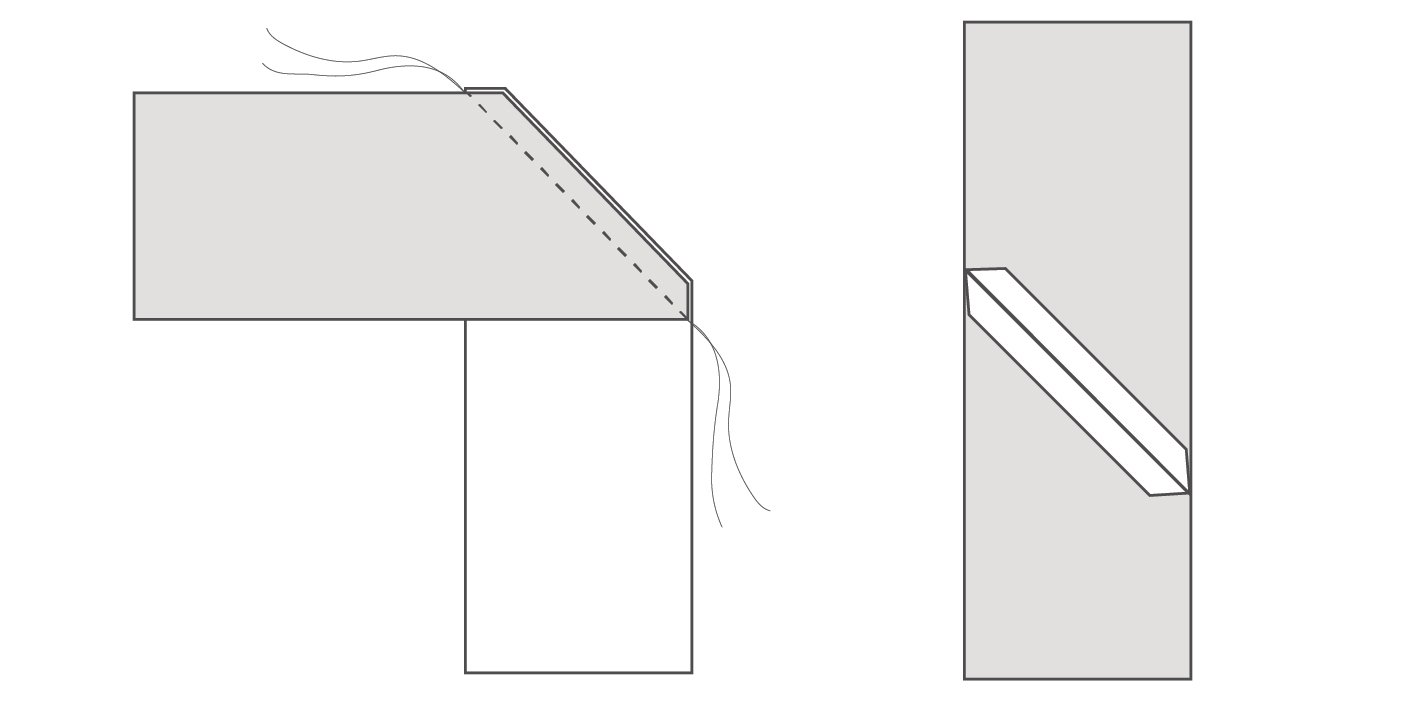
Step 2: Place the bias tape strips right sides together. Where the two pieces meet together in that little elbow, stitch across. From elbow to elbow. (More explanation on this below.)


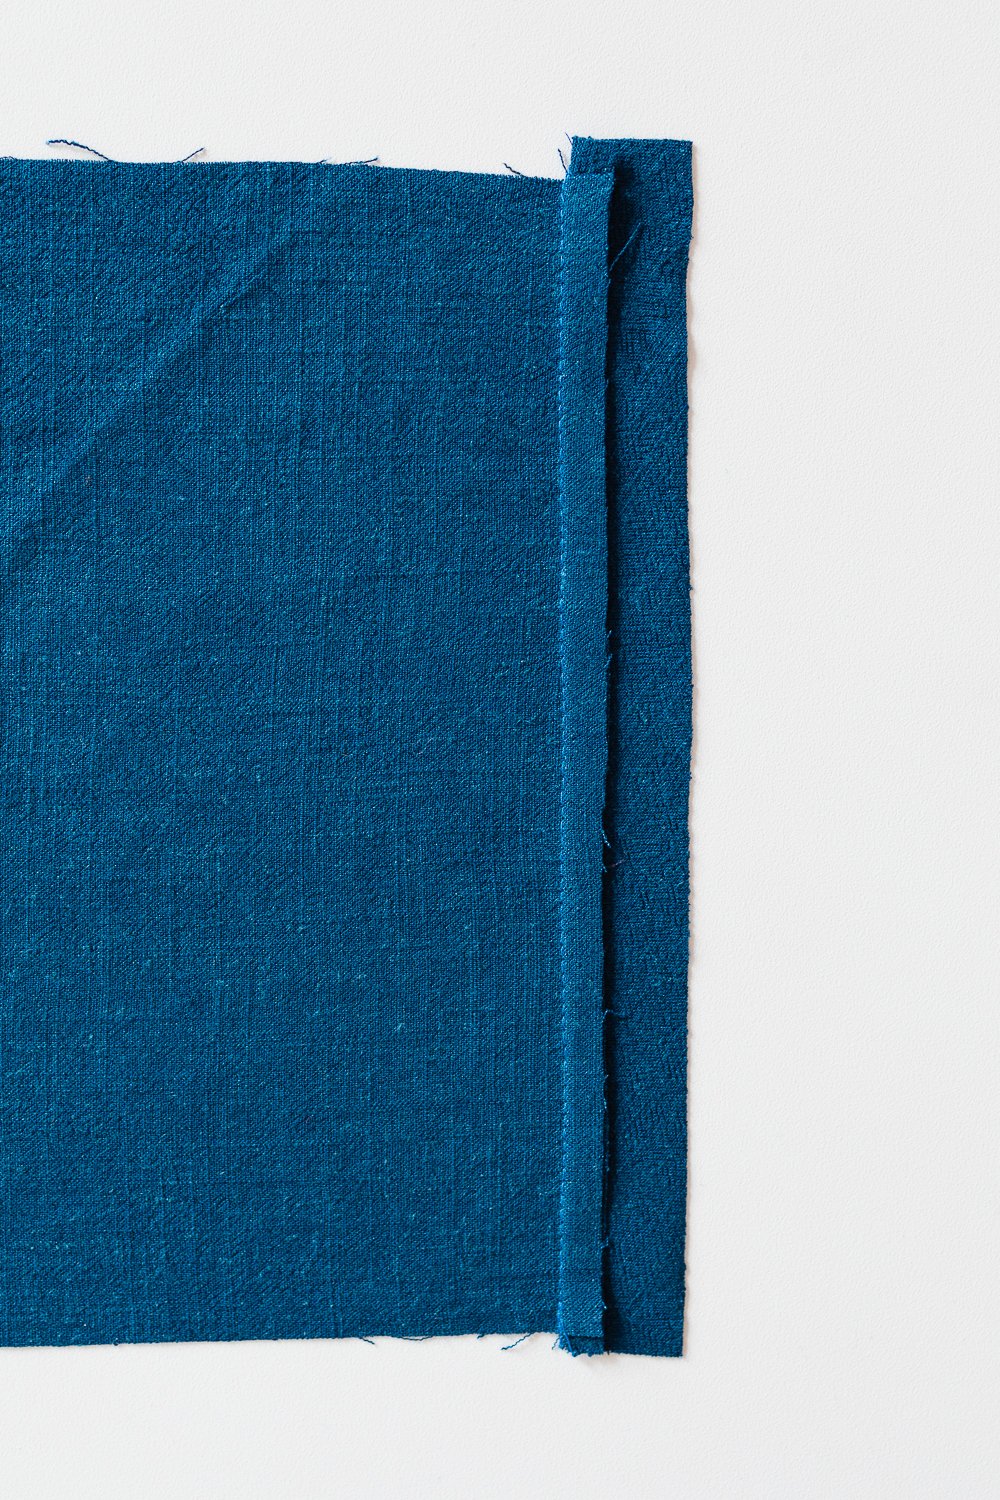
Step 3: Press seam open. Snip off ends.
If you want a 1/4” (6 mm) seam allowance, slide the pieces along the diagonal angle until the little elbows are 1/4” (6 mm) distance from the angled edge.
If you want a 1/2” (12 mm) seam allowance, slide the pieces toward each other until the distance from the little elbows to the angled edge is 1/2” (12 mm).

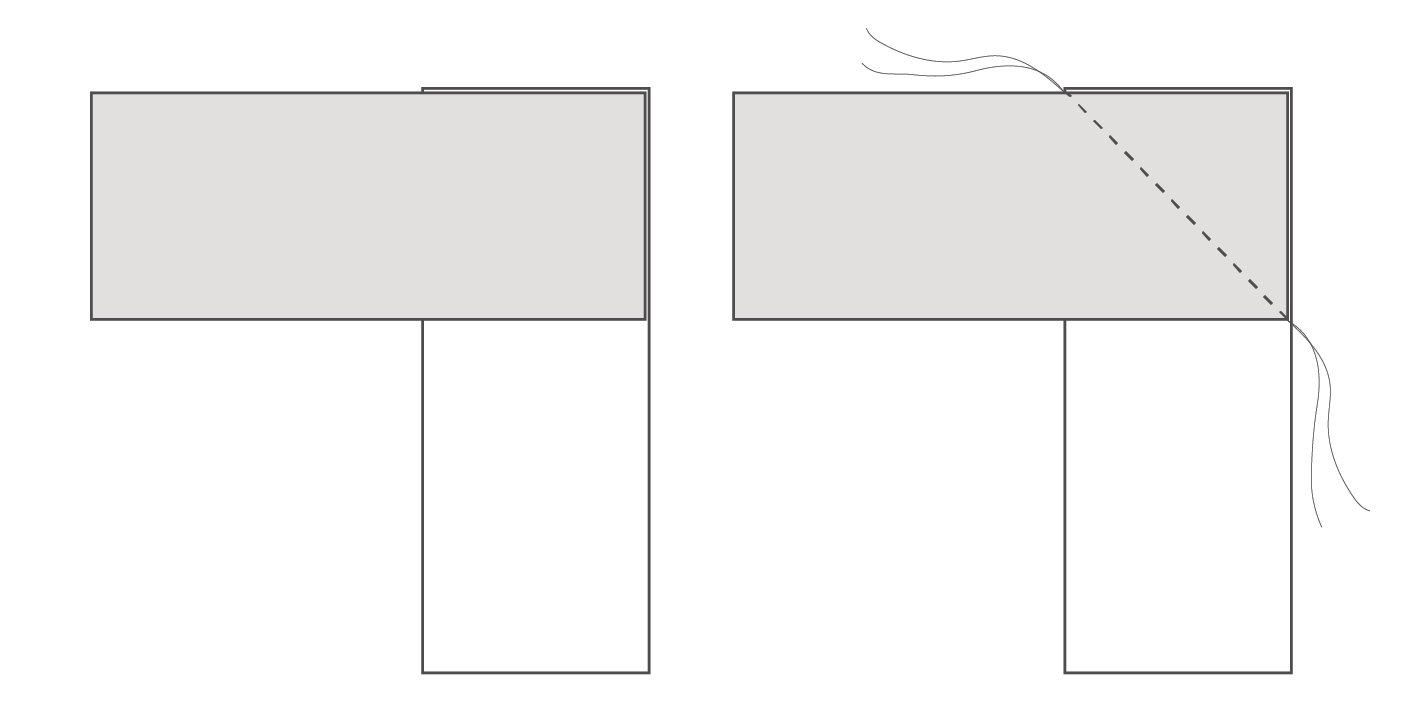
Whatever seam allowance you choose, the important parts are:
1) Line up the angled edges.
2) Sew from elbow to elbow, illustrated by this red line.
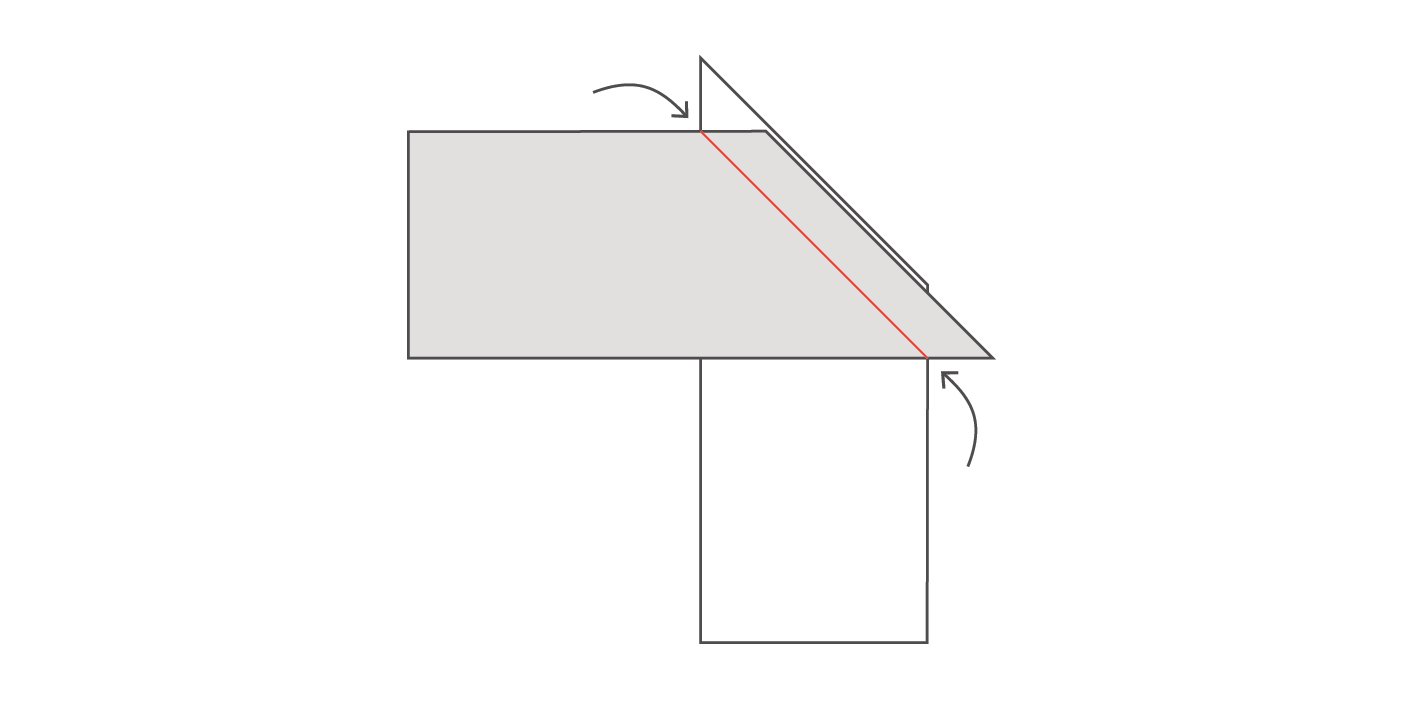
Here’s what happens if the elbows are missed. The bias tape won’t line up. Sad.
Another Method for Sewing Bias Tape Together
Step 1: Square up the ends and place bias tape right sides together. Sew from corner to corner.
Step 2: Trim the seam allowance and press seam open.
How to Sew Bias Tape Together Mid-Project
If you’re sewing something where you can’t sew the ends together before you start, or you aren’t sure how much bias tape will be used, check out this tutorial.
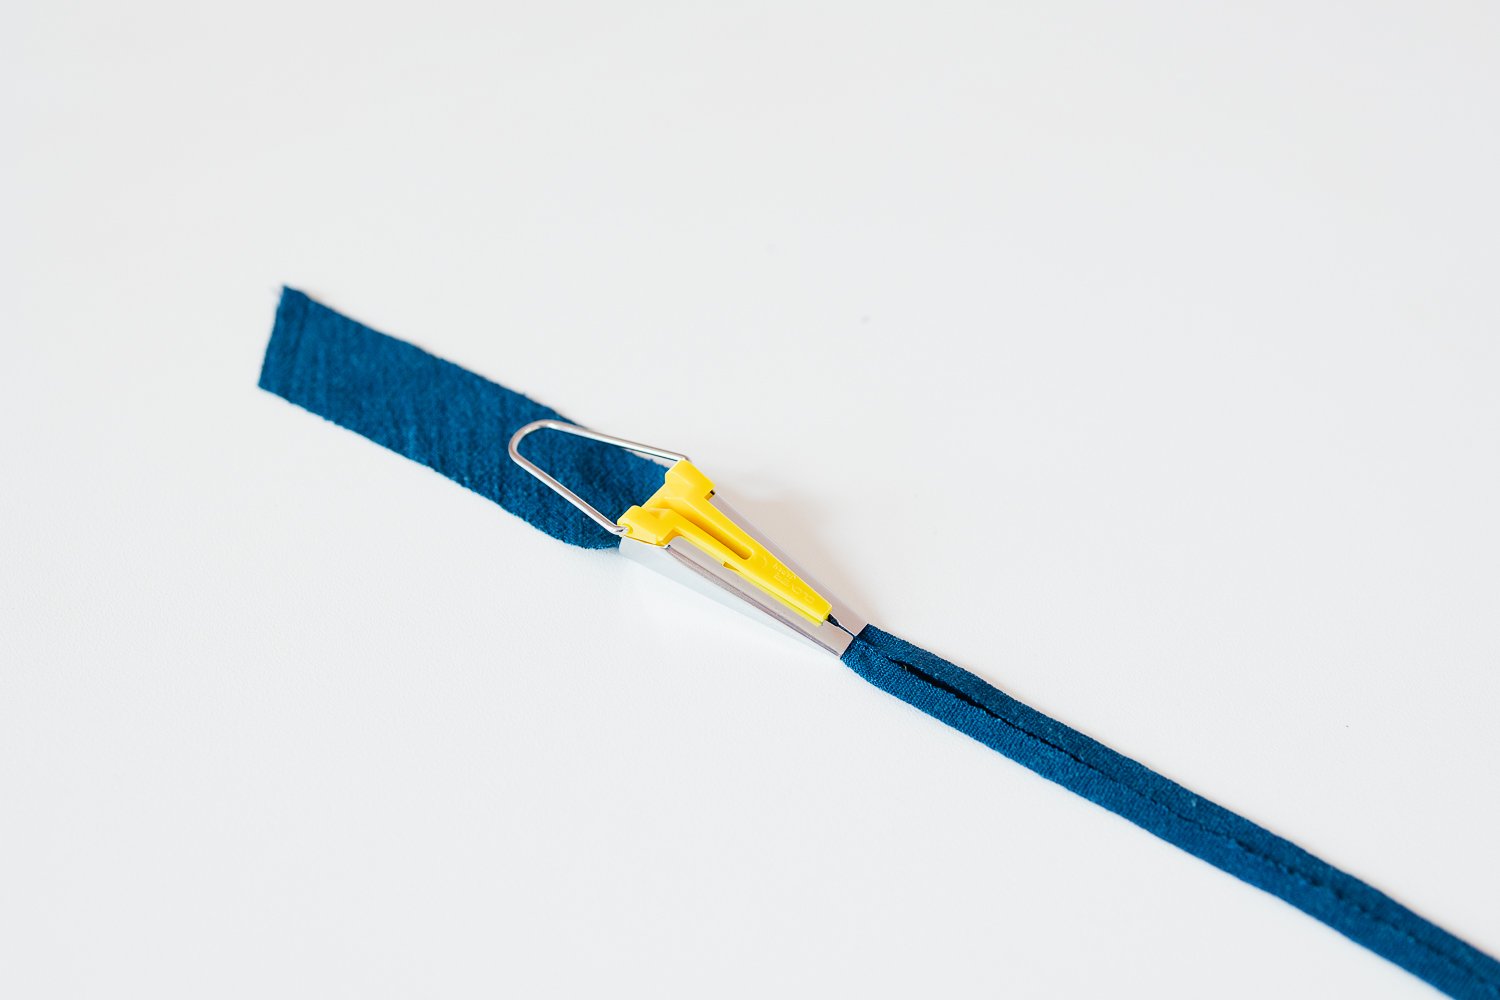
A Note on Bias Tape Makers
Some people find bias tape makers useful. Pull bias tape through the maker and follow close behind with a steamy iron.
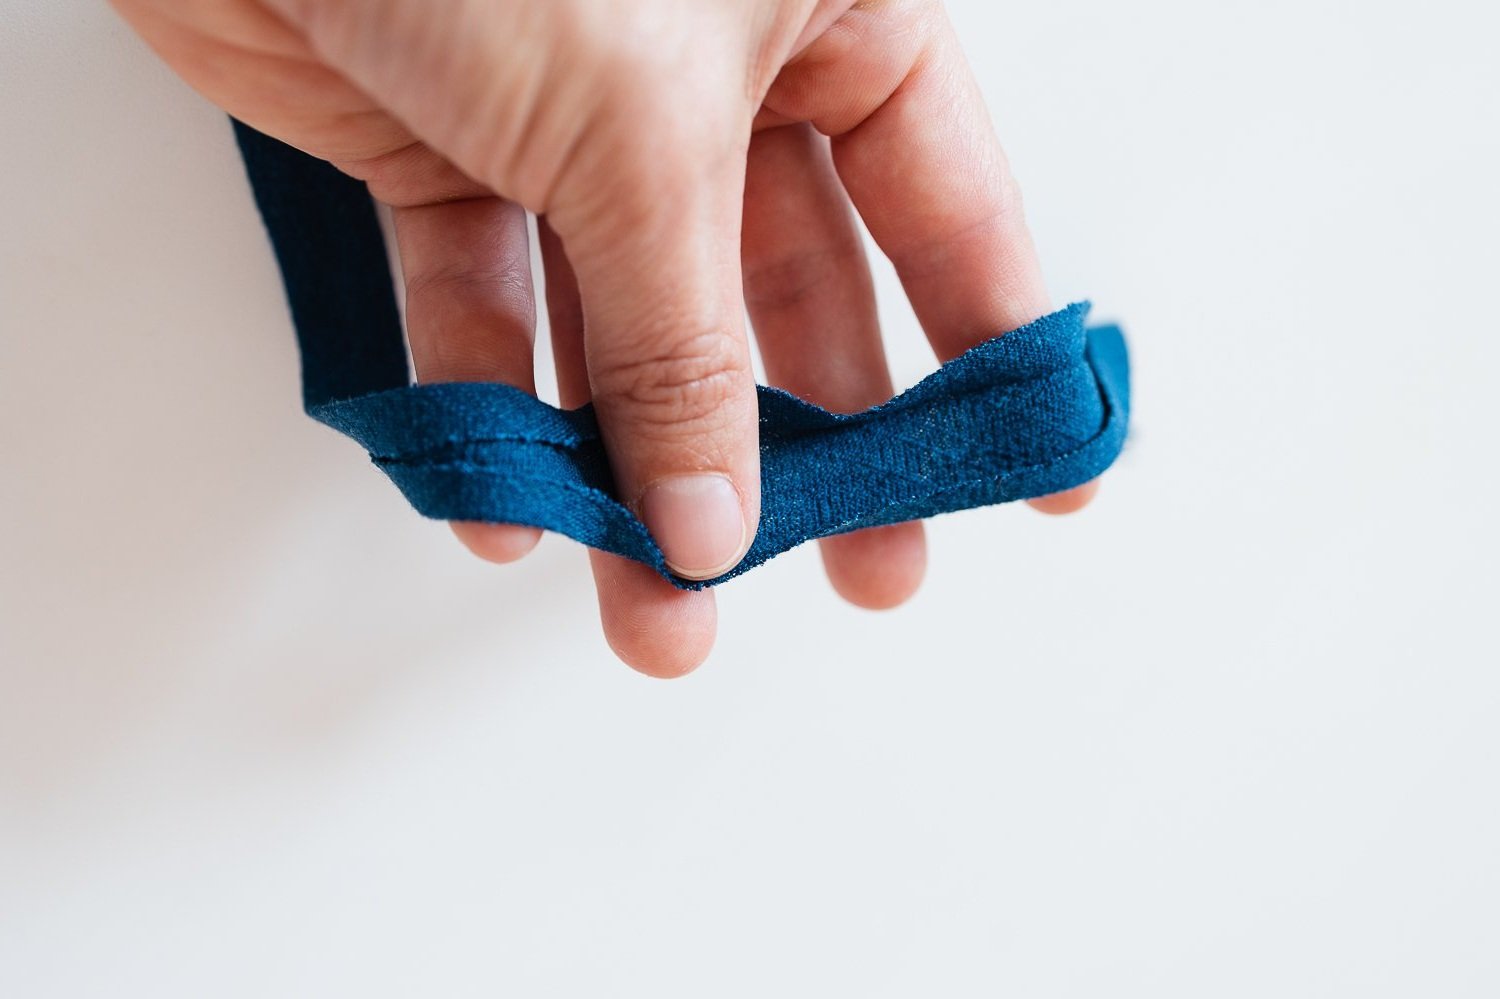
Here’s a side by side comparison of flat bias tape and pre-folded bias tape.
I personally don’t enjoy fighting the ironed fold. To me, flat bias tape is faster and easier to line up and clip in place, faster and easier to sew.
Play around and see which method works best for you!
If you enjoyed this post, you may also enjoy…

Step by step guide to fill up your walls with cool ruffle picture frames.
Step by step tutorial with photos for each method.
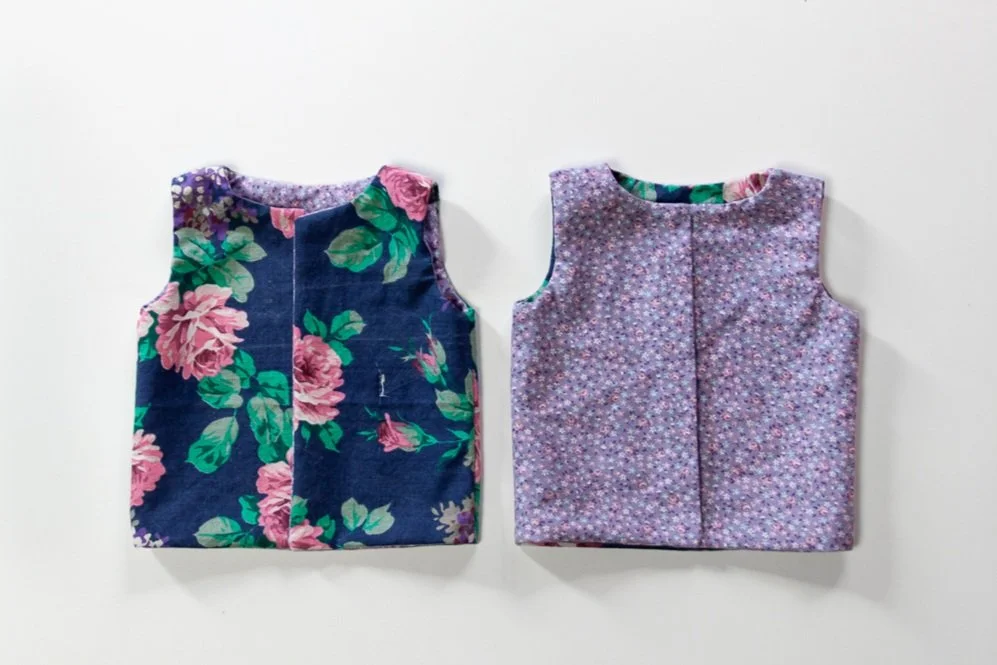
Step by step photo tutorial for two different ways to sew a lined vest.


