How to Make Easy Fabric Pouch Packs for Travel, Storage, and Organization

These little pouch packs are ideal for storing and organizing flat things like clothes. They can be made in any size, but the small ones make excellent usage of fabric scraps.

Simple and quick to make. Here’s how to do it:

(PS - Yes, a PS in the middle of a blog post! These pouch packs are great for flat things, but if you’re looking for pouches for non-flat things, check out my free Boxy Pouch Pattern Calculator and instructions and Pear Pouch Pattern.)

1) Cut fabric to your chosen length and width. (Details and instructions on how to get the right measurements for any object at the bottom of the post!)

How to make an easy pouch for travel and organizing clothes - Tutorial by Sarah Kirsten

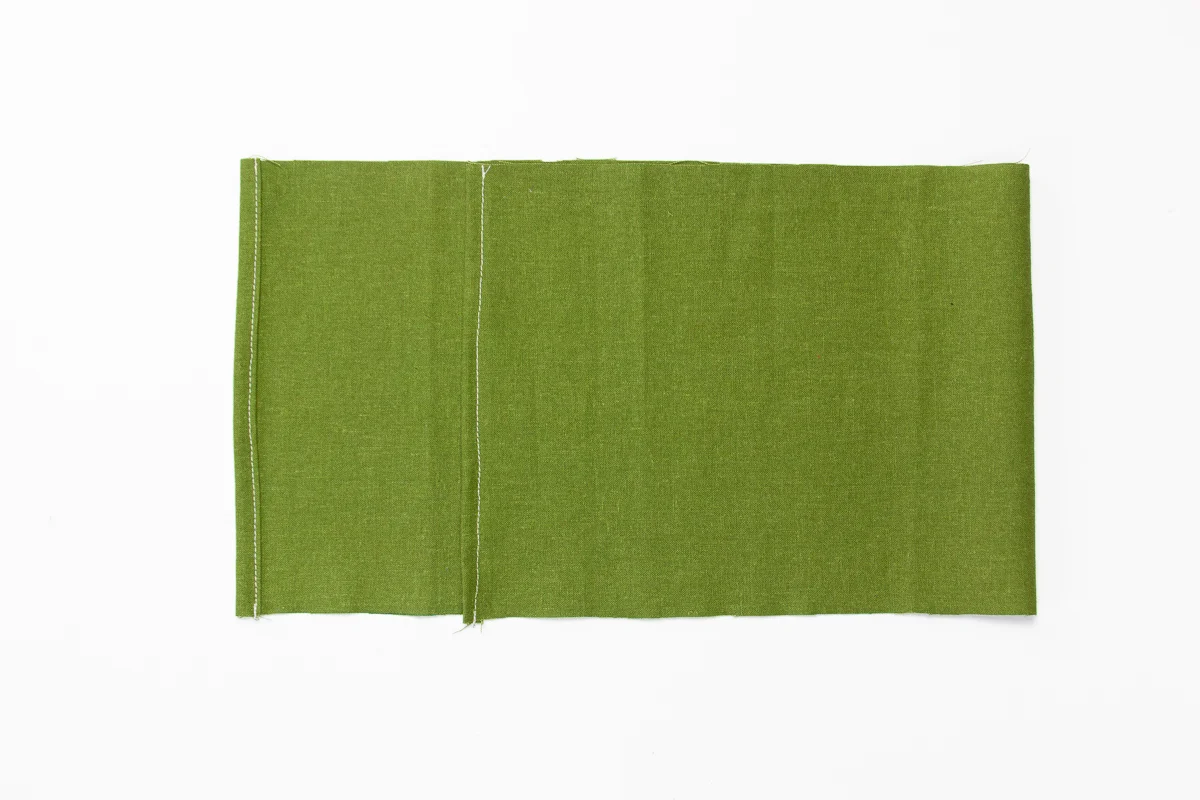
2) Hem the top and bottom with a double rolled hem 1/4” (or more) wide.

How to make an easy pouch for travel and organizing  - Tutorial by Sarah Kirsten
How to make an easy pouch for travel and organizing  - Tutorial with lots of photos by Sarah Kirsten

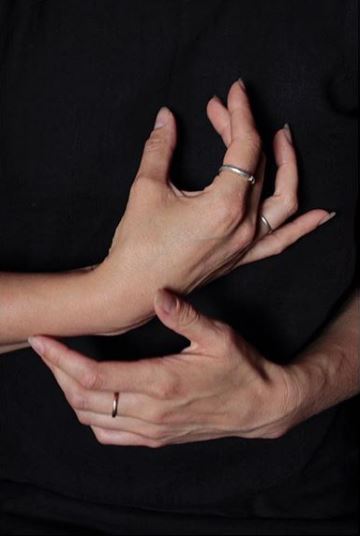
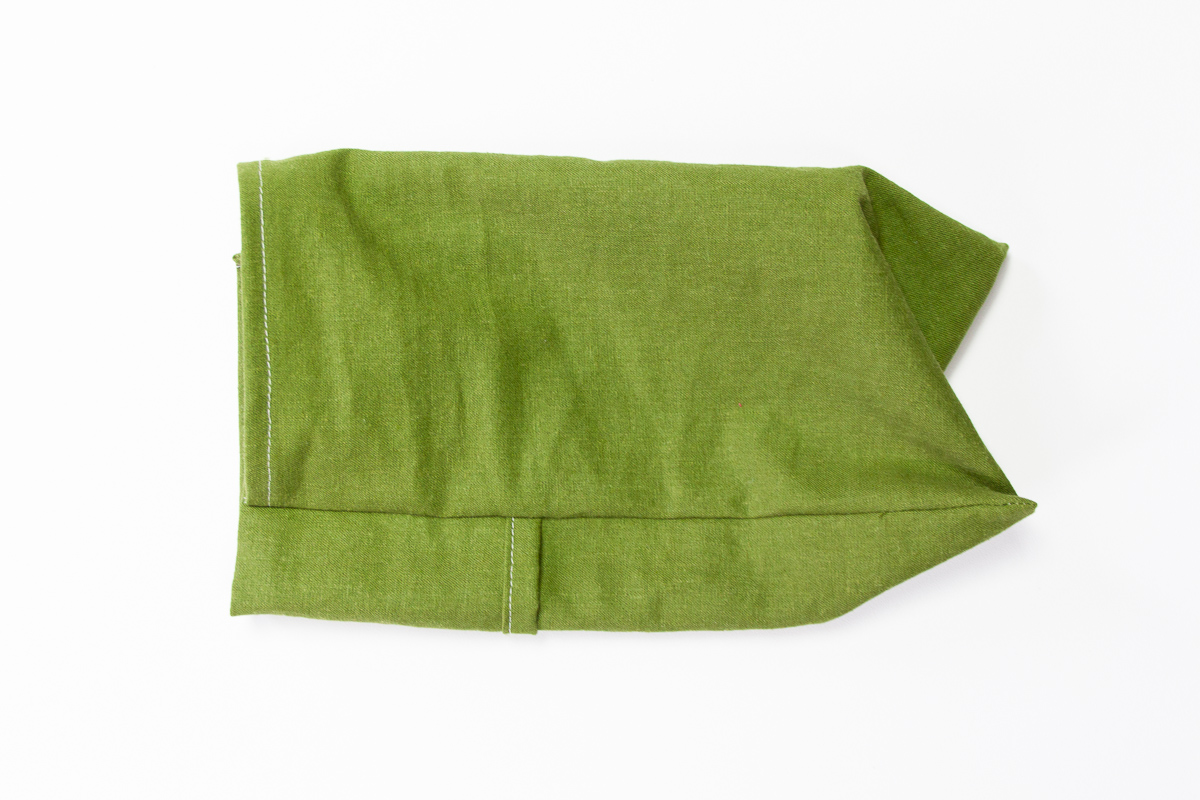
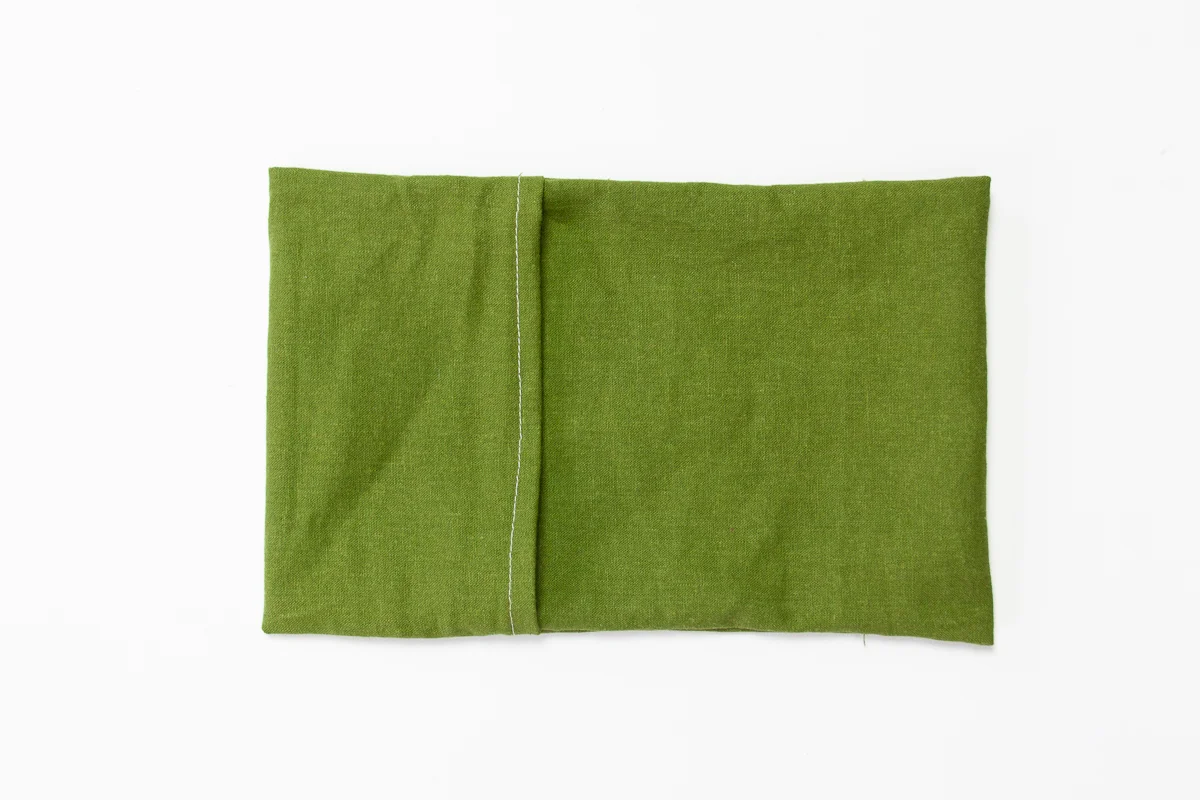
3) Fold the bottom up so it covers the entire length of the object for which the pouch pack is being made. Fold with wrong sides together.

How to make an easy pouch for travel and organizing  - Tutorial with lots of photos by Sarah Kirsten

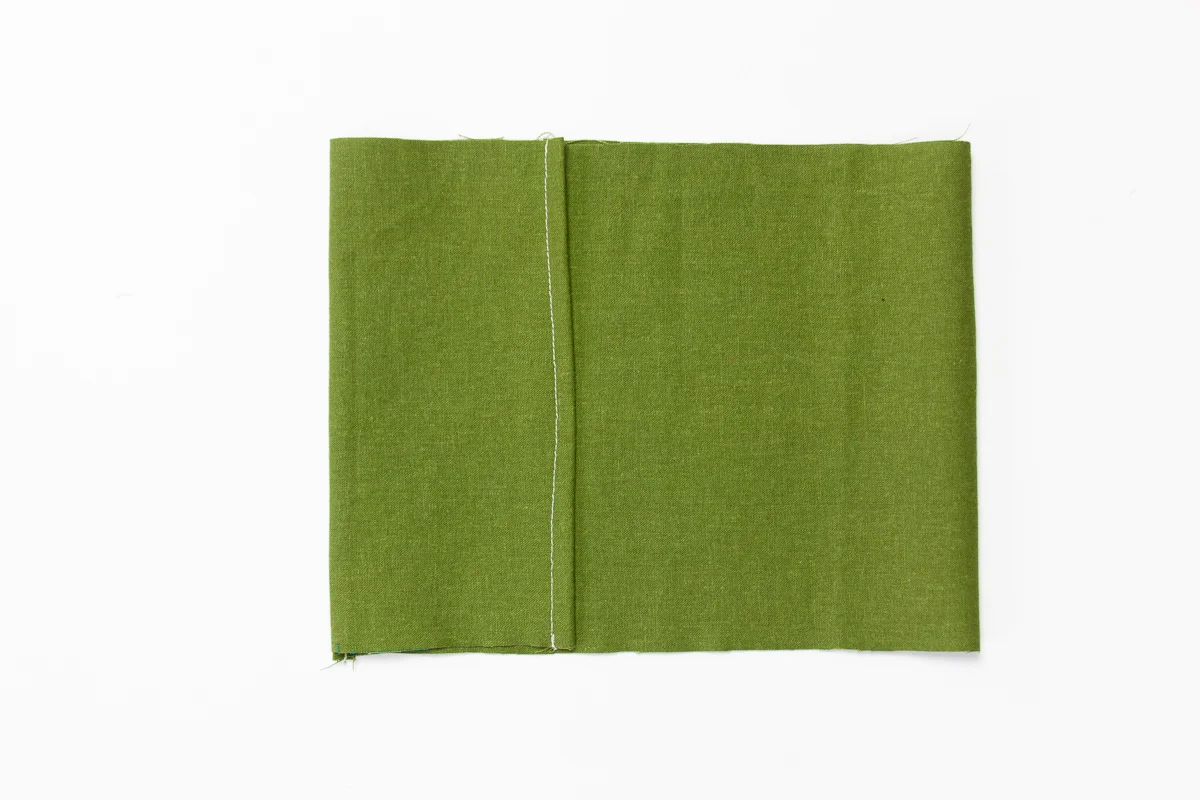
4) Fold the top flap down over top.

How to make an easy pouch for travel and organizing  - Tutorial with lots of photos by Sarah Kirsten

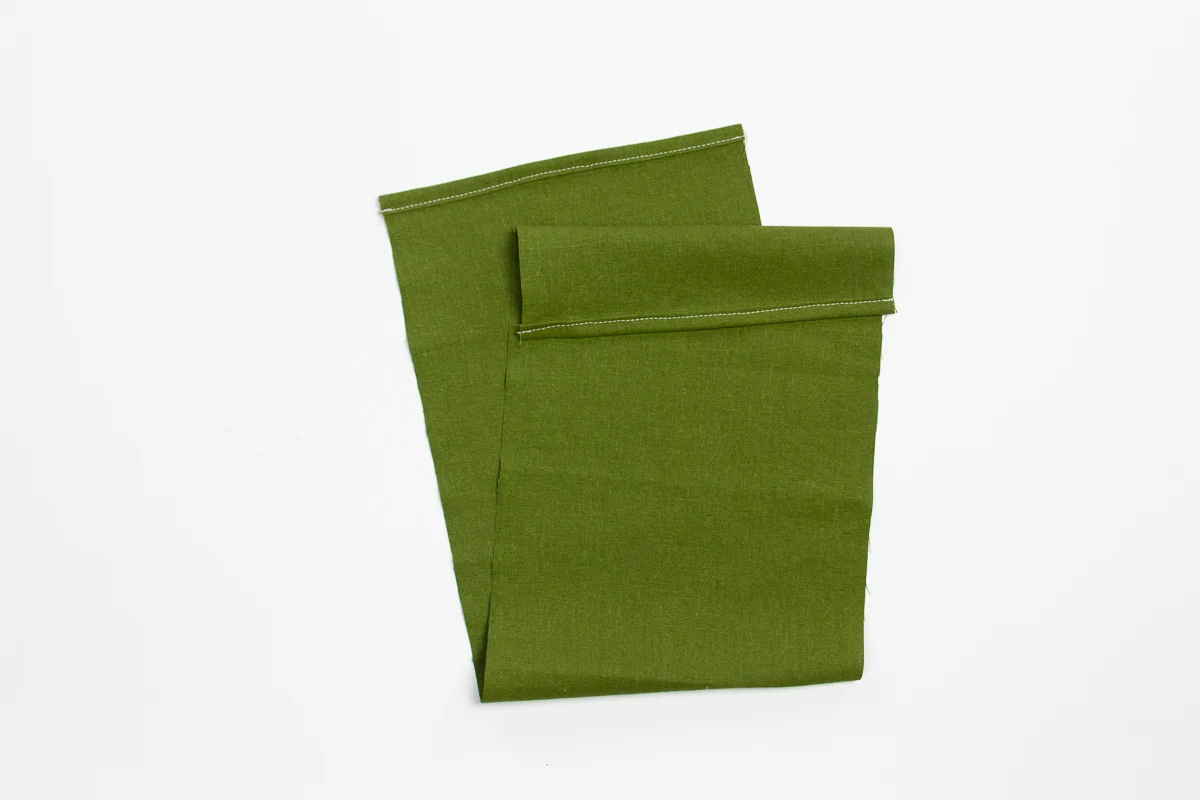
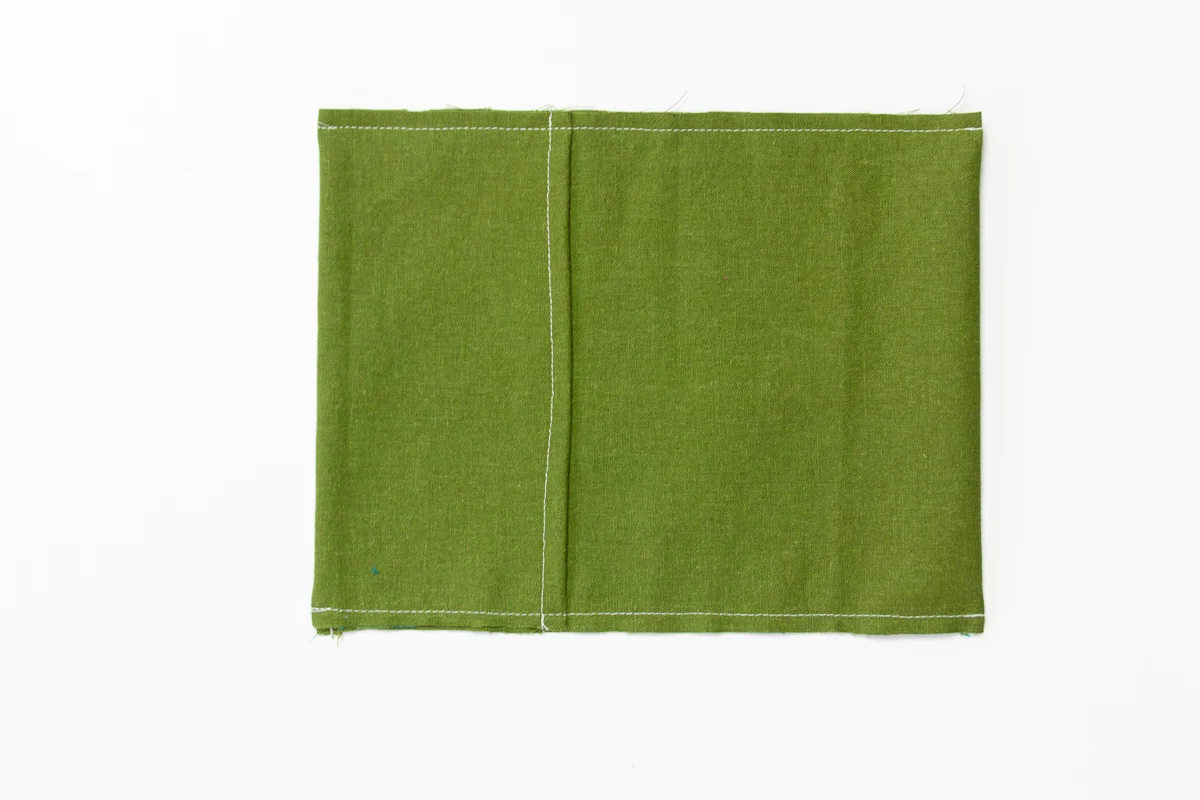
5) Sew up both sides with a 3/8” seam allowance.

_MG_1651.jpgHow to make an easy pouch for travel and organizing  - Tutorial with lots of photos by Sarah Kirsten

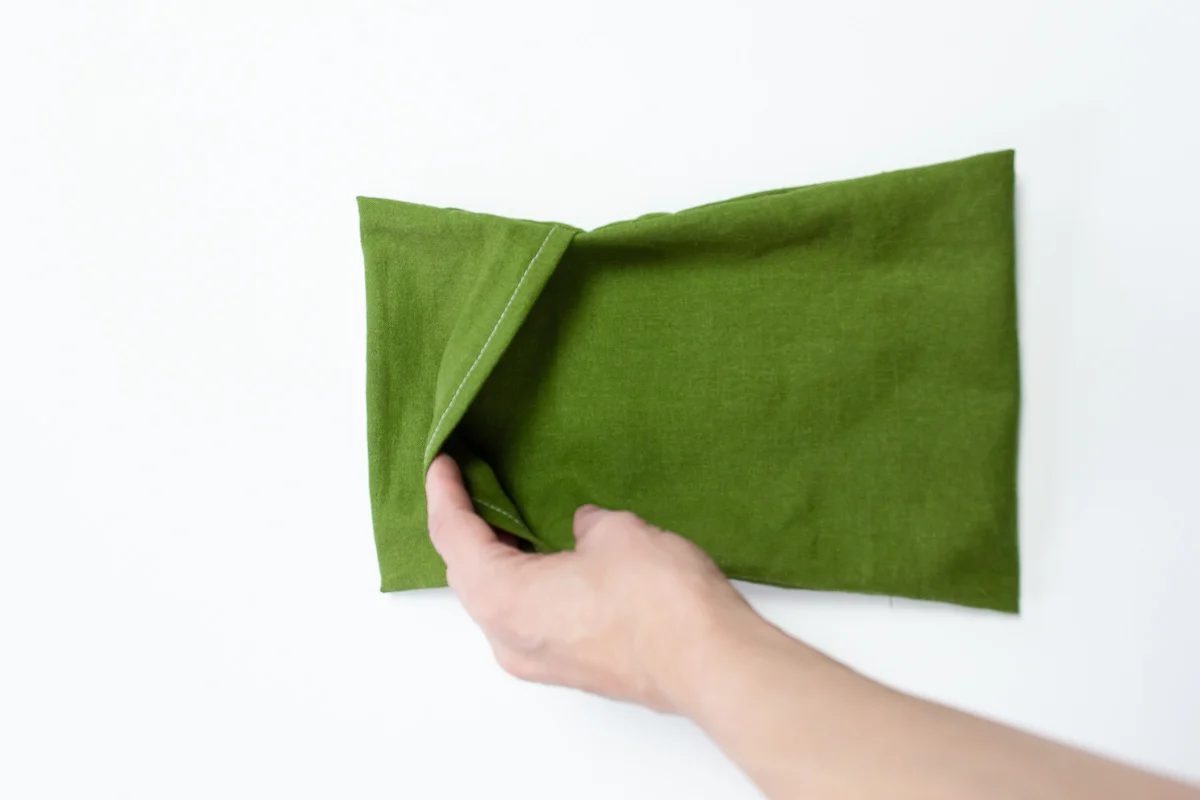
6) Fold the pouch pack inside out.

How to make an easy pouch for travel and organizing  - Tutorial with lots of photos by Sarah Kirsten

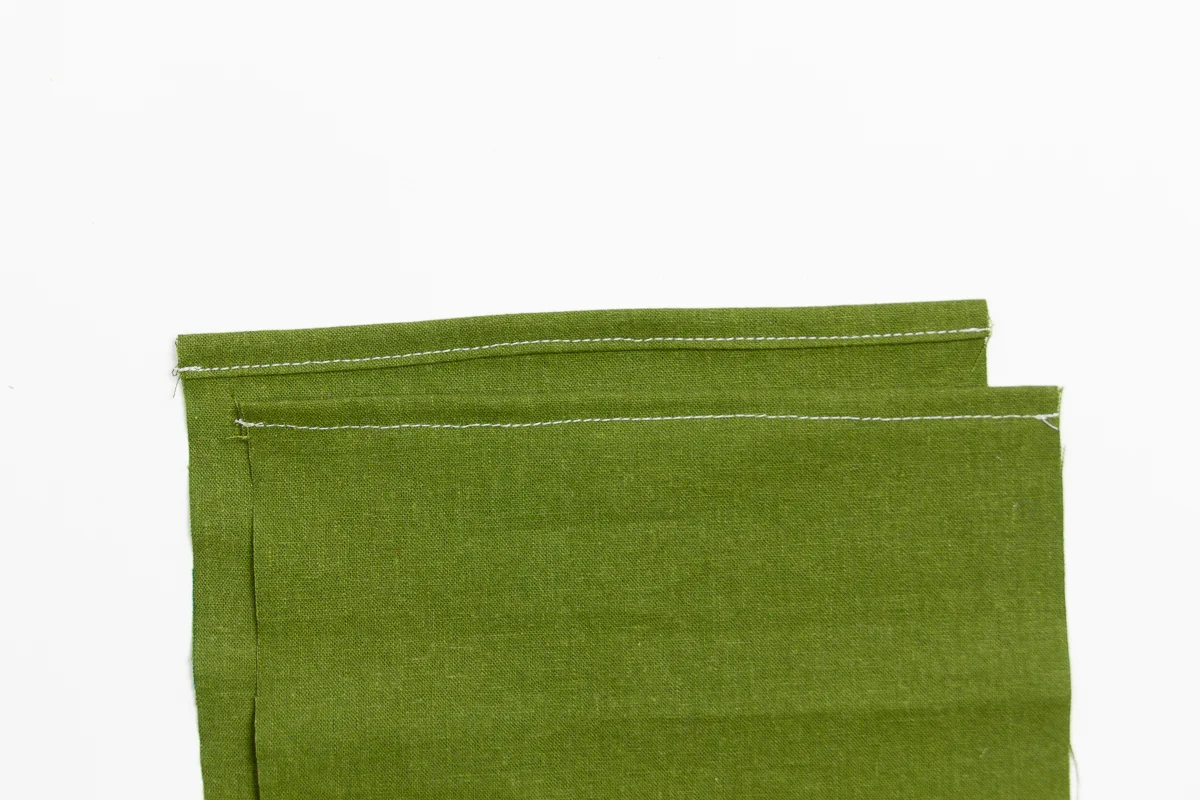
7) With the pouch pack inside out and right sides together, sew up the same sides again with a 1/2” seam allowance, being sure to totally encase the raw edges within the new seam.

You can use different seam allowances than what I used in step 5 & 7. Just be sure the allowance you use in the initial seam is smaller than allowance you use in the second seam. That way the raw edges are sure to be encased.

How to make an easy pouch for travel and organizing  - Tutorial with lots of photos by Sarah Kirsten
How to make easy travel pouch packs - Tutorial with lots of photos by Sarah Kirsten

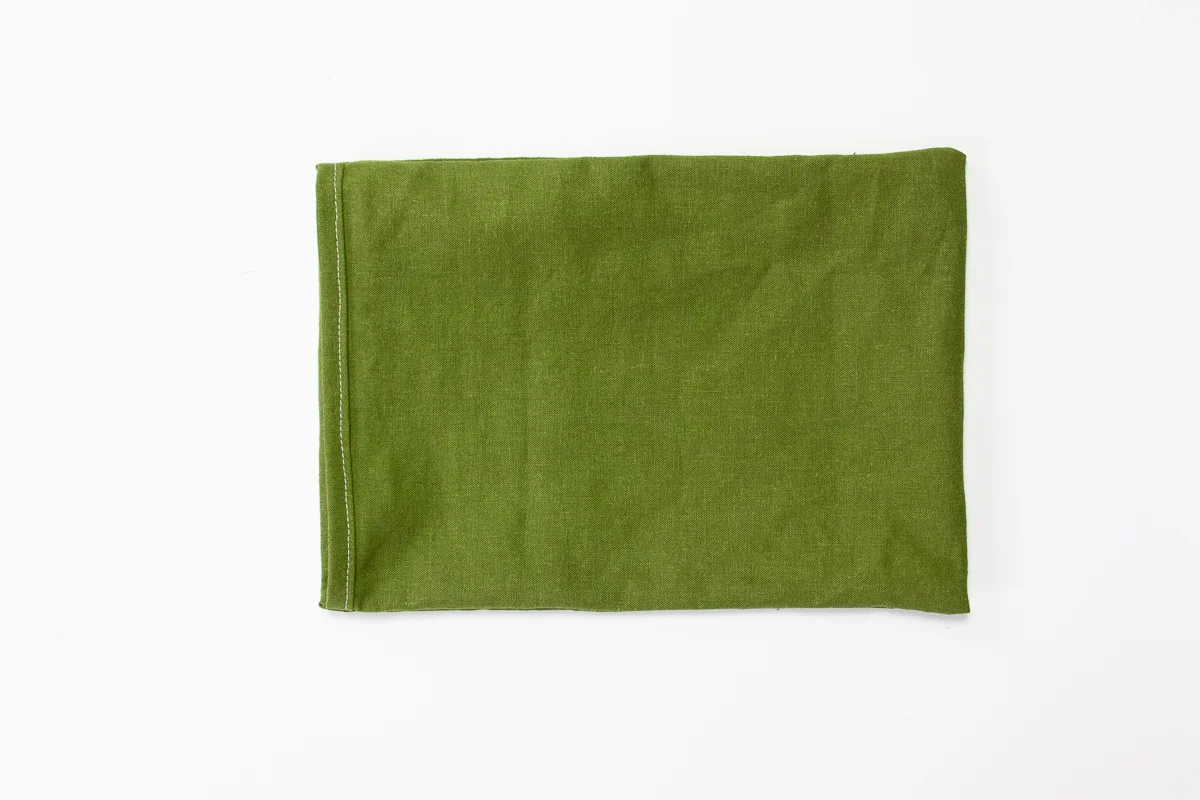
8) Turn the pouch pack right side out and it’s done!

How to make an easy pouch for travel and organizing  - Tutorial with lots of photos by Sarah Kirsten
How to make easy travel pouch packs - Tutorial with lots of photos by Sarah Kirsten

How to Measure the Fabric

These pouch packs can be made in any size! To fit the pouches to a specific object, here’s how to do it.

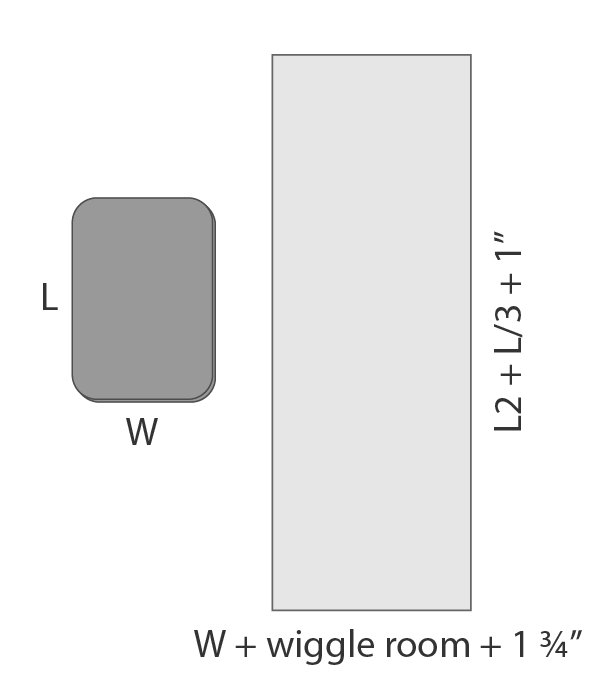
1) Measure the length and width of the object (note these pouches do work best with relatively flat things like folded clothes, etc.). The width of the fabric should be the width of the object, plus some wiggle room, plus the seam allowance for French seams. I recommend 1 3/4” so you can use 3/8” seam allowance on the first seam and 1/2” allowance on the second seam.

2) Measure the length of the object. Multiply the length by 2, plus 1/3 the length of the object for the top flap to overlap, plus the hem allowance. In this illustration I made the double rolled hem allowance 1/4”, but obviously you could make it larger than that if you wish.

Here’s an example:

The object I want to make the pouch pack for is 5” wide and 10” tall.

The width of the fabric should be 5” + 2” (for wiggle room) + 1 3/4” = 8 3/4”

The length of the fabric should be (10)2 + 10/3 + 1” = 24.33 => 24 3/8”

How to make easy travel pouch packs - Tutorial with lots of photos by Sarah Kirsten

One Thing Every Sewing Table Needs

Things on my sewing table - Sarah Kirsten

It’s commonly known that sewing is messy business. It’s also commonly known that people generally think more clearly and are more productive in a non-messy environment. The little threads and fabric snips that get scattered everywhere are what bog me down the most. They make my sewing environment feel unorganized. But a solution presented itself unexpectedly two years ago.

Things on my sewing table - Sarah Kirsten

Vivian Shao Chen and I somehow became Instagram friends and I got my hands on one of her little creamers through a giveaway. When I unwrapped the package, it filled my heart as much with joy as it filled my hands with it’s weighty clay. I loved it so much I wanted to employ its usefulness in a way I could see it and use it on a daily basis.

Things on my sewing table - Sarah Kirsten

It’s been sitting near my sewing table, collecting all the threads and fabric snips from sewing projects since. I empty it out when a project is finished, or when it gets too full, and set it back where it belongs - ready to collect threads from my next project. It has helped me maintain a level of neatness in my sewing area so I can concentrate on the important things with minimal distractions.

Things on my sewing table - Sarah Kirsten
Things+on+my+sewing+table+-+Sarah+Kirsten

I’ve been thinking about the importance of surrounding ourselves with high quality things lately. That’s partly why I made the Black Walnut Point Turners a few weeks ago. I feel like a better quality person and feel motivated to do better quality work when I surround myself with good quality things. I’m so delighted to have Vivian’s little creamer on my sewing table, catching all my loose threads and keeping me tidy. Her high quality little ceramic creamer helps me make high quality things with my sewing machine.

Vivian makes limited edition ceramic pieces and recently opened up an online shop if you’re in the market for your own sewing table thread container. She also has a beautiful Instagram account and posts interesting stories about the process if you like beautiful photography and ceramics.

Website: vivianshaochen.com

Instagram: @vivianshaochen

Interviewed by Aningri.com

A few months ago, the jewelry designer Aningri (who also happens to be my sister) reached out and asked if I would like to do an interview with her. I, of course, said yes with enthusiasm. I have been an owner of an Aningri Work Ring since she first launched her company last summer. It’s the only piece of jewelry I wear on a regular basis. So naturally, I was thrilled when she asked me for an interview.

Here’s an excerpt:

How did you get to where you are now in your work?

It took me a long time to get to a place emotionally where I was willing to sell my patterns. Drafting has always been natural to me. Visualization of shapes and sizes angles and the interfaces of 3D objects has always made sense in my head, so I didn’t realize for a long time that it doesn’t come naturally to everyone. And then there was the whole thing of feeling strange because I realized I had a talent that others didn’t and figuring out how to deal with that was difficult. I finally came to a place where I realized that in order to fully embrace who I am I need to fully embrace my talents. Along with that I’ve realized that walking fully in our talents is the best way we can serve others.

What is the value of being yourself in your work?

I think when you're in any field, but especially in design, it's so important to remember that no one else can create something exactly like you can. Even if you have similar design ideas to someone else, the way you construct the design is different. You bring uniqueness simply because you are a unique being. I think the more we are willing to be in touch with our uniqueness the more of ourselves shows up in our work, and the more valuable our work becomes. Ultimately realizing that we are talented, we have things to bring to the table, we are unique -- that's the value of being myself in my work.

To read the full interview, click here.

If you’re in the market for a simple, beautiful, low profile ring that doesn’t get snagged on fabric or in the way of your other making, check out Aningri’s Work Ring. I’m so happy I own one. Thank you, Anna, for having me in your interview series and for making such beautiful jewelry that makes me feel like me.

Website: Aningri.com

Instagram: @_aningri

Aningri Work Ring - Sarah Kirsten

Shipping Physical Products

It was my first time shipping out a physical product, the Black Walnut Point Turners (which sold out 2 hours after officially putting them up for sale - Thank you to everyone who expressed interest and made a purchase!). I wasn’t sure how the packaging would go at first, but I quickly realized it was a whole new opportunity to hone and define my brand and decide what my brand embodies in a physical way. Until this point it has only embodied a digital, visual presence. The experience kind of took me aback. I really didn’t know what my brand looked like in physical form. I’m still not sure, but it’s fun to be on the discovery process.

Beautiful Packaging of Physical Products - Sarah Kirsten

I can’t say I have it all figured out yet, but I can say confidently that I’m figuring it out and learning some things on the way. I set my sewing machine on the floor, cleared off my little seamstress table, and gathered up some string, tissue paper, linen fabric scraps, nice paper for handwritten notes, my favorite brown paper envelopes, and set to work.

Beautiful Packaging of Physical Products - Sarah Kirsten

Before too long I had a big bundle of packages ready to be taken to the post office. Well, actually, being honest, this took me a series of several days from conception of the packaging materials and methods to finally visiting the post office (and holding up the line for 20 minutes while each package was posted. Next time I think I’ll try a home shipping service… ).

Beautiful Packaging of Physical Products - Sarah Kirsten
Beautiful Packaging for Physical Products - Sarah Kirsten

This was sort of a test to see how physical products would sell, and how much I enjoyed shipping them. I think it’s always good to have multiple avenues of income as an entrepreneur. This ended up being quite fun, so I’m excited at the possibility of selling more physical products in the future.

They're Here! Handmade Black Walnut Point Turners

They are HERE! I just added a limited quantity of Black Walnut Point Turners to my shop. (See previous post for details and photos of how I made them.)

Click here to shop Black Walnut Point Turners

Point turners are really useful for making corners crisp and sharp after sewing something with a corner or point and turning the fabric right side out. The sharp end of the turner effectively and efficiently forces the stubborn fabric of the seam allowance up against the stitching of the seam and causes the corner to expand to it’s full and intended potential.

In previous years I’ve used pens and accidentally left ink marks on the fabric, pencils with broken tips that never quite got the corner as crisp as I wanted, and the tips of scissors and accidentally cut through the fabric. All horror stories!

Point turners are an excellent addition to your set of sewing tools to keep handy by your sewing machine. Each one is unique and has slightly different color and size variation. If you’d like to grab one for your sewing table, grab one quick! Half of them pre sold before I even posted them for sale!

SHOP Black Walnut Point Turners