Sunrise Colorblock Hack - Sweet Pea Sweatshirt

How to sew a sunrise colorblock sweatshirt - sewing tutorial

Here’s how to do it!

1) Make a paper copy of the pattern with a full front bodice. I’m using my Sweet Pea Sweatshirt Pattern.

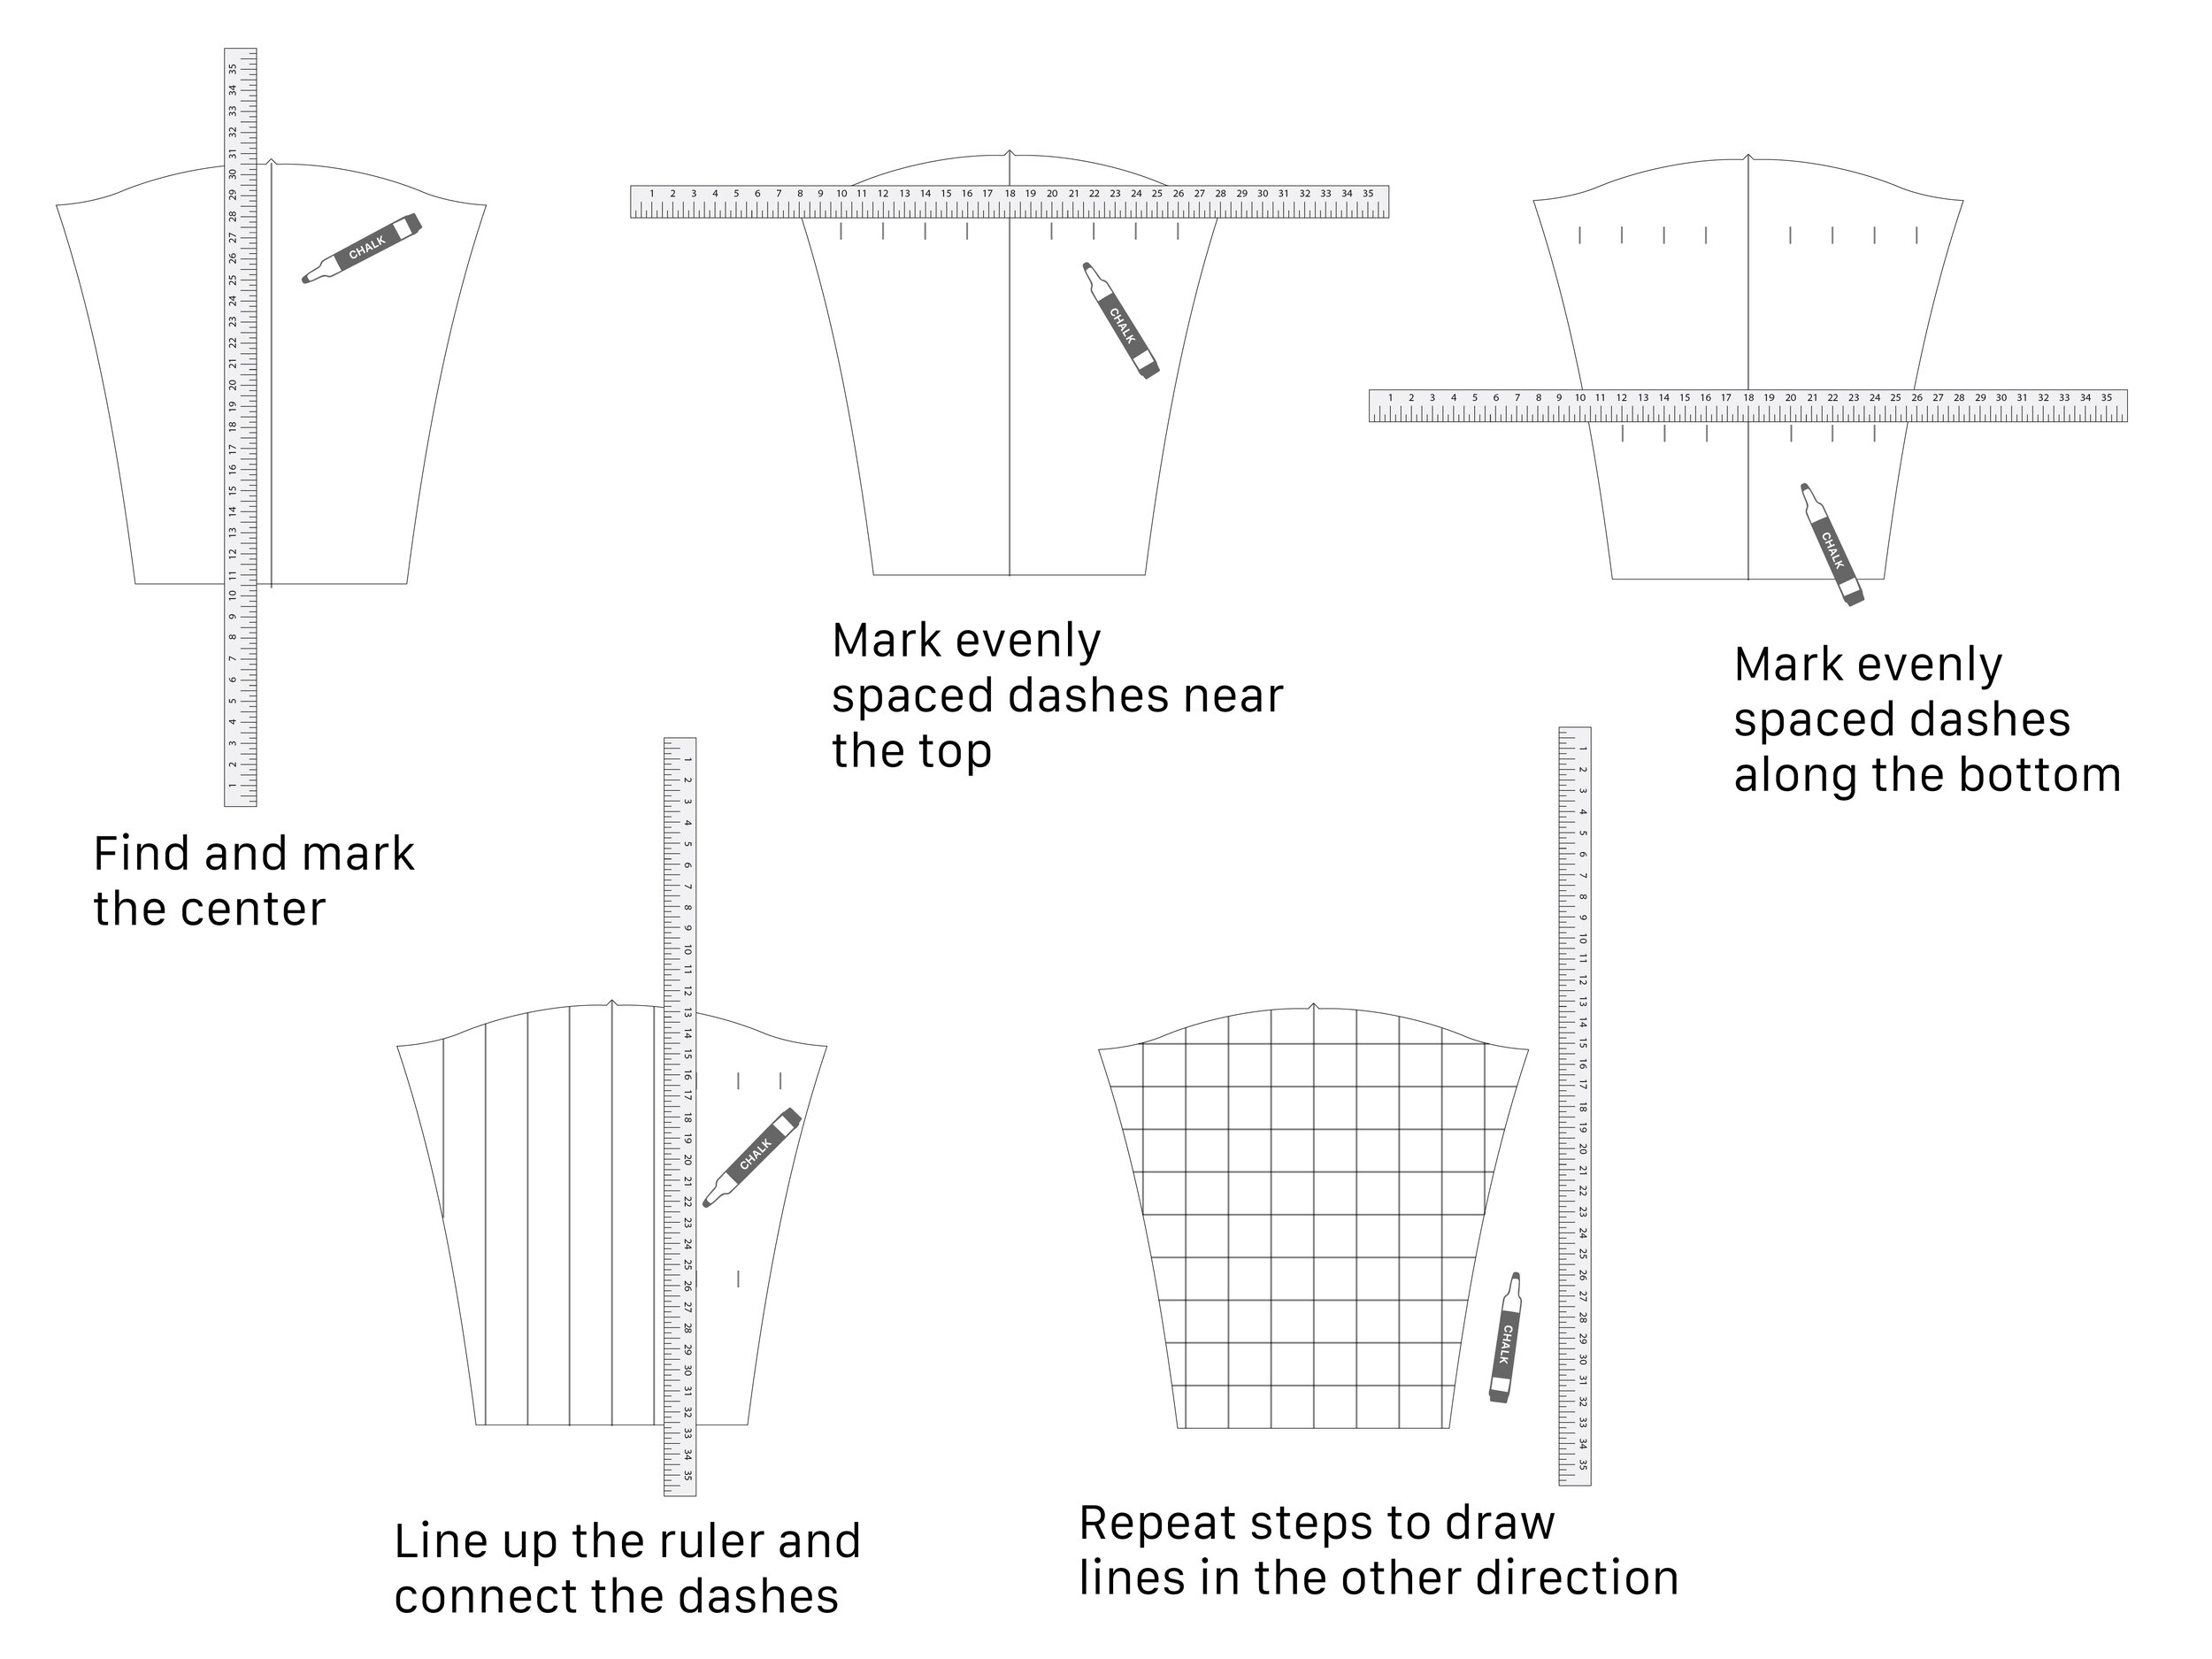
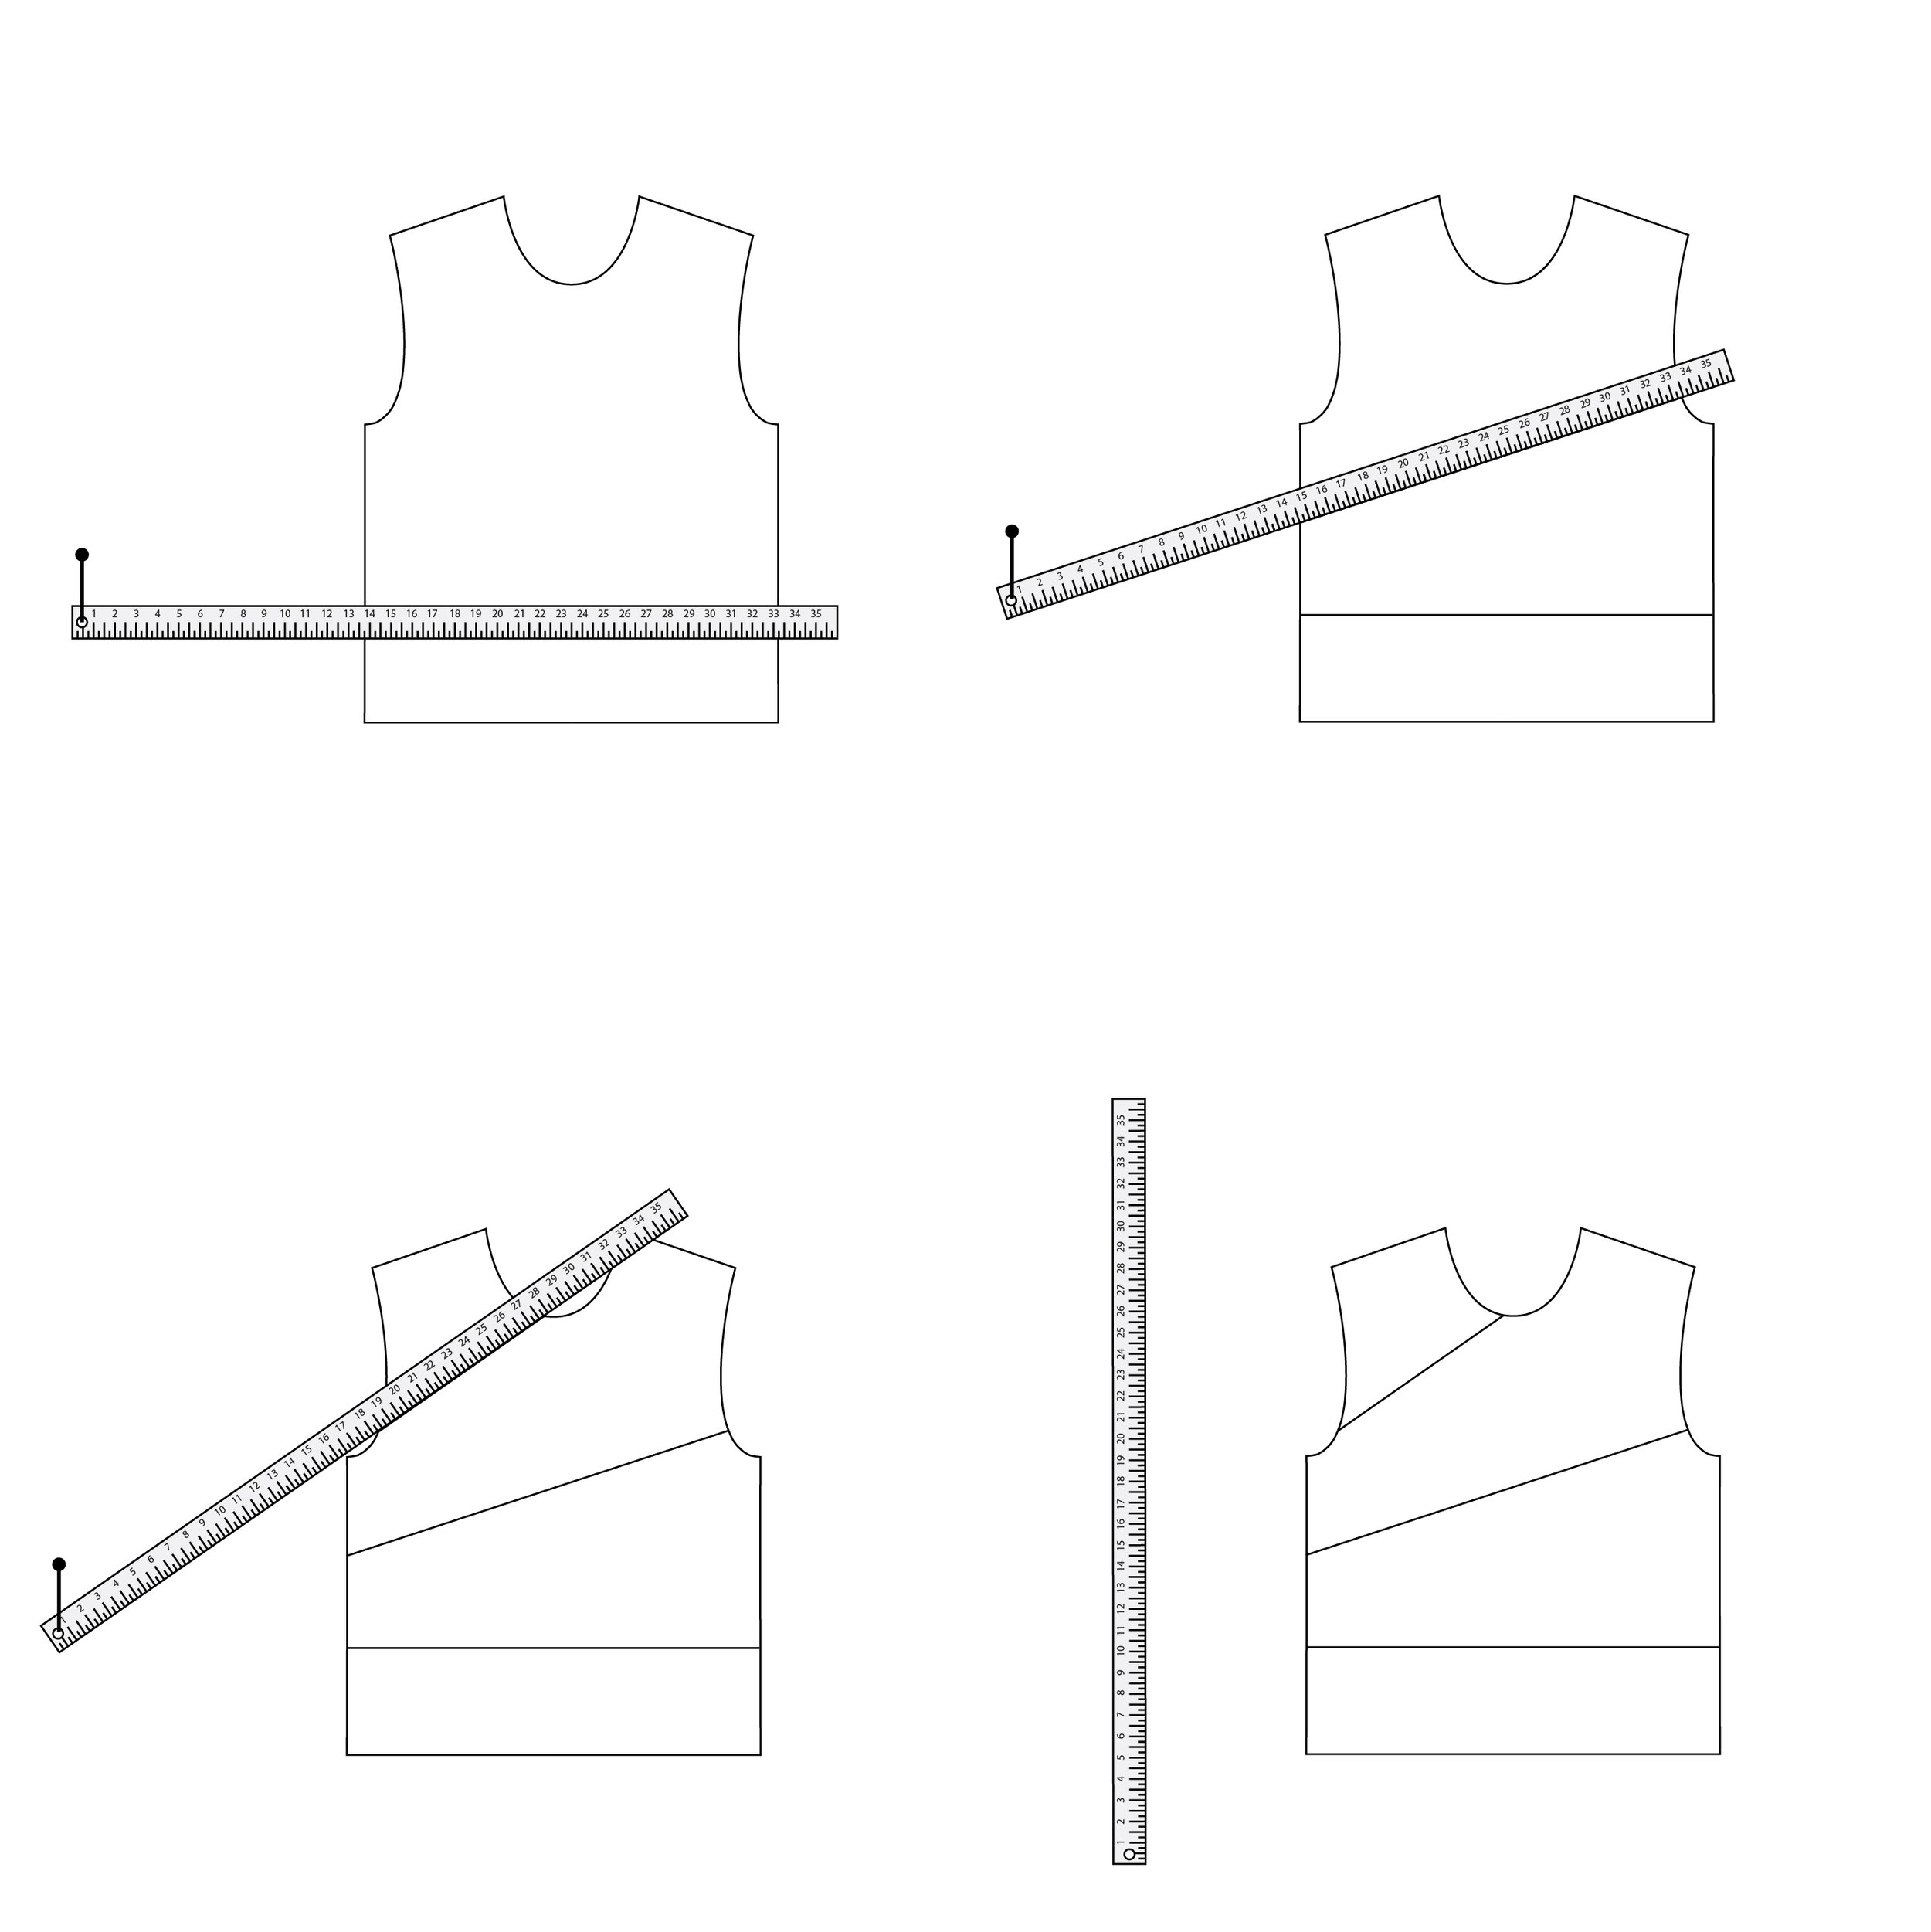
2) Grab a long ruler. Stick a pin in the left side, or hold it with your finger as you pivot to make all the lines. For mine, I positioned the left side of the ruler 14” away from the edge of the pattern. Play around with how far away you want the end of your ruler to be to get different angles on your colorblock lines.

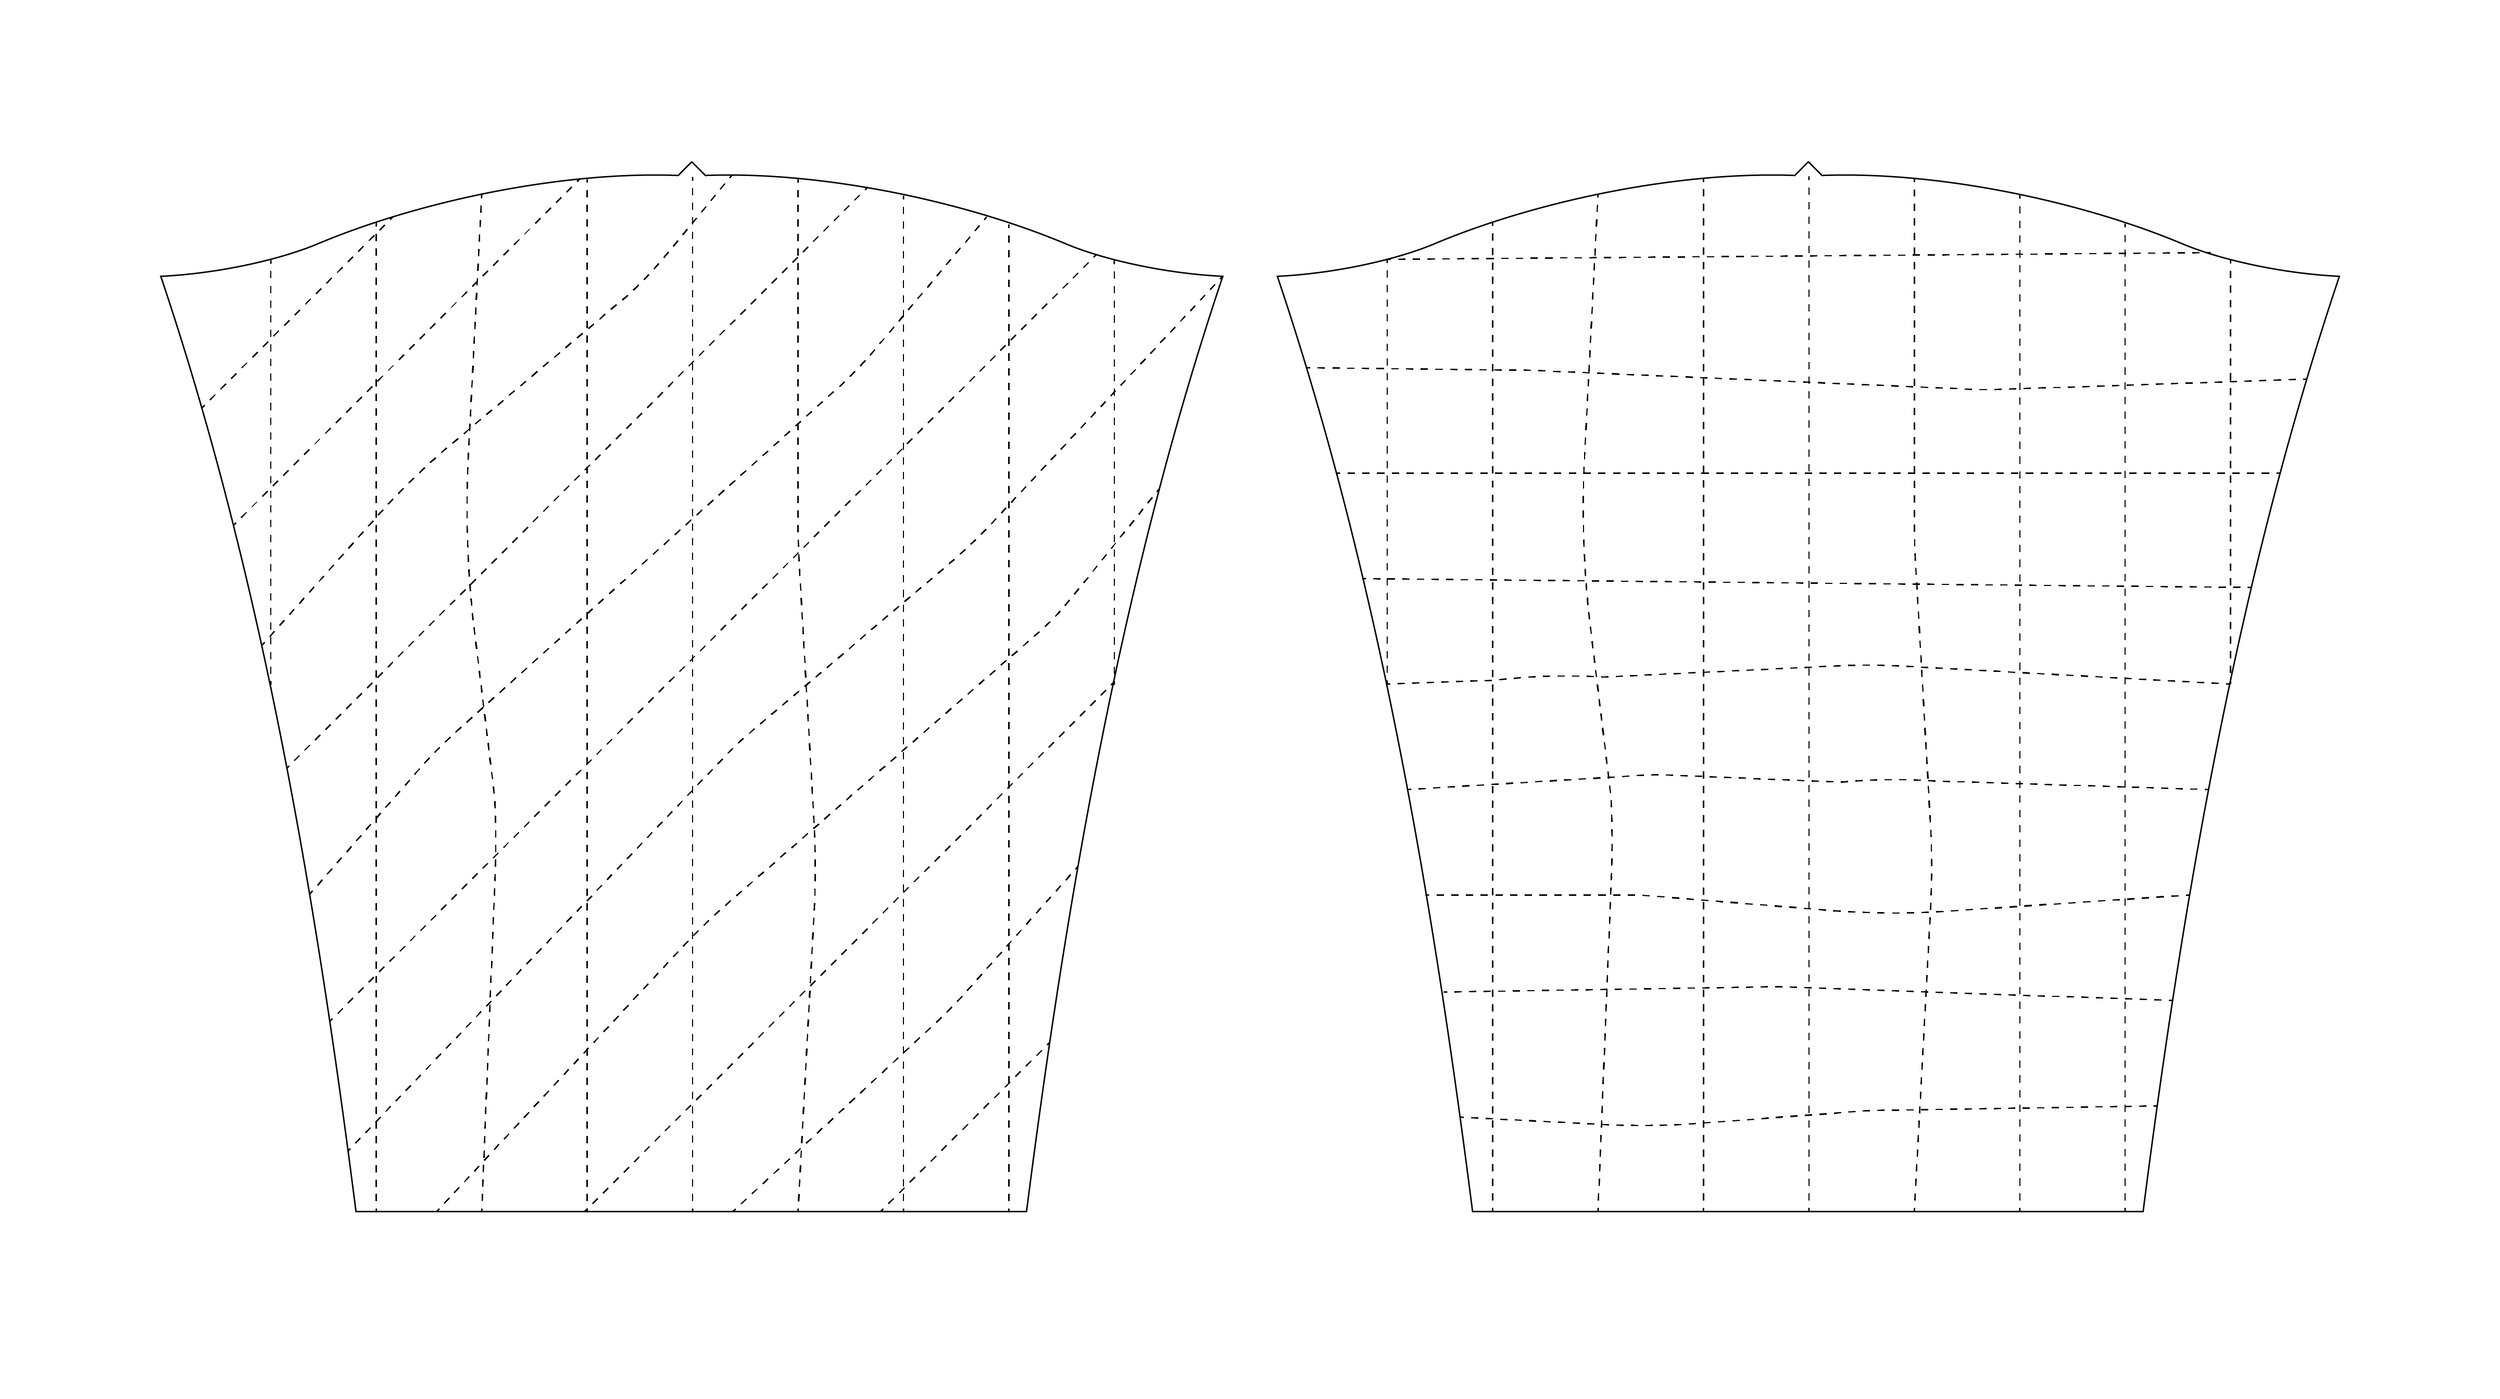
3) Grab a pen. Draw three colorblock lines as you pivot the ruler. Try to pivot the ruler a consistent number of degrees for each line. For example, the first line is 0°, the next line is 20°, and the last line is 40°.

How to sew a colorblocked sweatshirt hack - sewing tutorial

4) Cut the pattern along the lines.

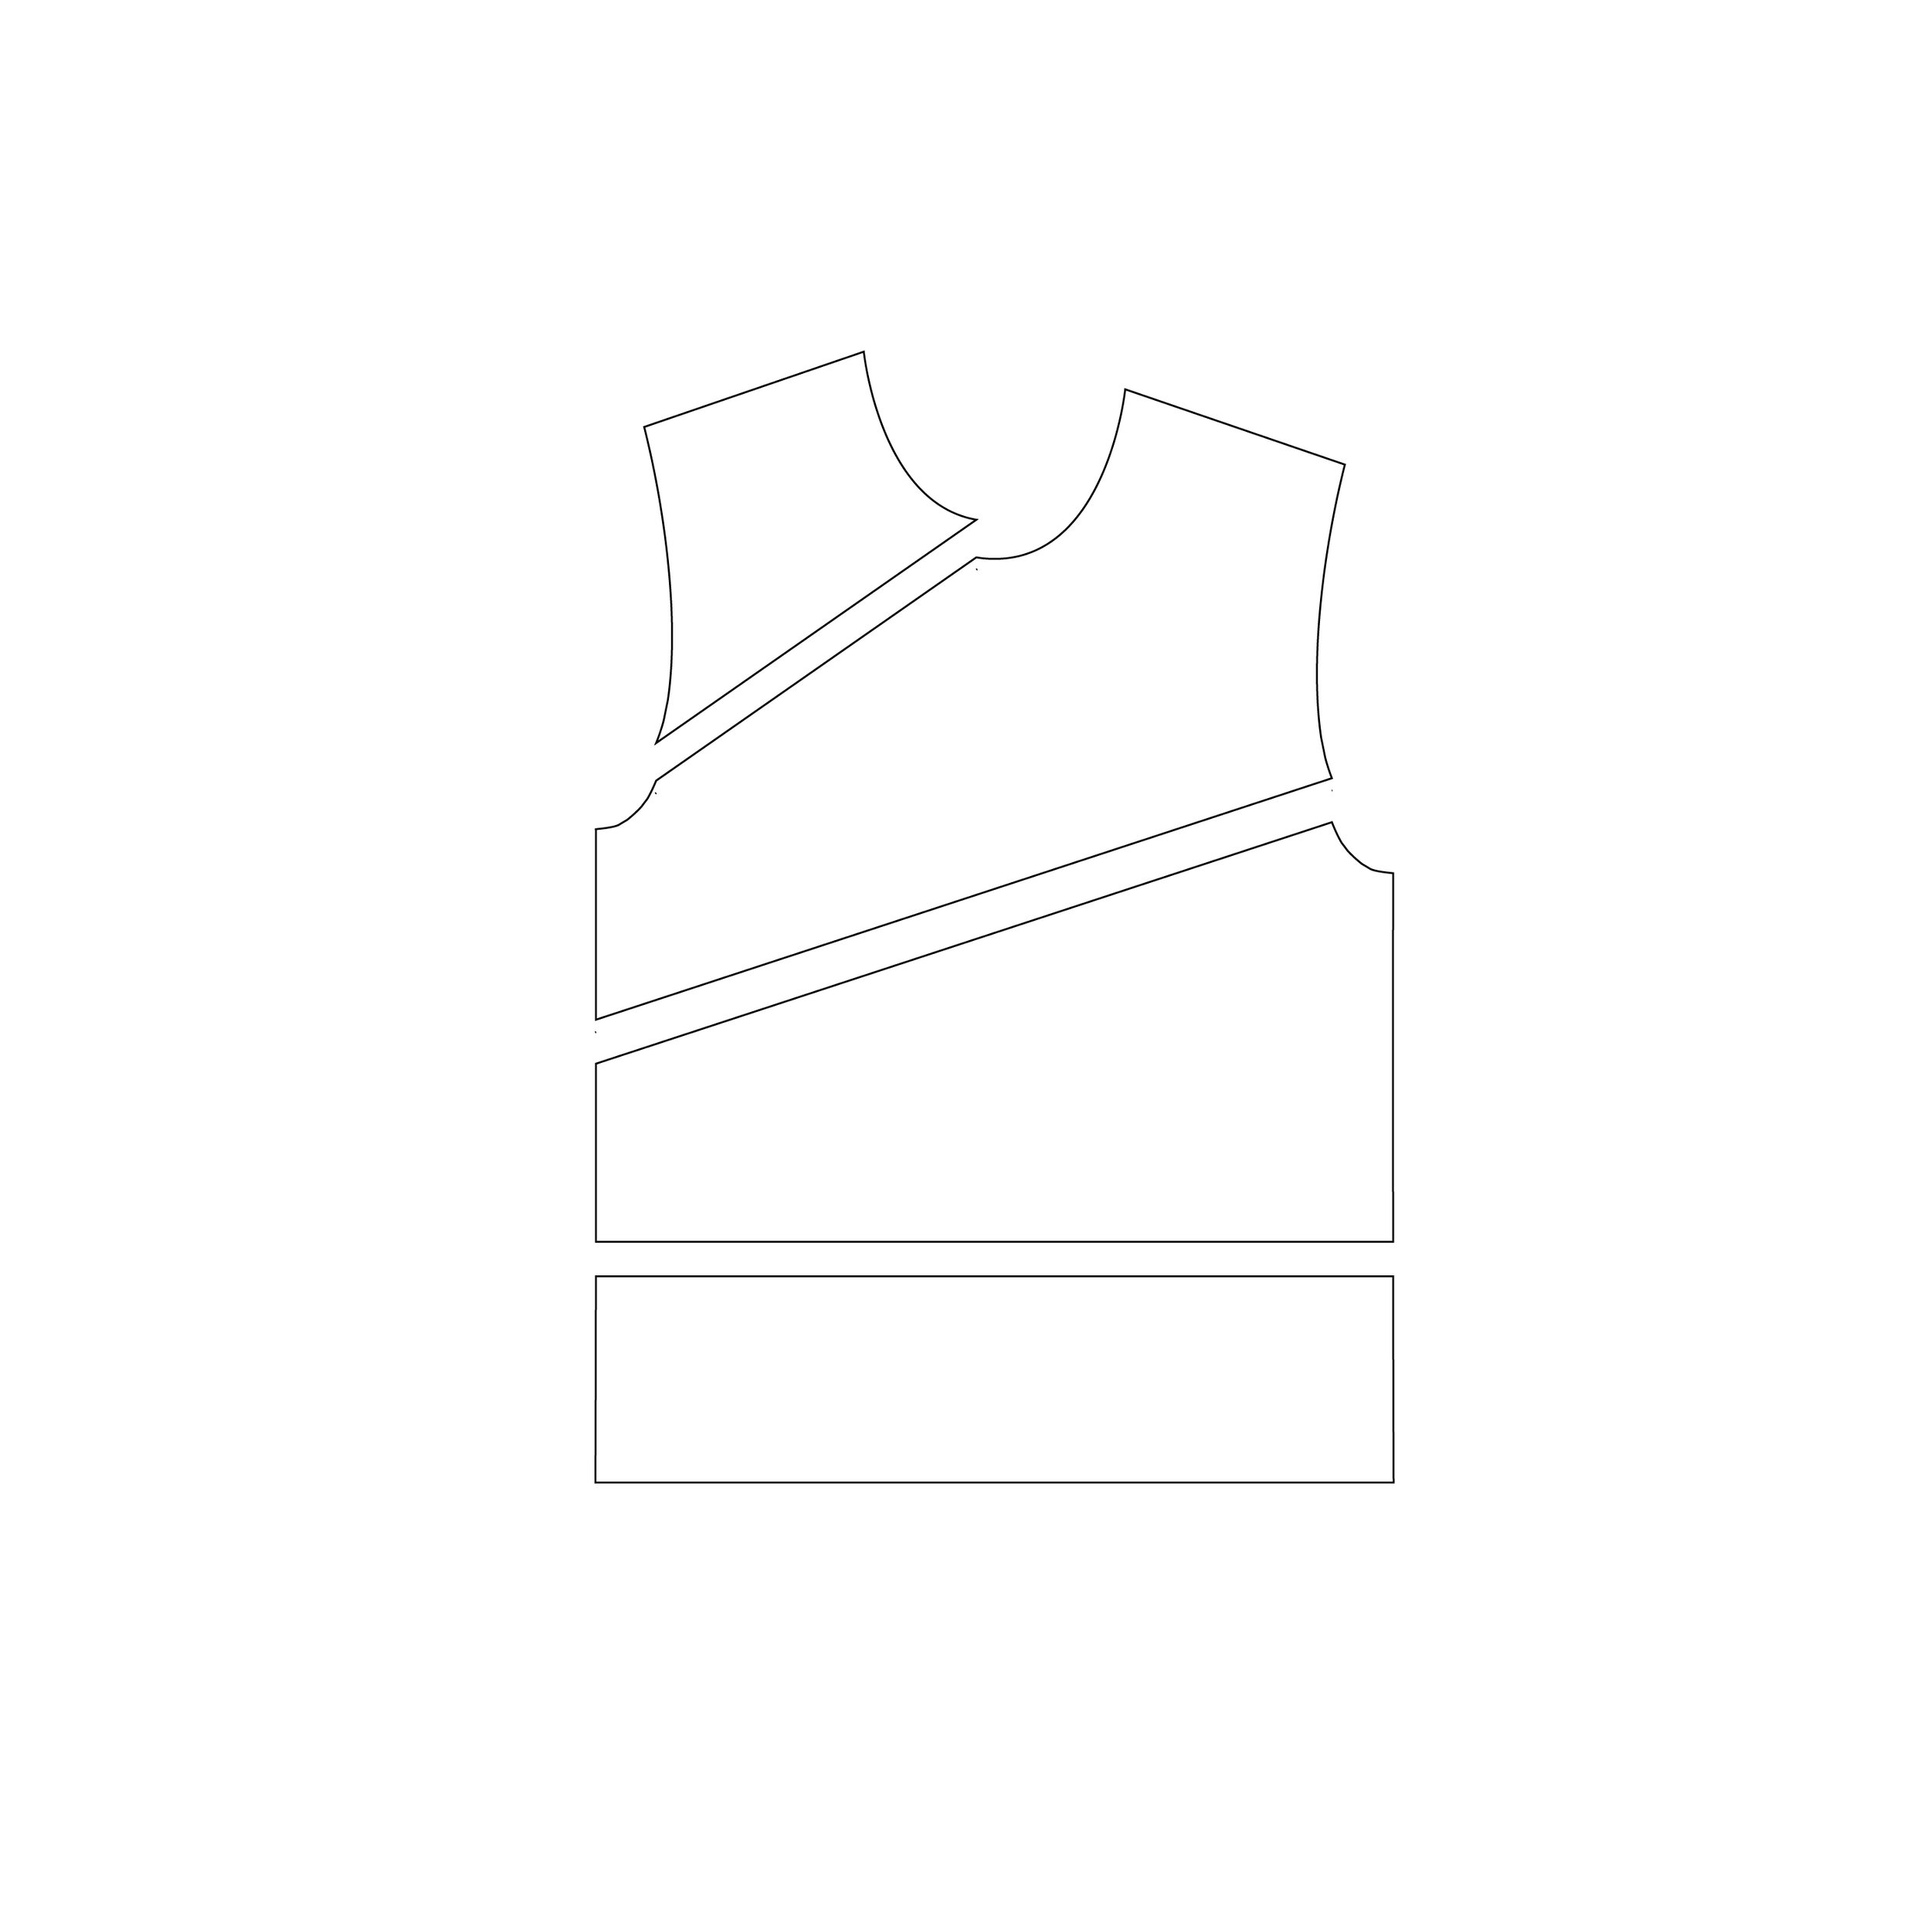
5) Cut each piece with the color of sweatshirt fabric you want. Add 1/2” (1.3 cm) seam allowance on the sides that are going to be sewed to the other colorblock pieces.

How to sew a colorblock sweatshirt - sewing tutorial with photos

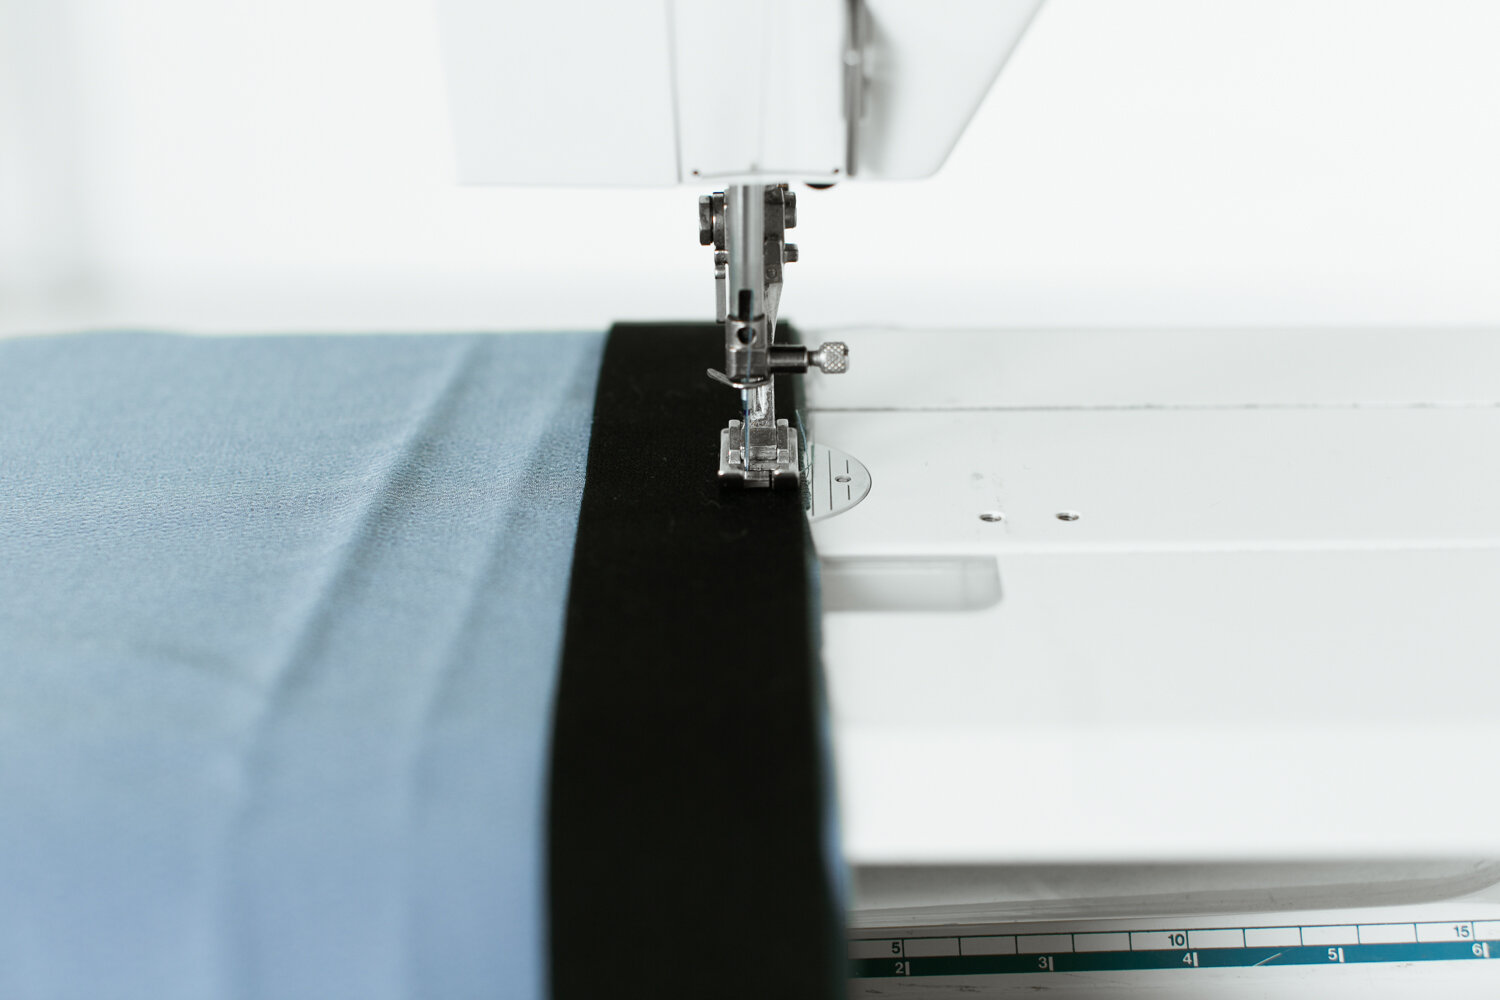
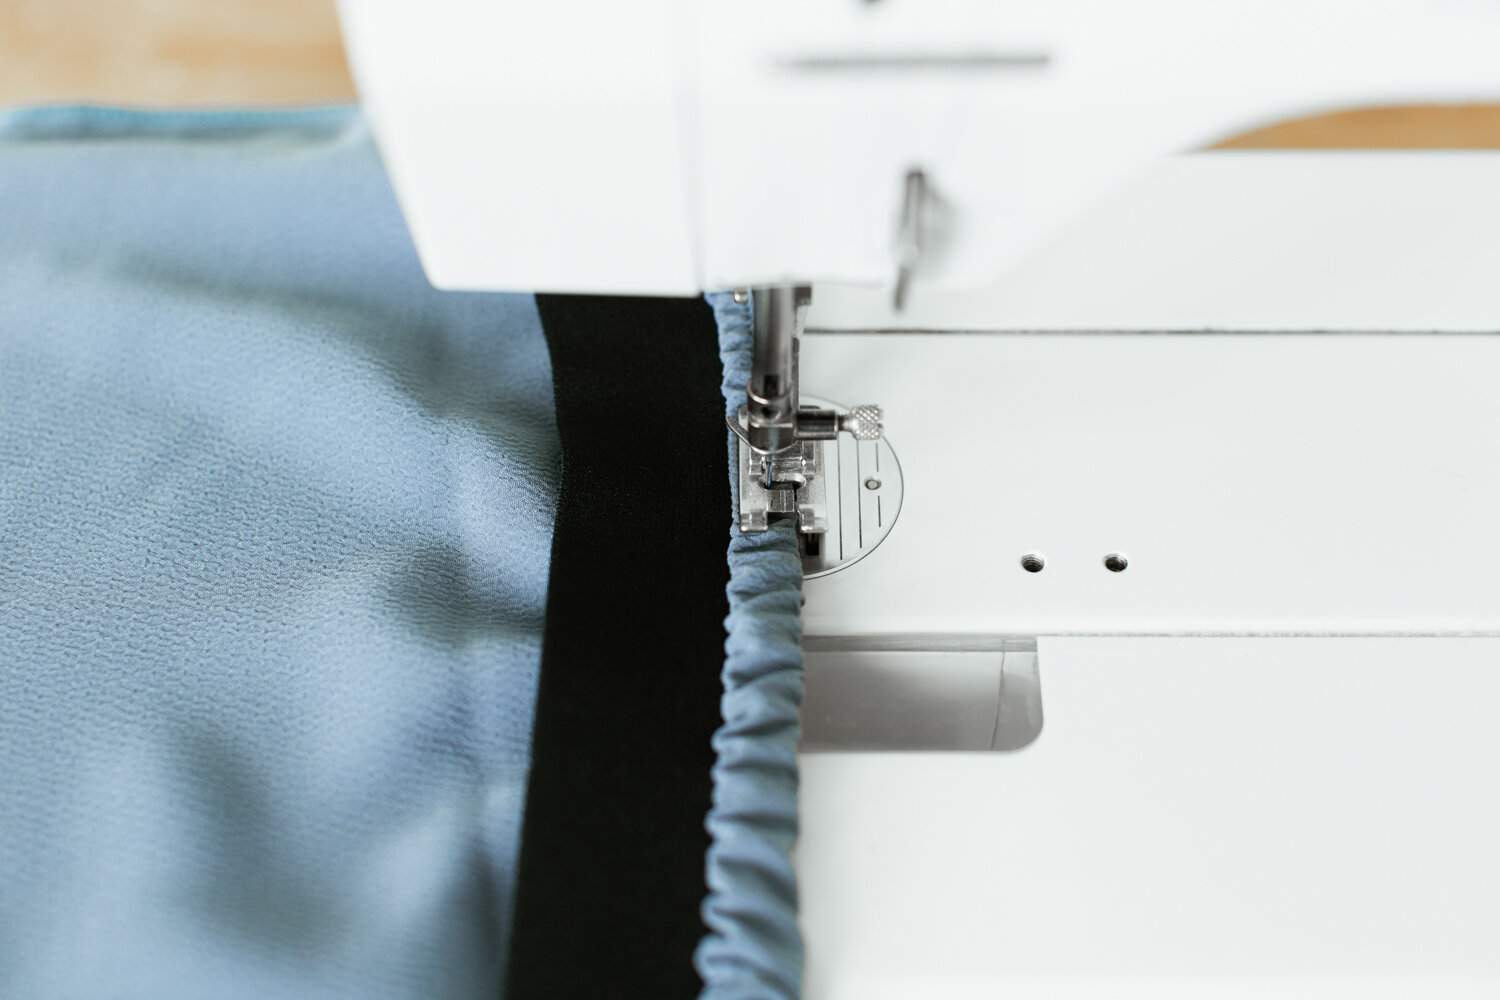
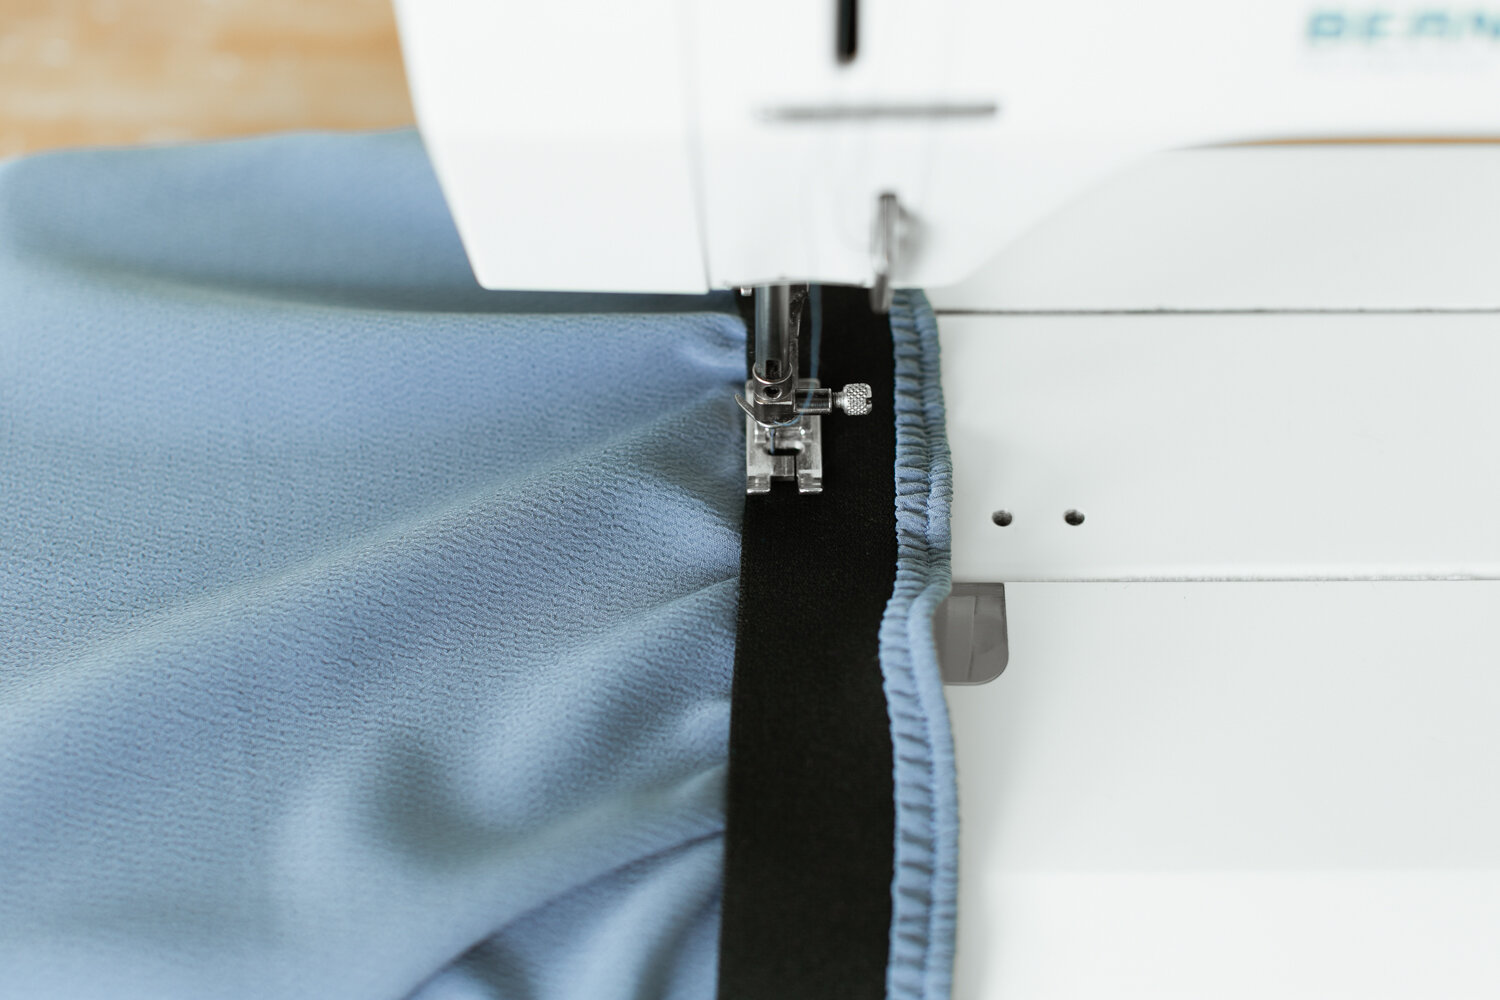
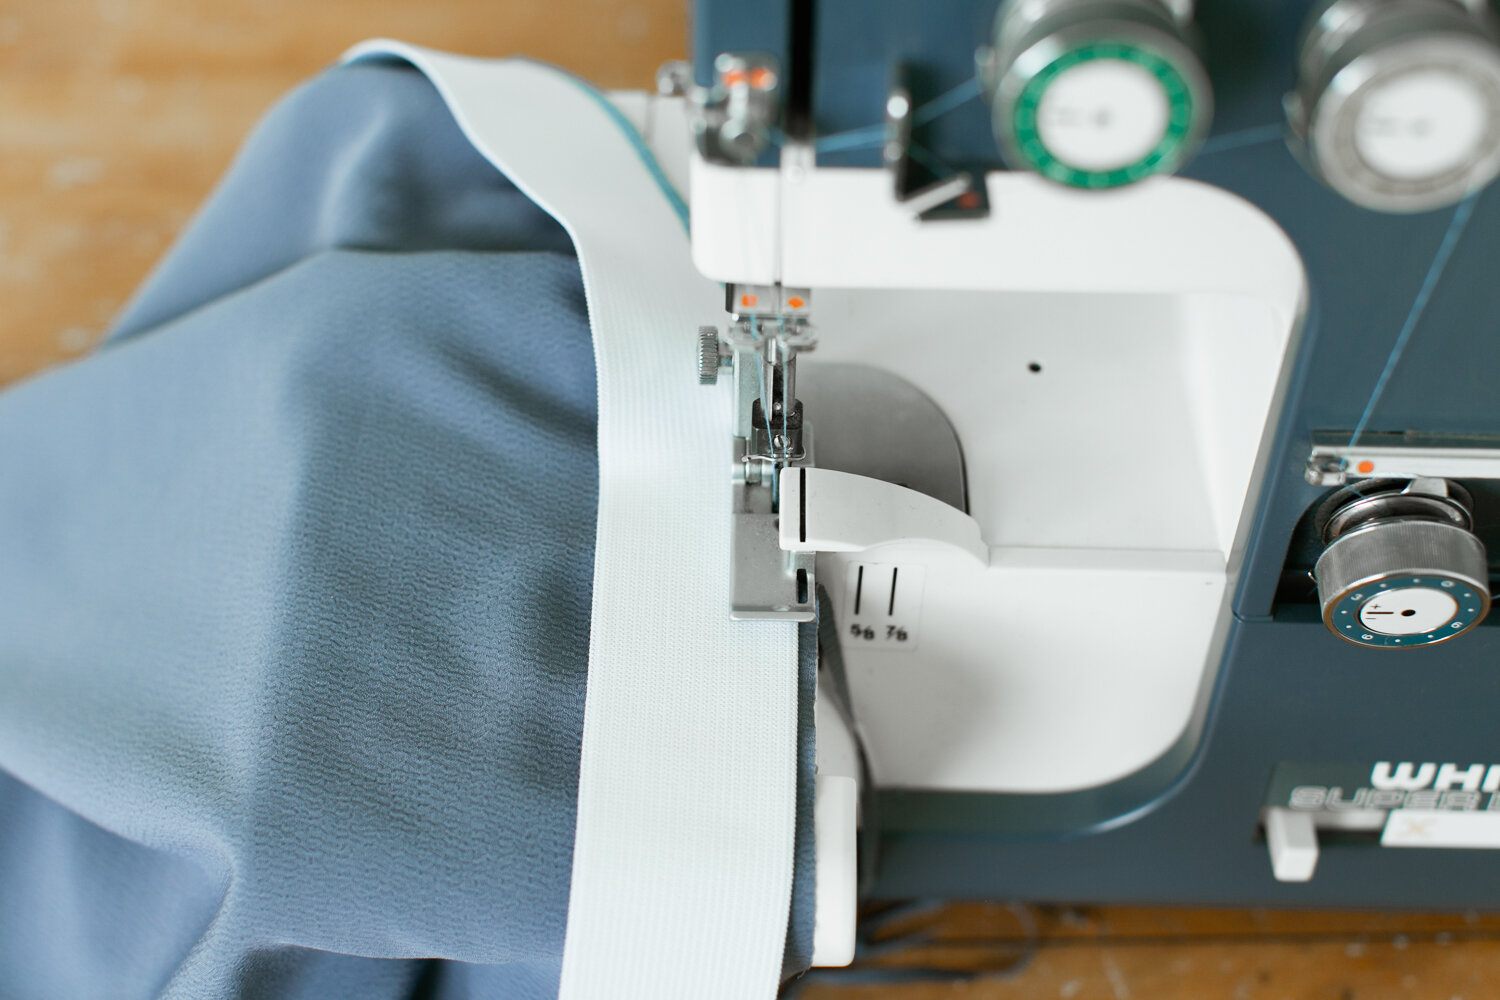
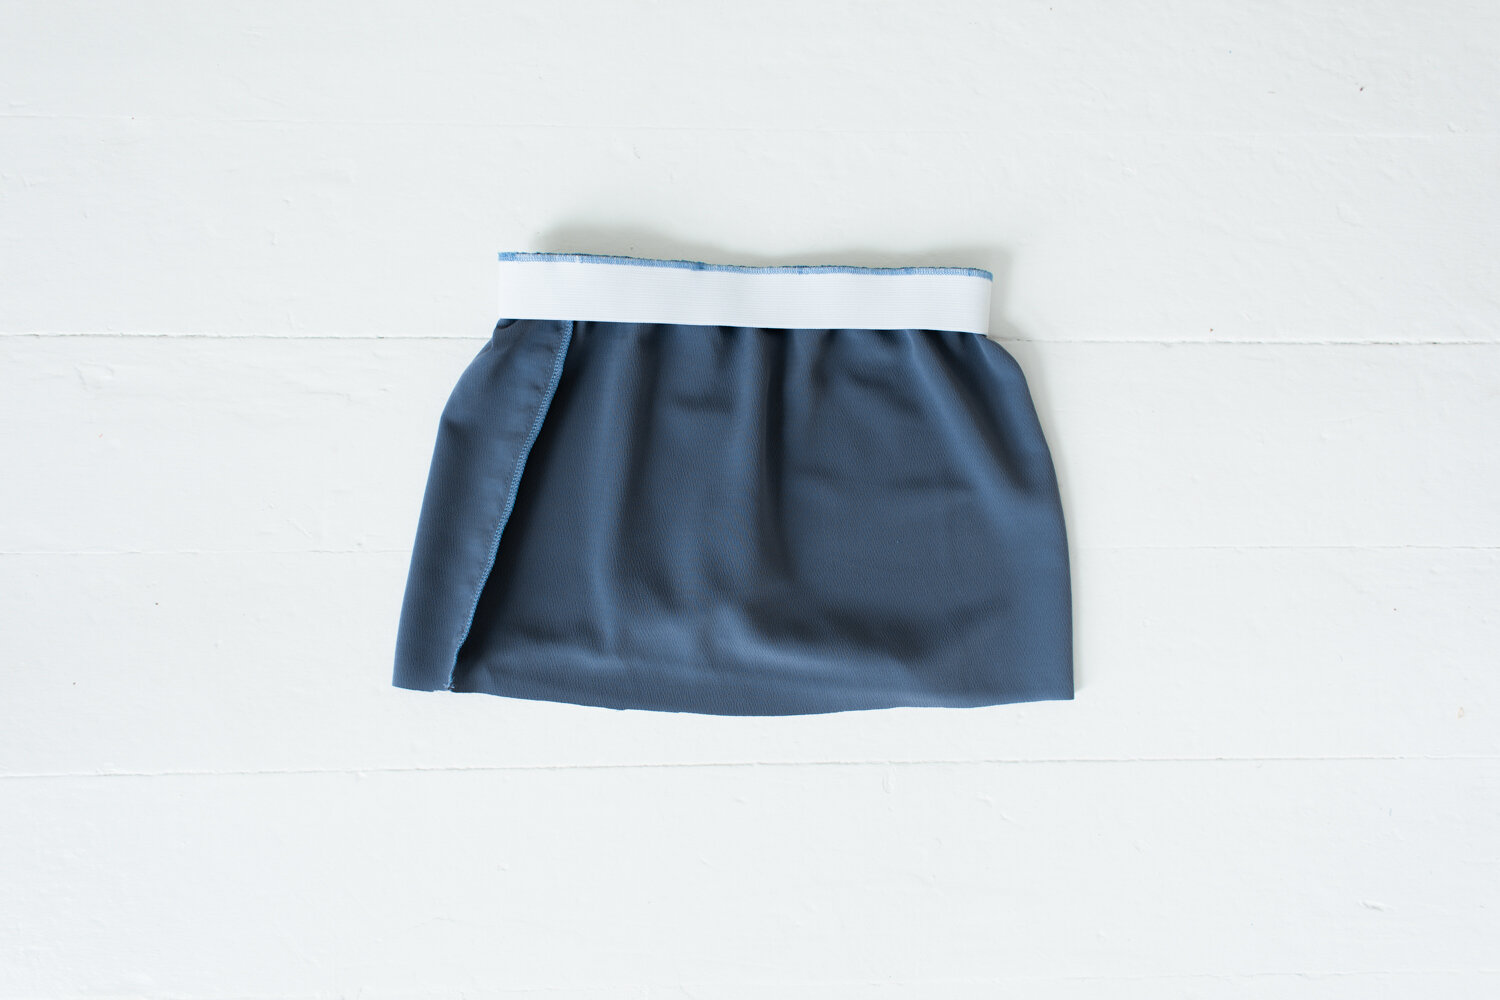
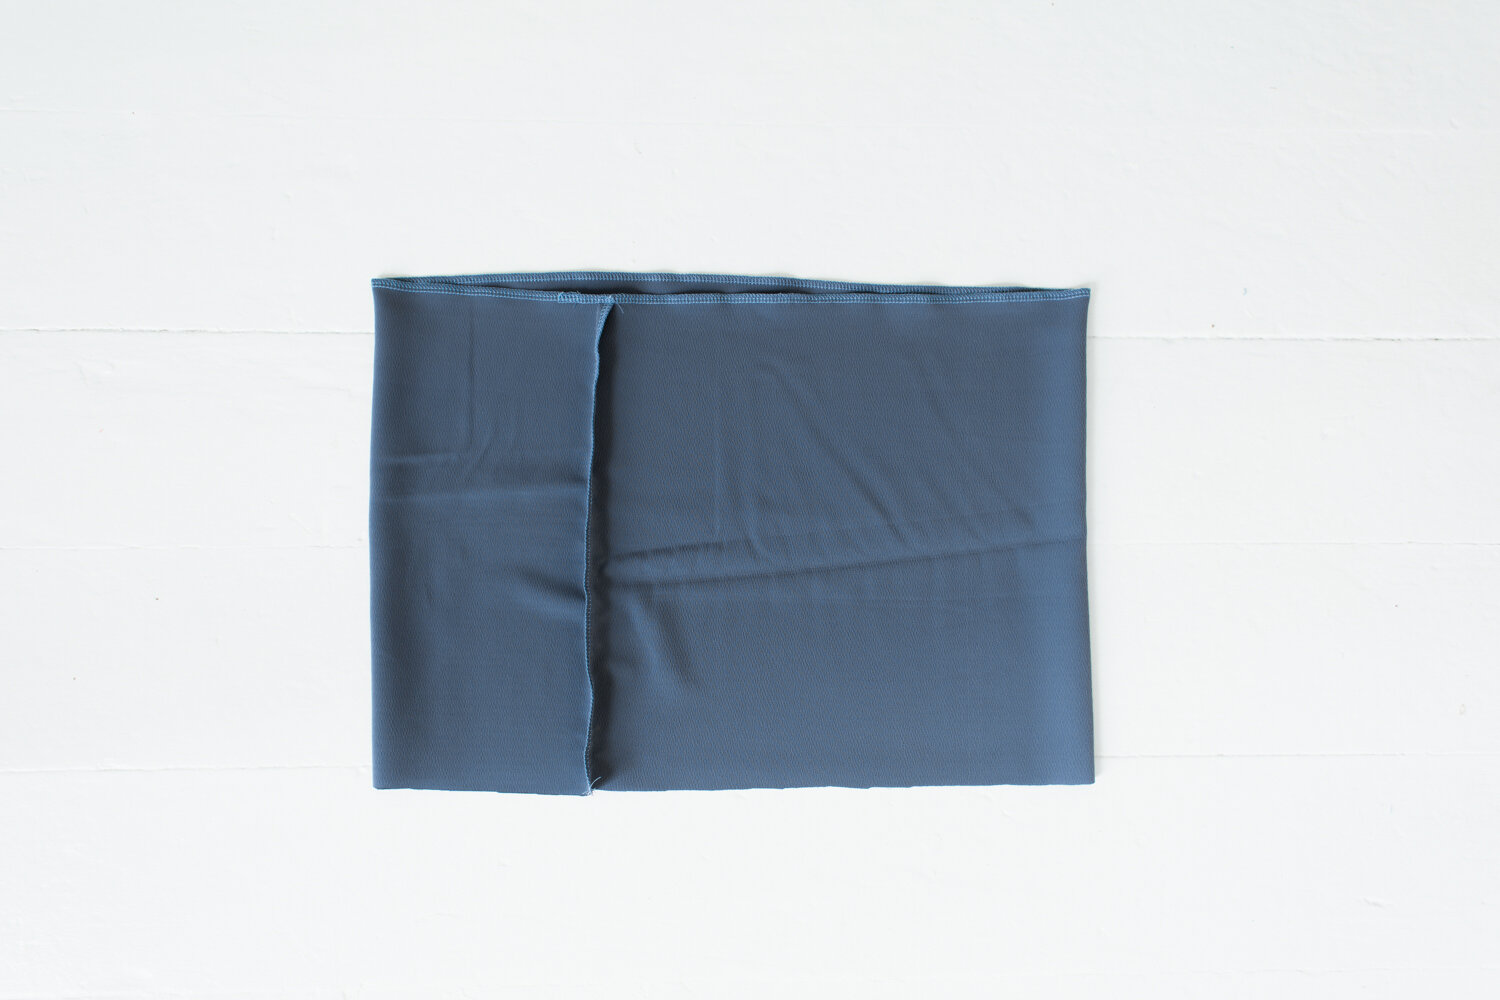
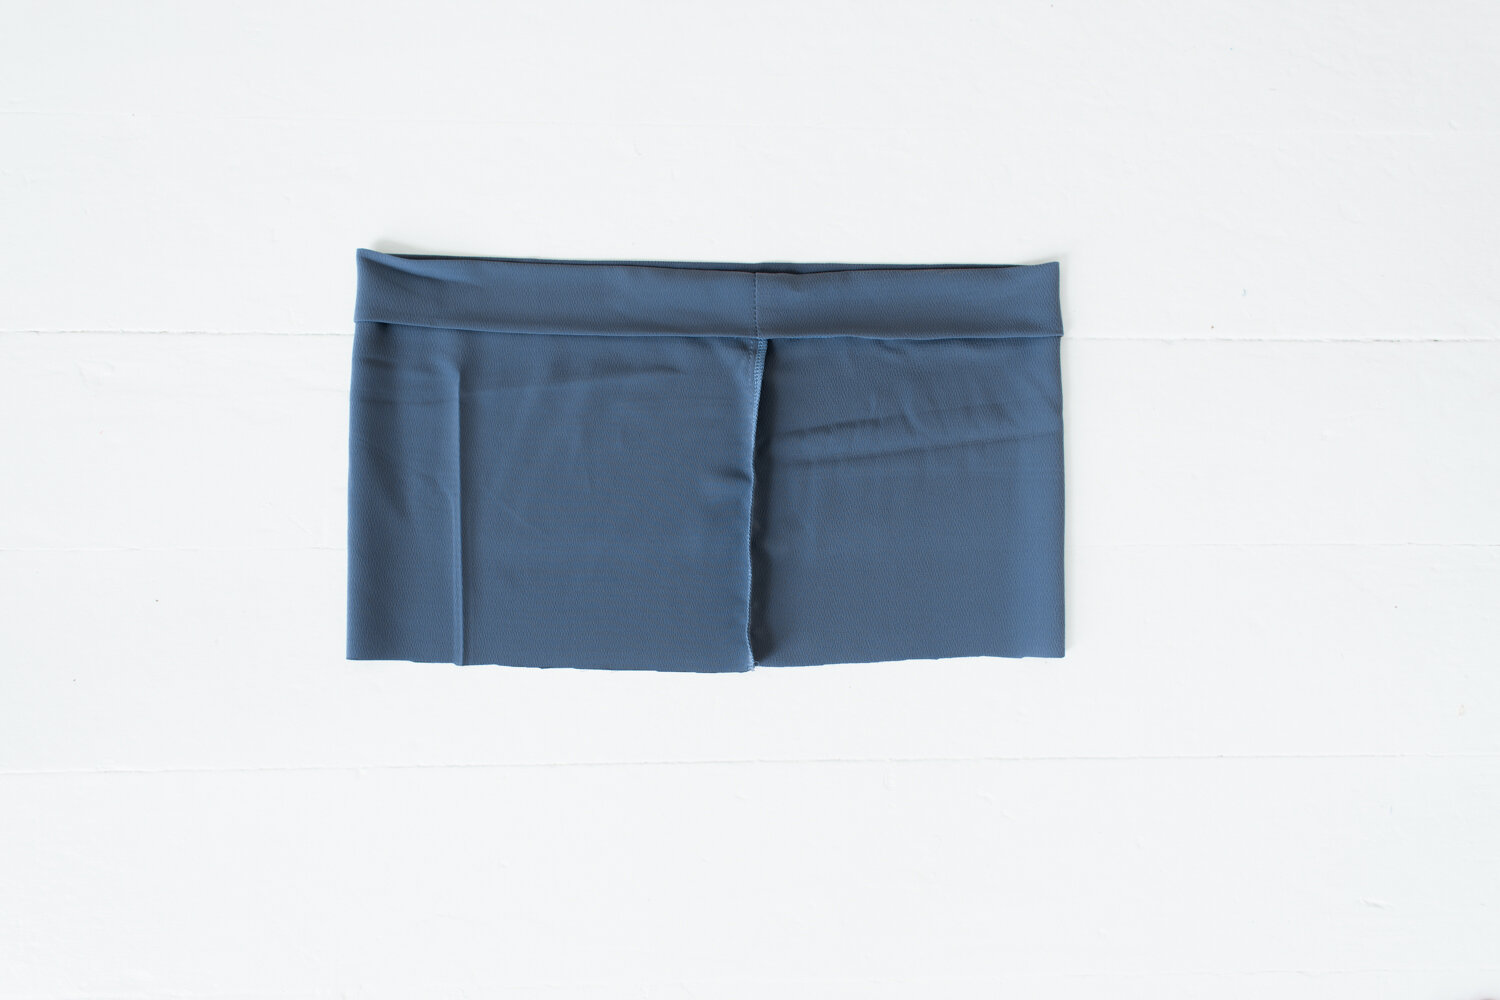
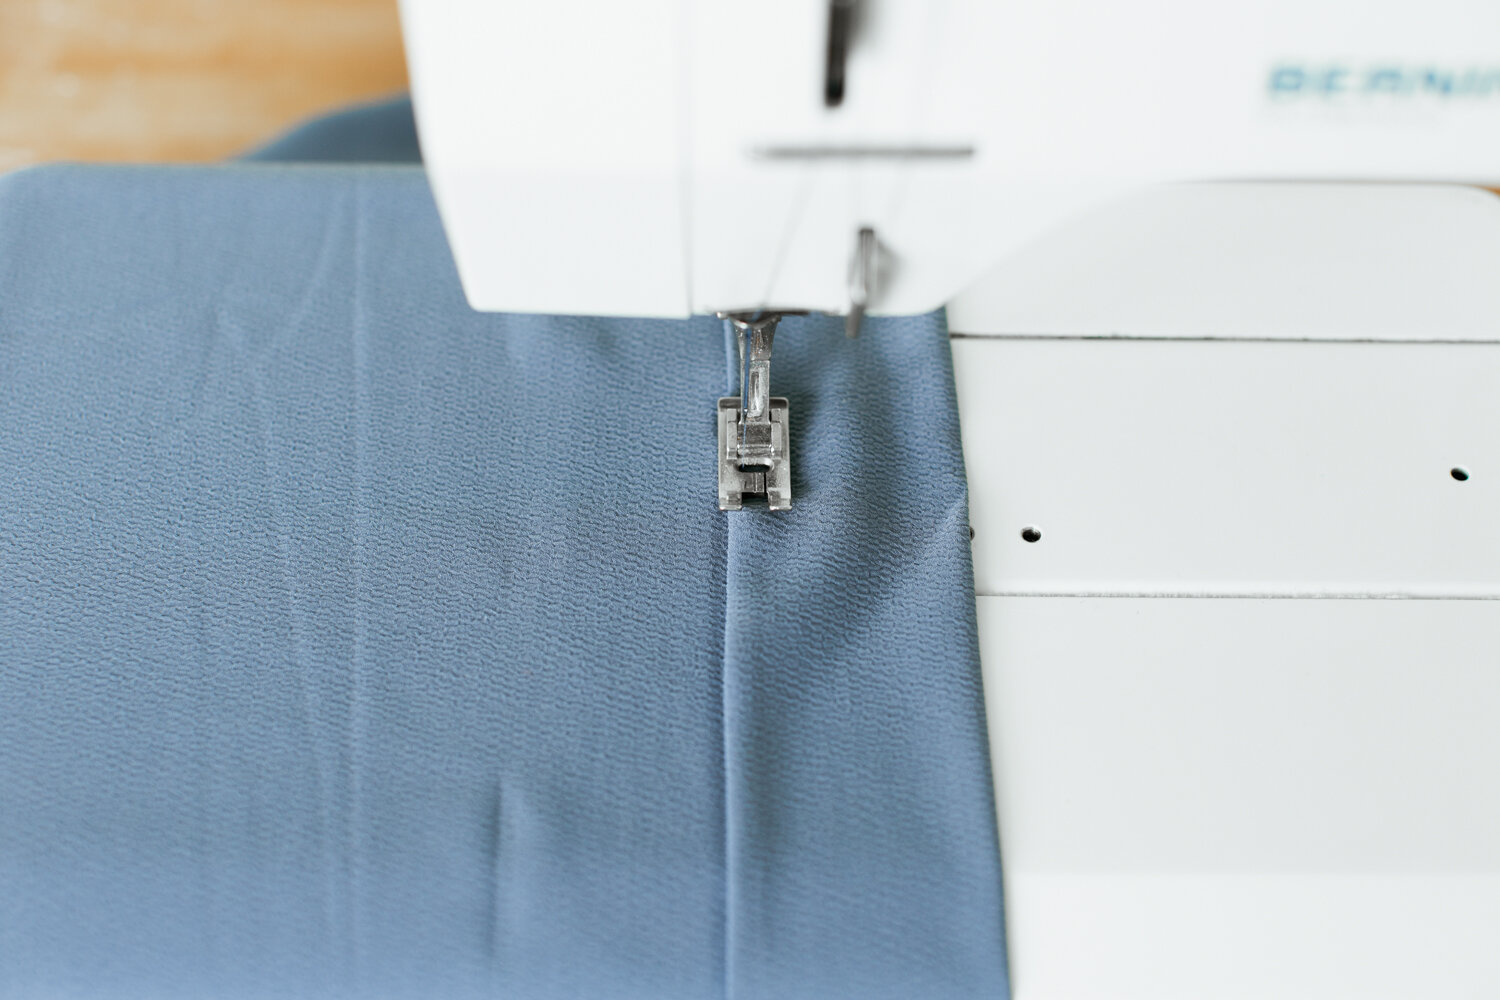
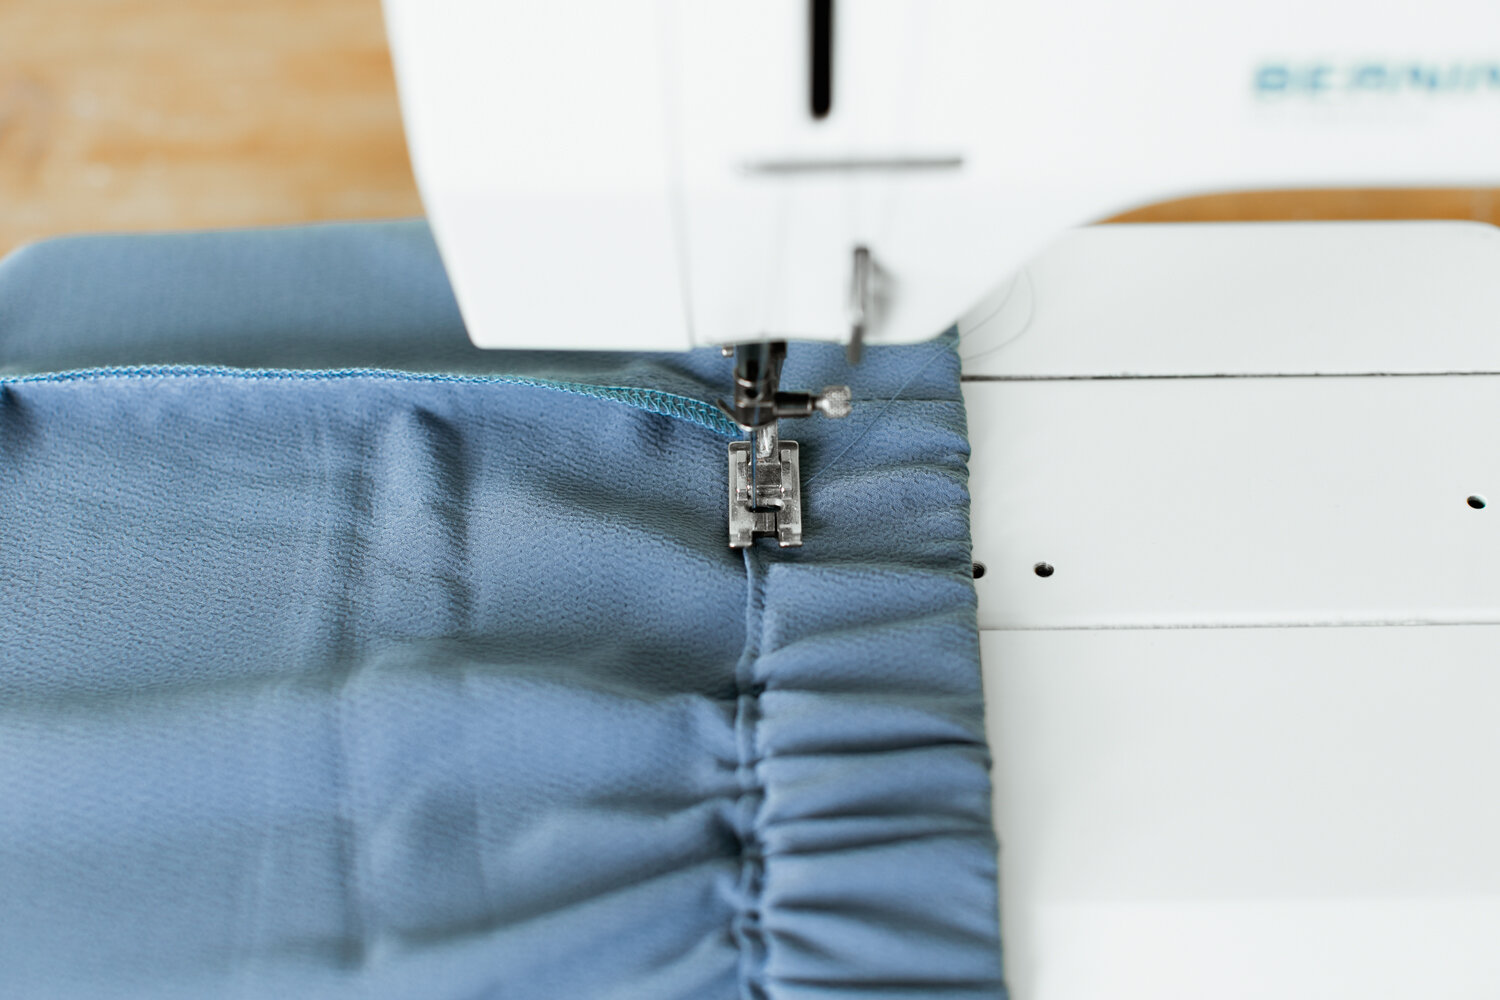
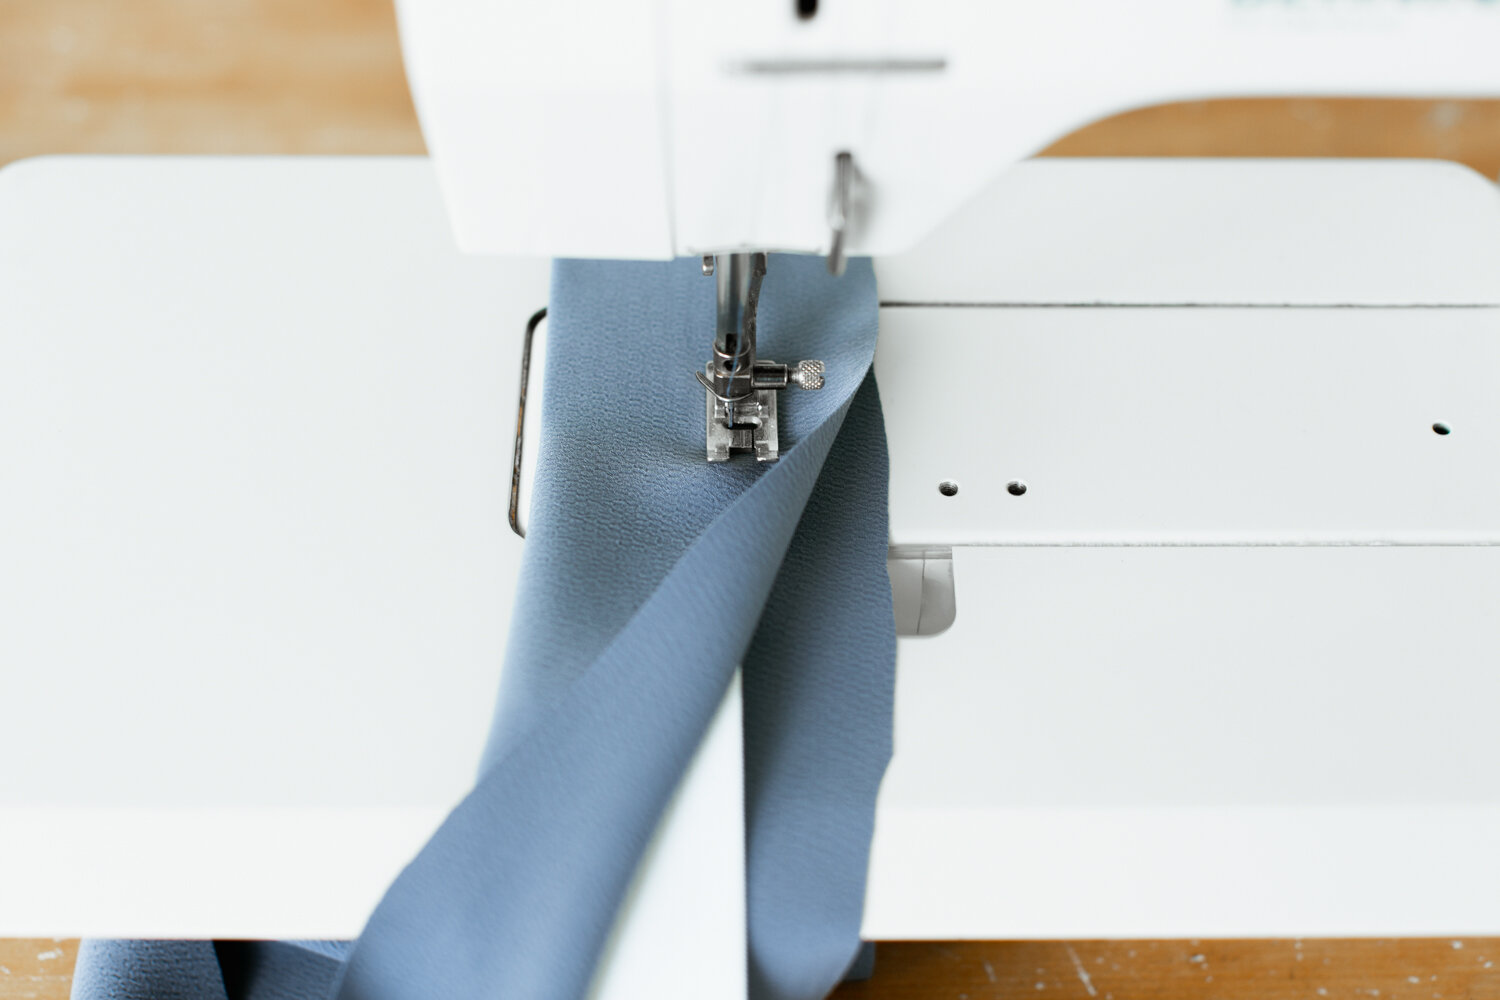
6) Sew the pieces together with 1/2” (1.3 cm) seam allowance. Serge seams. Press seams down and topstitch with matching thread.

How to sew a colorblocked sweatshirt - sewing tutorial with illustrations

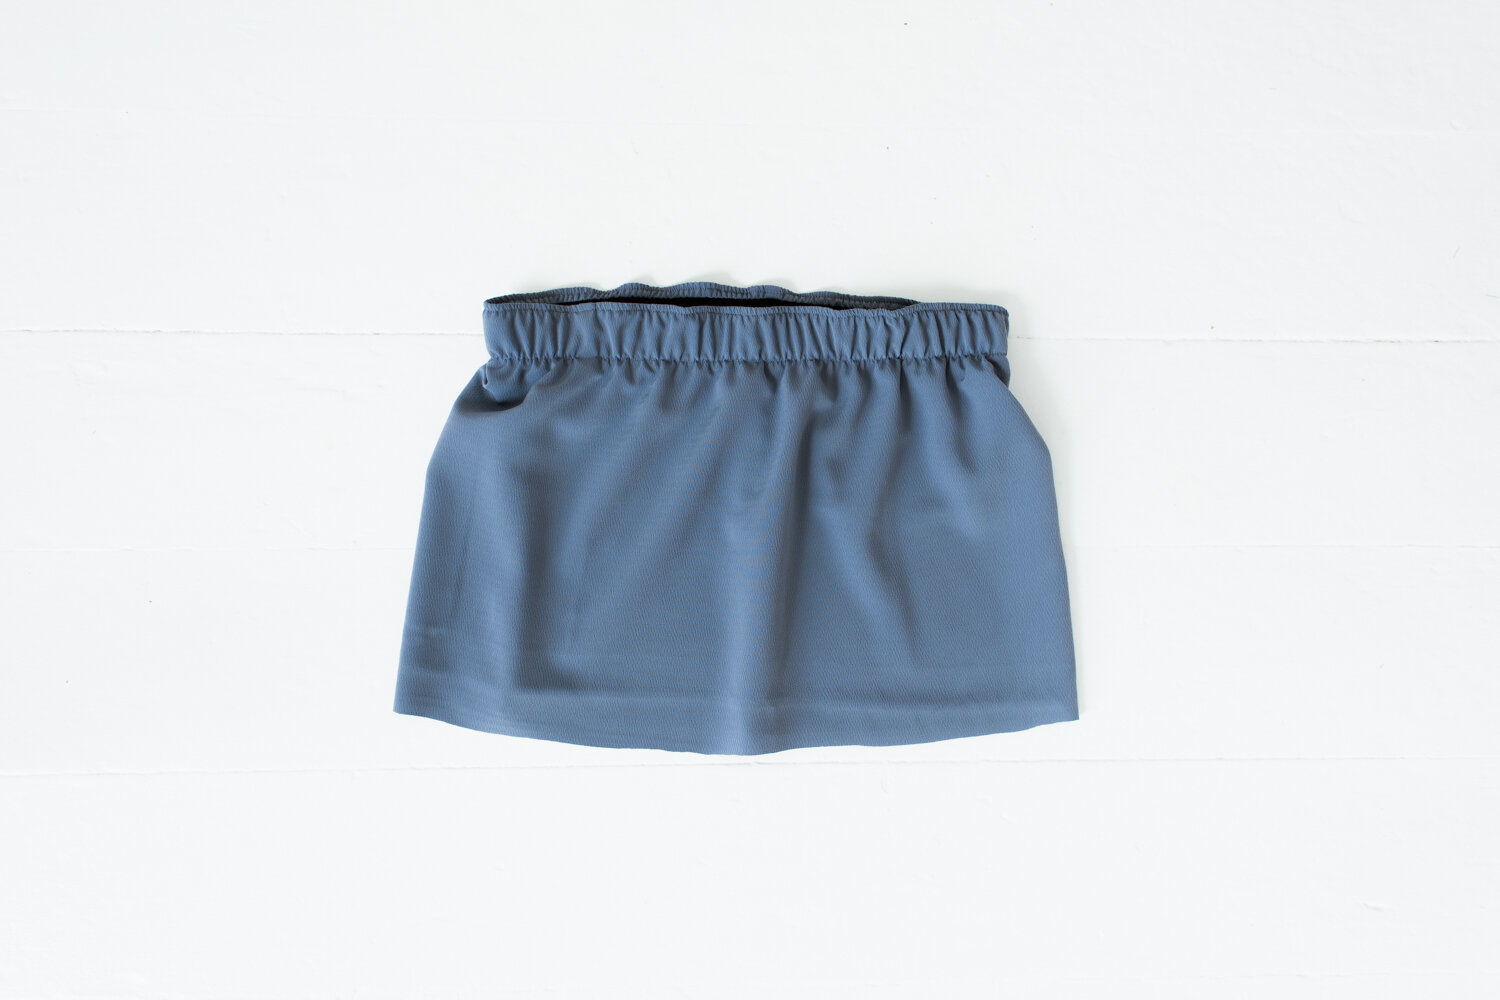
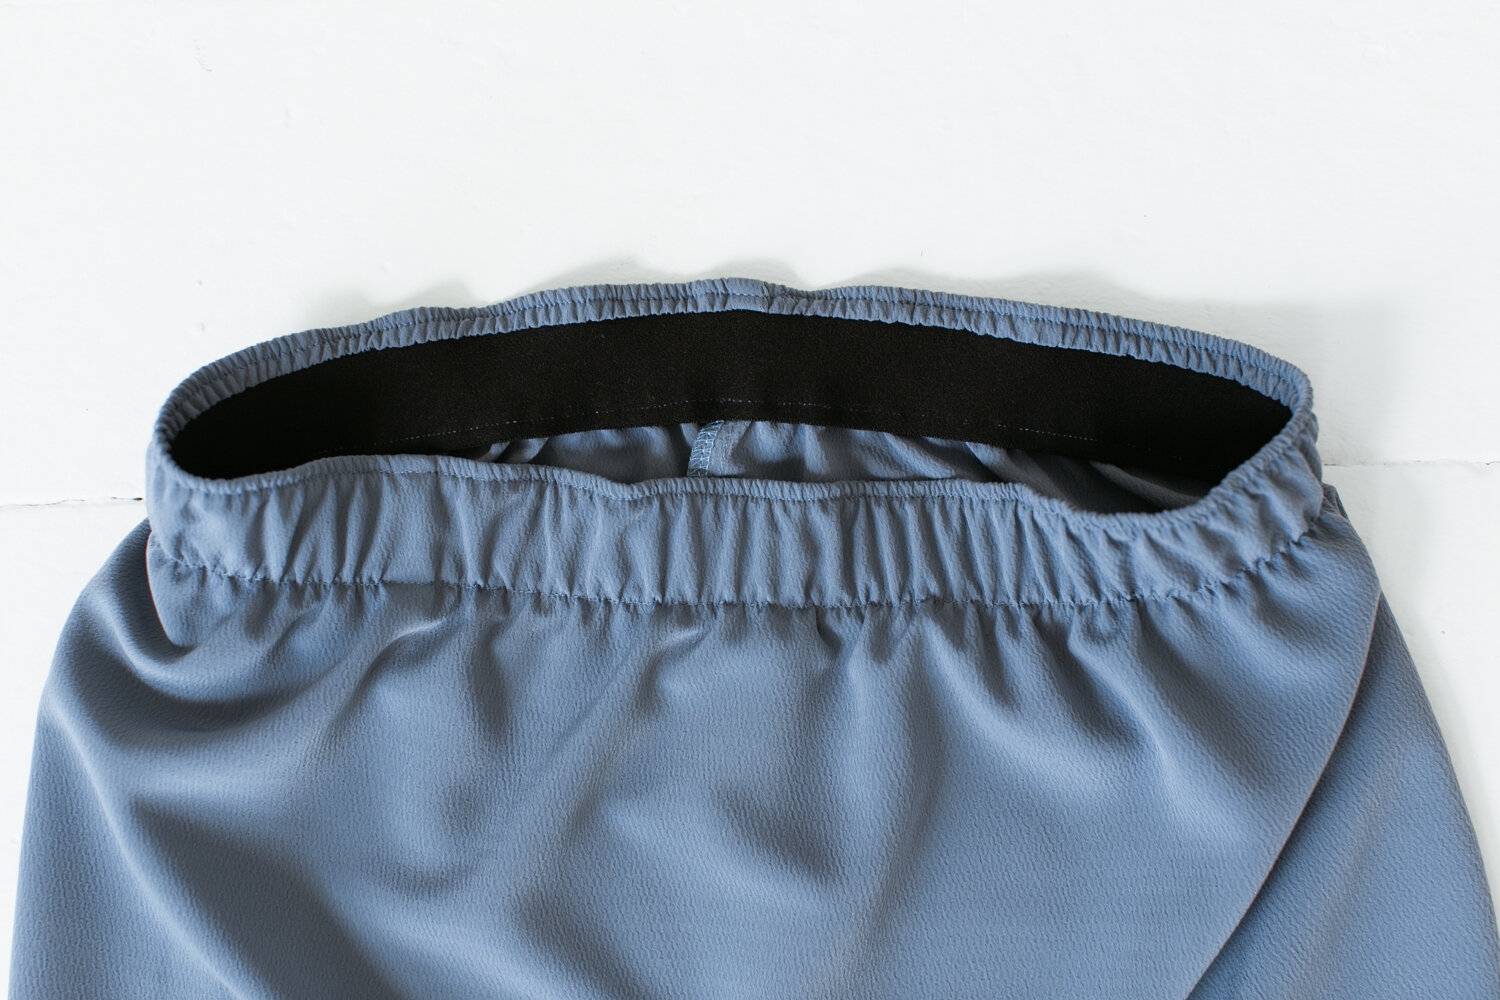
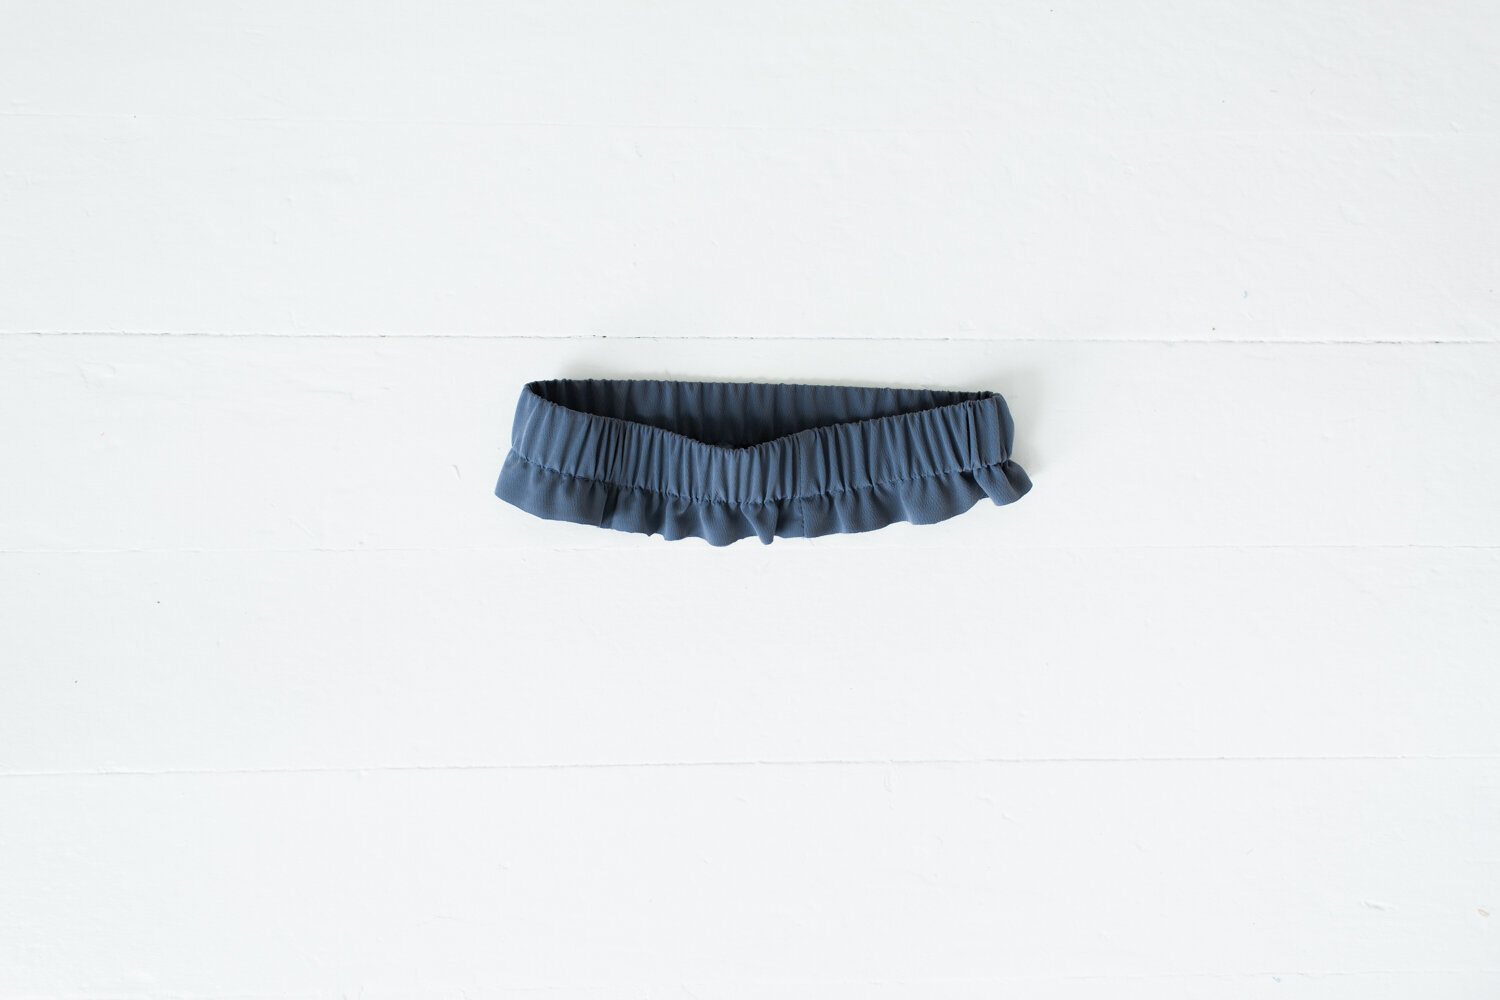
7) Follow pattern steps to sew the rest of the sweatshirt together.

That’s it!

How to sew a colorblock sweatshirt - sewing tutorial with photos

You can grab the Sweet Pea Sweat Set here!

The best sweatshirt fabric source I’ve found for thick, colorful, 100% cotton fabric is Nick of Time Textiles.

Also… the other day I signed up for TikTok!

The Daisy Dress

For the joy of simple sewing and elegant silhouettes, the Daisy Dress, the latest pattern in my series of Paperless Patterns!

Paperless patterns invite you into the process of drafting the pattern for your specific body using your own measurements as the scissors’ compass. It’s a fun and exciting way to sew!

The Daisy Dress has a classy vintage silhouette that functions well at special events, dates you are day dreaming about going on with that guy you have a massive crush on, and casual jaunts to the library to pick up your interlibrary loan books.

Paperless patterns have the unique ability to connect with and satisfy the deep inner longing to create something. It feels so good to scratch that itch.

Sewing Day

Making a Juniper Quilted Jacket. I sewed lines of stitching in three directions for this one. Vertical, horizontal, diagonal. Lots of stitching, but lovely results.

Xx Sarah

If you want to make your own quilted jacket, you can grab the pattern here!

Here’s another quilted jacket I made with some photos of the whole process.

If you’d like some tips on how to get started with quilting fabric, this post is for you.

Tips for Sewing a Quilted Jacket

Tips for sewing a quilted jacket

It can be intimidating to start a quilted jacket project. It feels like a big undertaking, and it’s hard to know where to start.

Albeit scary, the quest for a quilted jacket is worthwhile. Here are some thoughts and guidance to help it feel more possible and accessible than ever.

1) Stitching design

If spending a lot of time stitching is intimidating, good news!

QuiltArtboard 1.jpg

I ran the numbers. In this example of jacket sleeves, increasing the spacing just 1/2” (1.3 cm) from 1 1/2” (3.8 cm) to 2” (5 cm) between lines decreased the total length of stitching by 25%.

That means if it would normally take you three hours to quilt all the pattern pieces, if you increased the spacing 1/2” (1.3 cm), you could save 45 minutes of sewing time.

2) Marking stitch lines

The best way to get consistently straight stitching is to mark each line with chalk. You don’t even need to use fancy fabric chalk. A stick of classroom white chalk works perfectly and is easy on the budget.

Tips for sewing quilted jackets

Without marking the lines you may end up with some stitching like this. But if you do get wavy lines, fear not. They are hard to detect once the jacket is washed. Plus, they are kind of extra cozy anyway.

Tips for sewing a quilted jacket

3) Sewing

If you only remember one thing from these tips, remember this one. Starting from the center and sewing towards the sides allows the fabric to stretch toward the outsides as you sew. If you start on the outsides and go towards the center, you will likely end up with lots of excess fabric and wrinkles in the middle.

Sew all the lines of one direction before you start the other direction. Do all of the vertical lines before the diagonal or horizontal, etc. This is for the same reason — to let the fabric stretch toward the sides so no wrinkles build up.

Tips for sewing quilted jackets
Tips for making a quilted jacket

4) Trimming around the edges

Stitching several hundred inches across multiple layers of fabric is inevitably going to result in some fabric edges and corners not lining up. Don’t worry. That’s what scissors are for! When you’re done sewing, trim around all the edges that need truing up. Easy peasy.

5) Waiting to wash

For quilted jackets, I’d like to make a case for throwing out the rule of thumb of washing fabric before you sew.

One of the joys of quilted jackets is their wrinkled lines. Sew the whole jacket and then throw it in the wash. It will shrink up and be so extra cozy.

If you’re using fabric and batting that shrinks significantly (may want to do a test patch), start with sewing one size larger.

If you’d like to play with a new quilting project, you can grab my Juniper Quilted Jacket pattern here!


5 Ways to Sew an Elastic Waistband

How to sew an elastic waistband - tutorial with lots of photos

Here is how to sew an elastic waistband. Five ways! Most of these methods start with the elastic already sewn into a loop.

Let’s jump in!

Method One

This method leaves the waistband exposed and will touch your skin, so be sure to use a soft waistband elastic.

Step 1: On the right side of the fabric, align the top edge of the elastic and the top edge of the fabric. Sew the elastic all the way around with 3/8” (1 cm) seam allowance. Stretch the elastic so it is evenly distributed all the way around.

5 Ways to sew an elastic waistband - tutorial with tons of photos.

Step 2: Trim the seam allowance of the fabric to 1/4” (0.5 cm).

5 Ways to sew an elastic waistband - tutorial with tons of photos

Step 3: Fold the elastic to the wrong side of the fabric.

5 Ways to sew an elastic waistband - tutorial with tons of photos

Step 4: Sew 1/8” (0.3 cm) from the top edge all the way around. Pull elastic tight while sewing.

5 Ways to sew an elastic waistband - tutorial with tons of photos

Step 5: Sew 1/4” (0.6 cm) from the bottom edge of the elastic all the way around. Pull elastic tight while sewing.

5 Ways to sew an elastic waistband - tutorial with tons of photos
5 Ways to sew an elastic waistband
5 Ways to sew an elastic waistband - tutorial with tons of photos

This method is commonly used in sports clothing and has a sporty look. It’s fun to sew! Works best with lightweight fabrics. The top of the elastic is sewn to two more layers of fabric than the bottom which can cause the top to be more stretched out than the bottom.

Method Two

Step 1: On the wrong side of the fabric, align the top edge of the elastic and the top edge of the fabric. Sew the elastic all the way around with 3/8” (1 cm) seam allowance. Stretch the elastic so it is evenly distributed all the way around.

5 Ways to sew an elastic waistband - tutorial with tons of photos

Step 2: Fold the elastic two times toward the wrong side of the fabric.

5 Ways to sew an elastic waistband - tutorial with tons of photos

Step 3: Sew 1/4” (0.6 cm) from the bottom edge of the elastic all the way around. Stretch the elastic so it is evenly distributed as you sew.

5 Ways to sew an elastic waistband - tutorial with tons of photos

This method works best with medium to lightweight fabrics. The equal amount of fabric at the top and the bottom of the elastic reduces elastic distortion. The elastic is sewn through, so it doesn’t twist while wearing. The elastic is fully encased, which feels extra luxurious.

Method Three

Step 1: On the wrong side of the fabric, align the top edge of the elastic and the top edge of the fabric. Serge (or zig zag stitch) all the way around. Stretch the elastic so it is evenly distributed as you sew.

5 Ways to sew an elastic waistband - tutorial with tons of photos

Step 2: Fold the elastic once toward the wrong side. Sew 1/4” (0.6 cm) from the bottom edge of the elastic. Pull the elastic tight while sewing.

5 Ways to sew an elastic waistband - tutorial with tons of photos

This method is among the easiest methods with the fewest steps. Quick and easy to sew with consistently good results. It does leave the serged edge with the bottom of the elastic exposed, so a little less luxurious. Good method to use with heavyweight fabrics like sweatshirt fabric. Also commonly used in sports clothing.

Method Four

Step 1: Serge the top edge of the fabric.

5 Ways to sew an elastic waistband - tutorial with tons of photos

Step 2: Fold the fabric toward the wrong side 1/4” (0.6 cm) and press. Fold the fabric again 1/4” (0.6 cm) longer than the width of the elastic and press.

In this example, the elastic is 1 1/2” wide. So the fabric is folded over the second time 1 3/4” and pressed.

5 Ways to sew an elastic waistband - tutorial with tons of photos

Step 3: Sew 1/8” (0.3 cm) from the bottom edge. Instead of sewing all the way around, leave a 4” (10 cm) opening to insert the elastic.

5 Ways to sew an elastic waistband - tutorial with tons of photos

Step 4: Attach two safety pins to the elastic and push it through.

5 Ways to sew an elastic waistband - tutorial with tons of photos

Step 5: Overlap the two ends of elastic and sew them together.

5 Ways to sew an elastic waistband - tutorial with tons of photos

Step 6: With the elastic in place, sew the 4” (10 cm) opening shut. Be sure to not catch the elastic in the stitching!

5 Ways to sew an elastic waistband - tutorial with tons of photos

This method is a common favorite among sewists. Easy to sew because it doesn’t require sewing through the elastic. But that means the fabric can twist if additional lines of stitching aren’t added. Can also be tricky to press the fabric really evenly all the way around. The line of stitching is below the elastic, which causes the gathers to lay differently than when the elastic is sewn through.

Method Five

Step 1: Fold the fabric in half around the elastic and sew right along the elastic edge. Be sure to not catch the elastic in the stitching!

Tip: Extra long seam allowances are helpful with this method. In this example, the elastic is 1 1/2” wide. The strip of fabric is 5” wide to allow 1” of extra fabric on each side of the elastic.

5 Ways to sew an elastic waistband - tutorial with tons of photos

Step 2: Match up the edges and sew the elastic to the right side of the waistline. Again sew right along the bottom edge of the elastic, but be sure to not catch the elastic in the stitching. Pull elastic tight as you sew.

5 Ways to sew an elastic waistband - tutorial with tons of photos

Step 3: Trim seam allowance and serge edges together.

5 Ways to sew an elastic waistband - tutorial with tons of photos

This method gives a clean looking definition between the waistband and the rest of the skirt/pants. It can be tricky to sew closely to the elastic without catching it in the stitching. It leaves the elastic unattached and free within the tunnel of fabric and can twist unless it is sewn down with more lines of stitching.

Variation to Method Five:

Sew the two pieces of fabric together without the elastic. Leave a 4” (1 cm) opening. Insert the elastic using safety pins and then sew the elastic together into a loop. Sew the 4” (10 cm) opening shut. Trim and serge seam allowance.


Additional lines of stitching can be added to each of these methods. Each method is fun to sew in its own way! Which is your favorite?


If you’d like to try one of these methods in action, you can make the Sweet Pea Sweat Set!

This pattern uses easy method three to sew the waistband on the sweatpants with great results.

If you enjoyed this tutorial, you may enjoy this exploration of gathering fabric and making ruffles.

You may also enjoy using the Tote Bag Calculator and using the step by step illustrated instructions.