Sewing a mini quilt

Making a mini quilt for my niece’s dollhouse.

Unfortunately I forgot to take photos of the finished mini quilt, but it was pretty cute. It makes me happy to see it being used each time I get a dollhouse tour from my niece.

If you enjoyed this post, you may also enjoy…

Another great project for fabric scraps. Step by step tutorial to make a bunting banner.

Tips and tricks for getting started with quilting your own clothes.

Enter your desired dimensions for a finished tote bag and this calculator tells you what size to cut the fabric!

How to Sew a Ruffle Tote - Photo Tutorial

To continue the ruffle tutorial series, here is a step by step guide to sew a ruffle tote.

Check out my other fun ruffle tutorials!

Let’s make something!

Step 1: Cut out the fabric.

Body: Two 14” x 16” (35 cm x 40 cm)

Handle: One 4” x 32” (10 cm x 81 cm)

Ruffle: Three 4” x 40” (10 cm x 102 cm)

Step 2: Mark 1 1/2” (3.8 cm) in and up from each bottom corner.

Step 3: Match up the marks. Fold the corner up toward the top of the tote at the marks. Clip in place.

Step 4: Sew the ruffle strips together with 3/8” (1 cm) seam allowance. Press seams open.

Step 5: Fold ruffle strip right sides together and sew ends with 3/8” (1 cm) seam allowance. Then turn right side out and press corners.

Step 6: Sew two loose lines of stitching along the whole length of the ruffle for gathering. Sew the first line with 3/8” (1 cm) seam allowance and the second line with 1/4” (6 mm) seam allowance.

Check out my tutorial Ruffles 101 if you want some tips on gathering fabric!

Step 7: Carefully gather fabric until the ruffle is roughly the right length to go around the sides and bottom of the tote.

Step 8: Mark 1 1/2” (3.8 cm) down from the top of the tote.

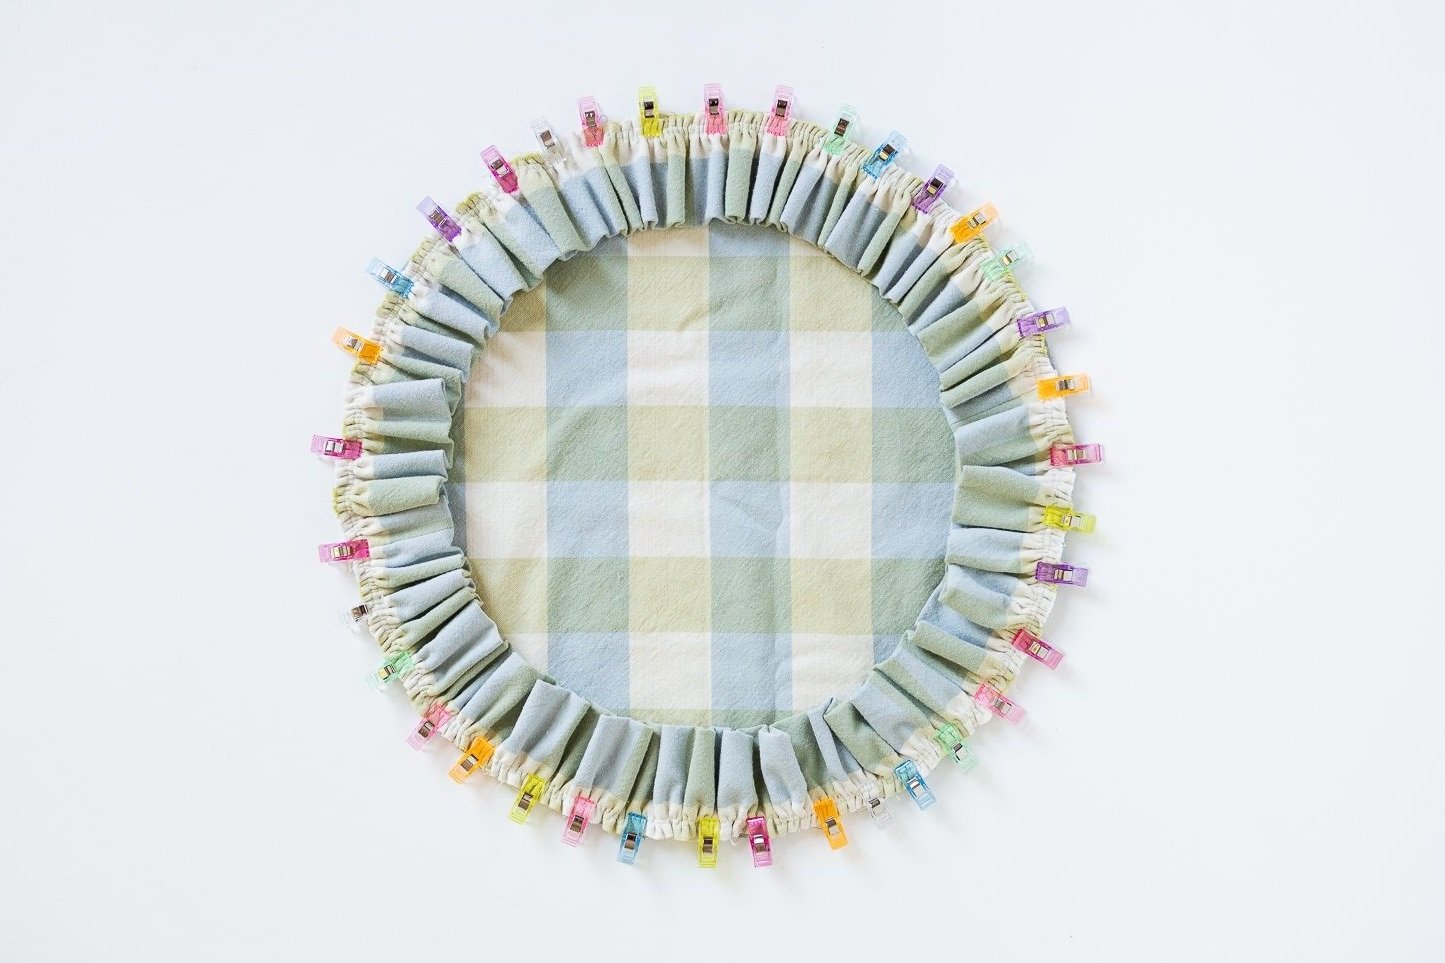
Step 9: Line up the ends of the ruffle with the 1 1/2” (3.8 cm) marks made in the above step on the right side of the fabric. Clip the ruffle all the way around the sides and bottom. Use lots of clips.

Step 10: Lay the other panel on top with right sides together and move some of the clips to hold all the layers in place.

Be sure to keep the folded corners lined up while clipping.

Step 11: Sew around the sides and bottom with 3/8” (1 cm) seam allowance. Finish seam with serger or zigzag stitch.

Step 12: Fold the top down toward the wrong side so it is flush with the ends of the ruffle. Press with a steamy iron.

Step 13: Tuck the raw edge of the hem under 1/2” (13 mm). Press with a steamy iron.

Step 14: Fold the sides of the handle fabric into fourths, tucking the raw edges into the center. Sew along the folded edge with 1/8” (3 mm) seam allowance.

Step 15: Cut the 32” (81 cm) handle in half to make two handles.

Step 16: Fold the tote in half to find the center. Slip the handles under the hem on each side of the center. Clip in place.

Step 17: Fold the ruffle out of the way and sew from side seam to side seam along the bottom edge of the hem with a 1/4” (3 mm) seam allowance. Repeat on the other side of the tote, folding the ruffle out of the way.

Step 18: Fold the handles up and sew bartacks along the top hem of the tote.

That’s it!

If you enjoyed this tutorial, you may also enjoy…

Step by step photo tutorial to fill your living room with pillows.

Step by step photo tutorial for sewing the Rosemary Wrap.

Step by step photo tutorial of each method.

How to Make a Bunting Banner

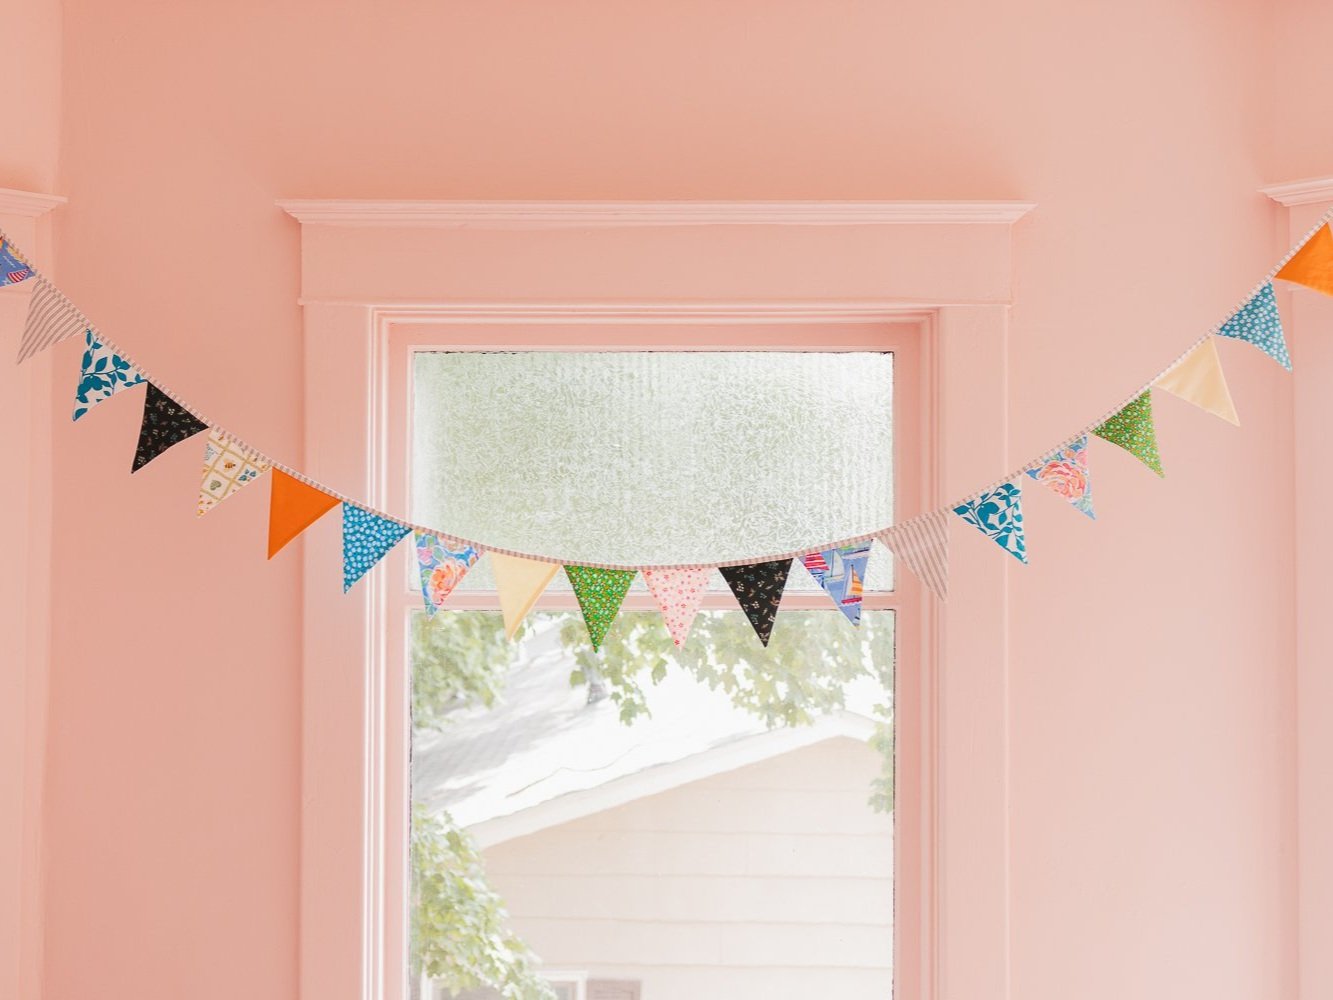
One fun thing about sewing is building up memories of what fabrics you’ve used for each project and what events happened while using or wearing those projects. With the blue floral I lined some backpacks. With the dark green I made a long quilted jacket. With the darker blue floral I made a ruffle tote bag. Each little banner is a reminder of the playful pursuit of sewing.

I hope this tutorial can serve you well as you put together your own banner of memories.

Before you get started, grab the free Bunting Banner PDF pattern here!

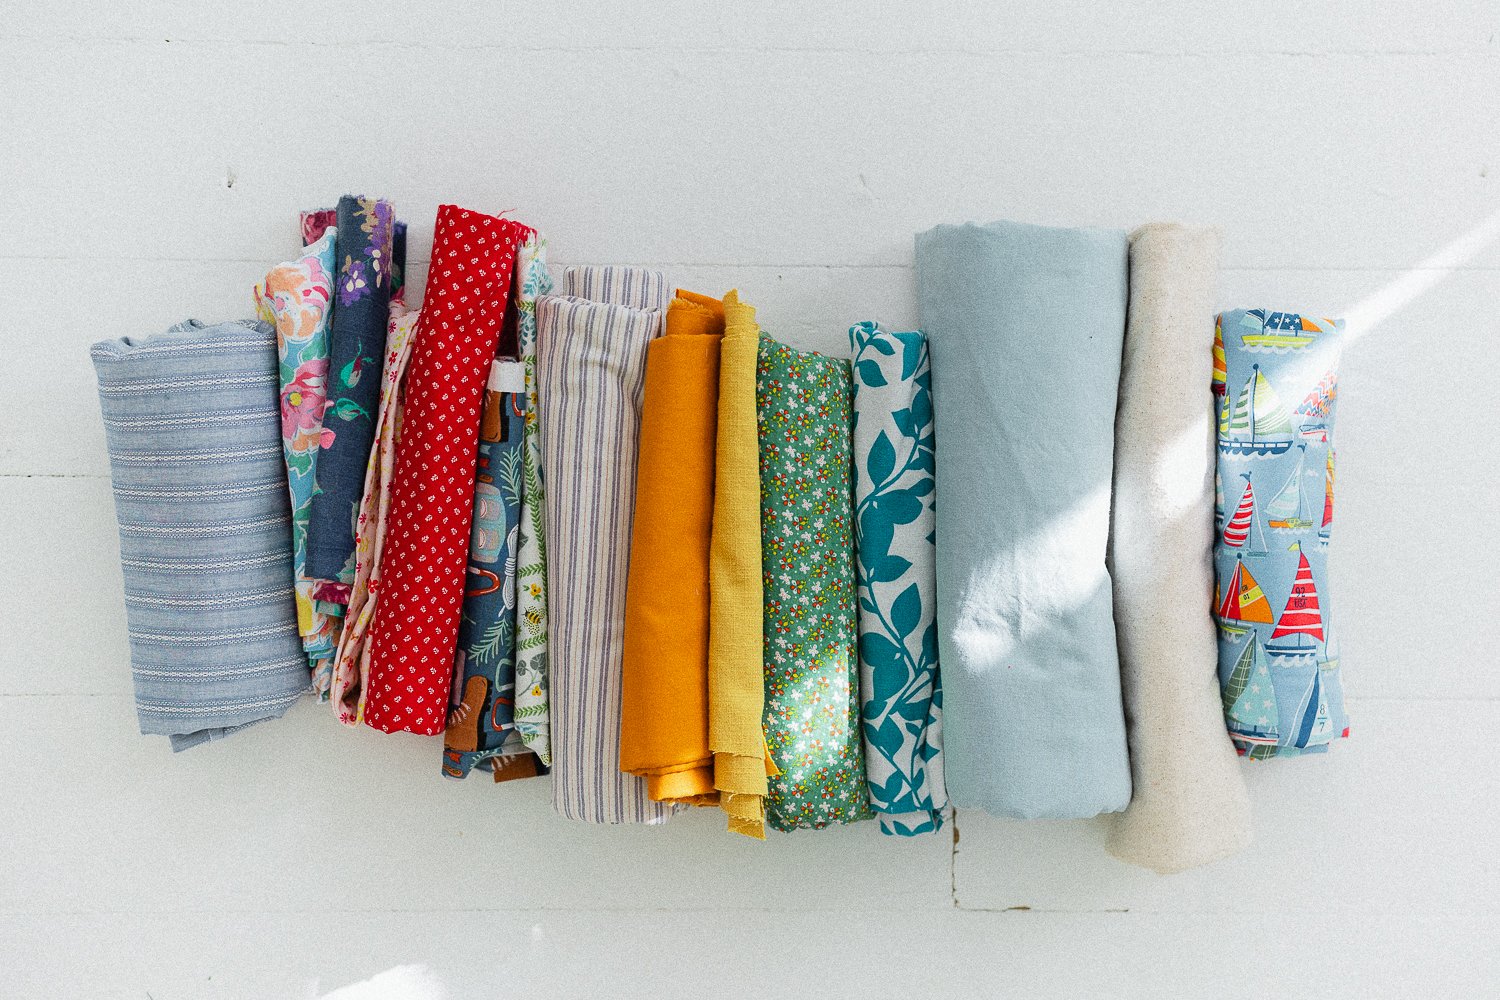
Step 1: Dig through your scrap drawer and select several fabrics. (Or splurge and go buy fun new fabrics!)

Step 2: Calculate how long you want the bunting banner to be and how many little banners you’ll need to fill the space. Each little banner is about 5 1/2” (14 cm) wide.

Once calculated (or happily estimated), cut out the fabric using the free bunting banner pattern piece!

Tip: Cut the pattern piece out of felt or a similar material that likes to stick to fabrics when making repetitive cuts like this. While a paper pattern can slide around while cutting or takes extra time pinning, some fabrics just stay put. It can make the cutting part of this assembly line easier. Here I’m using a loose weave 100% brushed cotton fabric scrap.

Step 4: Fold the fabric right sides together. Sew along the long side with 3/8” seam allowance.

Tip: Sew a long chain from one to the next on your sewing machine and cut the threads apart in the next step.

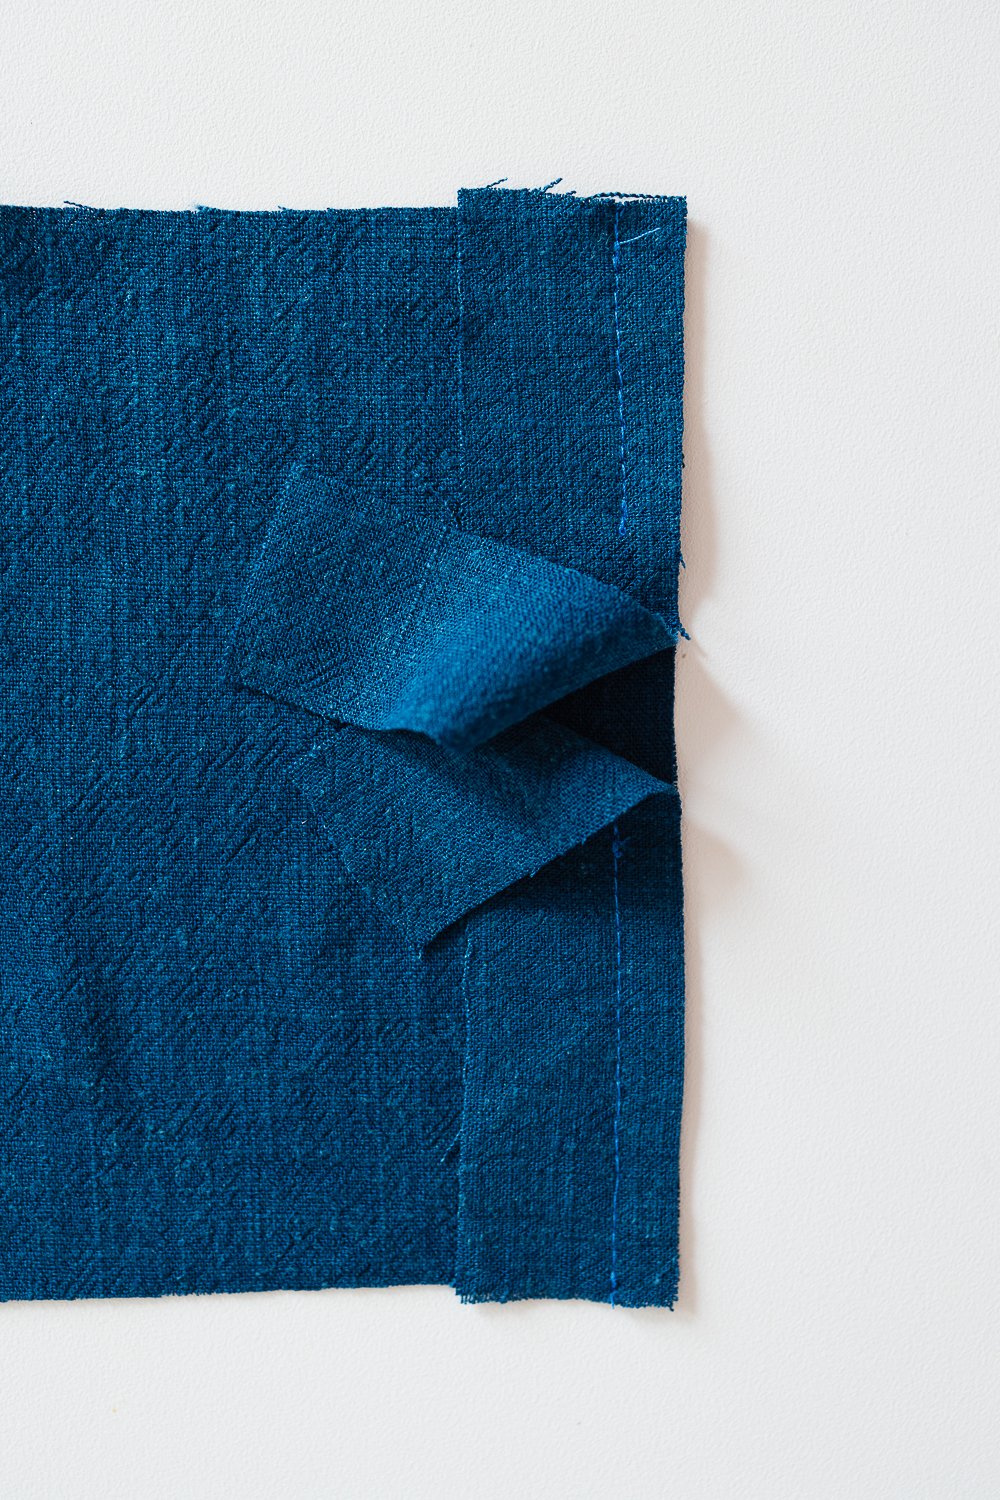
Step 5: Snip some of the seam allowance off the bottom triangle.

Step 6: Turn them right side out. Use a pencil or point turner to reach the bottom triangle. Press with a steamy iron.

Step 7: Now comes the hard part. Lay them all out on the floor and decide what order you want them in.

Step 8: Stack them in order.

Step 9: Cut a long strip of fabric 1 3/4” (4.5 cm) wide. Long enough to sew all the little banners together and then some extra on both ends to tie it to something. You may have to cut this from multiple sections and sew the sections together.

Again, each little banner is about 5 1/2” (14 cm) wide, if that helps you calculate what you need.

Step 10: Sew sew sew! Use 3/8” (1 cm) seam allowance to sew the little banners to the long strip. Overlap the little banners a little bit as you sew, tucking each one under the one currently being sewn.

If you know how much extra length you calculated for tying, you can start sewing the little banners there. Or if you just estimated the whole thing and have no idea, find the middle of the strip and start sewing down each side from there.

Here’s what the front and back look like.

Step 11: Press the strip up. Fold the top of the strip over until it meets the raw edge of the little banner. Fold over again and sew sew sew. Press each step with steamy iron before sewing for best results.

That’s it! You have your own bunting banner!

If you enjoyed this tutorial, you may also enjoy…

Enter the height, length, and width of your desired tote bag and this quickly tells you what size to cut the fabric. With illustrated instructions on how to sew the bag together.

This is a great pattern for a beginner bag maker. A simple, sturdy, quick to sew, waxed canvas bag.

Enter the length, width, and height of your desired boxy pouch and this tells you what size to cut the fabric and how to sew it together.

Making a Nursery Bunting Banner

My heart expands with each new niece and nephew I get to welcome to my life. For the most recent addition, I made a bunting banner for the mom’s nursery area. We were both delighted with how it turned out. Here are some photos I snapped while sewing.

Cut cut cut.

Sew sew sew.

If you enjoyed this post, you may also enjoy…

Free PDF pattern and step by step photo tutorial to make your own bunting banner.

Step by step photo tutorial to fill your kitchen drawer with mitered corner cloth napkins.

Sewing a Juniper Quilted Jacket.

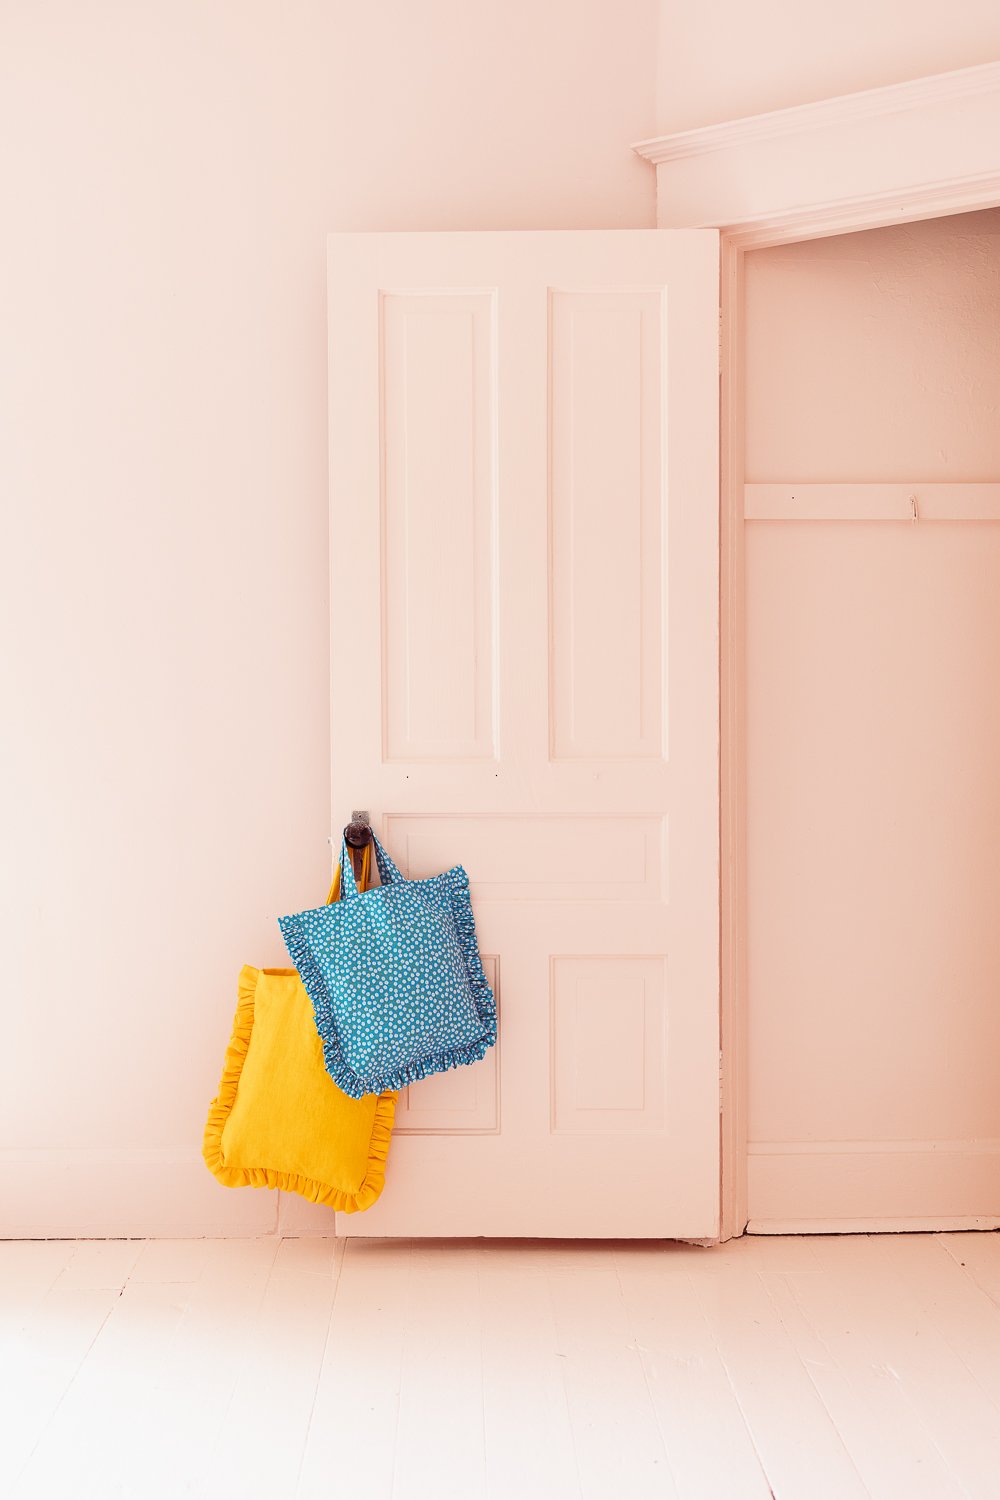
Yellow Floral Ruffle Tote

Two fun things

1) Yellow ruffle tote. I just put together a full video tutorial in a blog post if you want to make one of your own!

2) I painted my sewing room pink. Floor, walls, trim. It’s making me pretty happy these days.

If you enjoyed this ruffle tote, you may also enjoy…

Step by step photo tutorial to fill your living room with ruffle pillows.

Everything you need to know to start playing with ruffles.

Use the Tote Bag Calculator and follow the step by step instructions to quickly make any size tote bag you want. Great afternoon project.