Using a Twin Needle for Seam Binding

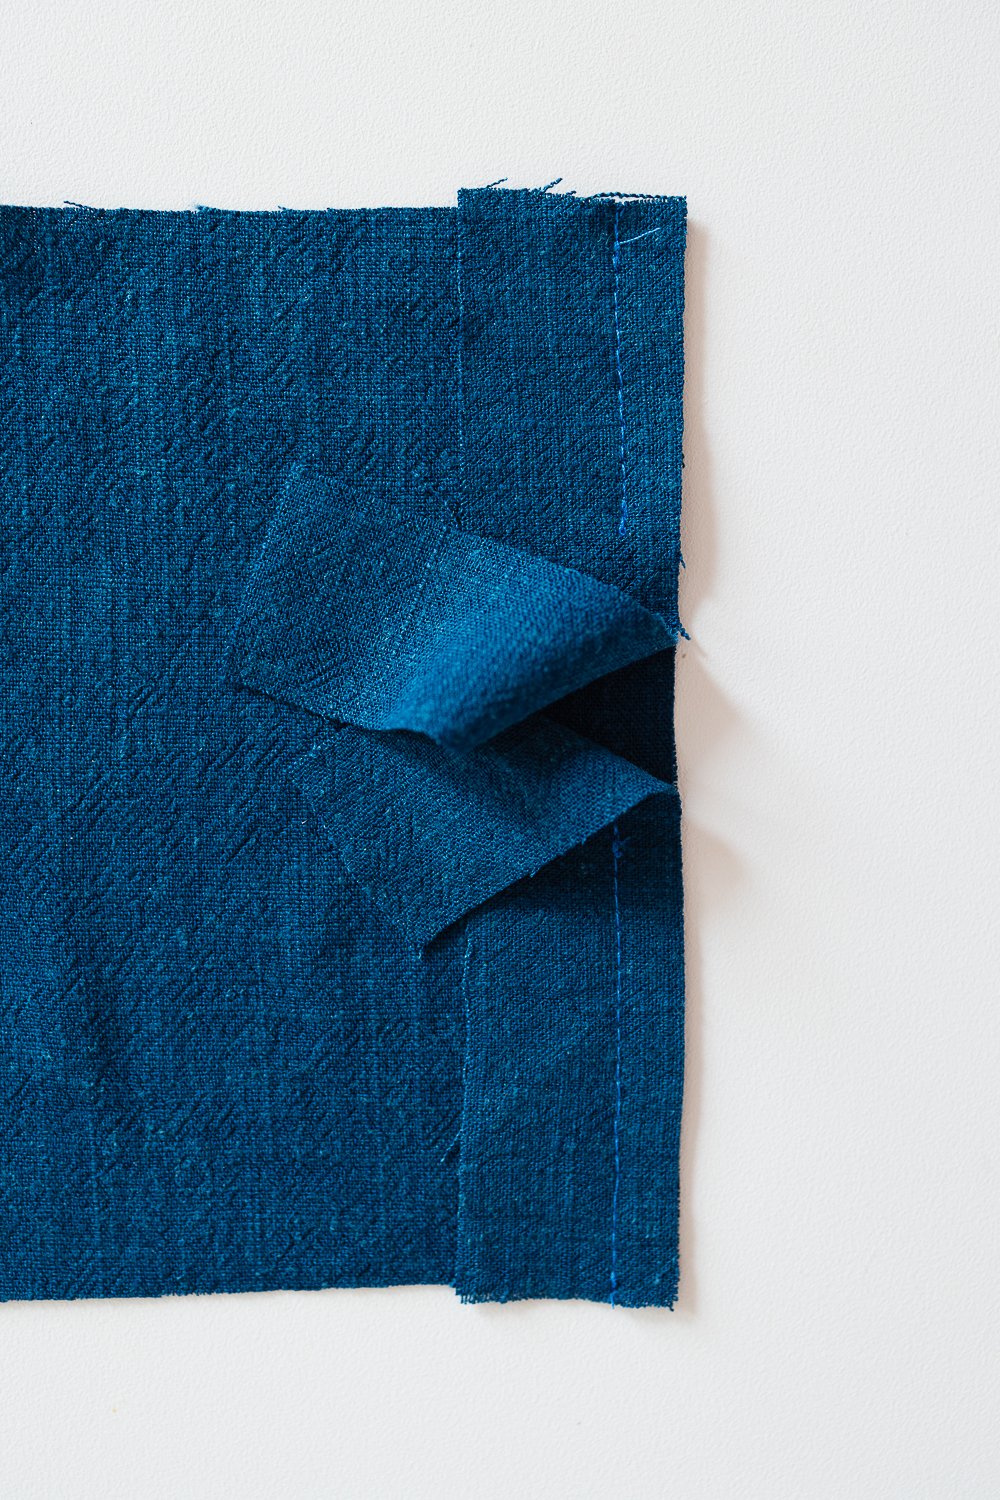
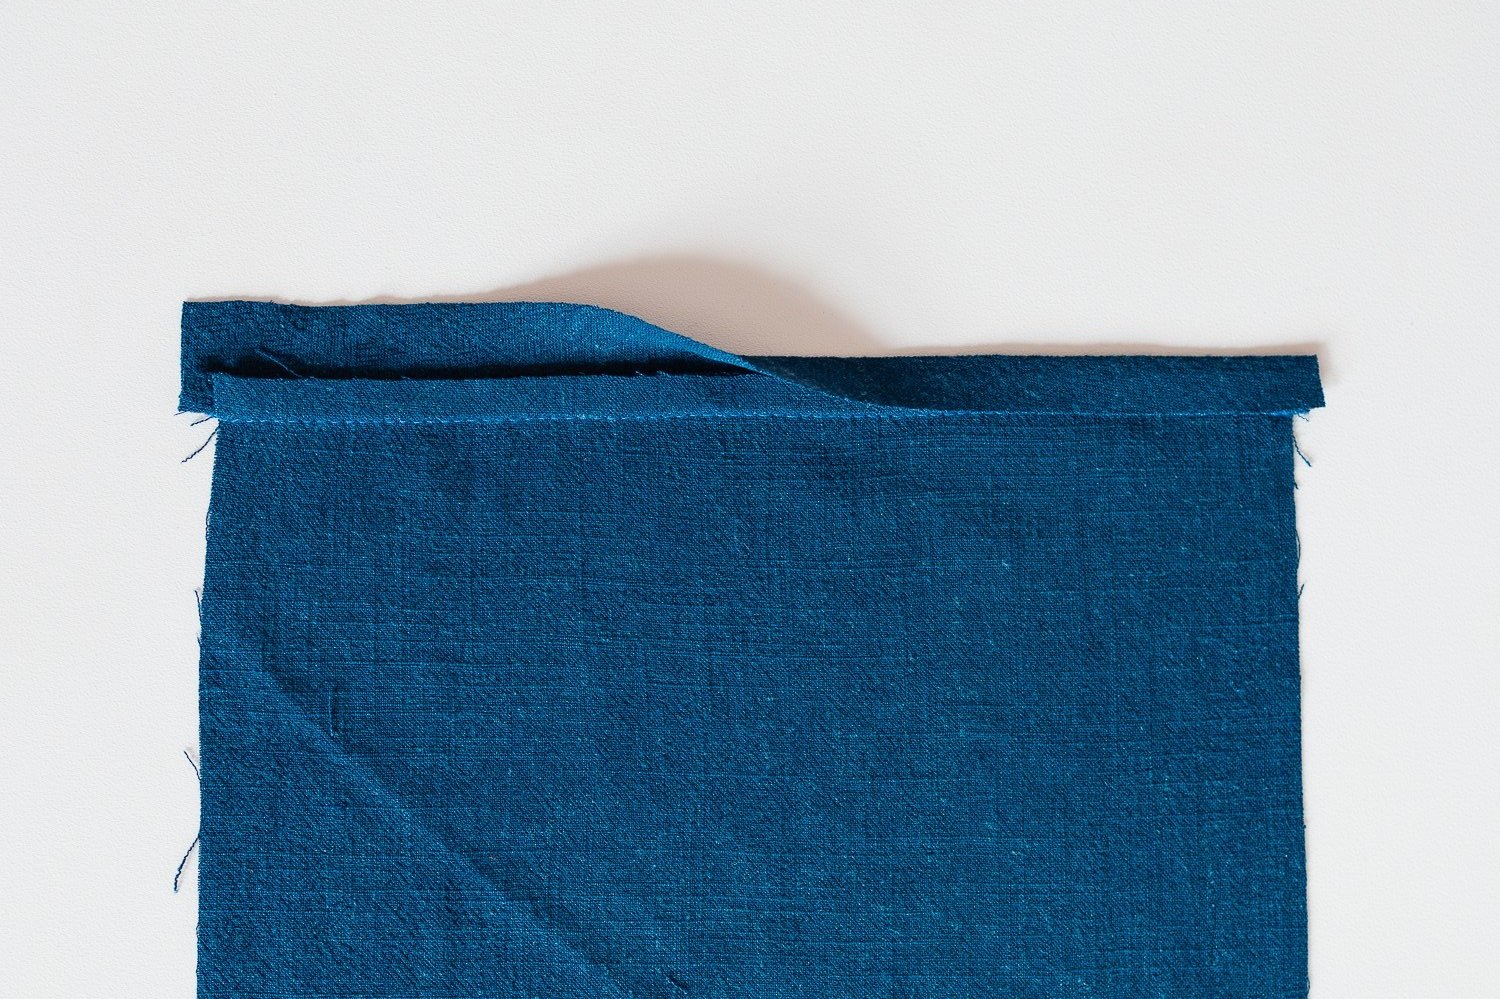
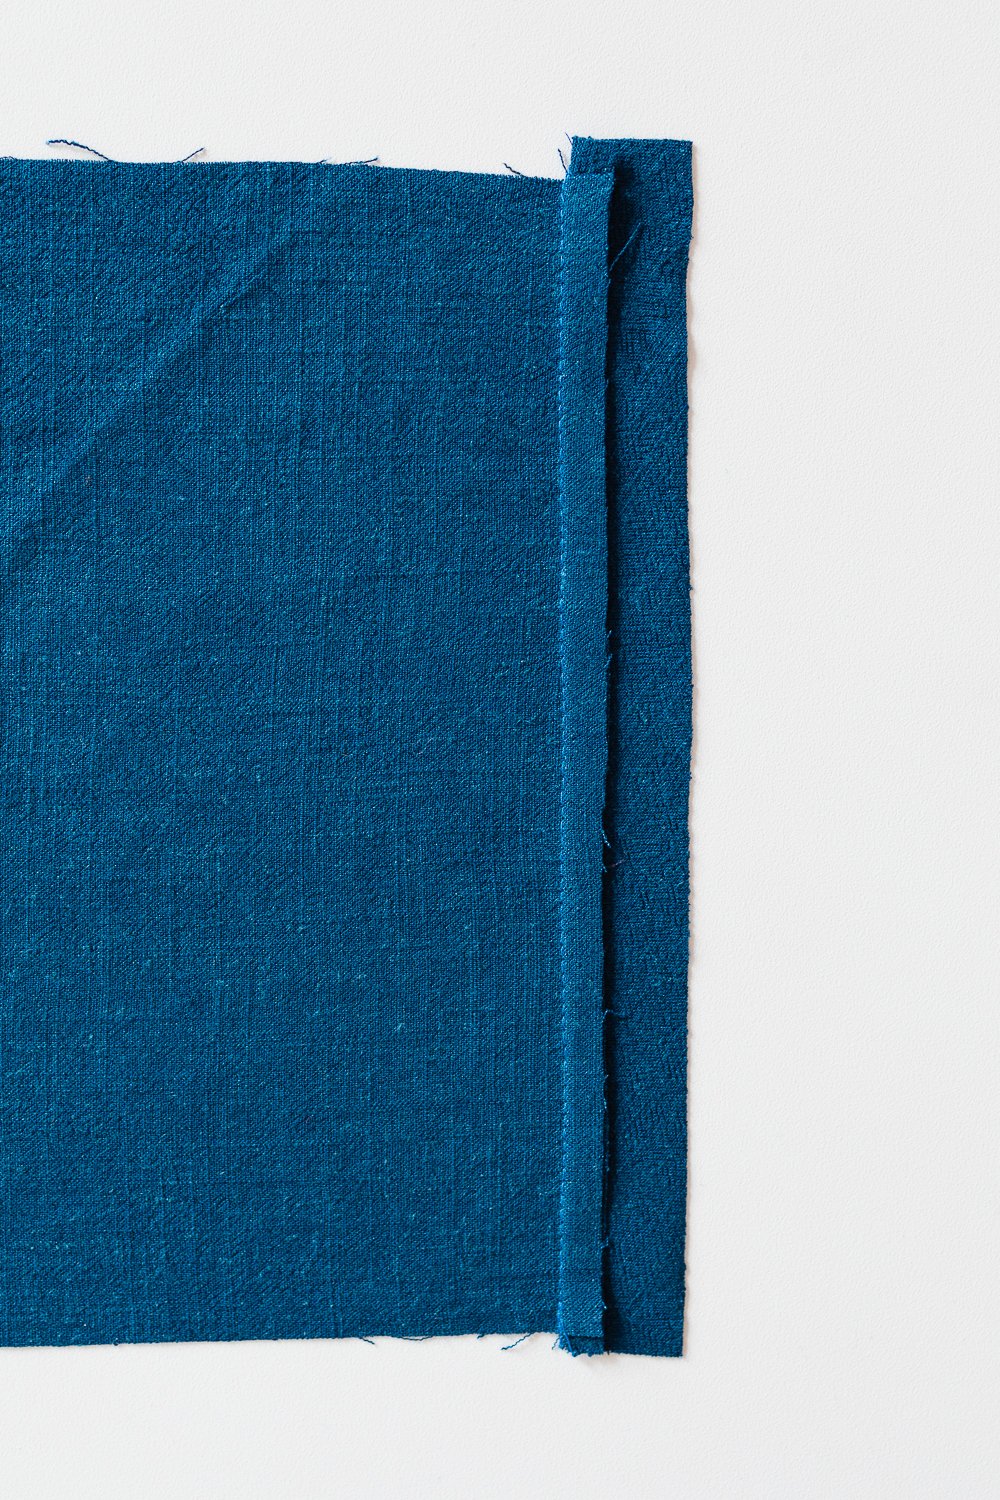
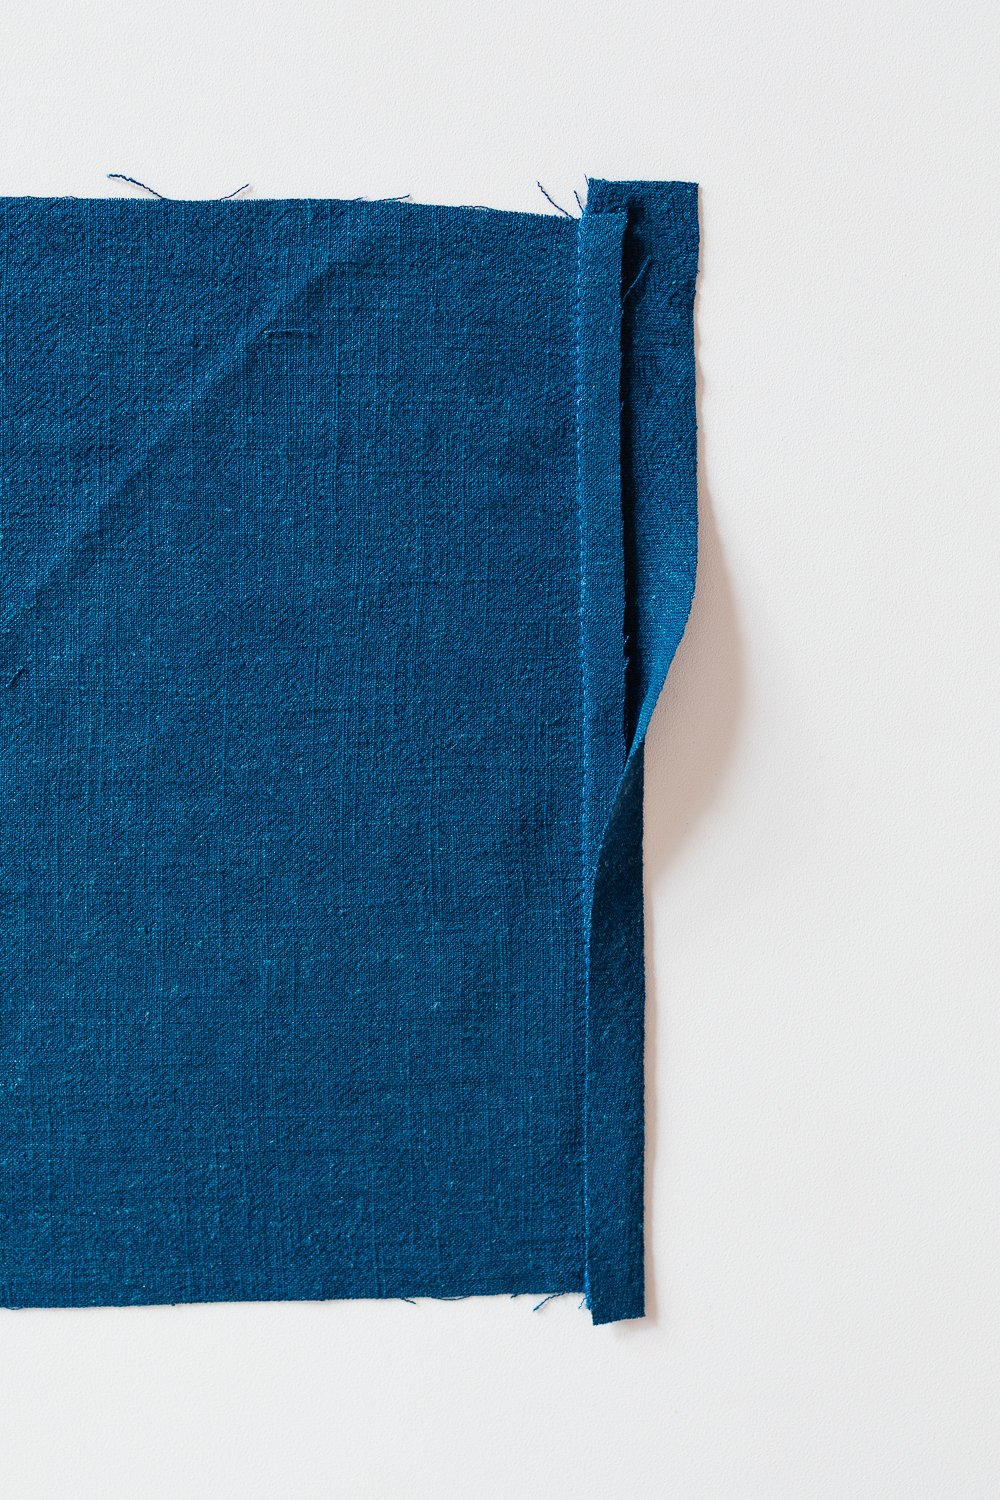
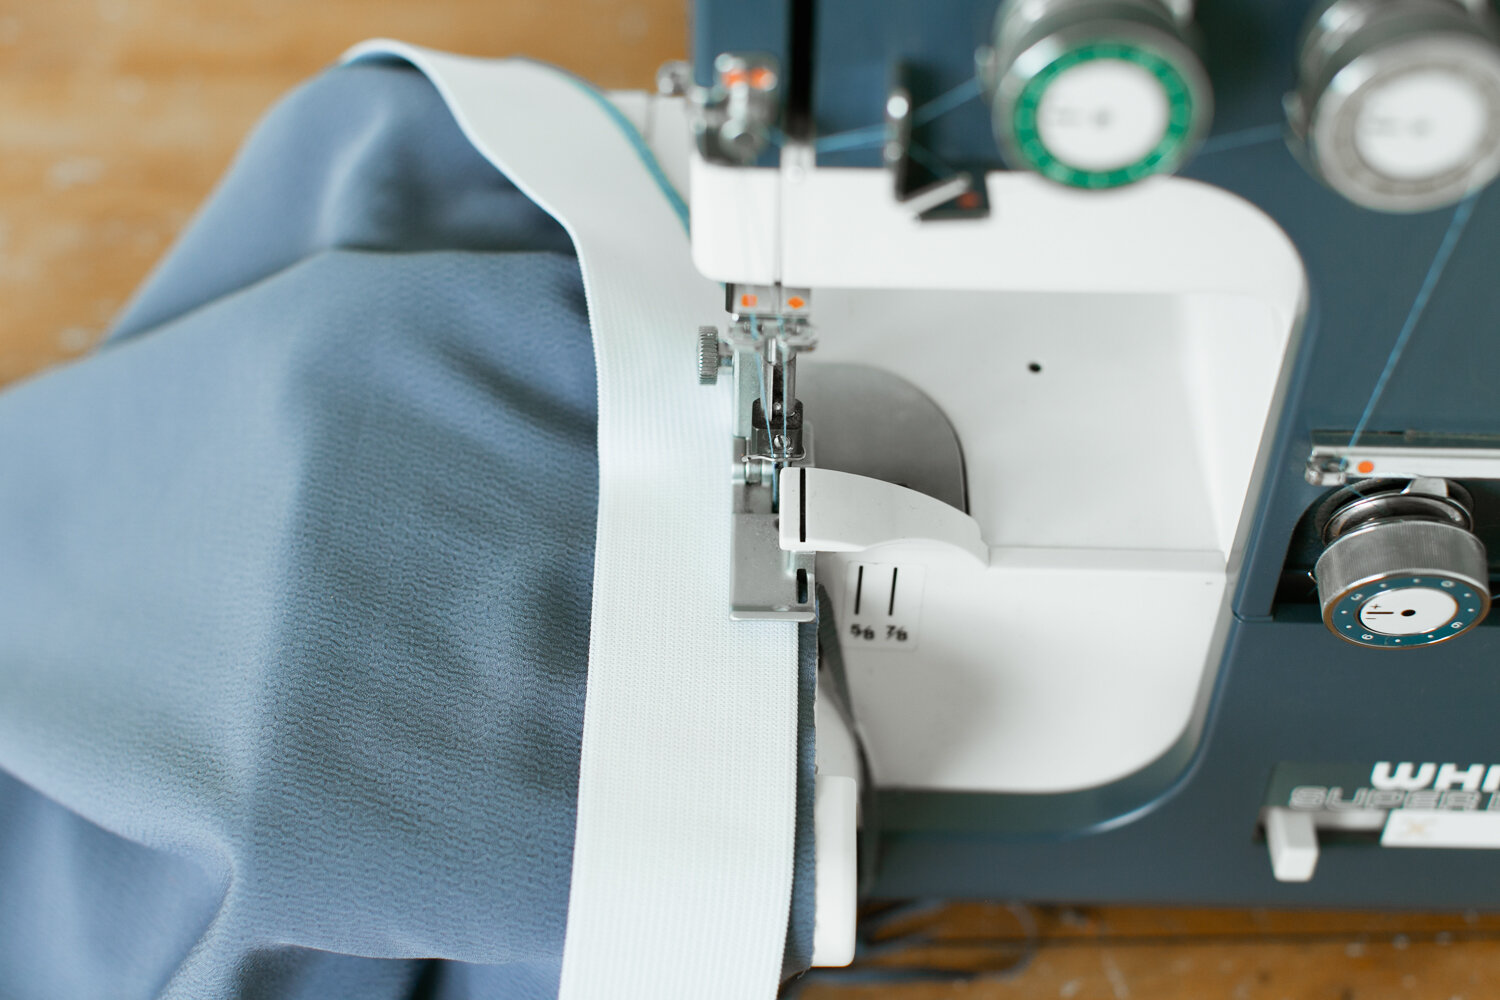
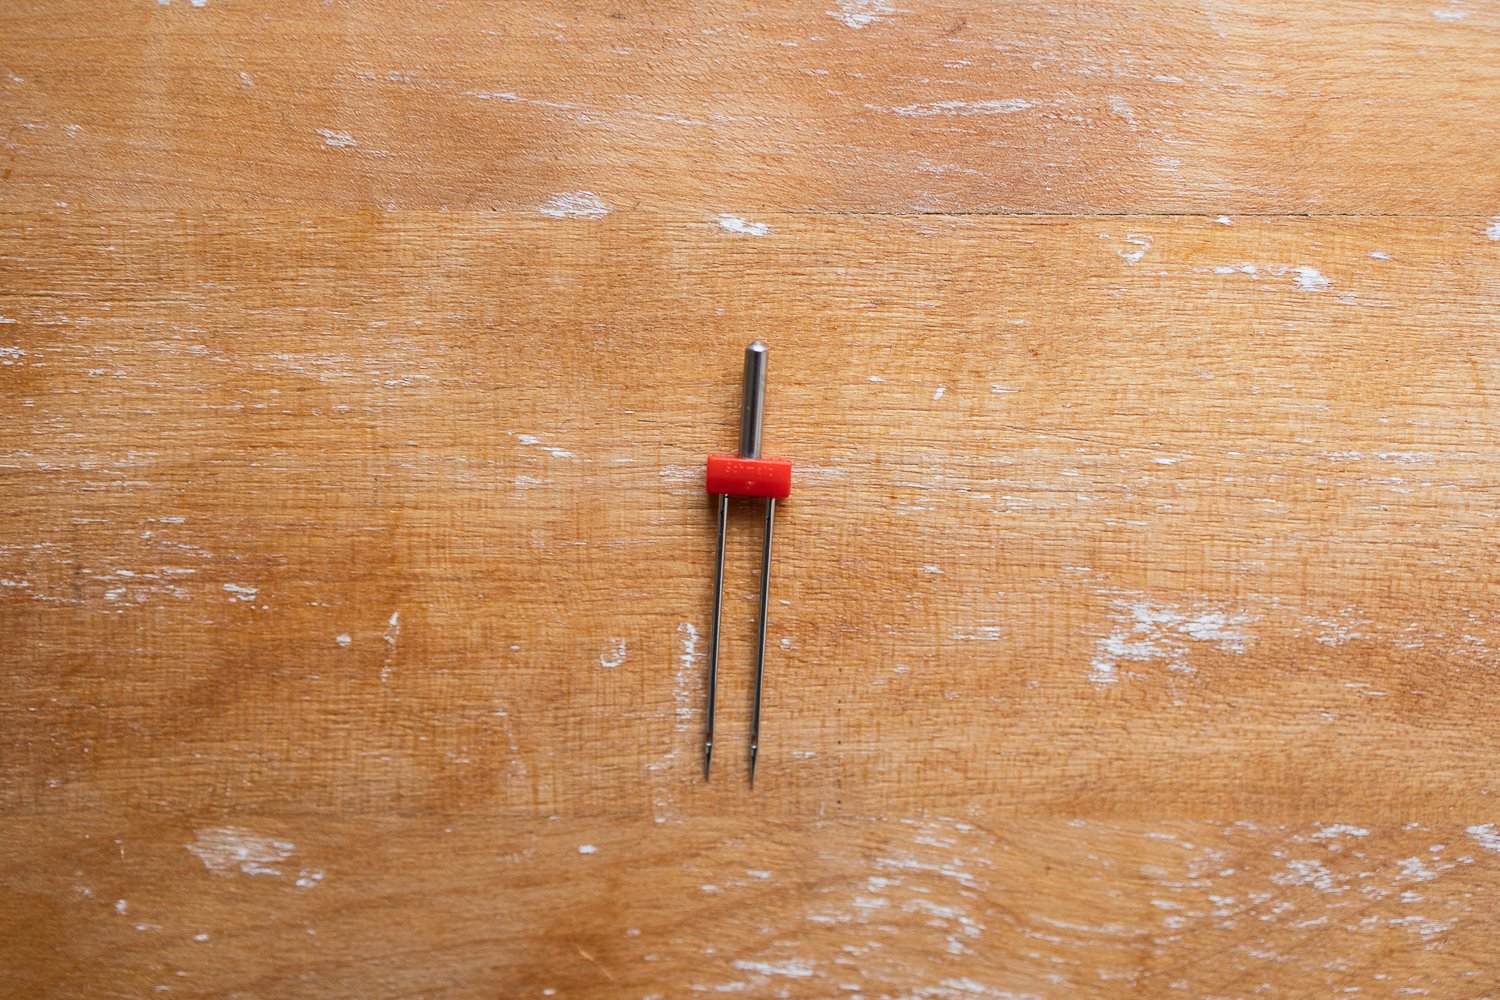
I’ve been playing with using a twin needle and grosgrain ribbon for binding seams in bags and backpacks.

Here you can see it on ripstop nylon and on waxed cotton canvas.

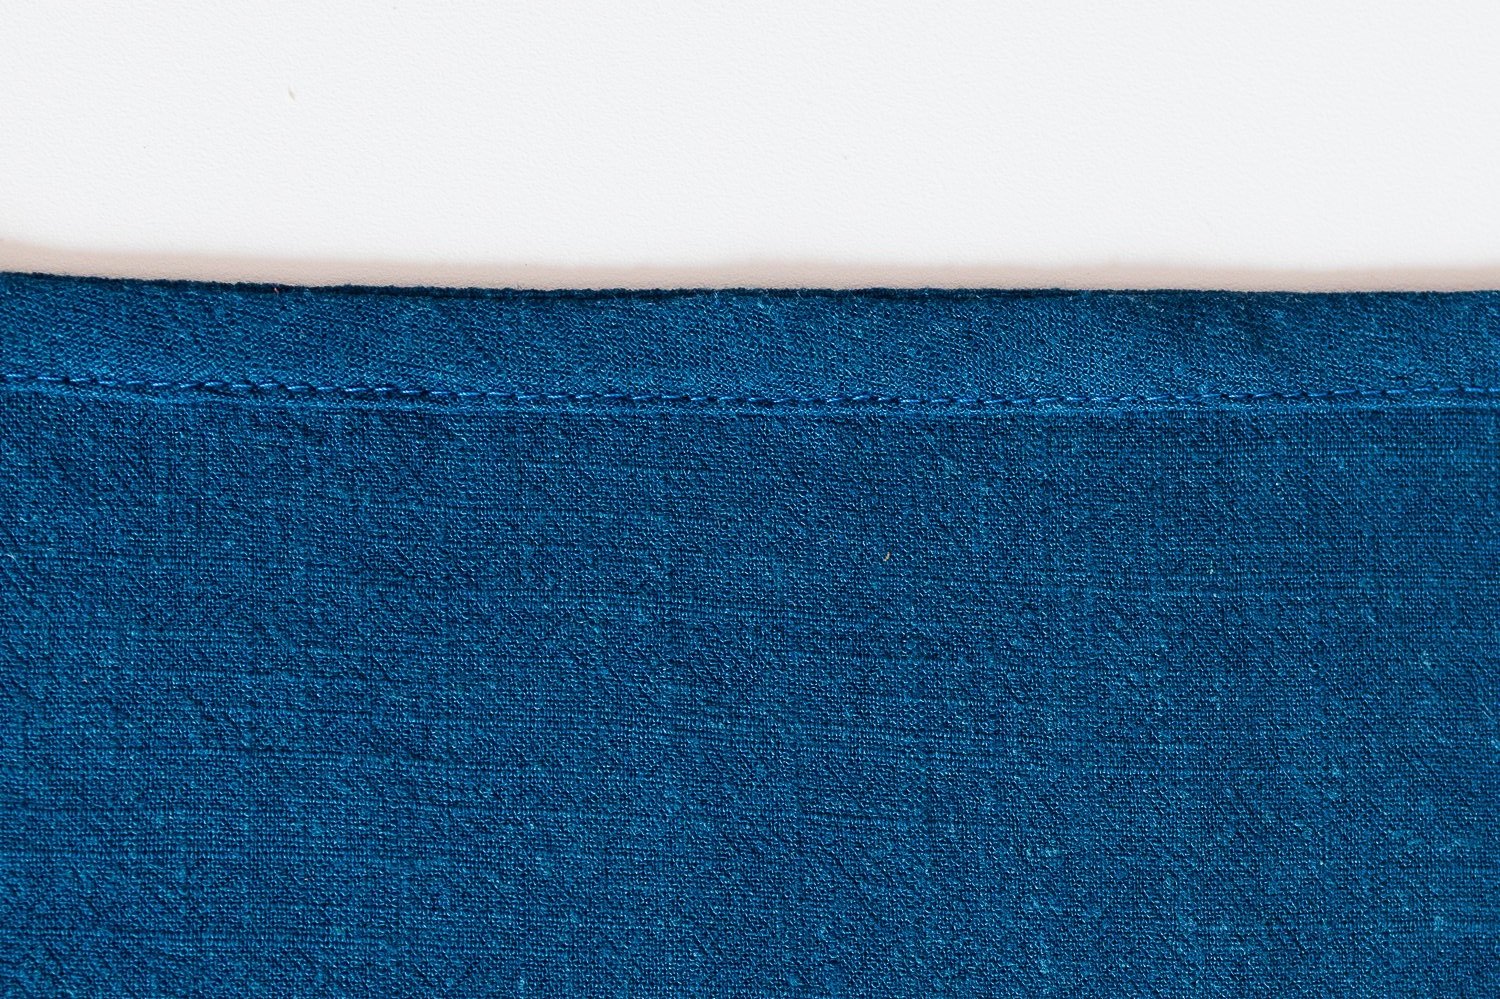
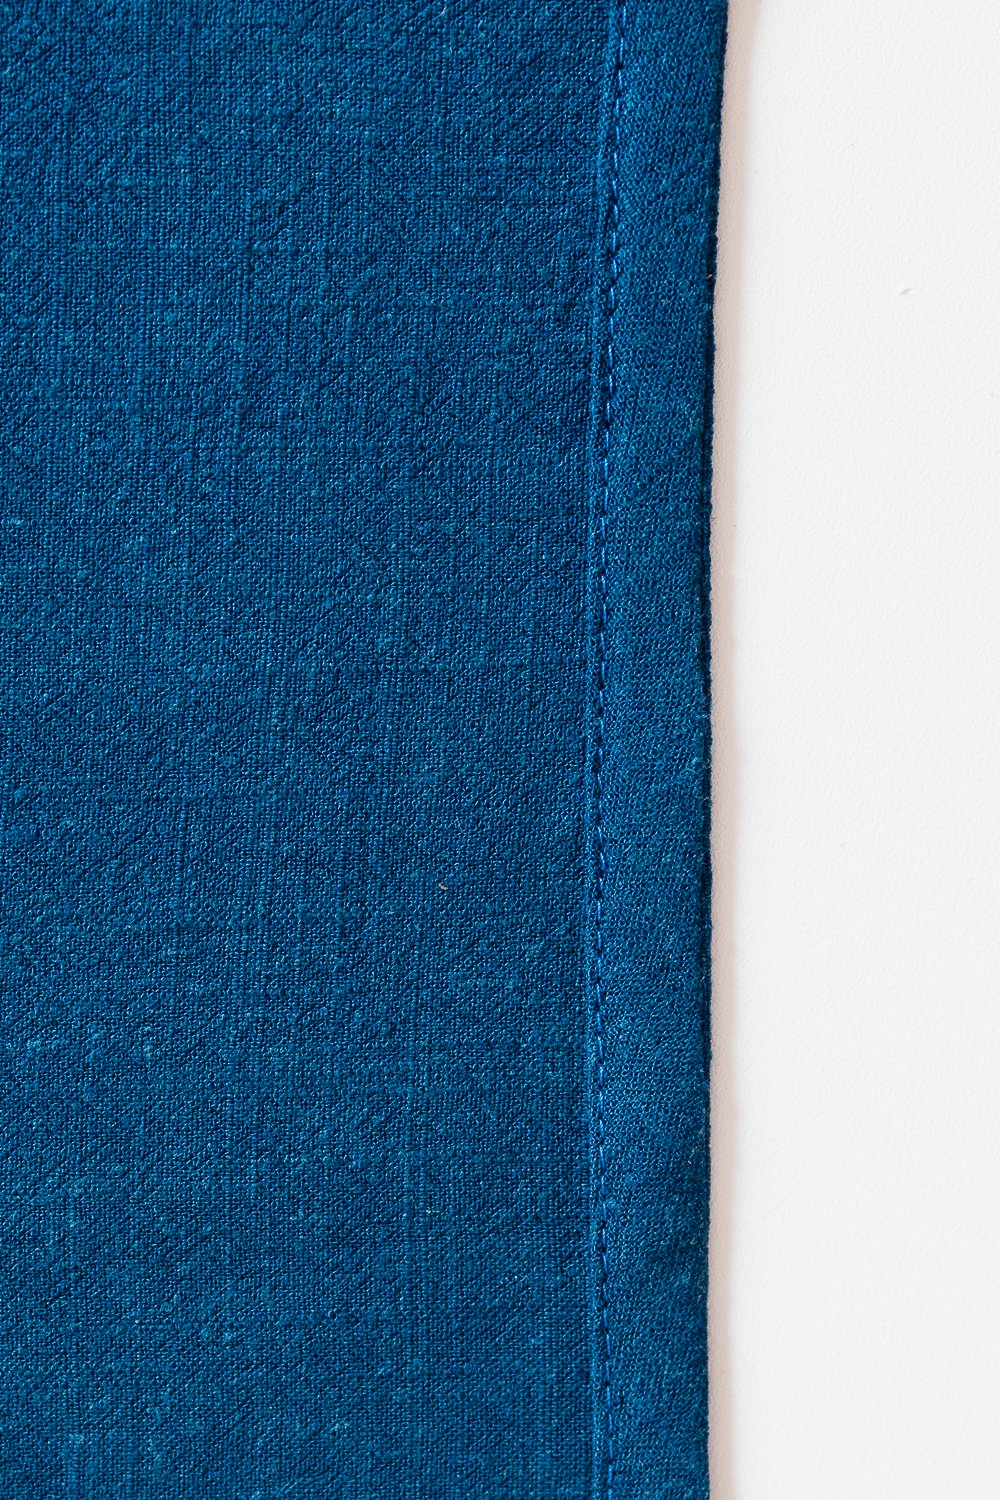
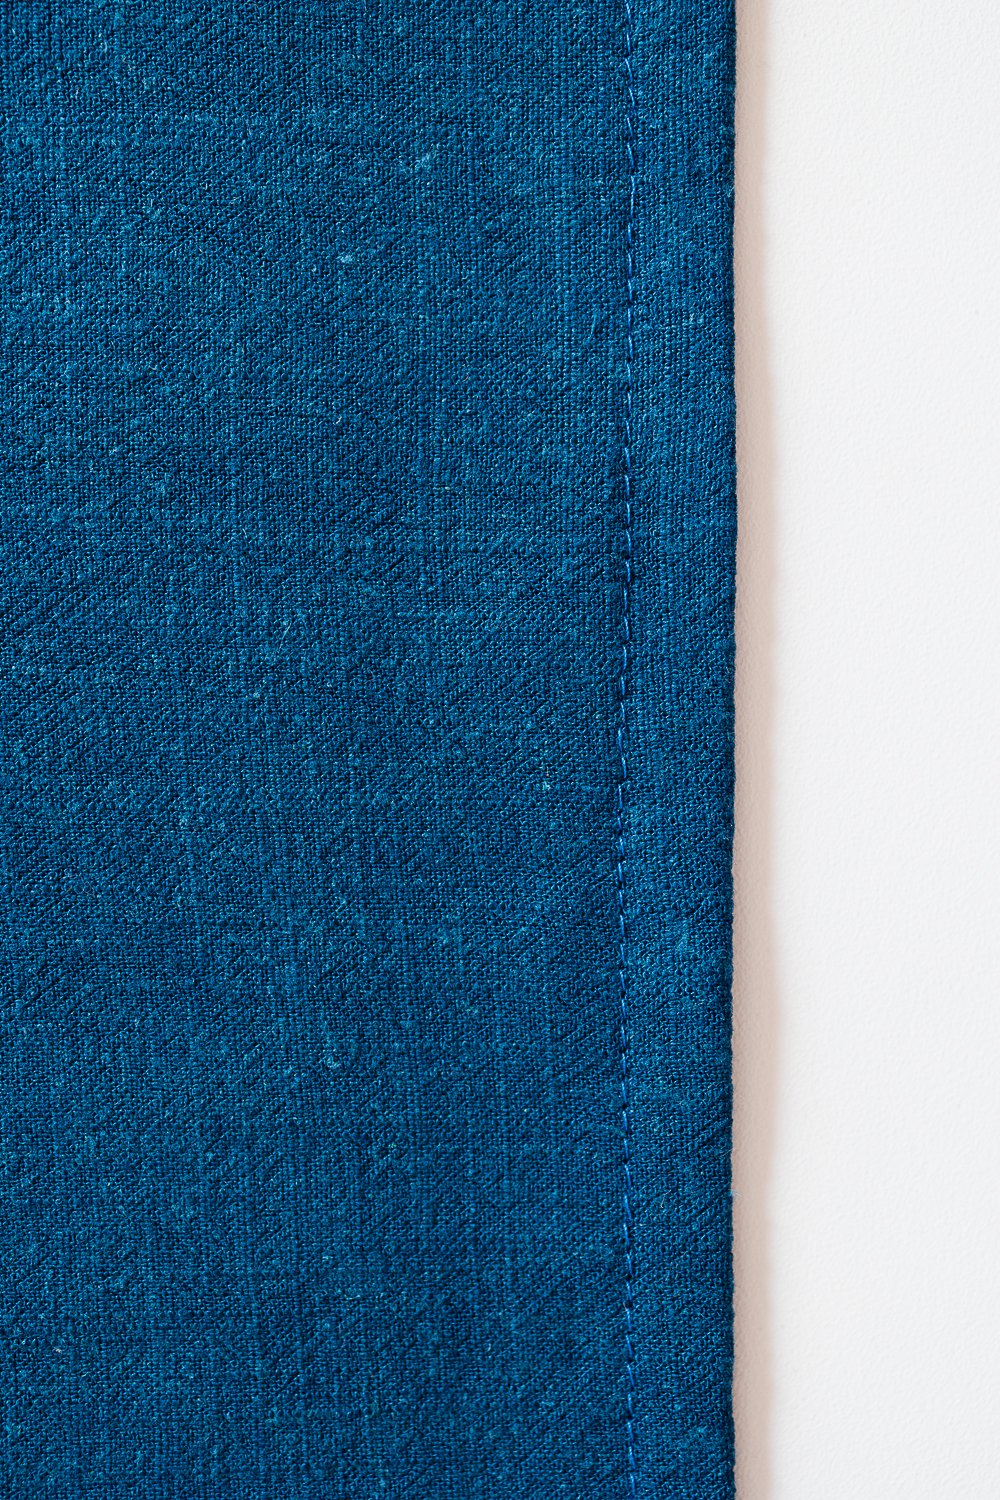
Right side — lovely twin lines.

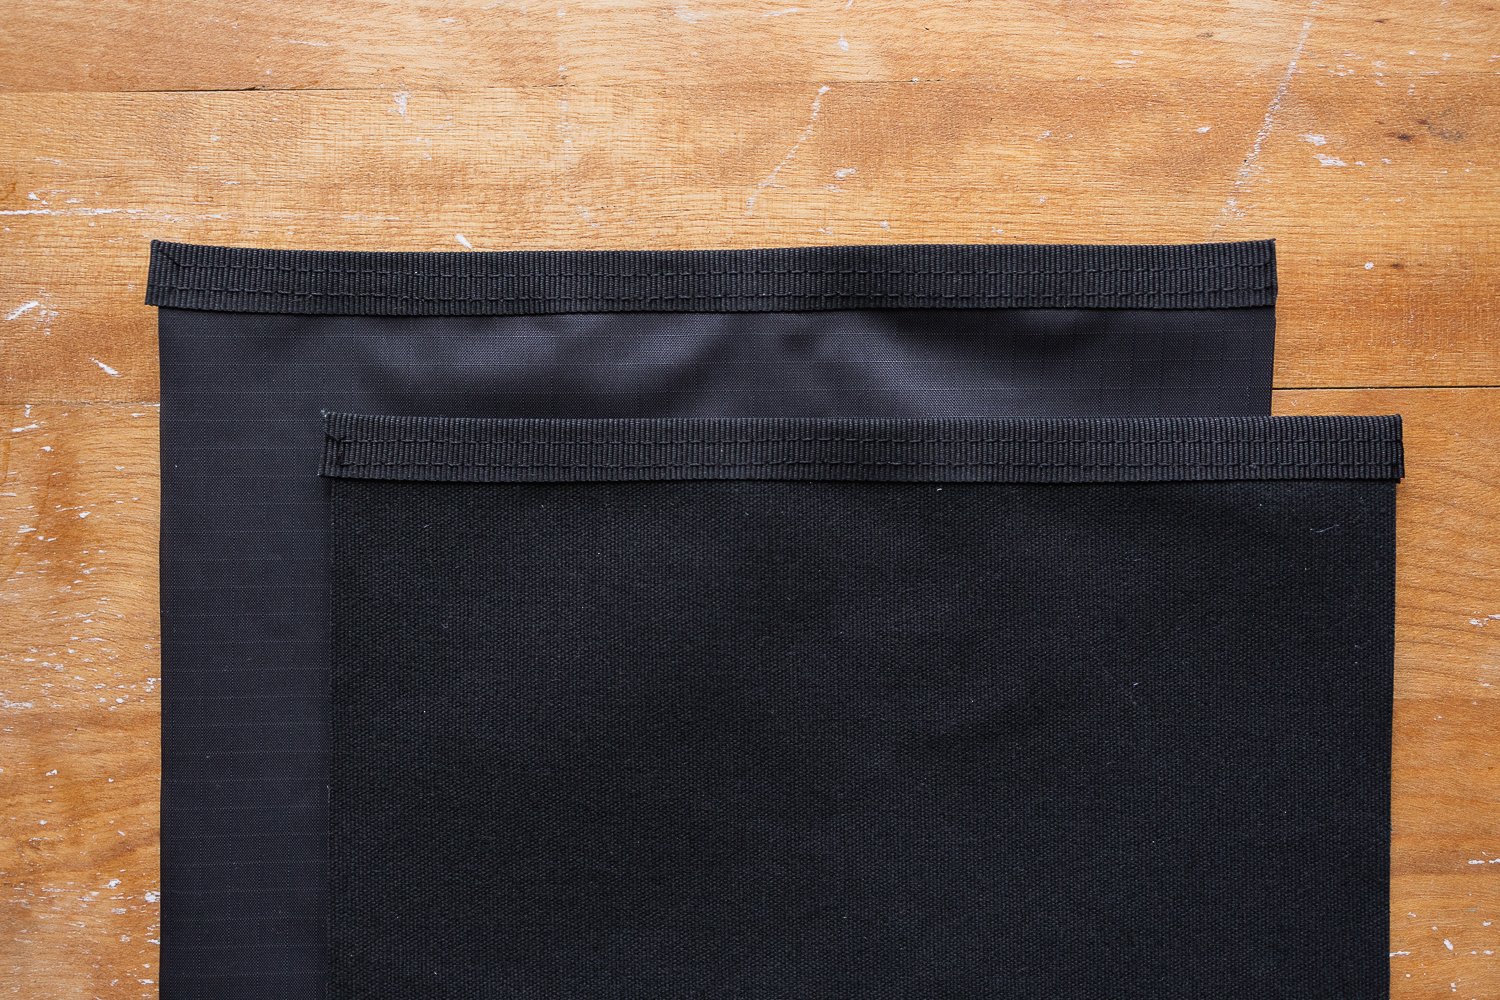
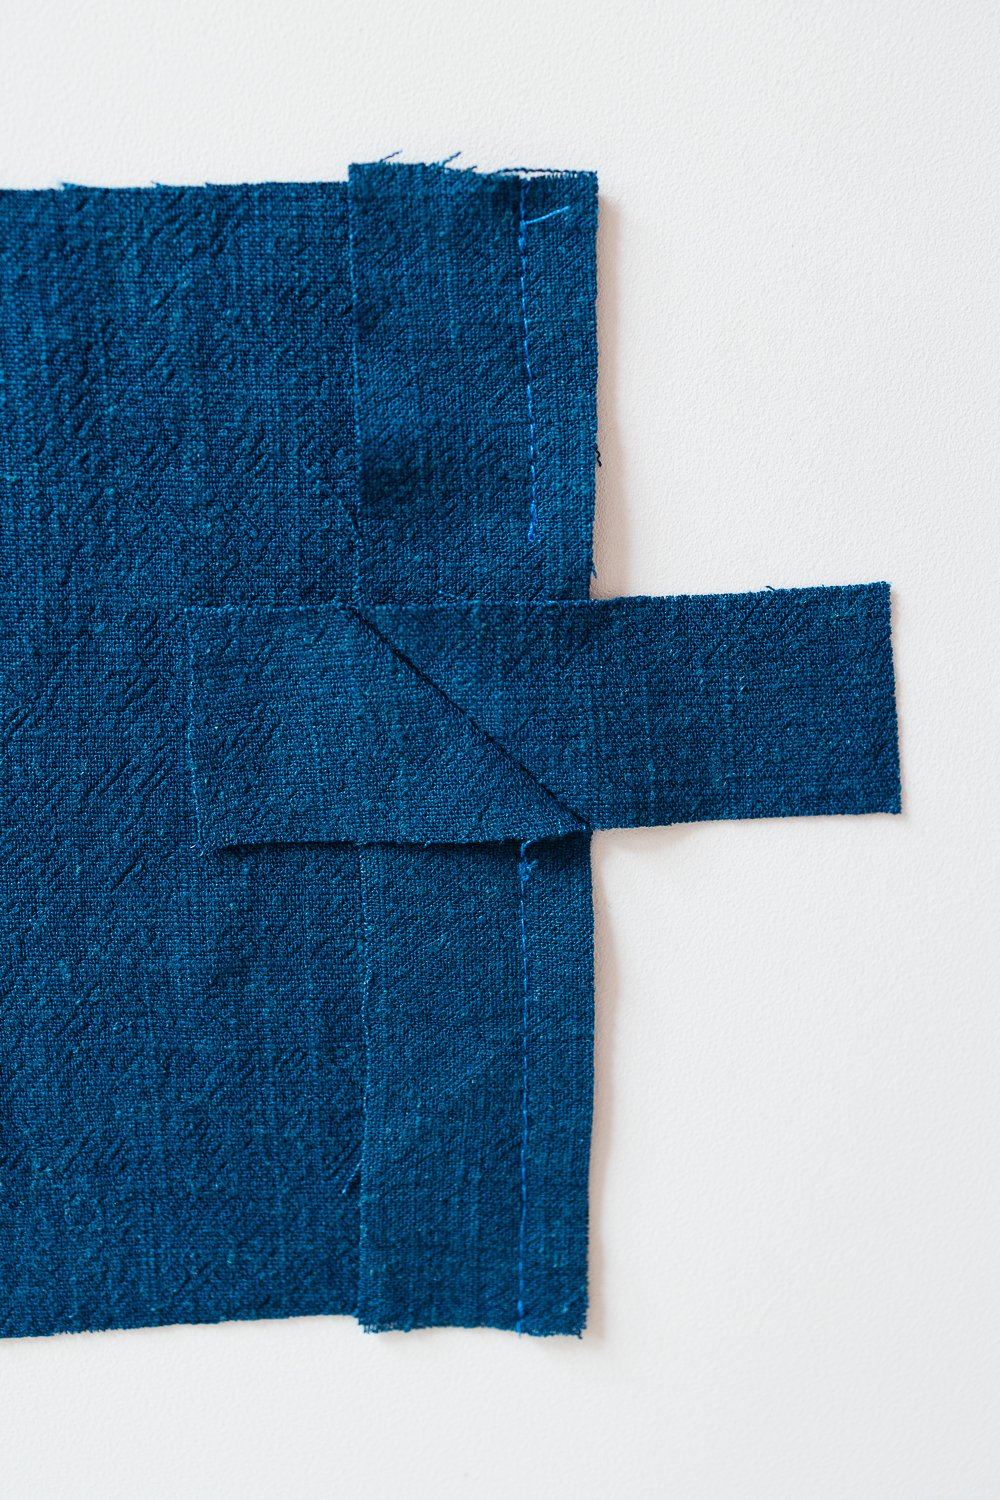
Wrong side — the bobbin thread makes a zigzag between the two lines of stitching.

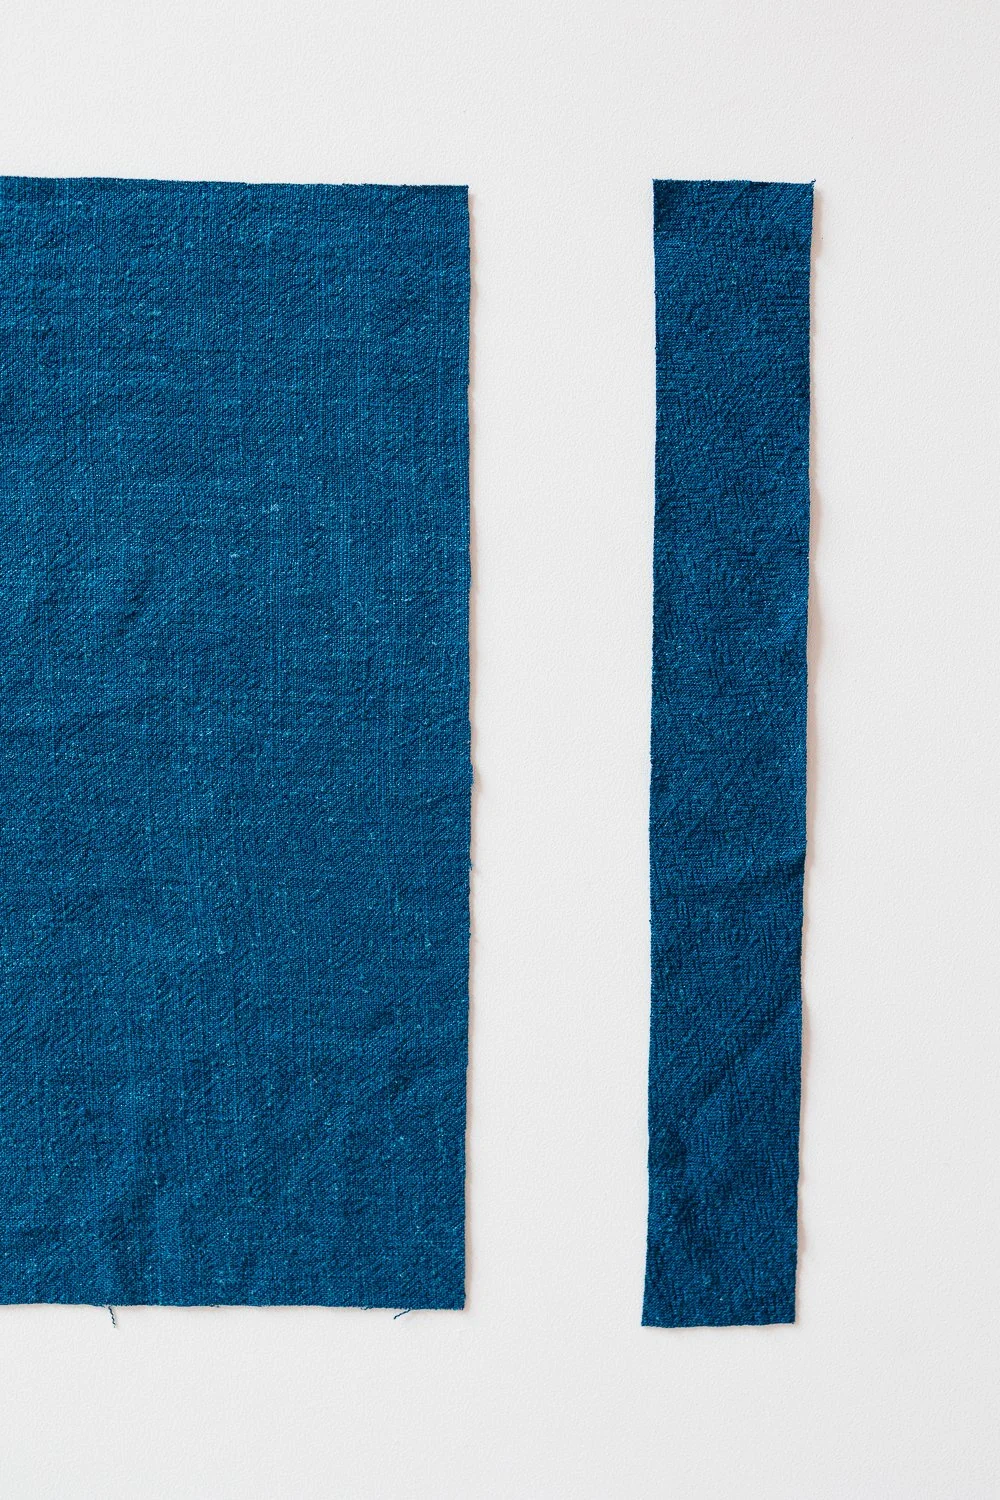
Here is twin needle stitching compared with single needle stitching on ripstop nylon and waxed cotton canvas.

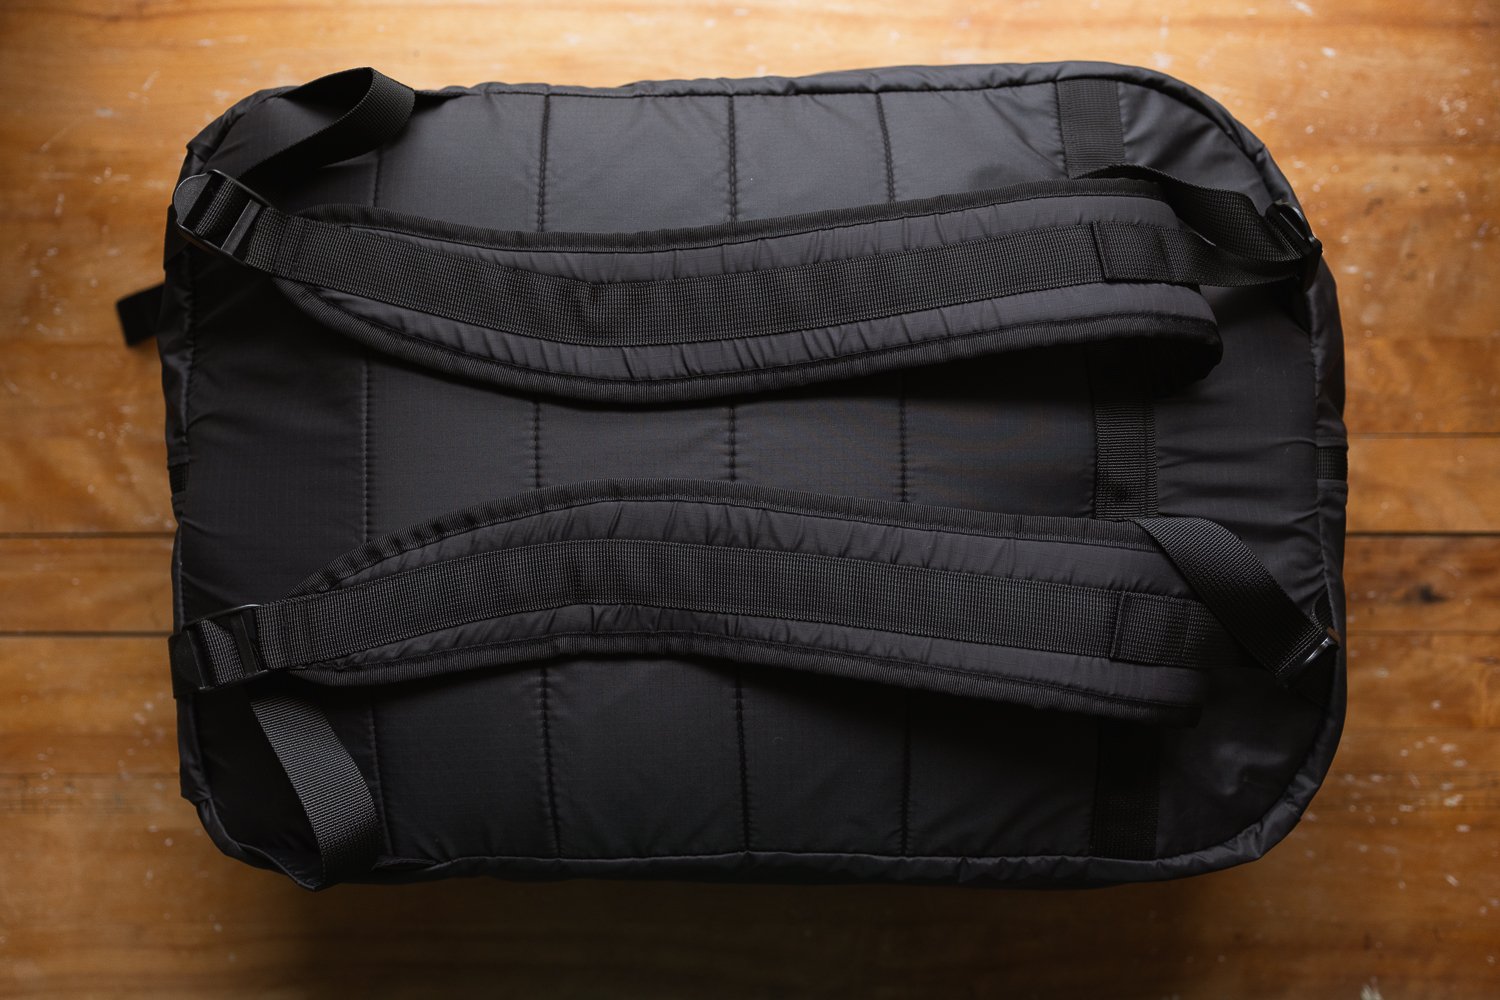
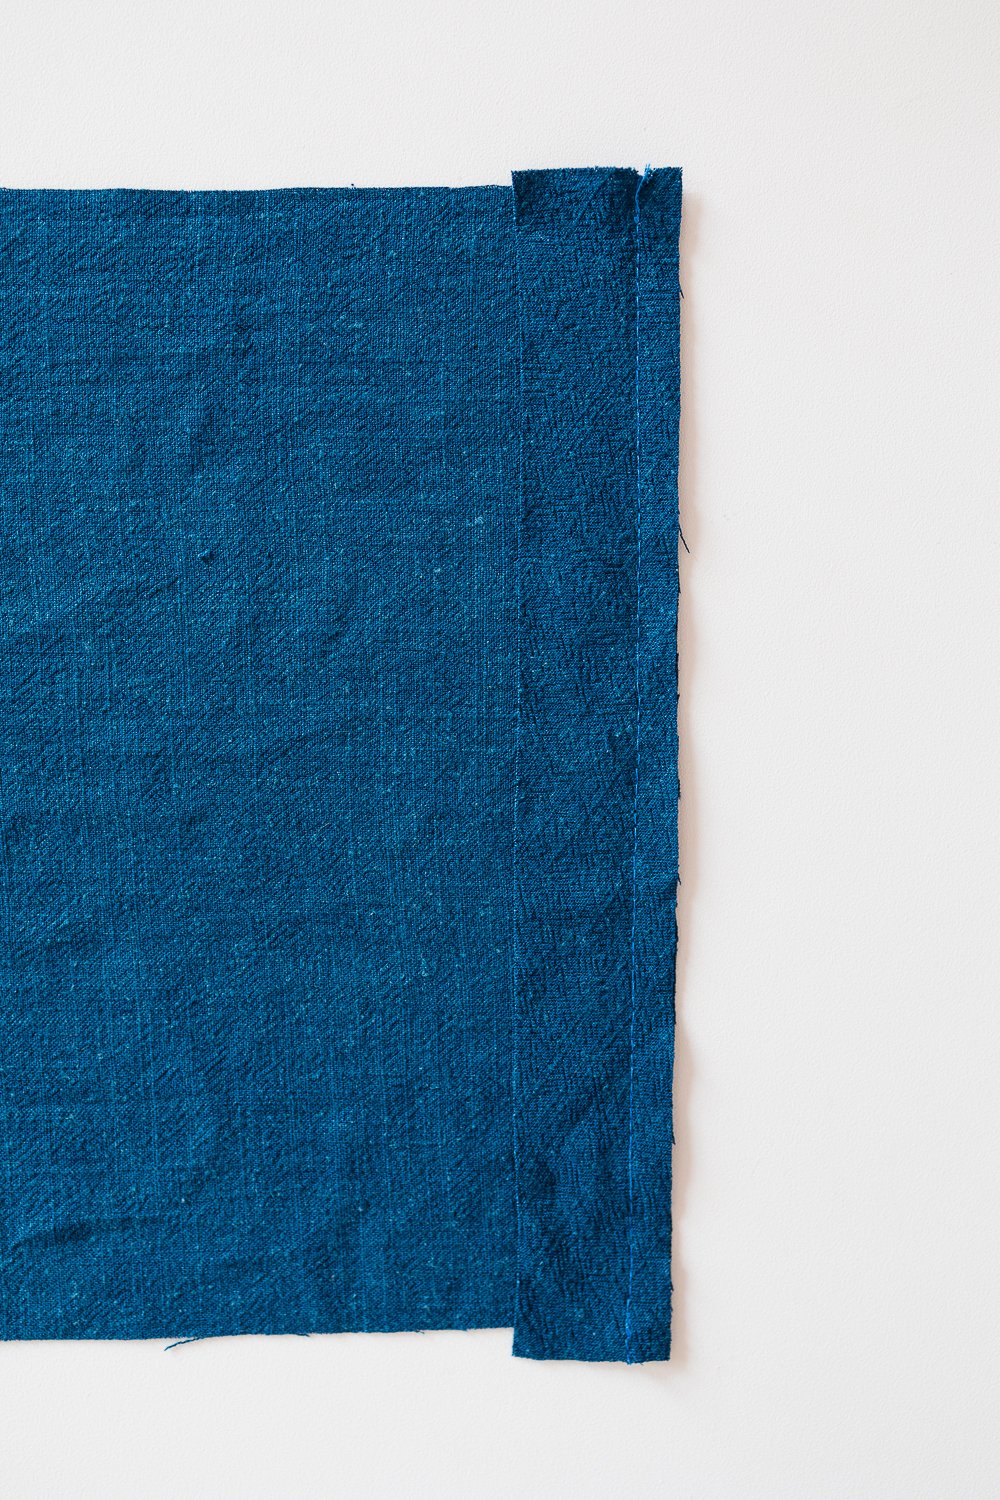
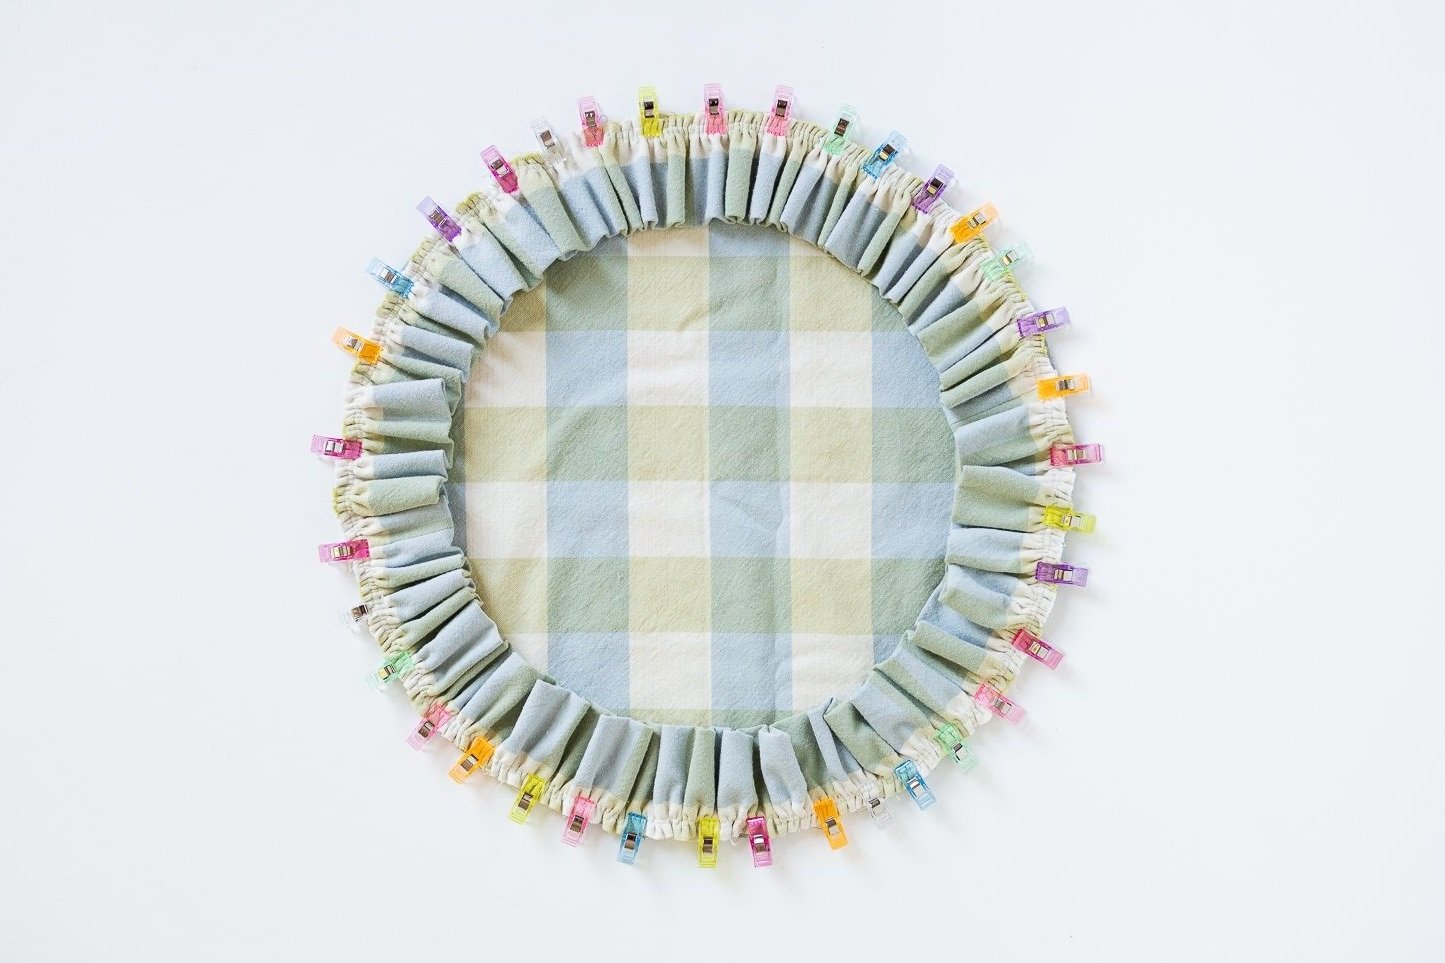
I used the twin needle on grosgrain ribbon to bind all the seams in this climbing rope backpack made with ripstop nylon. The grosgrain gives the seams a bit more structure, which I think looks nice.

Feeling Sentimental

Inheriting someone’s fabric feels like inheriting someone's photo albums.

Fabric is a keeper of memories. It encapsulates the whole season of life while the fabric was in use as a shirt, skirt, curtain.

My friend, Marcia, recently asked if I would like to look through her fabric stash. After 30 years in a turn-of-the-century home on a colorful acreage, she and her husband are in the process of downsizing to a new location.

She turned on the warm light. We knelt on the hardwood closet floor. She pulled out a box and sighed disapprovingly when she brushed away a small spider web with her fingers. It made me smile. Her house is so clean. It’s always clean. I didn’t even notice the small web. I selected all the floral cottons. She told me all their stories.

Through the boxes of knits, wovens, and miscellaneous, she shared stories about hamsters eating through flannel, daughters learning to sew, grandmothers hand stitching quilts, the making of wedding veils.

I suspected the day would come where I feel caught off guard by my parents’ generation moving into their late chapters. It’s been looming, but now it’s here. And as predicted, I do in fact feel caught off guard.

By the end of looking through the closet of fabric and memories, I was equally determined to use these floral pieces for something special as I was reluctant to cut them at all. My mom told me recently I am becoming more sentimental. I guess she’s right.

I asked Marcia if my camera and I could take a walk around the yard with her while she brought in the last of the year’s produce.

The way Marcia is handling this move is a lesson to me in how to age gracefully.

After walking around the gardens, we sat on her wooden bench while the sun set. I asked how she was feeling about selling the property. She reminisced about what a good place it was to raise her children, and then finished by saying she wants it to be a good place for the next family to raise their children.

It’s hard for me to confront the reality of parents and friends growing older and selling houses. It’s hard for me to use this fabric because it’s a representation of that reality.

But I’ve been thinking it over. It occurred to me that as Marcia is honoring her property by wanting it to enjoy the games of a new batch of children (when I was young, her yard was filled with quicksand and cowboys. I wonder what villains the next batch of kids will find there), a good path to honor this fabric is by helping it to continue writing stories.

Maybe the best way to honor the past is to enable its possessions to enjoy the future.

There is room yet in this fabric’s photo album of memories.

Is there something you are having a hard time processing lately? Send me a note if you’d like to share.

How to Join Bias Tape Mid-Project

If you’re sewing bias tape in a situation where you can’t sew the ends together before you start, or you aren’t sure how much bias tape will be used, you can still join the ends together mid-project in a neat way.

If you’re new to bias tape, check out this post on how to sew bias tape and other ways to join bias tape together!

How to Join Bias Tape Mid-Project

Step 1: Leave a few inches of working room on each end.

Step 2: Fold the bias tape so the tails are 90 degrees out from each side. Hand press the folds firmly so the fabric is visibly creased.

Step 3: Keep the creases aligned and sew directly in the furrow of the creases.

Step 4: Trim the seam allowance. Press seam open. Continue to sew the bias tape as usual.

This method is useful for projects that use a long length of bias tape and you start sewing before knowing exactly how much it’s going to take. Like sewing all the way around the outside perimeter of a quilted jacket. That’s a long way around!

If you enjoyed this post, you may also enjoy…

Step by step tutorial and discussion on bias tape.

Instant PDF pattern download with step by step instructions to make your own quilted jacket.

Step by step illustrated tutorial to add pockets to all your dresses.

How to Sew Bias Tape

Learning how to sew bias tape efficiently and beautifully is one of the best ways to improve your sewing. Bias tape is so useful for finishing seams that it’s worth spending lots of time playing and experimenting with it.

Here’s to bias adventures!

How to Sew Bias Tape

Step 1: Place the bias tape right sides together with the item you’re sewing (shirt, quilt, bag, etc.) and clip in place.

Step 2: Sew in place. Press the seam toward the bias tape.

Note: Seam allowance depends on the width of bias tape. I often like to sew with 1 1/4” (3.2 cm) wide bias tape and use a seam allowance of 3/8” (1 cm).

Step 3: Fold the edge of the bias tape over the seam allowance. Press in place with a steamy iron. Then fold over again flush with the seam. Press in place.

Note: Depending on your seam allowance, you may want to trim the seam allowance before this step.

Step 4: Stitch along the folded edge of the bias tape.

Here’s how it looks on the wrong side and right side.

What Does Bias Mean?

In sewing, if a pattern is oriented and cut at a diagonal angle, it’s referred to as being cut on the “bias.”

Bias tape is cut diagonally across fabric because it has more stretch than fabric cut straightly on the grainline or cross grain.

To test this, grab some non-stretch woven fabric and pull it every which way.

Since the diagonal pull has a bit more stretch, tape cut on the bias is nifty for sewing around curved things like armholes and neck openings.

Here you can see it being used around a tight curve of a fabric scrap. See how flatly it lays despite the outside edge being stretched and the inside edge being compressed?

Sewing Bias Tape Together

There are a few ways to sew bias tape together. Here’s how I like to do it.

Step 1: Cut the ends of both pieces at the exact same diagonal angle.

Step 2: Place the bias tape strips right sides together. Where the two pieces meet together in that little elbow, stitch across. From elbow to elbow. (More explanation on this below.)

Step 3: Press seam open. Snip off ends.

If you want a 1/4” (6 mm) seam allowance, slide the pieces along the diagonal angle until the little elbows are 1/4” (6 mm) distance from the angled edge.

If you want a 1/2” (12 mm) seam allowance, slide the pieces toward each other until the distance from the little elbows to the angled edge is 1/2” (12 mm).

Whatever seam allowance you choose, the important parts are:

1) Line up the angled edges.

2) Sew from elbow to elbow, illustrated by this red line.

Here’s what happens if the elbows are missed. The bias tape won’t line up. Sad.

Another Method for Sewing Bias Tape Together

Step 1: Square up the ends and place bias tape right sides together. Sew from corner to corner.

Step 2: Trim the seam allowance and press seam open.


How to Sew Bias Tape Together Mid-Project

If you’re sewing something where you can’t sew the ends together before you start, or you aren’t sure how much bias tape will be used, check out this tutorial.

A Note on Bias Tape Makers

Some people find bias tape makers useful. Pull bias tape through the maker and follow close behind with a steamy iron.

Here’s a side by side comparison of flat bias tape and pre-folded bias tape.

I personally don’t enjoy fighting the ironed fold. To me, flat bias tape is faster and easier to line up and clip in place, faster and easier to sew.

Play around and see which method works best for you!

If you enjoyed this post, you may also enjoy…

Step by step guide to fill up your walls with cool ruffle picture frames.

Step by step tutorial with photos for each method.

Step by step photo tutorial for two different ways to sew a lined vest.

How to Sew Ruffle Picture Frames

To continue the tutorial series on ruffles, here is a step by step guide to sew ruffle picture frames. This idea emerged while daydreaming about how to redecorate my sewing room, which is now a delightful dusty pink (see photos below).

If you’d like to see my other fun ruffle tutorials…

Let’s jump in!

Step 1: Grab a bamboo embroidery hoop. (This is a 10” hoop from Walmart for $2.97.)

Step 2: Use a pliers to pull off one side of the closure and flatten the other side.

Step 3: Measure the outside circumference of the hoop. This one is 33 1/2”.

Step 4: Cut three strips.

Width: 3” (7.6 cm)

Length: The length of the circumference, plus 1 1/2” (2 cm) for seam allowance.

In this tutorial the hoop circumference is 33 1/2”, so these strips are 3” x 35”.

Step 5: Sew two strips together into one big loop. Sew the ends of the remaining strip together into a smaller loop. 3/8” (1 cm) seam allowance. Right sides together. Press seams open.

Step 6: Fold the big loop wrong side together. Sew a loose line of stitching 3/8” (1 cm) from the raw edges. Sew a second line of loose stitching halfway between the first line and the raw edges.

Step 7: Gather gather gather. Pull the bobbin threads to gather the fabric until it is the same circumference as the smaller loop you sewed.

Check out my post Ruffles 101 - How to Gather Fabric for some tips and tricks if you’re new to gathering!

Step 8: Evenly distribute the ruffles and clip to the right side of the smaller loop. Lots of clips are always helpful when sewing ruffles.

Step 9: Sew the ruffle with 3/8” seam allowance.

Step 10: Time to bring in the hoop. This is kind of a tricky part. Just go slowly and again use lots of clips. Place the seam allowance of the ruffle on the side of the hoop. Wrap the fabric around the hoop, tuck the raw edge under, and fold up over the ruffle seam allowance. Clip clip clip.

By the way, it’s hard to see in these photos, but keep both hoops together to make the frame wider. You could separate them and make two frames, but I like the look of the slightly wider frame. It also serves as a handy nifty mechanism for pinning a picture in place.

Step 11: Hand stitch the fabric in place all the way around the hoop. Stitch right in the seam of the ruffle to hide the stitching as much as possible.

Baby stitches.

Back view.

Front view.

Step 12: Trim a painting to size. Push thumb tacks in between the two hoops to keep the painting in place.

Step 13: Tie a short length of thread into a loop. Sling it onto a thumb tack to hang on a wall nail.

That’s it! Well done.

Details

Fabric: Quilting cotton found on sale at Joann.

Embroidery hoop: Walmart craft section.

Painting: A group of friends and I got together this spring and painted pictures of flowers by candlelight while listening to an audiobook outside. I had to chop off part of the painting to make it fit the frame, but I’m happy I hung onto the painting because I really like how the colors coordinate with this yellow fabric.

If you enjoyed this tutorial, you may also enjoy…

Everything you need to know to get started with ruffles.

Step by step photo tutorial.

Step by step photo tutorial to fill your living room with ruffled pillows.