Rebrand 2024

Time for a Rebrand

After going on blog sabbatical, I was ready to return with something new that matched some fresh energy.

I took a break from posting for awhile, but my reasons for sewing and creating useful blog content are still the same.

Here are some thoughts that went into rebranding.

Website Colors

My old website color was gray. I loved how simple and clean it was — the same color as this font, which I kept the same. Simple and clean are enduring elements in my work, so it was a good expression of that ethos at the time.

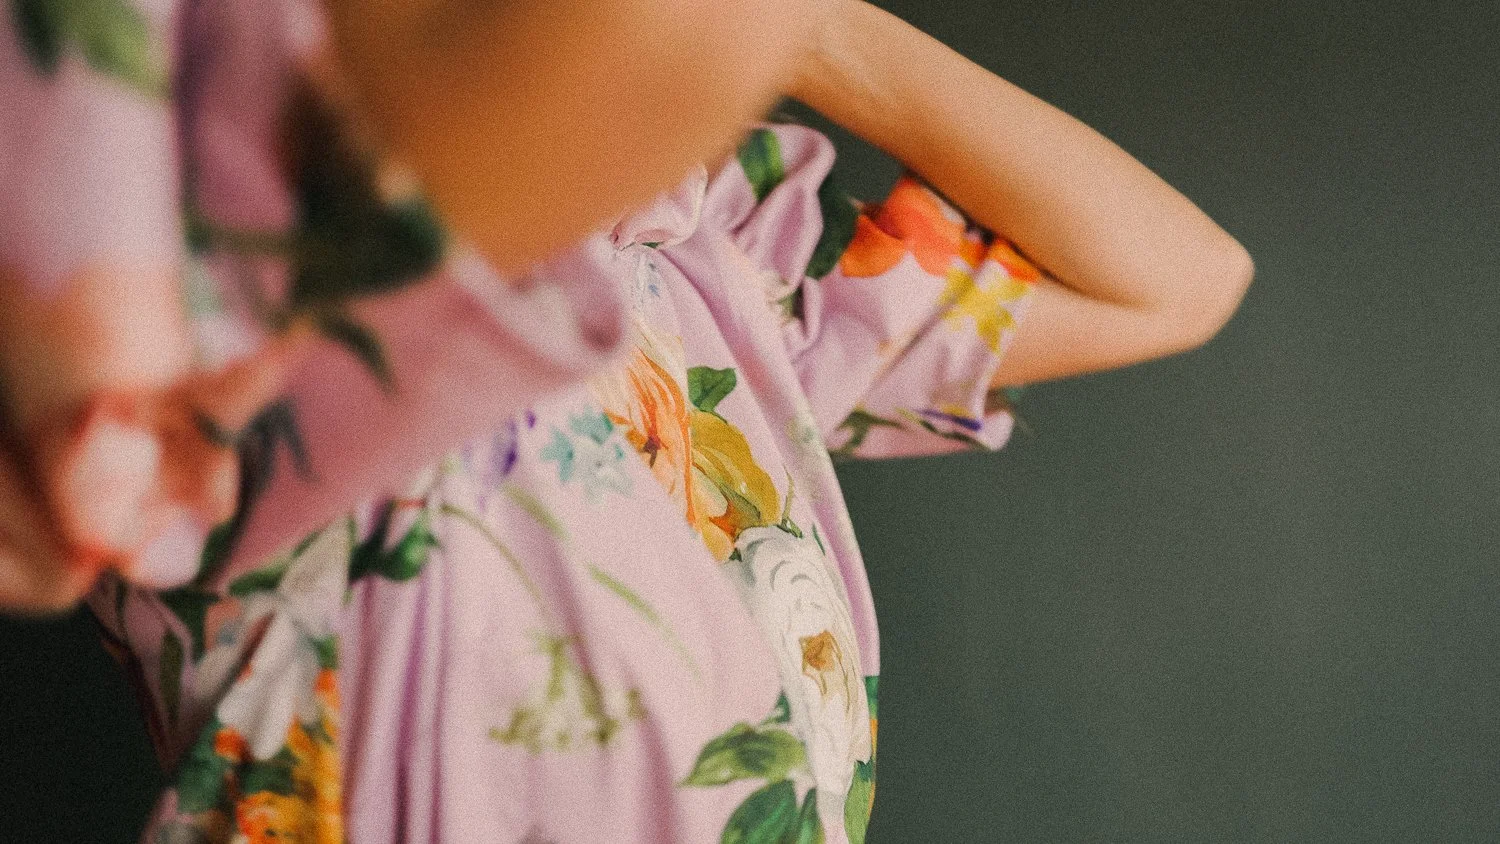
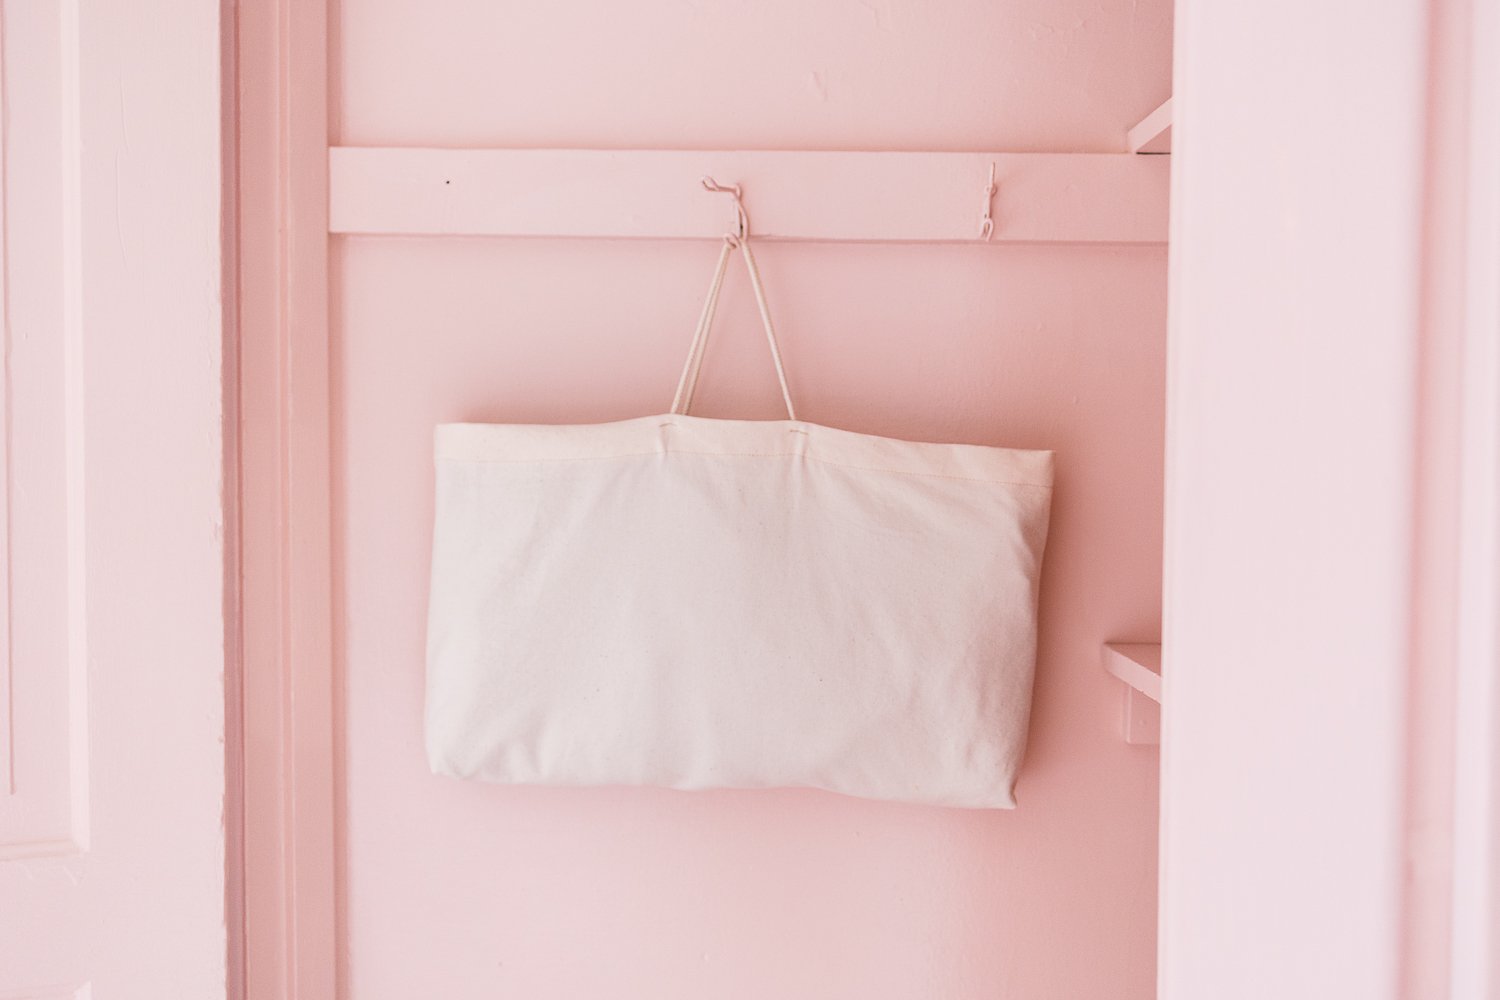
The older I get the more I appreciate femininity. Growing up I only wanted to wear cutoff jean shorts because they were the best for climbing trees and ropes.

But now you can actually find me wearing floral dresses and painting my sewing room a dusty apple blossom color. And this dusty apple blossom feels like the perfectly fresh tone for this space right now. Isn’t it lovely?

Font Colors

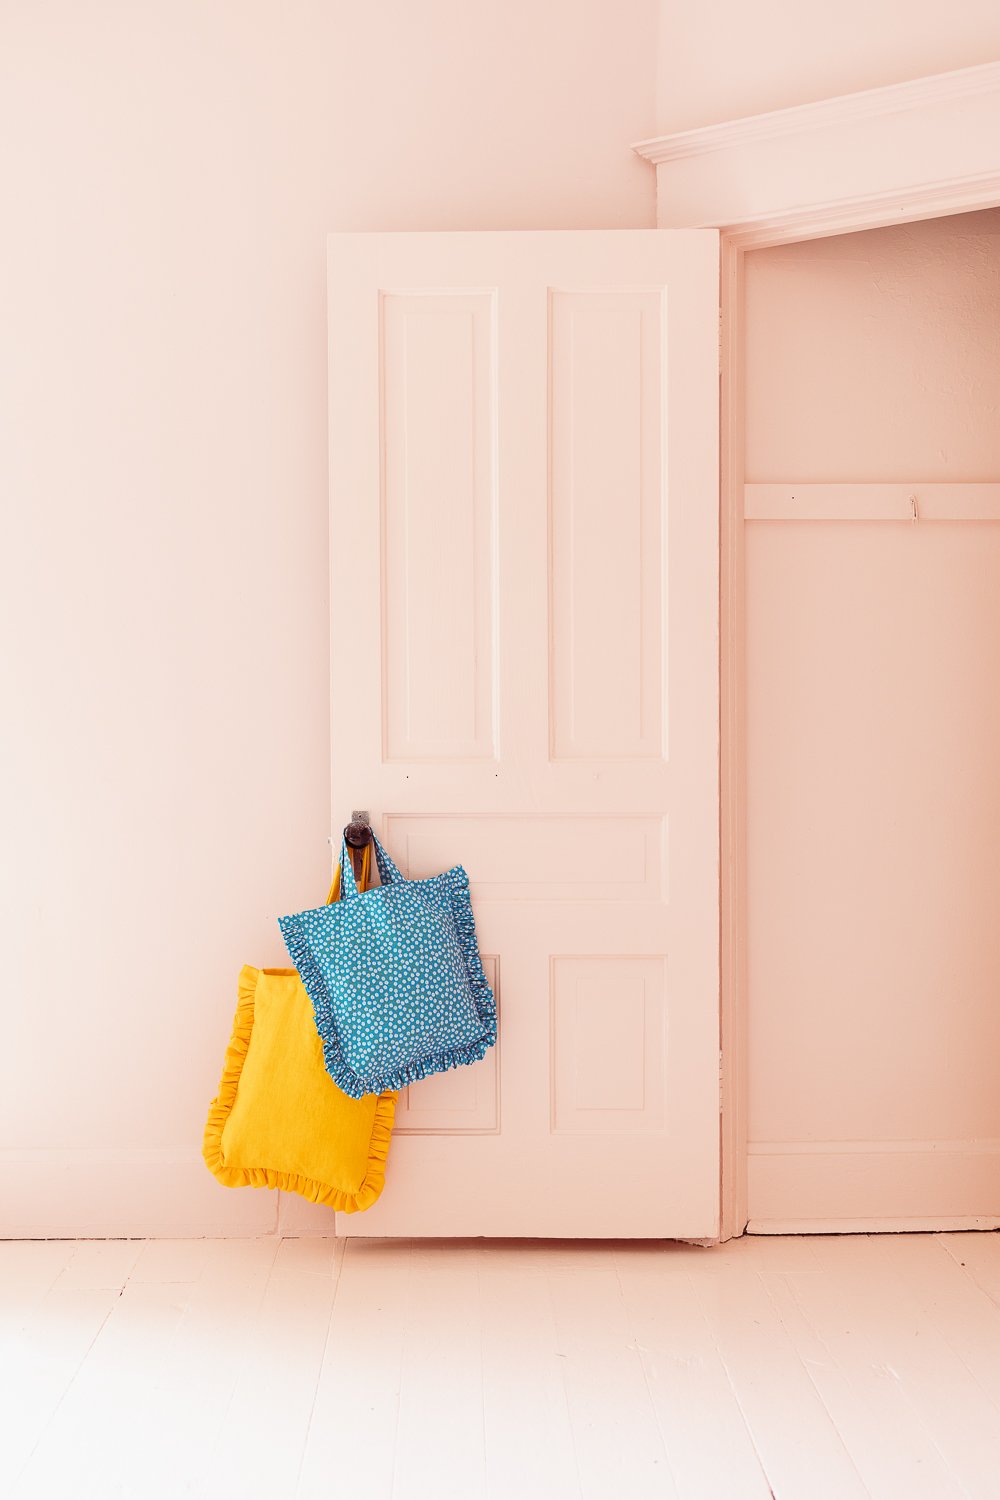
At first I was thinking the new website color would be orange. The gentleness of this dusty pink just felt right though, so it wasn’t a hard decision once I compared the two. But I also love orange with pink. So now I have some orange font headers.

Photo Colors

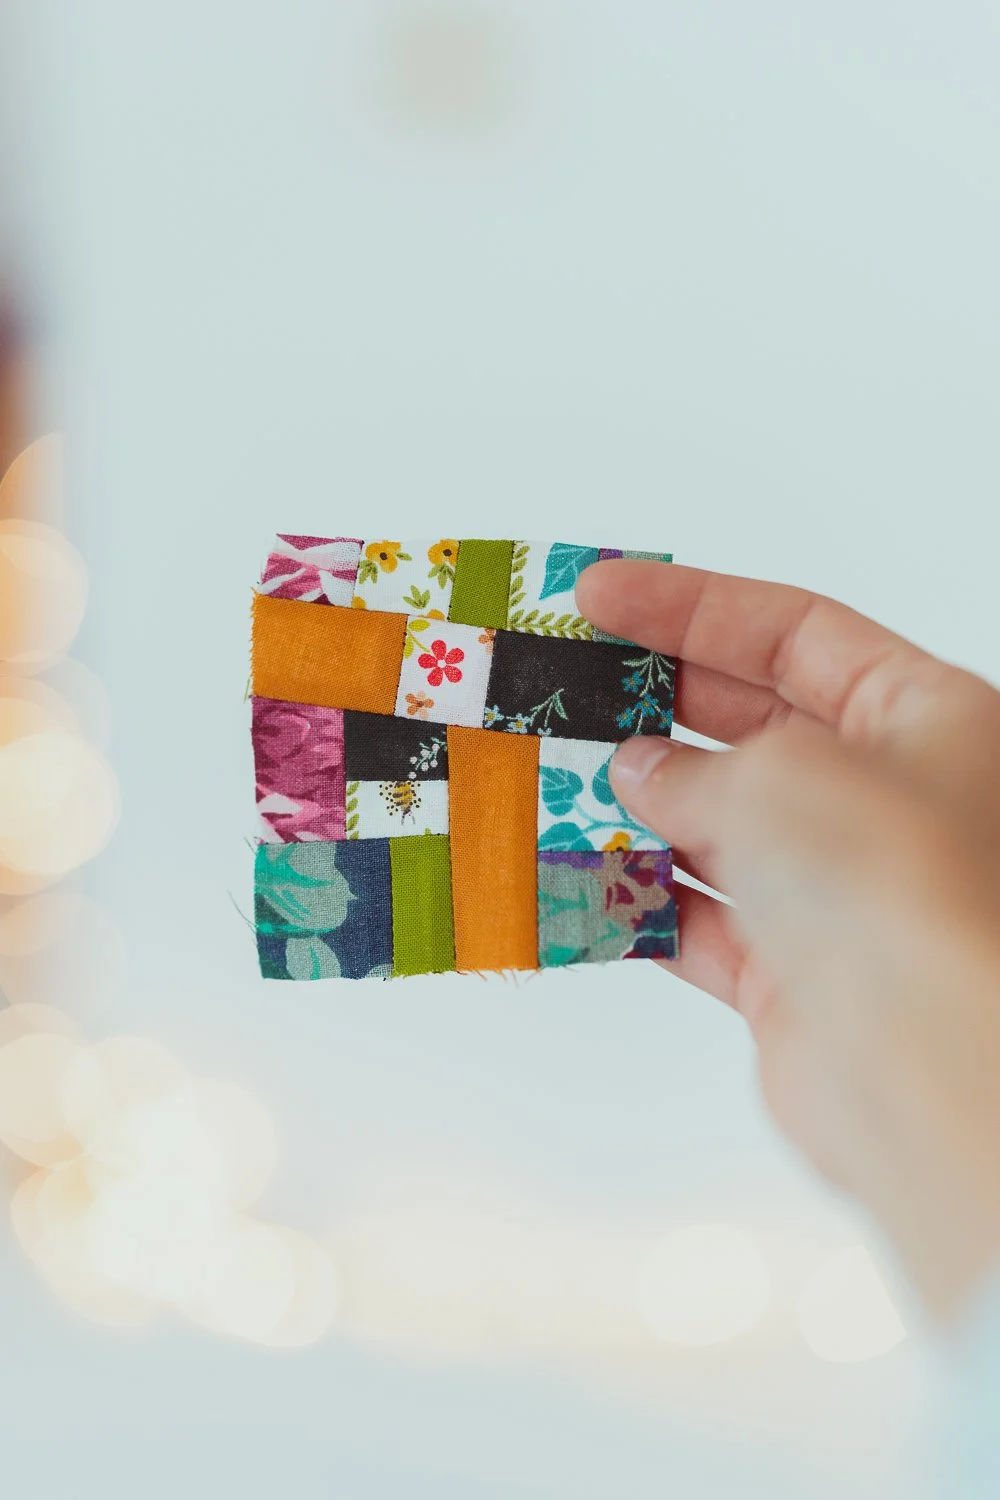
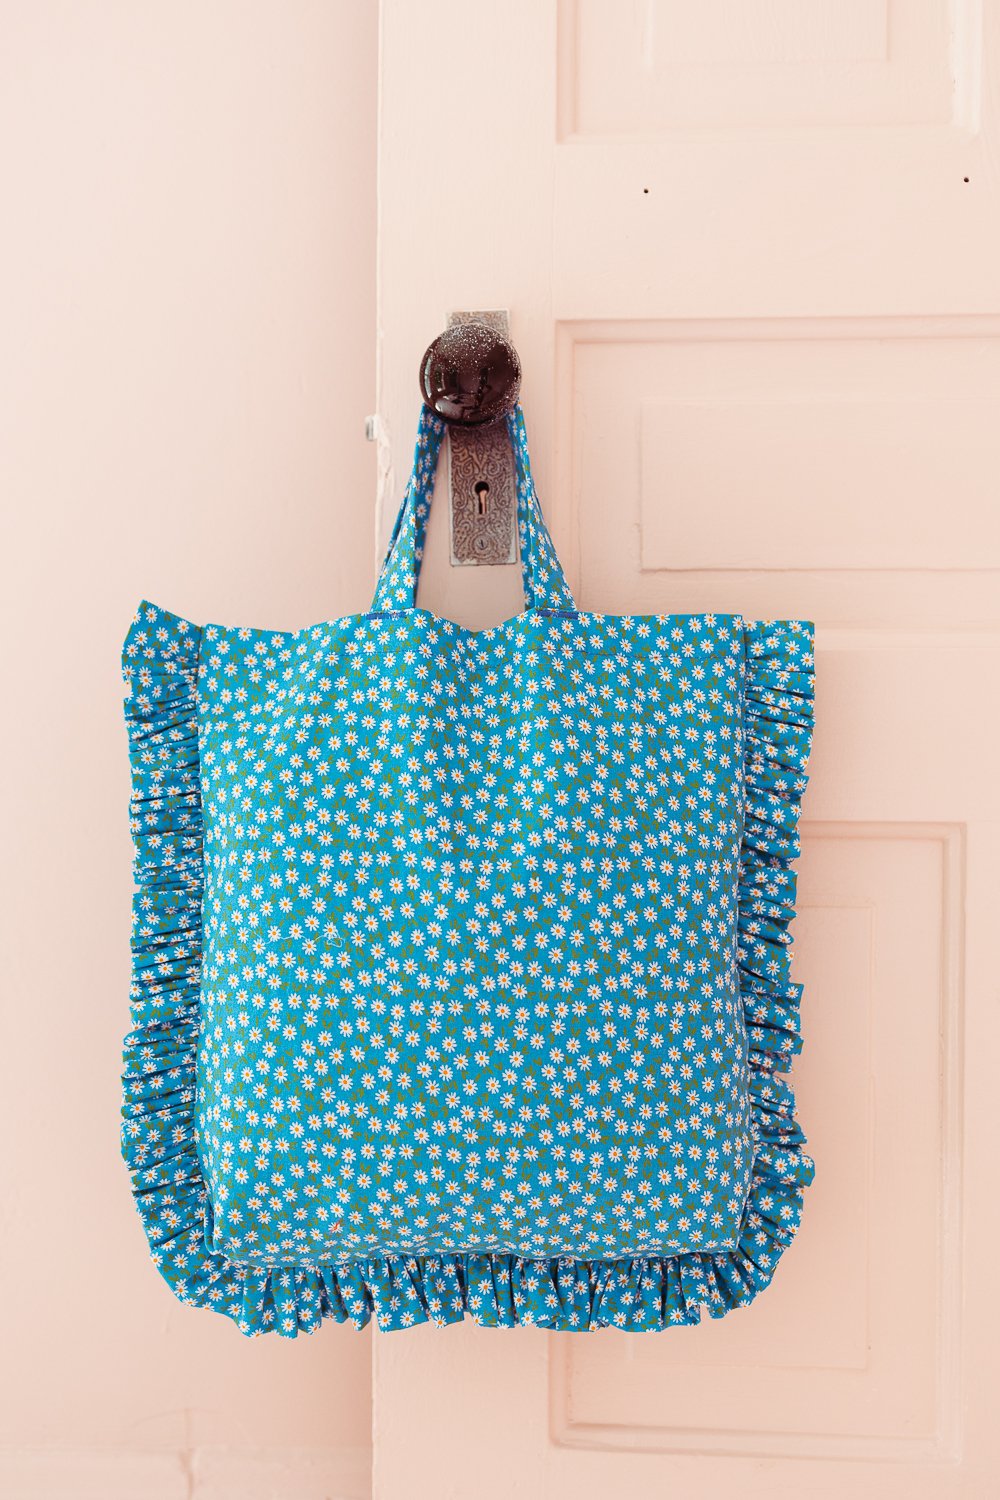
Some blogs have nicely matching photo colors and backgrounds for each tutorial. It’s an appealing idea to make the whole website cohesive. I, however, am someone who gets bored of doing the same thing.

I decided to move ahead without feeling the need to have every photo match throughout the website. Then pretty quickly I realized mismatched photos were actually a key to making it fun for me to take and post photographs on the blog. If I feel trapped into editing all the photos a specific way or only taking photos in certain rooms of my house, it wouldn’t be nearly as fun.

My hope is that even though the photos have different characteristics, they feel cohesive because they come from the same creator.

Photo Character

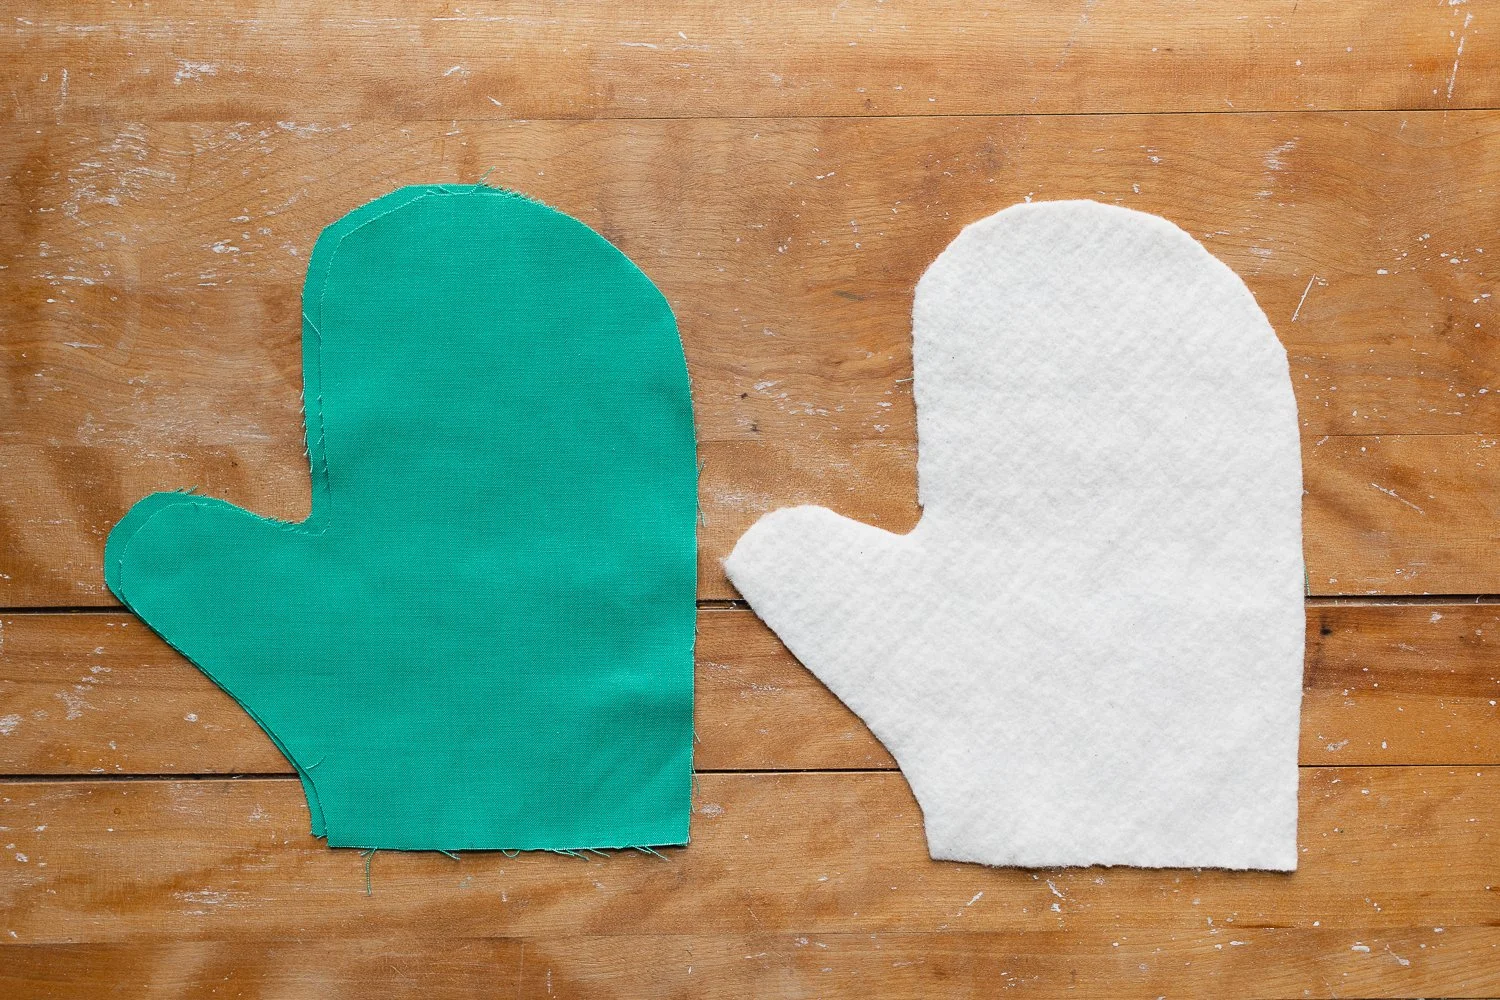
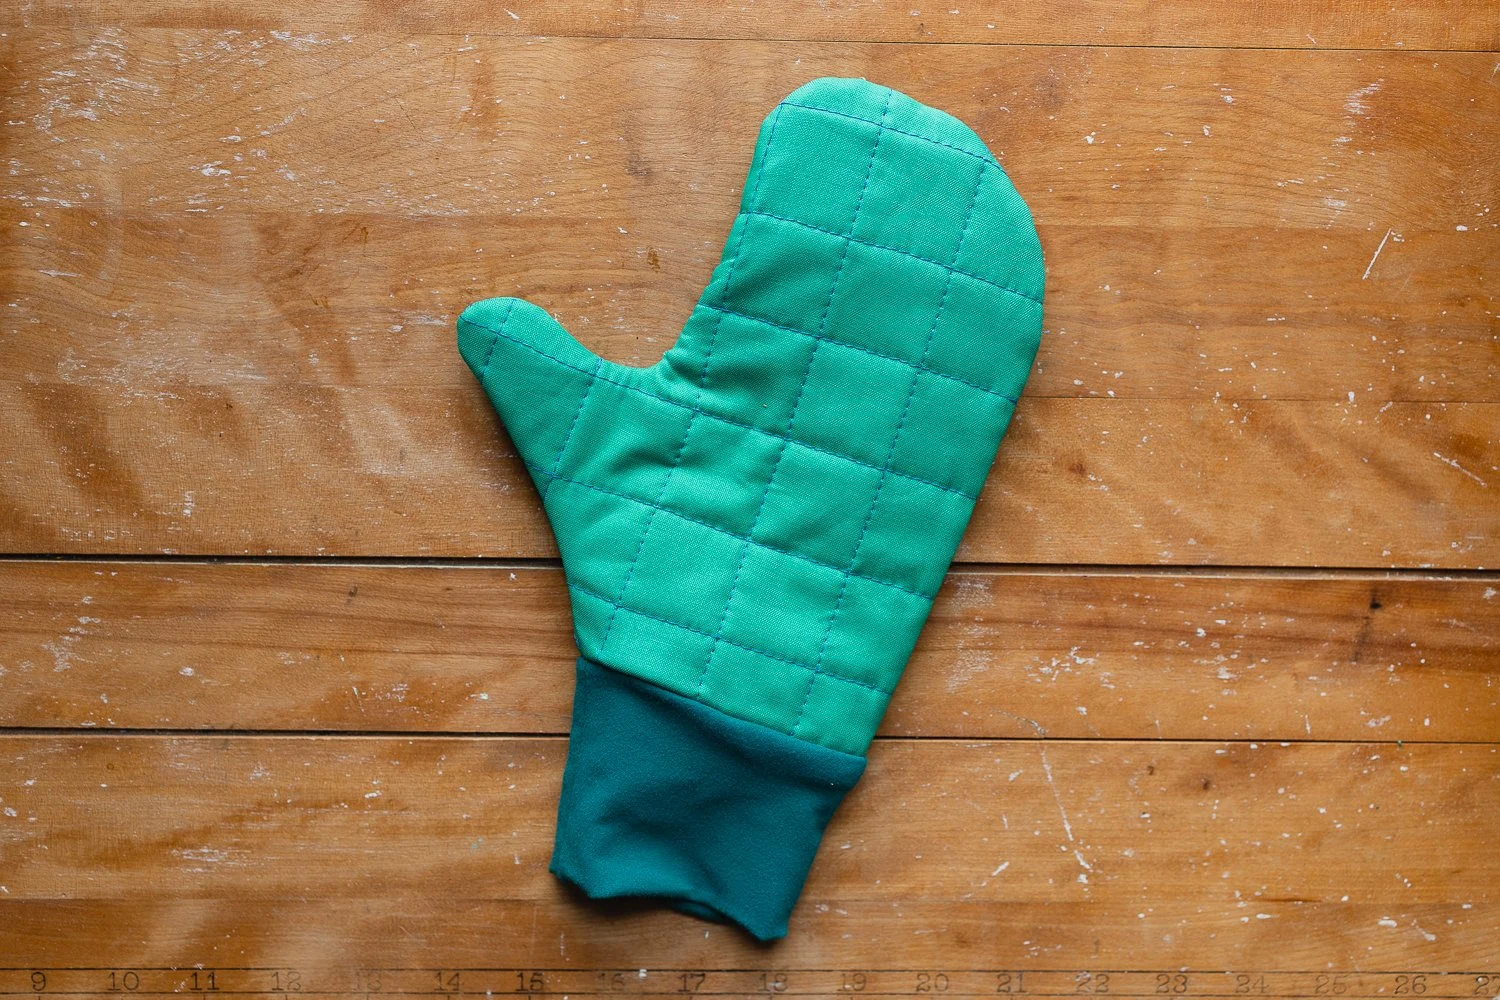
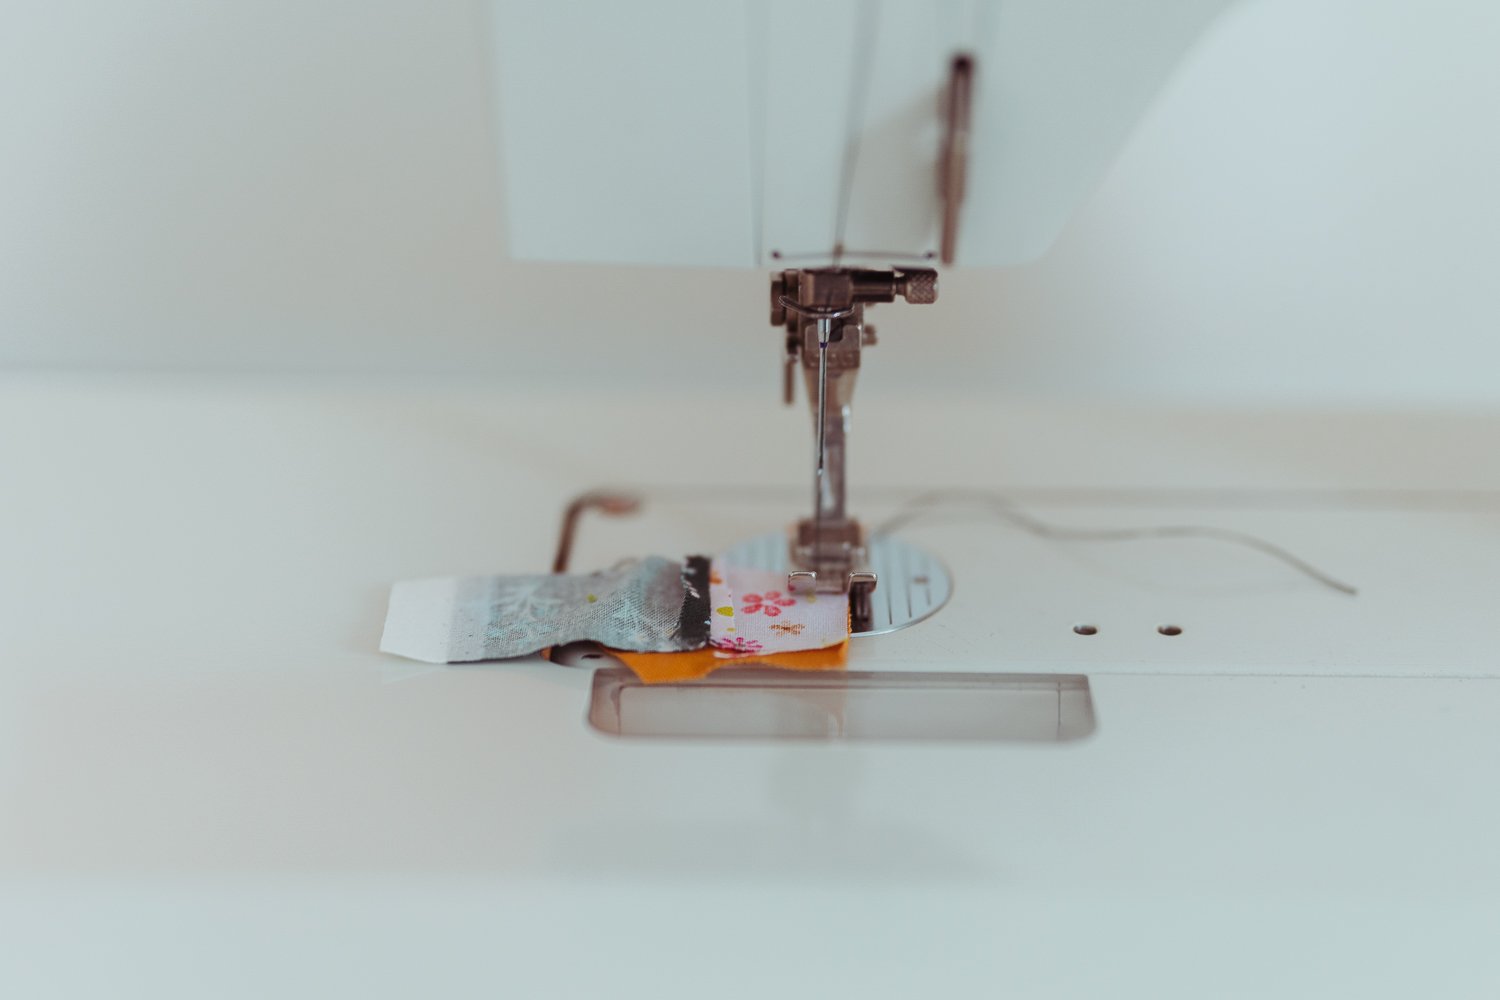
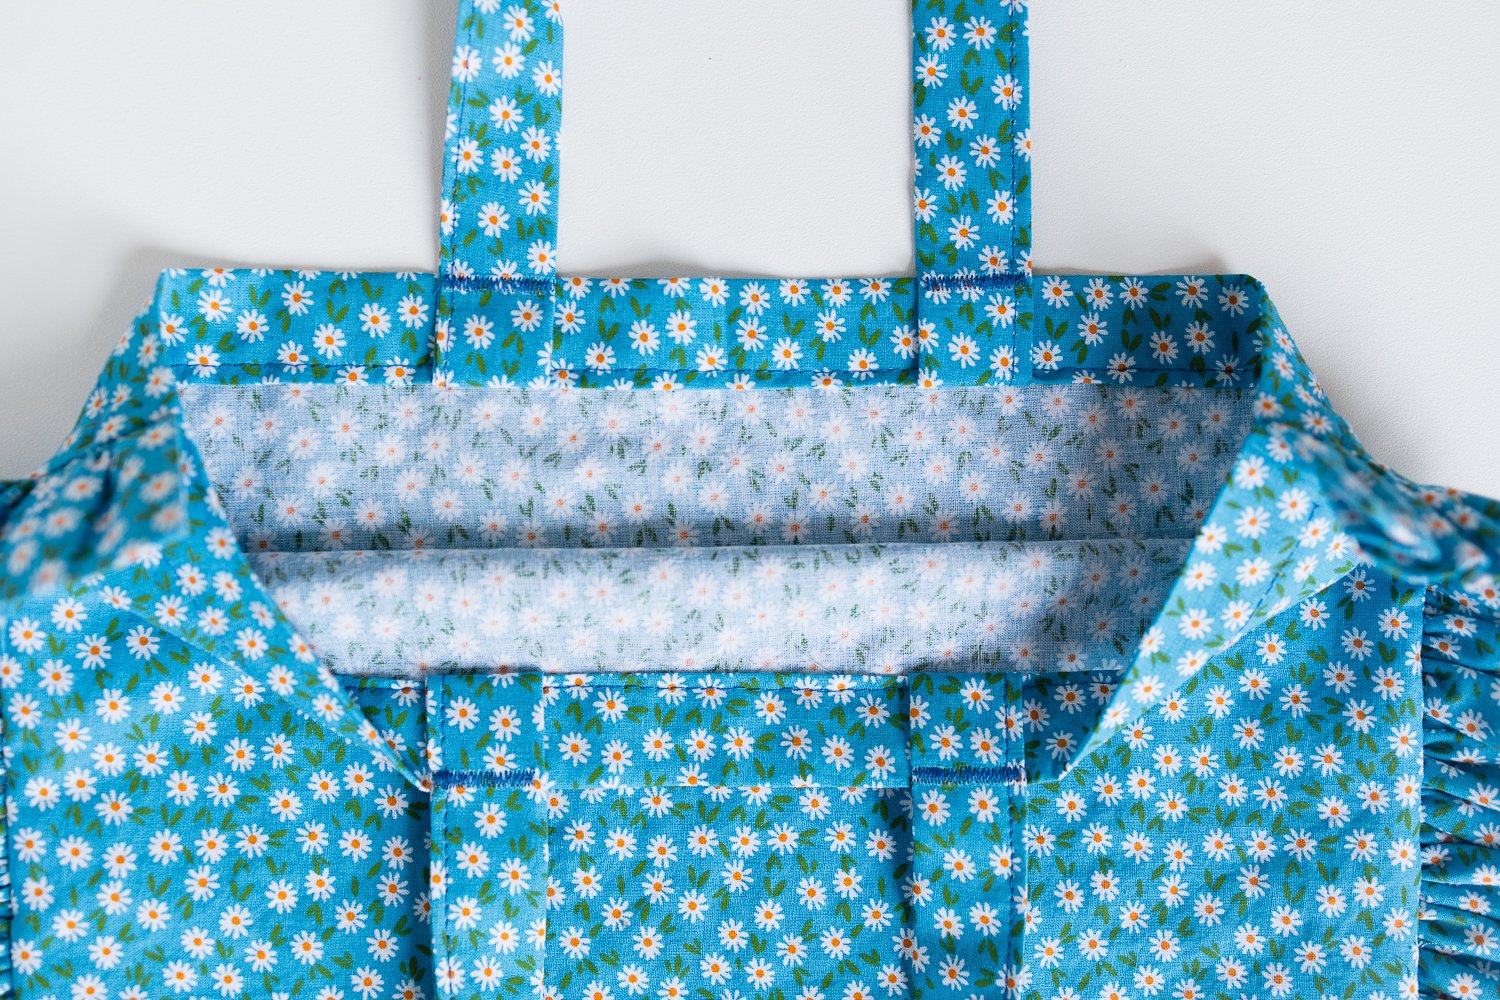
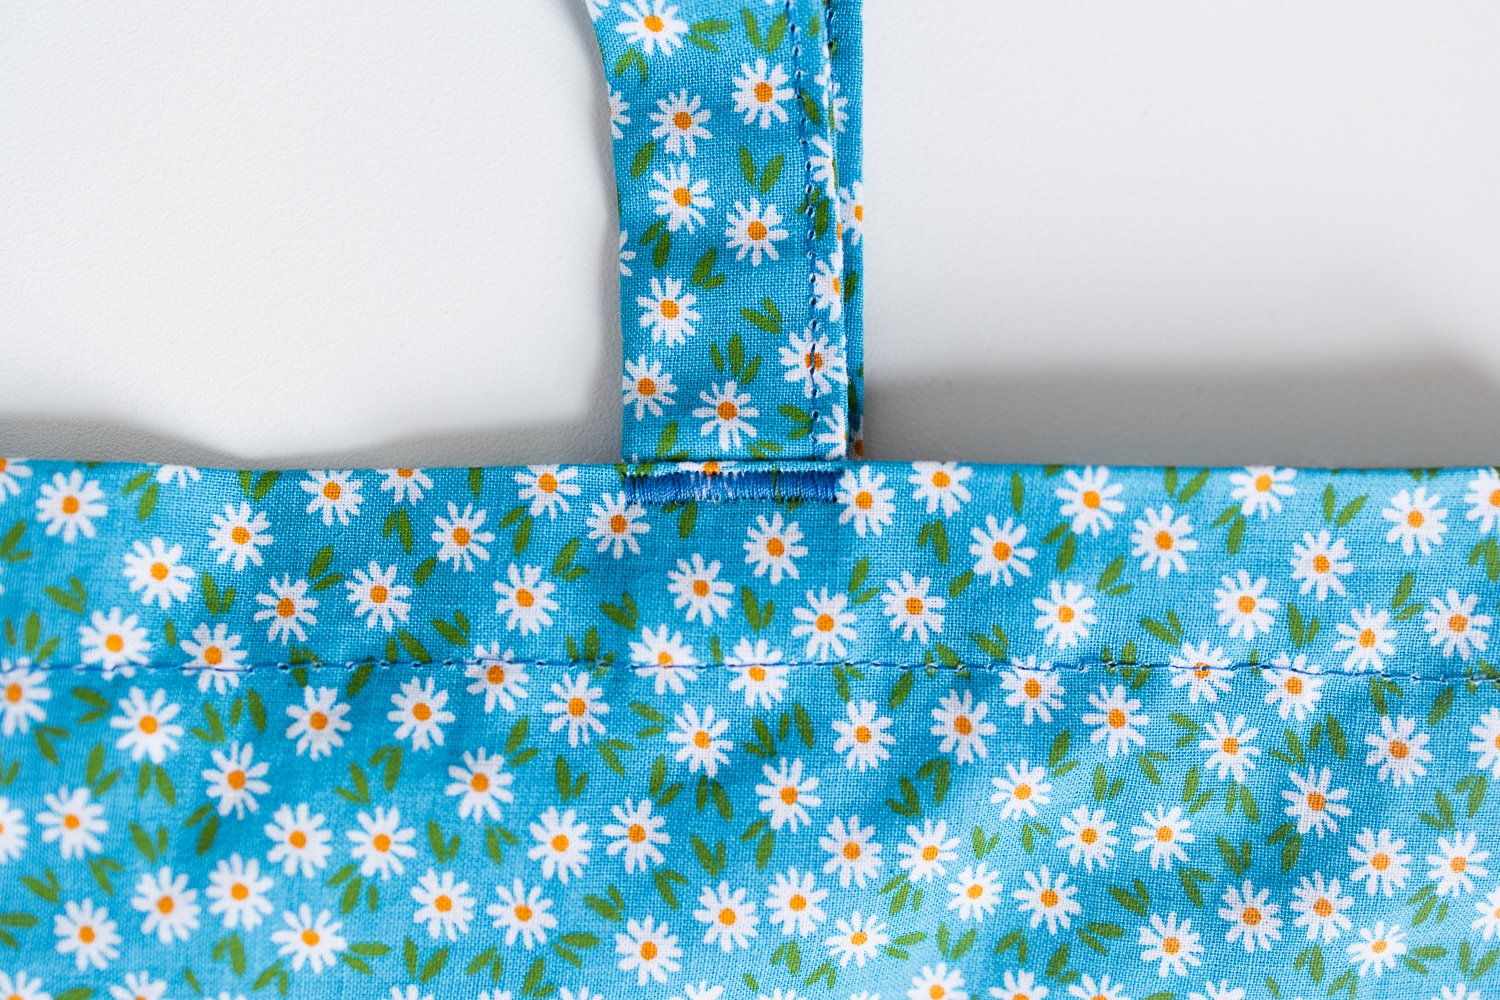
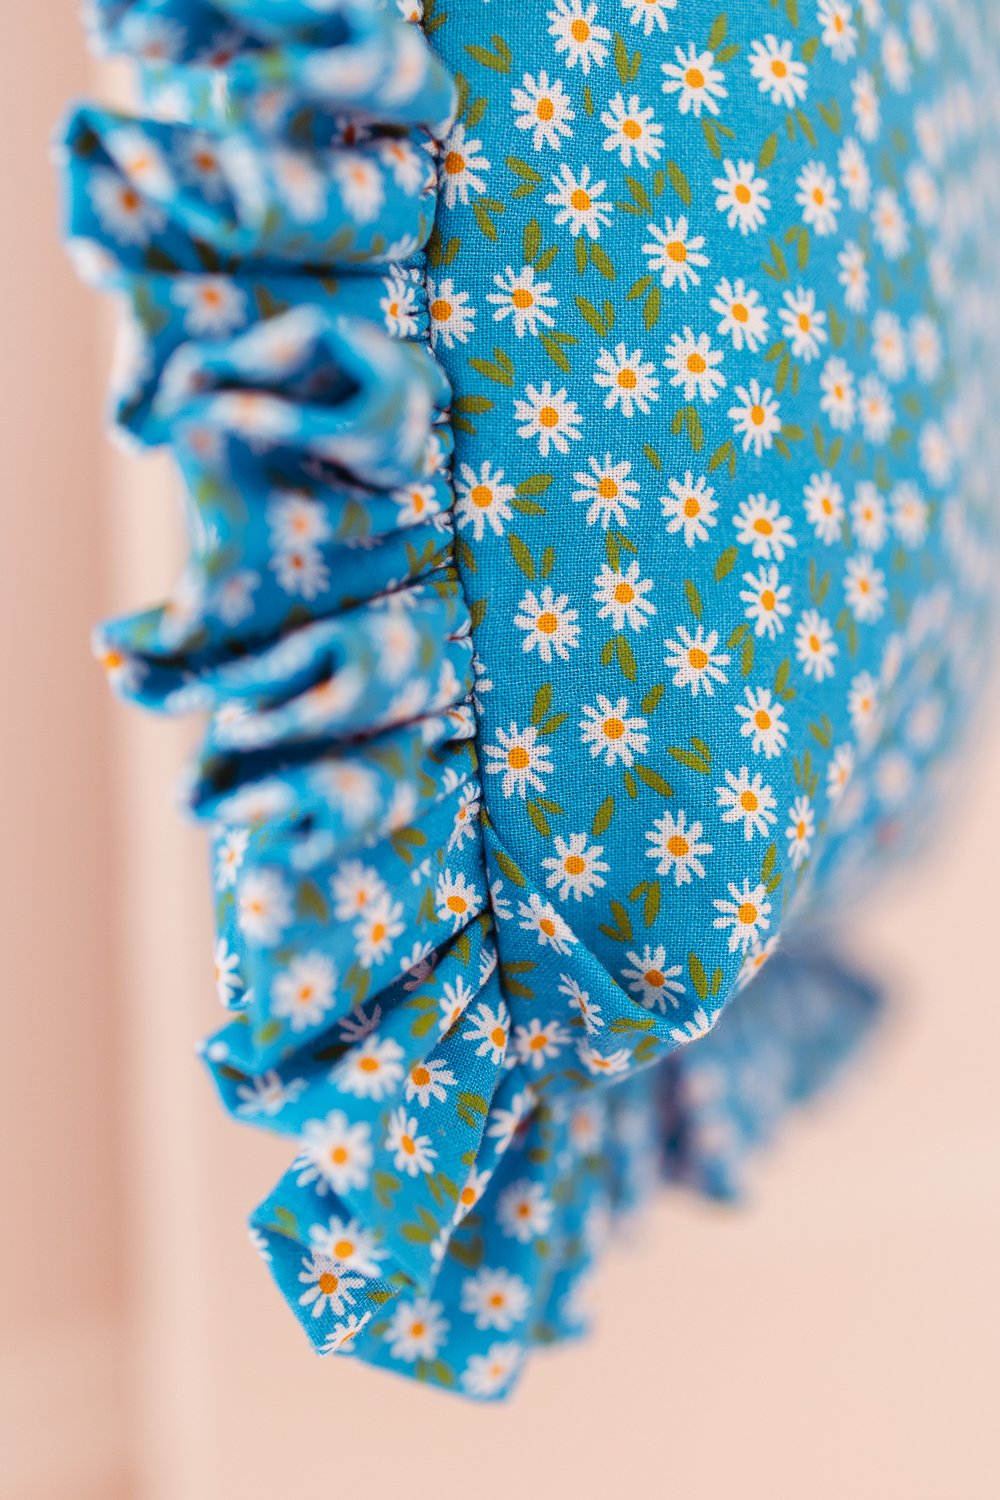
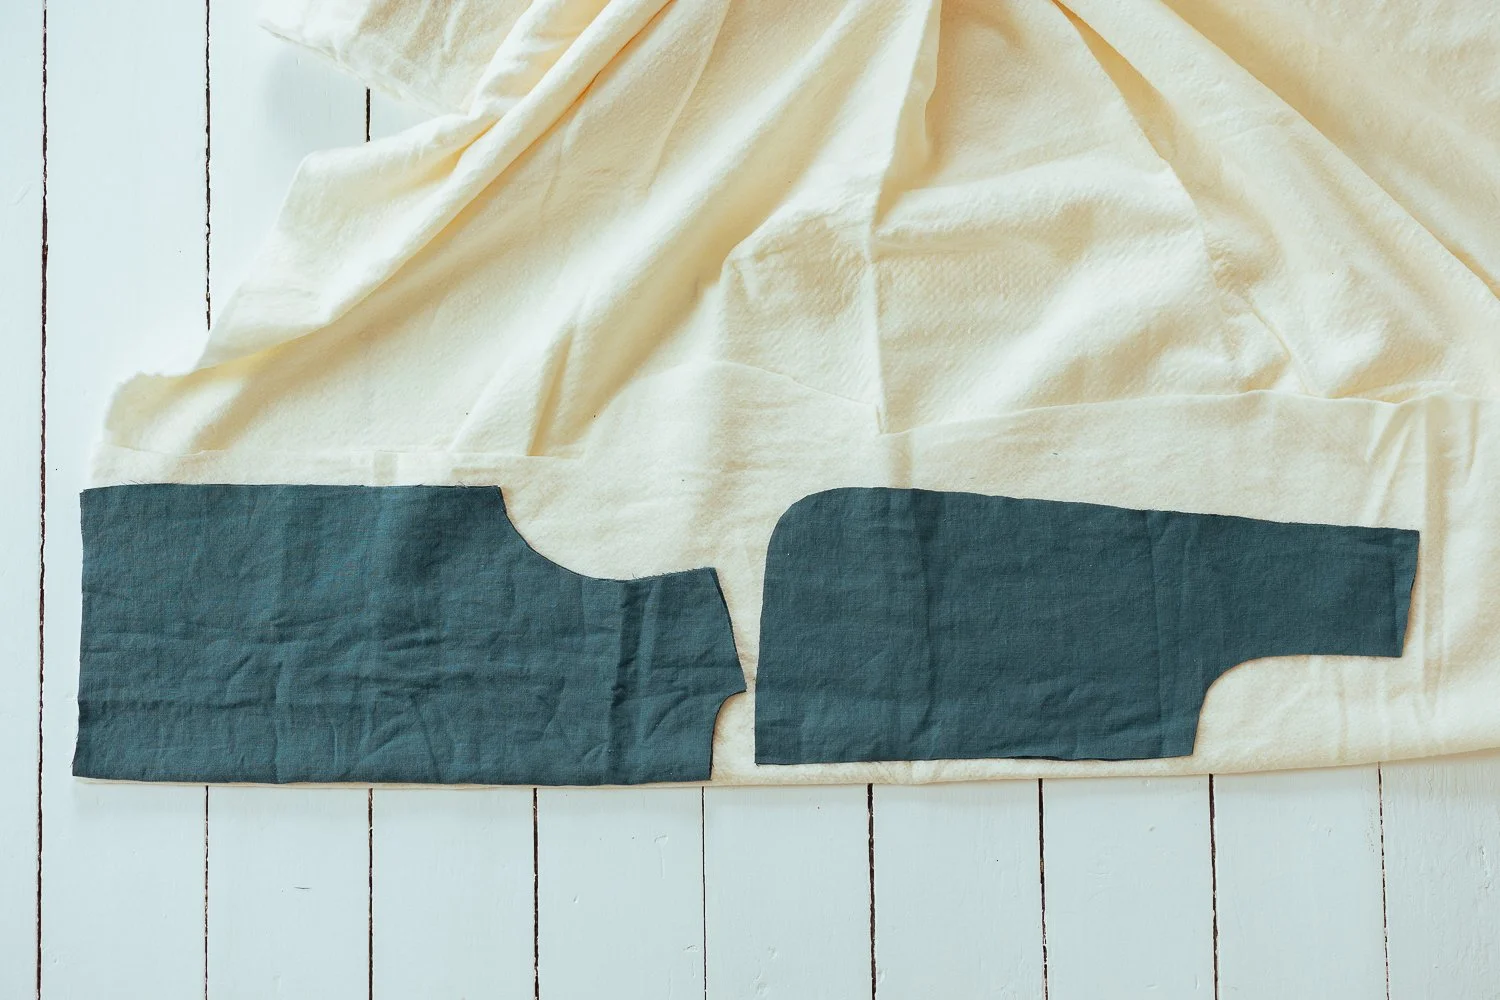
Should the fabric be neatly ironed or cozily wrinkled? Should the background be smooth or have shadows and floorboard cracks? Should the photos be simple and clean or cluttered and detailed? Should there be illustrations and photos or just photos? How much character should the photos have?

My house contains all of these things, and I enjoy each room for its own character. I enjoy wrinkled fabric and ironed fabric. I enjoy photographs and illustrations. I decided to say yes to all of it.

Self Portraits

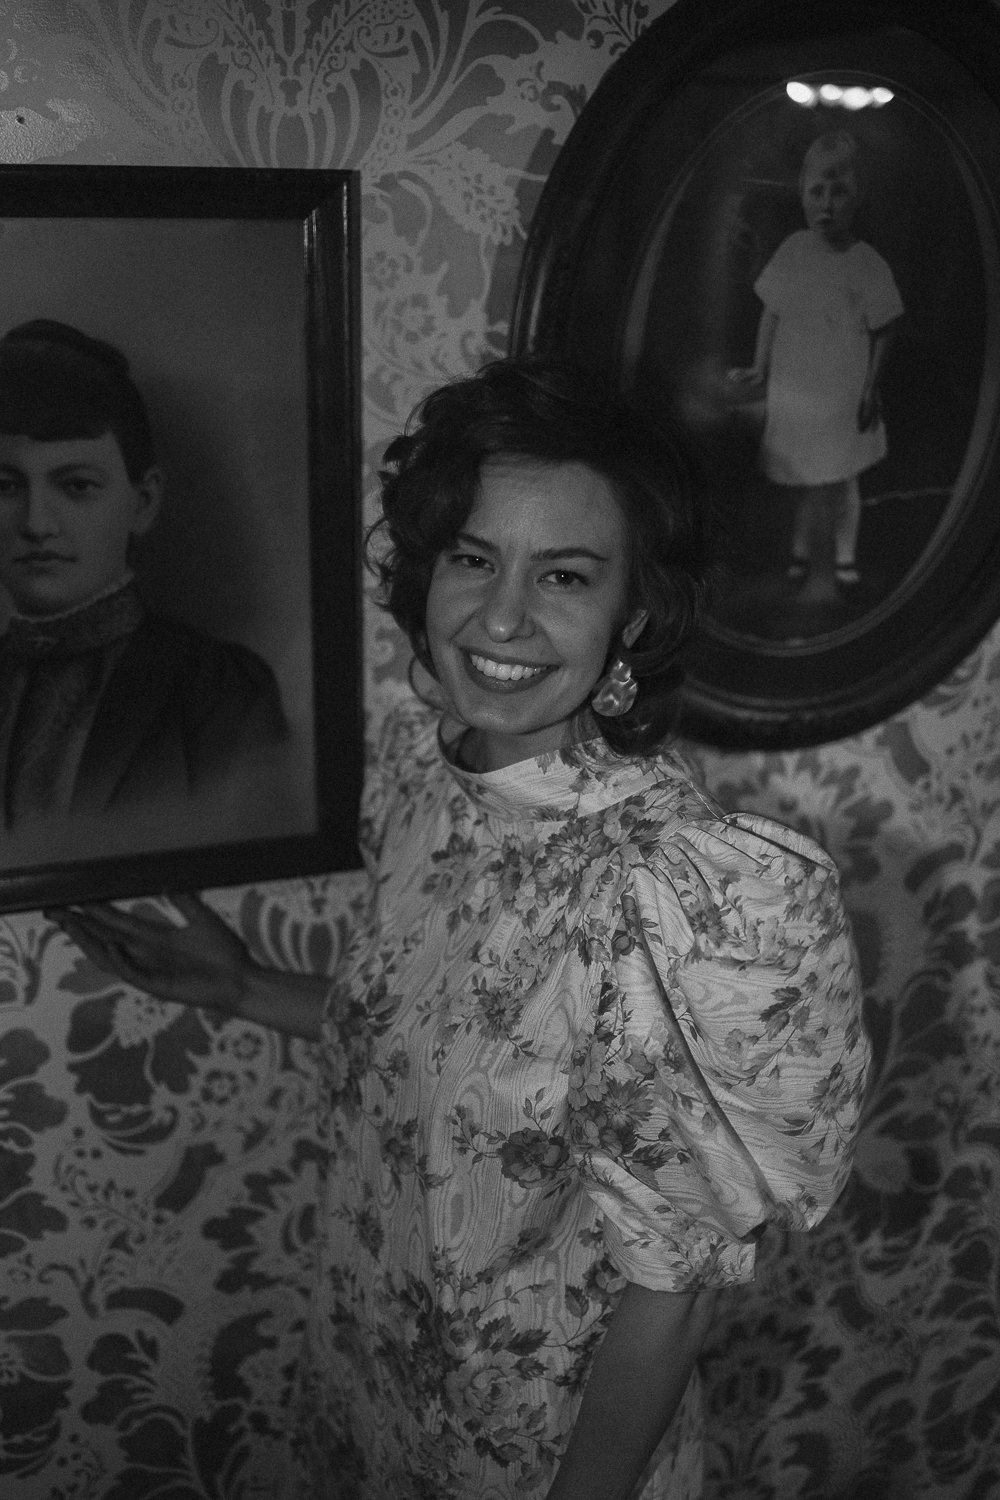
At this stage in life, I’m not particularly drawn to posting photos of myself. I love seeing photos of people who own the blogs I read and the patterns I buy. It’s compelling to see someone. I feel more restful spending time on their website if I know what they look like for some reason. It makes me feel like I know them a little bit more.

Since I’m not feeling compelled to post many self portraits though, I decided to be okay with that for now. Maybe I’ll grow into it slowly.

It helps when I happen to take some photos I enjoy. For reference, and in effort to grow comfortable with self portraits again, here’s what my living room and I are looking like these days.

Blog Topics

I love sewing and I love photographing. In thinking it over, I decided it was okay to publish both sewing tutorials and sewing photographs in various posts. I hope you enjoy that, too!

So far I’ve decided to keep the overall topic mostly on sewing expressed in a variety of ways, but sometimes I toy with including other fun, useful, or interesting craft projects.

Thank youuuuu

For reading my blog, following my tutorials, buying my patterns, and sending lovely emails my way, thank you. I’m grateful, so grateful to be doing this. Thanks to you, I’ve been designing and selling patterns for over 7 years. Thank you for being here.

If you’d ever like to get in touch, feel free to send me a note.

If you enjoyed this post, you may also enjoy…

Here’s why I sew.

Photos of different sizes and placements of pockets.

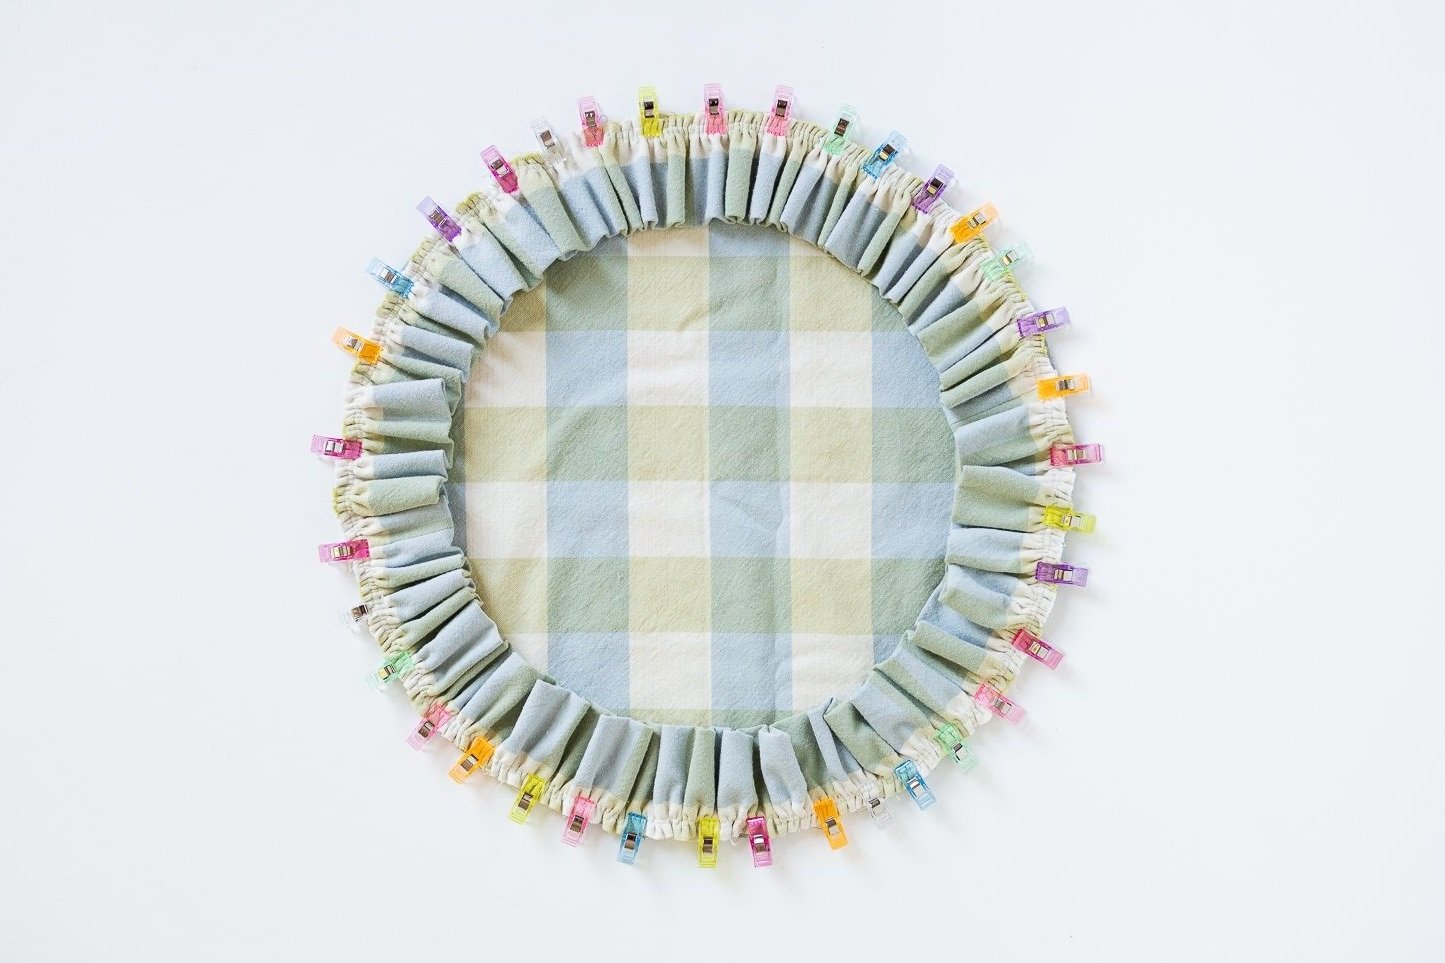
Step by step video tutorial.

Sew your own mitts -- afternoon project

If you’re looking for a playful project for the coming winter and need a new pair of gloves for clearing your windshield in the mornings, these mitts are kind of fun.

A few years back I taught a year-long weekly sewing class to a small group. It was fun to come up with all the projects. My goal was to have projects that taught technical skills and resulted in fun, useful items. These mitts were an introduction to quilting fabric, and I ended up enjoying them so much that I’ve been using them for several winters.

Here’s how to make your own

Step 1: Draw a generous mitt shape around your hand.

Step 2: Cut out 8 from the fabric, 4 from the batting.

Step 3: Sandwich the batting in between the fabric.

Step 4: Use a ruler and fabric pen or chalk to draw some lines for stitching.

Step 5: Starting from the middle and moving out toward the sides, stitch along all the lines.

If you want some more tips on getting started with quilting, check out Tips for Sewing a Quilted Jacket.

Step 6: After quilting, trim around all the edges.

Step 7: Place two quilted mitts together and sew with 1/4” (6 mm) seam allowance.

Step 8: Zigzag around the edge.

Step 9: Cut some stretchy knit fabric to make a cuff.

Step 10: Sew up the side and fold into a cuff.

Step 11: Place the cuff inside the mitt and sew with 3/8” (1 cm) seam allowance.

Step 12: Zigzag stitch.

Step 13: Turn right side out and get ready to clear your windshield!

If you’d like to try another quilt project, check out my Juniper Quilted Jacket Pattern!

If you enjoyed this post, you may also enjoy…

Illustrated step by step guide and tips for getting started with quilting fabric.

Sew your own quilted jacket! This pattern has a short and long version and step by step illustrated instructions.

An afternoon sewing a quilted linen jacket.

Flowers on Flowers

So into puff sleeves. I self drafted this floral dress and wore it to two Valentine’s parties.

And then the trees blossomed and the phlox in my yard bloomed. I couldn’t help but think how nicely the colors would go together.

The leftover floral fabric and I went to a sunny spot, and we enjoyed all the flowers together.

Details

Fabric: Thrift store find

Dress: Self drafted. I love the big puff sleeves.

Photos: Dress - Mom. Florals - me.

If you enjoyed this post, you may also enjoy…

Photos of another puff sleeve dress.

Photos from an afternoon of sewing.

It’s nice when serger thread matches your fabric color.

Sewing a mini quilt

Making a mini quilt for my niece’s dollhouse.

Unfortunately I forgot to take photos of the finished mini quilt, but it was pretty cute. It makes me happy to see it being used each time I get a dollhouse tour from my niece.

If you enjoyed this post, you may also enjoy…

Another great project for fabric scraps. Step by step tutorial to make a bunting banner.

Tips and tricks for getting started with quilting your own clothes.

Enter your desired dimensions for a finished tote bag and this calculator tells you what size to cut the fabric!

How to Sew a Ruffle Tote - Photo Tutorial

To continue the ruffle tutorial series, here is a step by step guide to sew a ruffle tote.

Check out my other fun ruffle tutorials!

Let’s make something!

Step 1: Cut out the fabric.

Body: Two 14” x 16” (35 cm x 40 cm)

Handle: One 4” x 32” (10 cm x 81 cm)

Ruffle: Three 4” x 40” (10 cm x 102 cm)

Step 2: Mark 1 1/2” (3.8 cm) in and up from each bottom corner.

Step 3: Match up the marks. Fold the corner up toward the top of the tote at the marks. Clip in place.

Step 4: Sew the ruffle strips together with 3/8” (1 cm) seam allowance. Press seams open.

Step 5: Fold ruffle strip right sides together and sew ends with 3/8” (1 cm) seam allowance. Then turn right side out and press corners.

Step 6: Sew two loose lines of stitching along the whole length of the ruffle for gathering. Sew the first line with 3/8” (1 cm) seam allowance and the second line with 1/4” (6 mm) seam allowance.

Check out my tutorial Ruffles 101 if you want some tips on gathering fabric!

Step 7: Carefully gather fabric until the ruffle is roughly the right length to go around the sides and bottom of the tote.

Step 8: Mark 1 1/2” (3.8 cm) down from the top of the tote.

Step 9: Line up the ends of the ruffle with the 1 1/2” (3.8 cm) marks made in the above step on the right side of the fabric. Clip the ruffle all the way around the sides and bottom. Use lots of clips.

Step 10: Lay the other panel on top with right sides together and move some of the clips to hold all the layers in place.

Be sure to keep the folded corners lined up while clipping.

Step 11: Sew around the sides and bottom with 3/8” (1 cm) seam allowance. Finish seam with serger or zigzag stitch.

Step 12: Fold the top down toward the wrong side so it is flush with the ends of the ruffle. Press with a steamy iron.

Step 13: Tuck the raw edge of the hem under 1/2” (13 mm). Press with a steamy iron.

Step 14: Fold the sides of the handle fabric into fourths, tucking the raw edges into the center. Sew along the folded edge with 1/8” (3 mm) seam allowance.

Step 15: Cut the 32” (81 cm) handle in half to make two handles.

Step 16: Fold the tote in half to find the center. Slip the handles under the hem on each side of the center. Clip in place.

Step 17: Fold the ruffle out of the way and sew from side seam to side seam along the bottom edge of the hem with a 1/4” (3 mm) seam allowance. Repeat on the other side of the tote, folding the ruffle out of the way.

Step 18: Fold the handles up and sew bartacks along the top hem of the tote.

That’s it!

If you enjoyed this tutorial, you may also enjoy…

Step by step photo tutorial to fill your living room with pillows.

Step by step photo tutorial for sewing the Rosemary Wrap.

Step by step photo tutorial of each method.